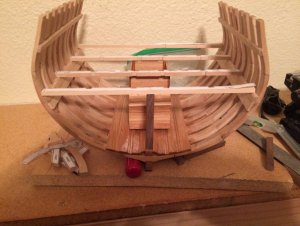
sgtmik's HMS Blandford cross section build

Mike

For the trenails and I think you have a Bynes Drawplate as I do.

As you can see what works on one product may not work on another. I am a bit unsure on it but I know whats works on PVA but if it is water resistant or waterproof, will work. I hope other members get in on this and tell us.

Titebond is not readily available here but i will check out my sources. I amily use Aquadhere which is made in Australia and New Zealand. Some lacquer like Minwax Wipe on Poly are not available here. We have a good substitute we think and hope. I tried to get Minwax from the Staes but the order was cancelled from the Staes and probably a bit costly to.

The Web page for Minwax says coming soon. That has been there for the last year.

To purchase timber for the project was hard enough but I have some Euro Beech thanks to Float a Boat which is about 30 minutes away from me.They could not suplly the timber but where good enough to tell me where I could purchase it from. That is a business looking after a customer that I have dealt with for quite a few years.

I look forward to starting on the Blandford in the next week or so.

This task that Mike gave us the opportunity to do will be fun and we will enjoy it together. Thanks Mike.

Cheers
Geoff
 
Hey Mike,

How's the Blandford version 2.0 going? Sorry, I couldn't resist.

Although I am still not doing any building, I am still monitoring the progress of everyone's progress. I wanted to alert you to something that I plan on telling Mike41 about was well...the lower deck clamps that you have on your build are too big.

When I am bored, I will browse the project site and was looking at the BOM so that I could start listing the materials that I will need when I resume my build and I noticed that there was a huge disparity in your photos of your build and the elevation detail in part 3. It shows the end view of the hull. The deck clamps appear much smaller in that drawing than in the pics of your hull. I checked the BOM and found that the measurements of the clamps may very well be wrong.

The BOM lists the deck clamps as "2 pieces 13/16 x 5/32 x 7 13/16” ", but I think they should be 13/32" x 3/32".

I am almost positive, without getting Mike41's thoughts, that yours are way too big and may have to come off as they will interfere with the interior planking down the road.

I am going to alert Mike41 to this, but thought that you would want to know first.

Andy
 
Hi Andy,
Thanks for visiting my build log. I thought that was the case. Not to worry though. I have abandoned my first build and started over. I also noted that the new BOM call for a keel that is 3/8" x 2" x 7 13/16". The latest keel patterns don't reflect that. I built my keel at the 7 15/16" x 5/8" x 3/8". I then followed your lead and dry fit all of my frames, squared them up and marked them with a pencil and then cut the hog. I mainly used the pattern to get the depth of the hog. I left the rising wood at 5/8". I then glued my frames in checking that they were all plumb each one. I am currently sanding the interior so that my keelson and lower planking will have a gentle slope from frame 9 - frame 1.
I have not cut deck clamps yet. The first time around when I got to this point I did not know what a deck clamp was, or where it was. While building new clamps I discovered them clearly marked on every frame pattern sheet. I'm not sure if the new keel dimension will affect that height from BOK to the deck clamp position.I hope I'm on the right track now. I really do appreciate you help. Oh yea, I cut the rabbit before I glued the frames in making sure each one was in the right position using your guide.
 
Ahoy Shipmates,
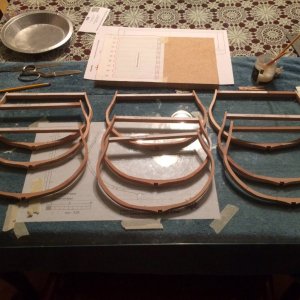
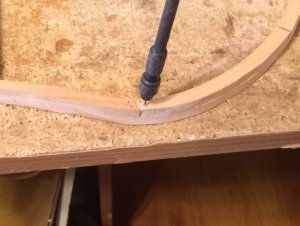
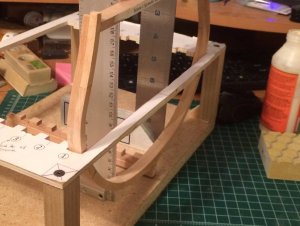
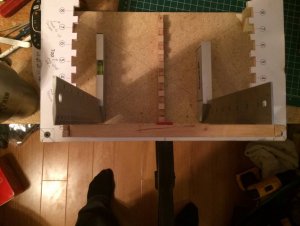
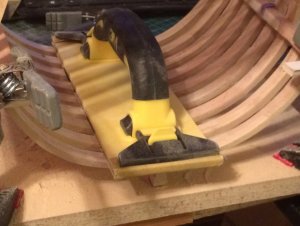
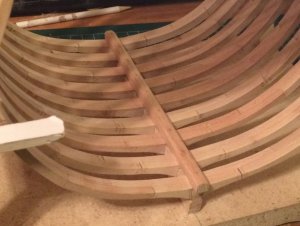
This will be a short update as I forgot to post some photos that pertain to my last update. I've been doing allot of sanding and I'm ready to start planking the lower deck. I've installed the keelson and fitted all the treenails. I must get one of those 90degree attachments fore my dremel, my fingers are killing me from using a pin vice. I installed the lower deck clamps an removed the spreader bars. Lots of sanding in the interior of the ship. This time I will listen to Mike and complete the inside before moving to the outer portion.

I'm not sure if I should treenail the deck clamps in To me this is one of those things no one will see.

IMG_1853 (2).JPGIMG_1854 (2).JPGIMG_1866 (2).JPGIMG_1867 (2).JPGIMG_1870 (2).JPGIMG_1873 (2).JPG
 
Last edited by a moderator:
Hi Dave,
Thanks for visiting my build log, and thanks for your comments. I'm milling the timbers for the lower deck planking now.
 
Hi Mike,
If you use a flexible cable on your Dremel to drill holes with it will save some wear and tare on your fingers, its a lot faster too.
Mike
 
Hi Mike,
Thanks for visiting my build log. I was looking at an attachment today at Lowe's It's a 90 degree angle for Dremel. I will most likely get one. My fingers are still sore.
 
Hi Mike,
Thanks for visiting my build log and for your kind comments. Things are coming along I am building the pieces for the well and shot locker now. I ordered some saw blades for my Dremel and will trim the frames as soon as they arrive.
 
Ahoy Shipmates,
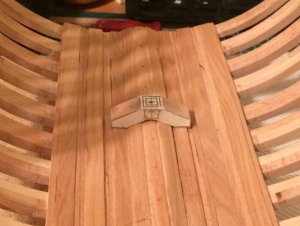
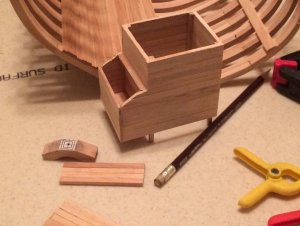
Time for another episode of Sgtmik's Blandford cross section build. In my last installment I had finished the lower deck planking an had installed the deck clamps. I have been working on the well and shot locker, and the mast step. I think this would be a good time to put some finish an the parts That are ready to install. I'm still waiting for my Dremel saw blades to arrive so i can trim my frames off.IMG_1883 (2).JPGIMG_1884 (2).JPGIMG_1886 (2).JPGIMG_1887 (2).JPGIMG_1888 (2).JPGIMG_1891 (2).JPGIMG_1892 (2).JPGIMG_1895 (2).JPG
 
Hi Mike,
Excellent work on the well and shot locker! How do you like working with the beechwood?
Mike
 
Hi Mike,
Thanks for visiting my build log and for your kind comments. I like working with this wood it has a nice color and does not splinter easy. I think I will use it when I start construction on Naiad.
 
Nice work there Mike!

Your shot locker and well look terrific! And your mast step ain’t too shabby either.

I think you are way ahead of most of us.

Andy
 
Ahoy Andy & Dave,
Thank you both for visiting my build log and for your kind comments. I have finished the well and shot locker by installing the lid and hinges. I also varnished it and the lower deck planking. I really like the look of the finished European beech wood. Thanks to Mike for suggesting this wood.
 
Ahoy ship mates,
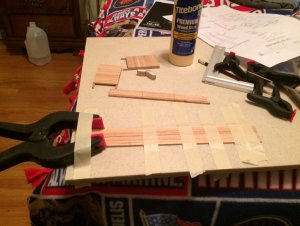
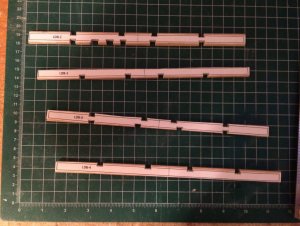
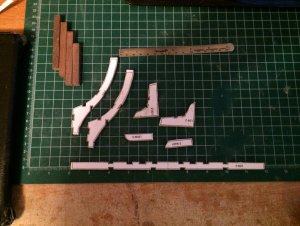
I wanted to make a quick post of my progress as I am really stoked that it seems to be coming together kike I knew what I was doing. I rough cut the LDB's, the beam arms and the pillars. Sanded the LDB's and beam arm. I then used my mill to notch the LDB's and beam arms and they all dry fitted just right. My well and shot locked fit without any trimming and My LDB's and beam arms are no ready to be installed.IMG_1901 (2).JPGIMG_1902 (2).JPGIMG_1903 (2).JPGIMG_1905 (2).JPG
 
Back
Top