sgtmik's HMS Blandford cross section build

Hi Mike,
The Wen band saw looks like it has a cast iron table and a nice-looking scale for the rip fence, nice improvement over the Craftsman. A good solid base with some extra weight in the bottom makes the saw more stable and produces better cuts.
Mike
 
Ahoy Shipmates,
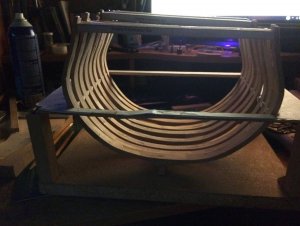
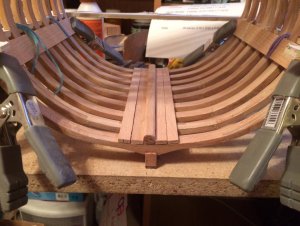
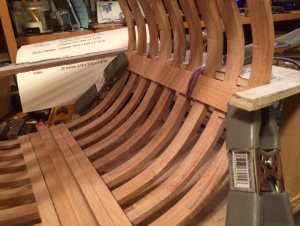
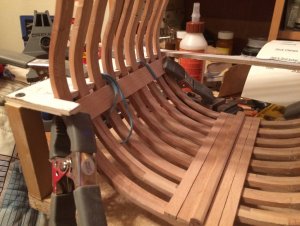
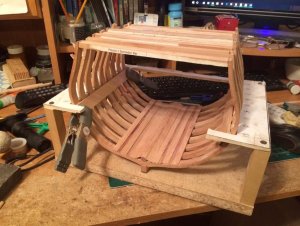
I have been cracking the whip in my Ship yard. Since the last installment I have finished my Keel and mounted it to my build board.

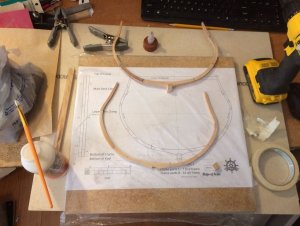
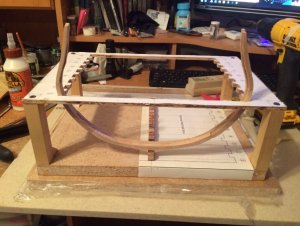
I removed the top of the building jig and put down a partial copy of the building jig plans just to locate the keel in the proper place, and started work on the frames.


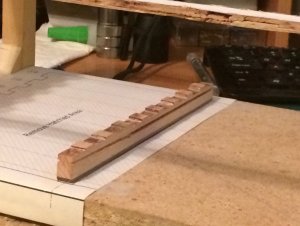
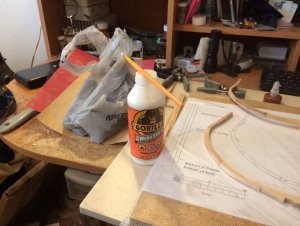
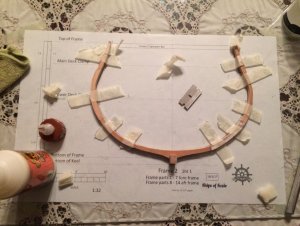
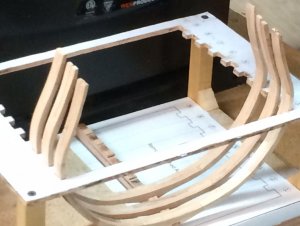
There has been allot of trial and error in the build for me as this is my real first scratch build. Lots of error than trial. I am finding out that it really does pay to be as accurate as possible. I'm also learning from one of our new members some great building techniques. Like using tape to first hold down the frame assembly and using Gorilla glue. I also learned to use a piece of wood the size of the keel, super glue t to a glass cover to help locate the frame in the right place.

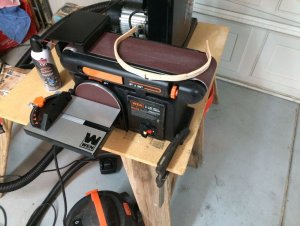
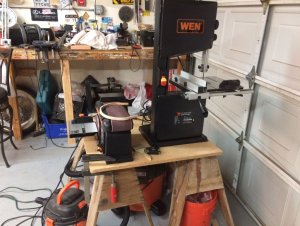
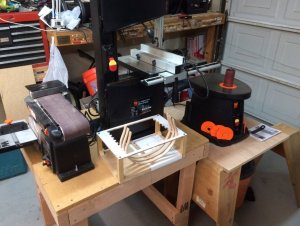
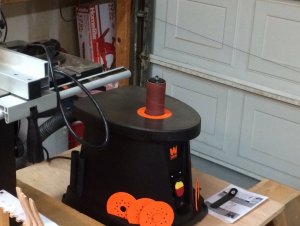
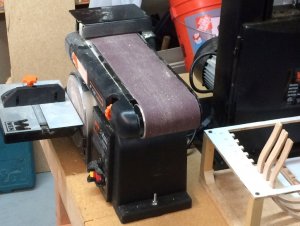
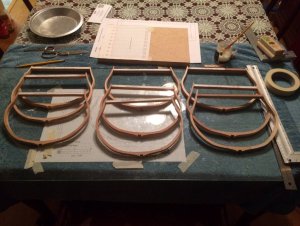
I am currently on frame #4 and I am getting better at the construction with each frame. I have added a couple of new tools to my ship yard since the band saw last post. A WEN model 6502 36 inch belt sander with 6 inch disc combination, and a WEN model 6510 oscillating spindle sander.

Adding the belt/disc sander has made it easier to make the sub-assemblies of the frames. Since my spindle sander just arrived today I haven't had a chance to use it yet but plan to wind it up to clean up the three frames I made.
I will show my work on the frames with the spindle sander on my next post.IMG_1795 (2).JPGIMG_1798 (2).JPGIMG_1803 (2).JPGIMG_1799 (2).JPGIMG_1800 (2).JPGIMG_1796 (2).JPGIMG_1801 (2).JPG
 
Hi Mike

Maybe #4 is better than #1 frame it ai all a learning process to us. You can always make a new fame if it does not work out.

I thank Mike for giving us all a chance to learning how to do a scratch build. I am still yet to start my build but I hope next week I will be on it.

Cheers
Geoff
 
Hey Mike,

Looking good! It looks like you used saran wrap over your frame plans to glue up your frame halves. If you use an ordinary sheet protector (Avery or Staples brands for three-ring binders) you won't have to battle with the tape holding the parts down properly. The plastic wrap doesn't offer any stability to the tape so when you secure the parts to each other during the glue up, they will move around with plastic wrap. The thin plastic sheet protector offers enough support to the tape to keep your pieces in position. Try that instead of the saran wrap. You will have a much easier time with the glue up.

I have two sheets that I cut from the sheet protectors, which fit over all of the frame plans. I tape down one of the sheets over one plan and glue up one of the halves. Then with the parts glued and taped down on that first sheet, I can remove the tape securing the plastic sheet over the plans and set it aside to dry.

Then I take the second plastic sheet and tape it over the plans and glue up the second half of the frame. When they are both dry (about two hours with the gorilla glue is fine) I give them a light sanding on my granite slab.

Another alternative to the slab is to just take it into the kitchen where you should have granite countertops or some equivalent flat surface and sand there. Or maybe a glass top table? It really isn't that messy of a process, so it won't anger the wife as long as you clean the wood dust up when done. It is just a light sanding to remove glue and to flatten the halves on both sides before you glue them together.

You will love the oscillating sander when it comes to sanding the insides and outside of the freshly glued up frames. It leaves them looking so good.

Give that a try and let me know.

Andy
 
Ahoy again Andy,
I used a piece of glass I had to do frame 2and 3 and it worked great I will probably re-do #1 as It doesn't look very good and I again took your good advice and have been using a scrap piece of corian from a counter top as flat surface.
 
Mike you are the captain of your build.

If you are unhappy with a piece of your build you need to make the decision to rebuild that part.

That is what this project is all about. Learning

I thank Mike for his time and commitment on this project as we all shoud

Cheers
geoff
 
Hi Mike,
One of the important things about a group build is the exchange of ideas, like Geoff said this project is all about learning and enjoying what we are doing.
Mike
 
Ahoy Shipmates,
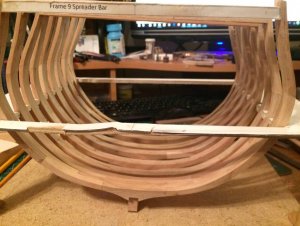
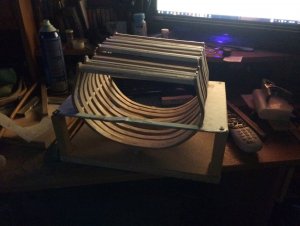
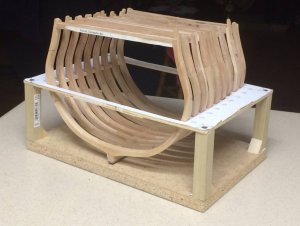
In my last update I had just got a started on the frames. This project has been a big learning experience for me as I had never built a plank on frame ship. So far, I have learned that when You cut any wood for a project make sure you leave room for sanding. You can always take material off, but you can’t put it back on. I will have to say, sadly that it has taken me 12 frames to get the hang of building frames. I know you are saying: isn’t there only 9 frames in this project yes that is right I had to scrap three of them as they were just too bad. I probably should have scraped more but I will press on. I learned some of the nomenclature of ship parts. And I learned how to make a rabbit. Next post i will "demonstrate my wabbiting skills." A quotation from the great Capt E. Fudd

While I was wadding through the frame construction the dimensions to the build jig had changed and I eventually re-built the top and trimmed the upright supports. While struggling with that I dropped something heavy on my keel and damaged it fatally. That’s right I am rebuilding the keel now too.

I did finally learn to operate my Band Saw, Belt Sander and, Oscillating spindle sander (three abrasions latter). Lots of you-tube videos. I had read in Andy’s (Fishknot) build log that he was using a 1/8” blade to cut parts out. His build is so nice precise that I bought an Olson 1/8” blade and installed it. The changing of the blade is not the hard part, it was the fine tuning of the blade to the saw. Again, I went to my trusted resource (You-Tube) and learned that task.

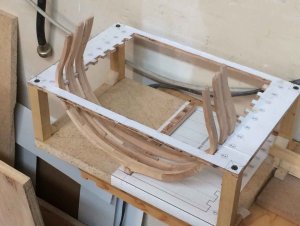
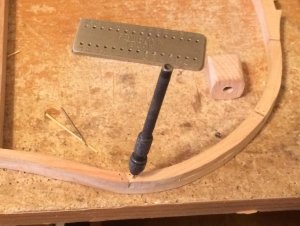
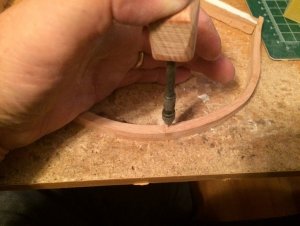
Back on subject, ship building, I managed to build 9 acceptable frames. I think #9 looks the best. The frames are only rough sanded, and I have opted to use tree nails trunnels for you Nautical purists. I purchased a draw plate from Jim Byrnes modelers tools and Raided Mamma San’s kitchen for Bamboo chop sticks.IMG_1806 (2).JPGIMG_1807 (2).JPGIMG_1809.JPGIMG_1810 (2).JPGIMG_1811 (2).JPGIMG_1827 (2).JPGIMG_1826 (2).JPGIMG_1828 (2).JPG
 
Hi Mike,
You have made a lot of great progress since we started the project, your garage looks a lot better with each post. A good set of tools makes life a lot easier.

The frames are coming along quite well, as you gain more experience there will be less replacement frames to make. The definition of experience is recognizing the mistake you made before and how to fix it this time. I keep the fireplace well stocked with kindling when I started building scratch models.

Mike
 
Great progress Mike!

I’m leaving on vacation today, but plan to start working on this project when I get back. The keel assembly is glued up but not notched yet, and the jig parts mood assembly. Then on to the frames.
 
Hi Dave,
Thanks for visiting my build log, and you kind comments. I have decided to stay with the copper wire and wait till I'm better at making tree nails. I have not notched my keel as I am waiting for the plan revision illustrating the the 5/8" keel. the plan sheet still has the old 9/16" keel.
 
Mike
The revised drawings are being processed now and will be available shortly.
Mike
 
Ahoy Shipmates.
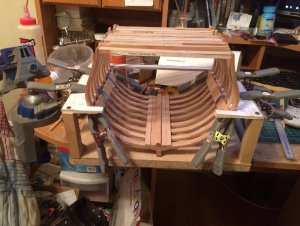
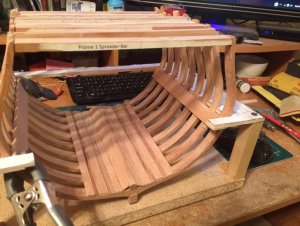
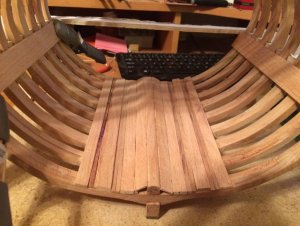
Back in the ship yard but making slow progress. I finished the keel and attached the frames, as I said before I used the brass pins instead of the bamboo tree nails. One big thing I learned at this stage was the importance of getting the frames right. I had to re-build many of the frames and it is painfully obvious which ones I did the better job on. So far I have not used any pre-cut lumber all my lumber has come from stock I bought and milled myself. That in it's self makes me feel good. Now I know I have it in me to do a scratch build.
Here is my progress so far. Thanks for visiting my build log.IMG_1839 (2).JPGIMG_1840 (2).JPGIMG_1841 (2).JPGIMG_1842 (2).JPGIMG_1843 (2).JPGIMG_1844 (2).JPGIMG_1845 (2).JPG
 
Hi Mike,
You are making substantial progress and are well on the way to an excellent model. I mill all my own wood it gives you a lot of control on how the model looks.
Mike
 
Ahoy Shipmates,
I was so happy to have taken my model off the jig in my last post that I got to impatient and did not check for plumb or square. The tragic result was my frames were off, the deck clamps, although the right dimension turn out to be too long,. the space between the frames was all messed up, and there were big gaps between the lower deck planks and the frames. I also ignored Mike's warning and used Gorilla glue and was unable to disassemble pieces to correct my errors. My crew mutinied and I was made to walk the plank. ARG!
As the saying goes a job worth doing is a job worth doing well, so I started over. I used all the new dimensions and built a new jig, built all new frames, and this time used bamboo to make treenails. I’m getting good at building frames, as Mike says I have allot of kindling for my next camp fire, or to burn a heretic.
I have also learned to use my spindle sander, and so far everything seems to dry fit together well. As I dry fitted the frames to the keel I check for plumb and square and marked the frames locations on the keel. I used the keel pattern for a template to find the depth of the hog and rising wood.
My new DeWalt thickness planer arrived and now I'm ready to start milling my deck planks.IMG_1852 (2).JPGIMG_1855 (2).JPGIMG_1860 (2).JPGIMG_1858 (2).JPGIMG_1863 (2).JPG
 
Hi Mike

I have owned a bottle of Gorilla Glue and did not like it the way it foams up and the contest also dried up.

There are a few different lines in Titbond

Regular
Titebond II which is water resistant
Titebond IIi which is is water proof.

I think there might even be a clear Titebond.

I use a product called Isocole which is available here that will soften PVA glues at the local supermarket. It main ingredient is Isopropyl which should be available the hardware store. It is stronger that Isocol and work much faster I believe.

Acetone from memory works on Epoxy resins and maybe super glue as well. I have read that Acetone with clean up Gorilla Glue whilst it is wet, I could not find out about Acetone one the Gorilla Glue has dried.

Cheers
Geoff
 
Hi Geoff,
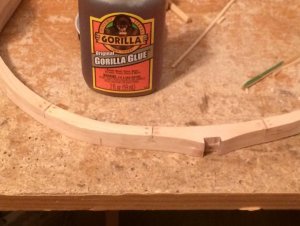
Thanks for visiting my build log. I should have put in a side note that the Gorilla glue I had shown was for the treenails only. You're right it does foam up when it get water or moisture as it needs moisture to cure.
If you leave it out it doesn't do anything. I guess it depends on where you live here in Nevada the humidity only gets up around 30% in the winter so no problem. When I was installing the treenails I had to dip the nails in water before I installed them. I put a little GG in a jar lid then dip the nail in the water first, then in the GG and install.
 
Back
Top