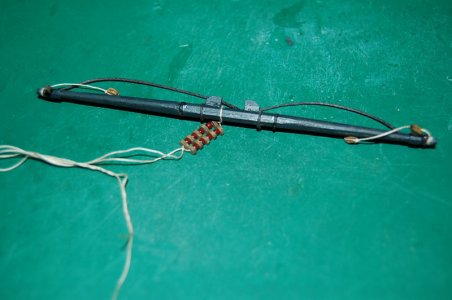
View attachment 545953
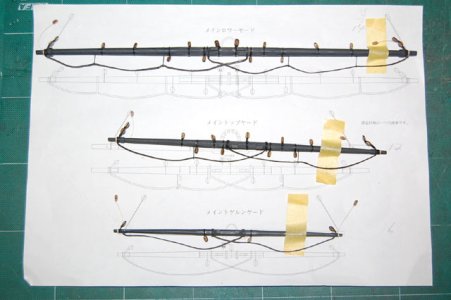
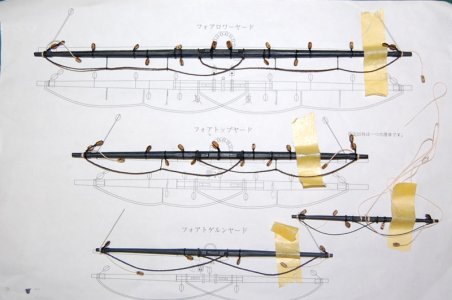
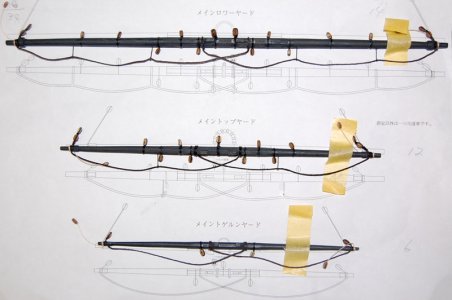
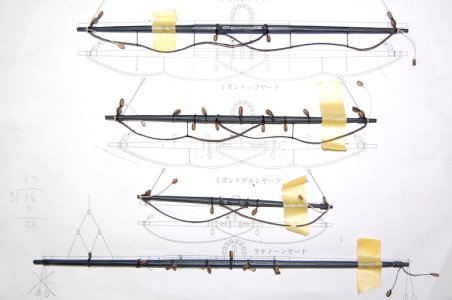
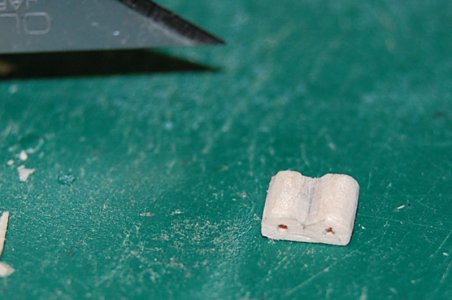
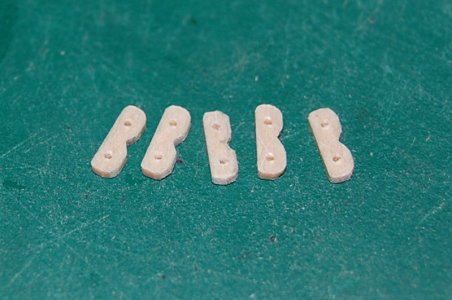
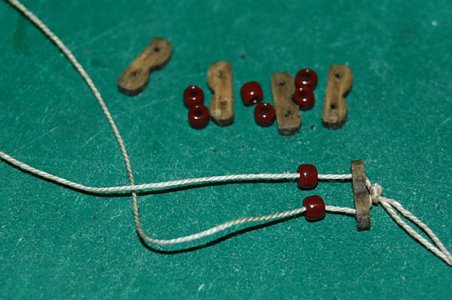
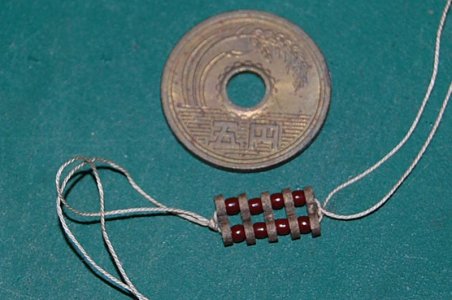
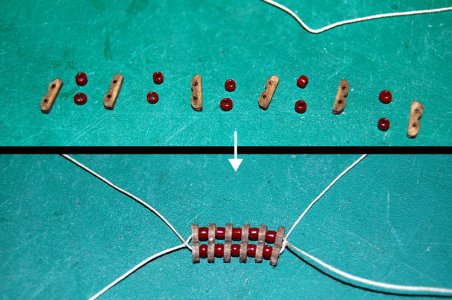
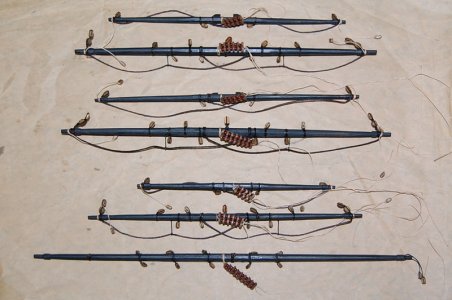
The yard parrels are ready, so I attached one side to each yard.
The names of each yard are listed from top to bottom.
Fore top gallant yard
Fore top yard
Main top gallant yard
Main top yard
Mizzen top gallant yard
Mizzen top yard
Lateen yard
-----------------------------------------------------------------------------------------------------------------------------
View attachment 545954
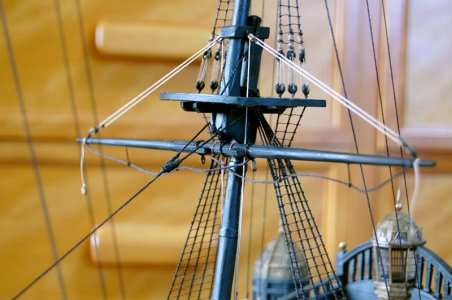
Since the cross jack has no sail, I mounted it on the mizzenmast.
I attached a pulley to the mizzenmast cap to lift the cross jack, hoisted it with a lift rope, secured it with a slings, and fixed it to the mizzenmast with a truss.
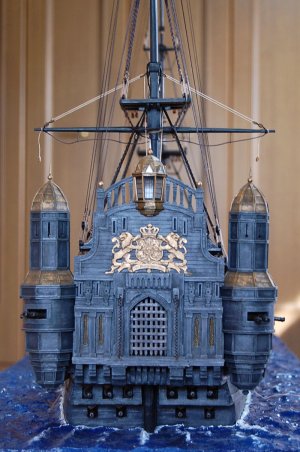
View attachment 545955
I attached the cross jack, so I tried taking a shot from the stern.
Pretty good, don't you think? Feeling pretty pleased with myself.
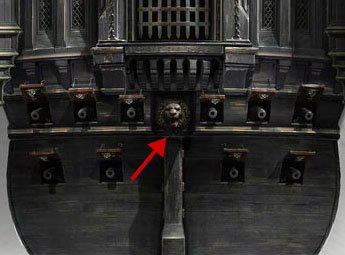
I need to add a lion's face to the rudder section...
That's the part with the red arrow in the image below.
I haven't made the lion's face yet, so I'll make it next.
If I don't make it when I remember, I'll forget about it.
View attachment 545956
-------------------------------------------------------------------------------------------------------------------------------
View attachment 545957
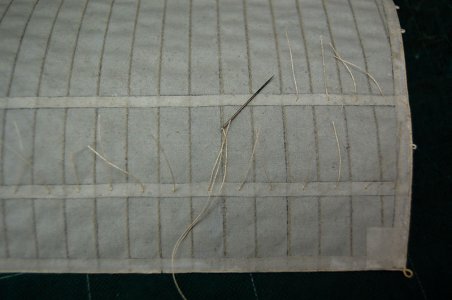
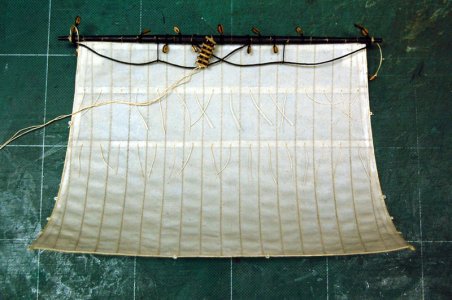
I've added reef point to the Mizzen Top Sale. Since I used thread similar in color to the sail, they don't stand out.
It's fine if you can just sort of tell the leaf points are there, even if they're not noticeable.
In the movie, I couldn't tell at all whether the leaf points were there or not.
So for me, it's best if it's hard to tell whether the leaf points are there or not.
View attachment 545958
I attached the reef point, so I tried putting a sail on the Mizzen Top Yard.
This is the front side.
The sail is blown white, so it's hard to see the reef point clearly.
View attachment 545959
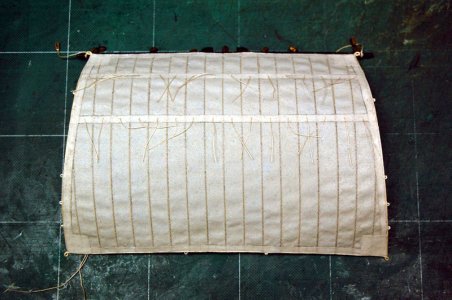
This is the reverse side.
You can clearly see the mizzen top yard here. The reef points blend in with the sail's color, so they don't stand out. Or rather, they're hard to make out.
Next is attaching the reef points to the mainmast topsail, but I'll take a break from that and work on the lion's face on the rudder instead.
------------------------------------------------------------------------------------------------------------------------------------
■Create a lion face for the rudder decoration■
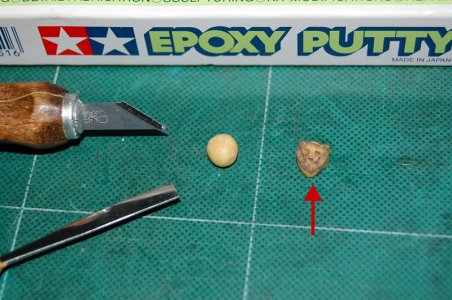
View attachment 545960
I tried making a lion's face using Tamiya's epoxy putty (fast-curing type).
Please look at the part marked with the red arrow.
What do you think? Does it look like a lion's face??
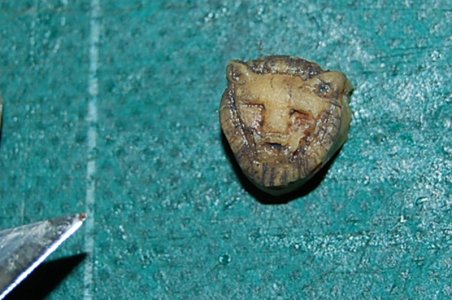
View attachment 545961
I zoomed in on the red arrow area.
It sort of looks like a lion's face, so this should be fine.
I can't make it any better than this.
After leaving it overnight to dry completely, I'll apply olive drab as the base coat and finish with gold dry brushing.
-----------------------------------------------------------------------------------------------------------------------------------
■Lion Face Painting■
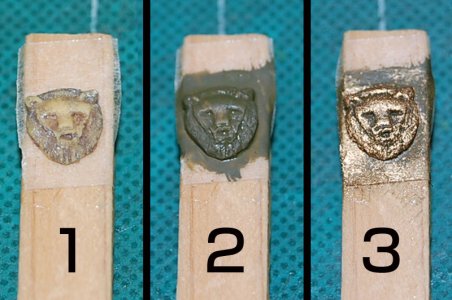
View attachment 545962
1
Shave the back of the lion face to thin it, then attach it to the wood with double-sided tape to prepare for painting.
2
Apply olive drab as the base coat.
3
Dry brush gold to make the lion face stand out.
View attachment 545963
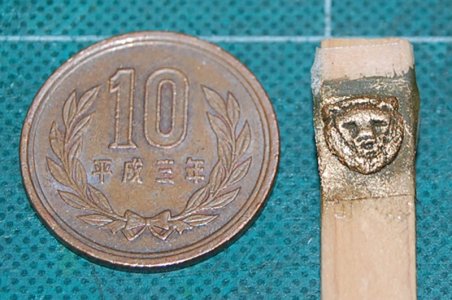
I compared the lion's face to a 10-yen coin.
Can you tell how big the lion's face is?
Measured with calipers: width approx. 6.8mm, height approx. 7.2mm.
View attachment 545964
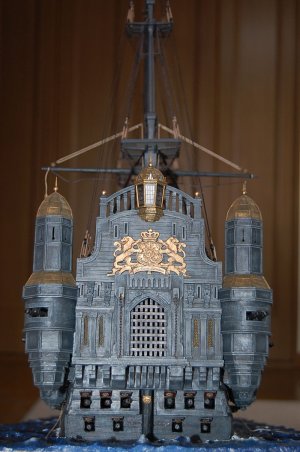
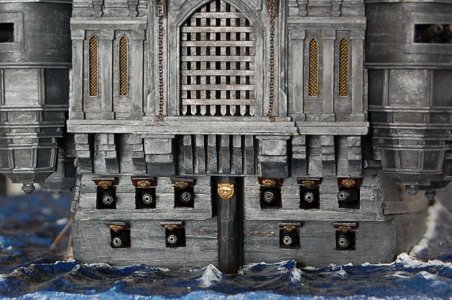
The paint dried, so I glued it to the rudder.
Took a shot from the stern.
Maybe it's a bit small??
But I think this size is fine.
I'm totally satisfied with myself.
View attachment 545965
Zoomed in. This is about right, right?
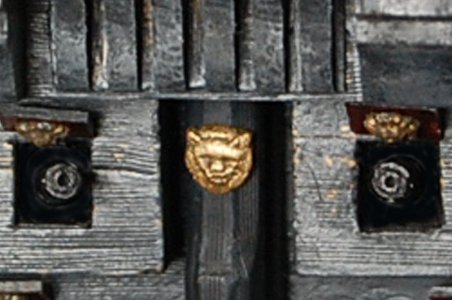
View attachment 545966
Zooming in even further...
It exposed all sorts of rough spots.

I thought about deleting this image, but I'll leave it up.
This is the level of my craftsmanship.
It's nothing to brag about.




 I'm already a fan of your Silent Mary, and the galleon figure you've conjured up is an absolute hit with me. I'm going to recreate the galleon figure in a similar way. Your lion head is really great. But you could have made it a little bigger! Great work. I'm also a fan of handicrafts. But I'm also a fan of beauty. That's why I'm always a hybrid. I build what I can create with my hands. If that's not enough, I like to resort to 3D printing. The disadvantage, however, is that 3D figures and other objects are still very expensive.