Soleil Royal- Re-engineering Artesania Latina's New Kit by NMBROOK

Thankyou everyone for your kind comments, likes, wows and loves.

Marc, great picture and nice to see the weather is on your side

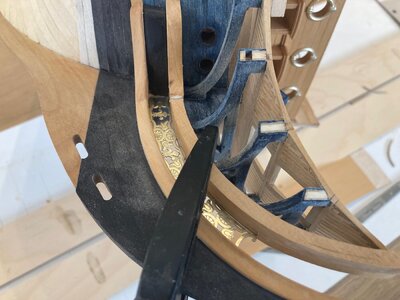
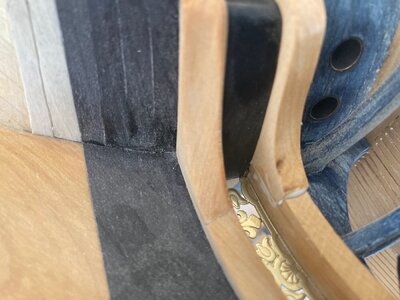
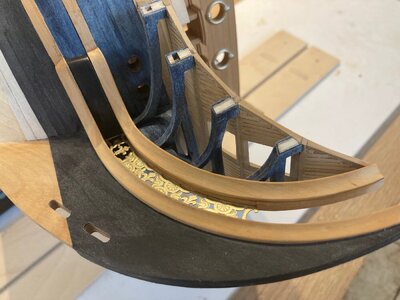
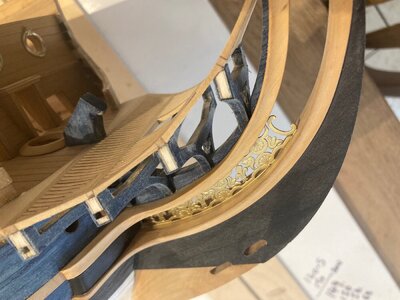
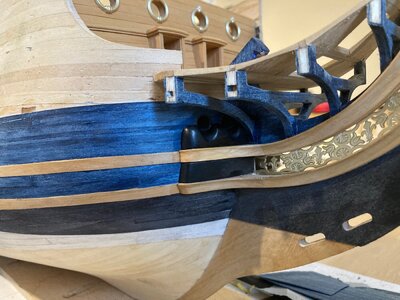
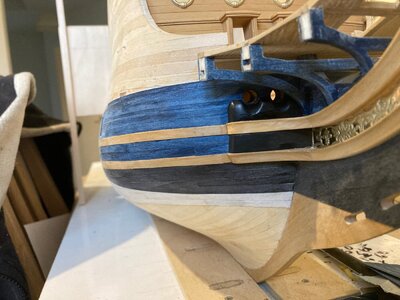
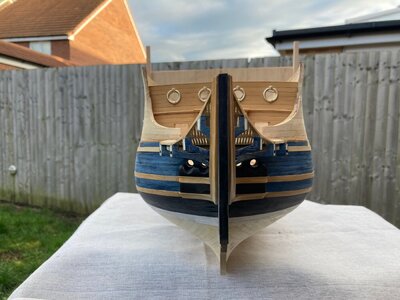
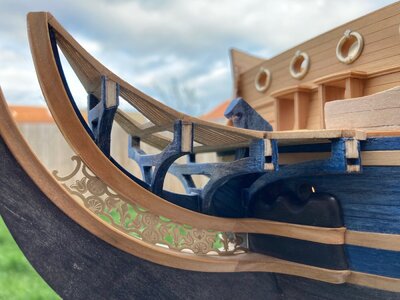
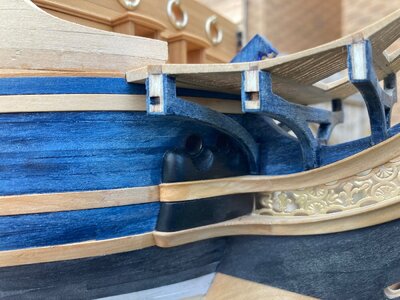
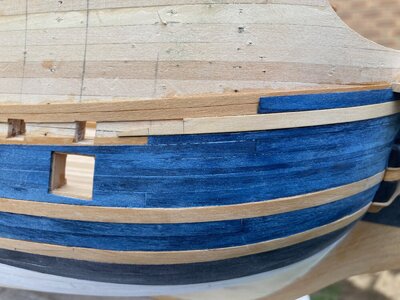
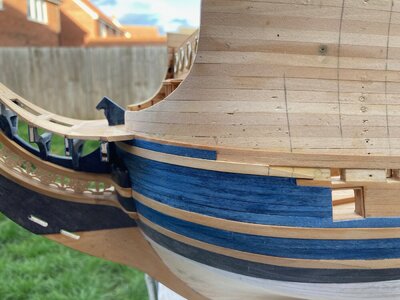
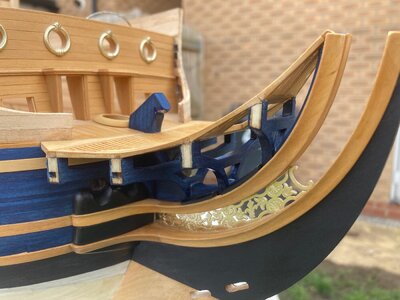
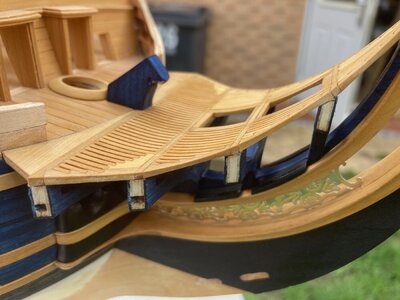
Moving on, I have finished adding the boxwood veneer that locks the tailboard etch into position and trimmed the "feet" of the beakhead frames to allow my next moulding to fit.

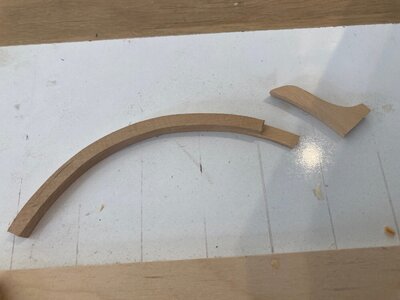
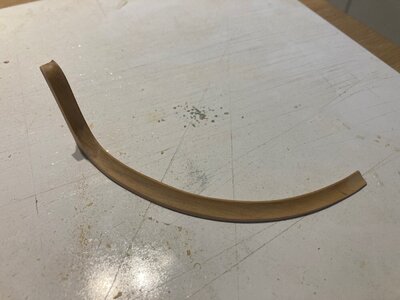
Using the kit part as a template, yes it did fit, although 3 mm short, I cut the pieces that will make this piece up from boxwood.These two parts have been glued together using the model as a template and will be removed when dry to allow much further shaping.

Kind Regards

Nigel
IMG_1038.jpgIMG_1039.jpgIMG_1040.jpgIMG_1041.jpg
 
Will your finish ultimately be a wipe-on poly, or will you spray a topcoat? I’m just curious about getting into all of those tight spaces, at the head.

I intend to brush with Matt Polyurethane. I plan on thinning the varnish and airbrushing the grating top and bottom to avoid filling all the narrow slots before the headrails go on
 
Thanks Guys

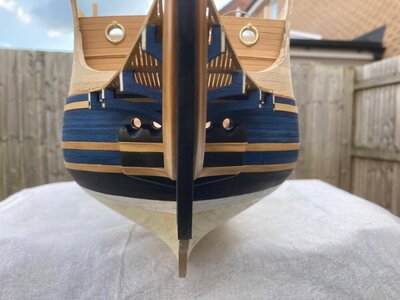
Christian, there is a 4.5mm wide wale and one tapered blue plank to go in below the grated deck. I am confident I can fit these without issue.Because of the changes to the kit and what I am wanting to achieve with the final appearance, I need to have the head timbers mocked up so I can trim the planking to shape around the beakhead bulkhead. There will be a lot on this model that does not conform to the normal order of building, the planking is the easy bitROTF

Kind Regards

Nigel
 
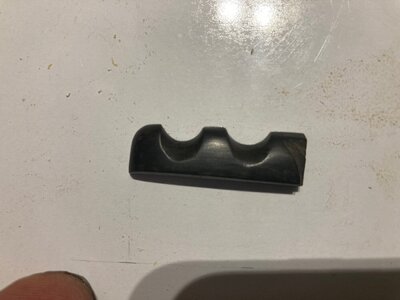
Another small step in that I have shape the Anchor bolster from Ebony and it is now bonded in place.

Work is ongoing on the headrails. No pics for now but I must say this has got to be the best engineered kit Headrails I have come across.Always a little room for improvement though;)

Kind Regards

Nigel

IMG_1045.jpgIMG_1051.jpgIMG_1052.jpg
 
I have now completed the items on the Portside and also added the first section of wale and one length of planking to finish the area of under the grating.

Next job is two further Ebony bolsters under the lower moulding and four ebony blocks to go on top of the upper rail where the gammoning will sit. These are to prevent the rope chafing on the fine edge of the upper moulding.

Kind Regards

Nigel

IMG_1053.jpgIMG_1054.jpgIMG_1055.jpgIMG_1056.jpgIMG_1057.jpg
 
It's interesting to me that the wales are only marginally thicker than the planking. Obviously this is by design. Is this a typically French approach? Or are the vast majority of models done out of scale in this regard?

Invariably they are out of scale on most kits regarding thickness, most kits will have you fitting the wales on top of the planking and there in lies the problem

I am taking cues from Saint Philippe monograph and the lowest wale is flush with the planking on the lower hull then the planking above lies slightly below each wale.

Kind Regards

Nigel
 
I have now fitted the last two Ebony pieces below the rails and the four small pads made of Ebony above the upper rail where the gammoning sits against.There will be large bolsters to fit below the lower rail and the gammoning slots once I finish the lower planking.

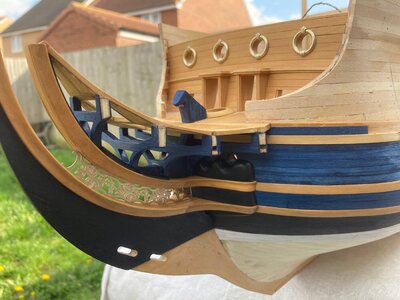
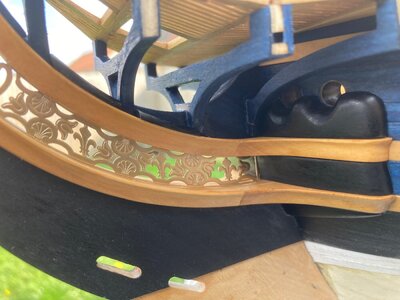
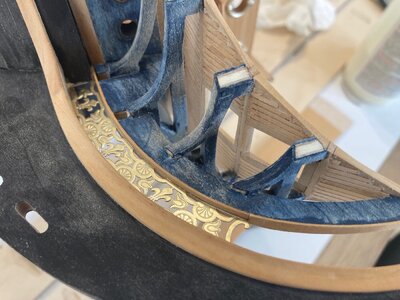
There are photoectch decorative brass pieces supplied to go along the base of each grated deck support frame which will be painted before fitting.I have applied the first coat of poly to the underside of the grated deck area because this needs doing before these brass trims are fitted.

I have thinned the varnish 2parts poly 1 part white spirit and applied by brush.The is gives a consistency of Shellac and goes on much better with a brush than using it straight from the tin.

P.S. I have spotted the chip off the blue plank on the first photo, note to self to repair when I revisit the hull planking:rolleyes:

Kind Regards

Nigel

IMG_1059.jpgIMG_1060.jpgIMG_1061.jpgIMG_1062.jpgIMG_1063.jpg
 
Picture-perfect, Nigel! Regarding the chip-out, it is a nice feature that the color-saturated veneer really mitigates any anomalies. It seems to be a pretty straight-forward repair, though.
 
Thanks Guys

Yes Marc, with this Veneer any discrepancies shout out you! Not very forgiving but at the same time, keeps me on my toesROTF Not spotted it earlier as it must have been full of sanding dust which was removed when I cleaned prior to varnishing:rolleyes:

A little sliver shaved off some scrap and CA'd in place should eradicate the blemish

Kind Regards

Nigel
 
Back
Top