- Joined
- Dec 1, 2016
- Messages
- 6,383
- Points
- 728

PART 26
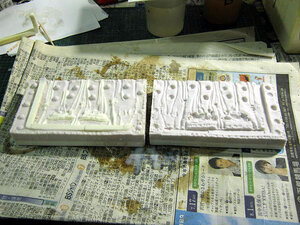
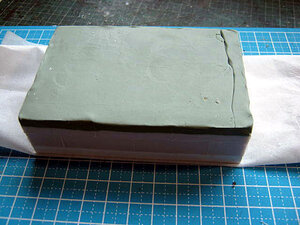
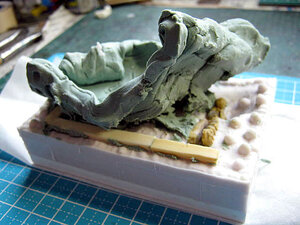
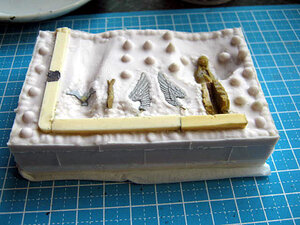
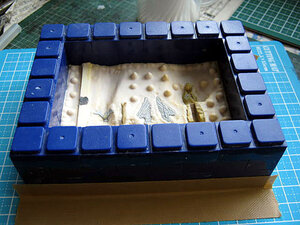
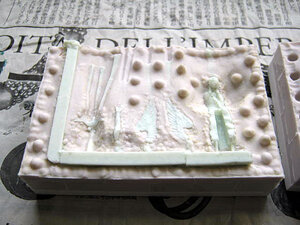
The resin was cast on a mold of Poseidon and the fish monster on the upper part of the stern,
which was molded with silicon.
The silicon type also has a lantern base.
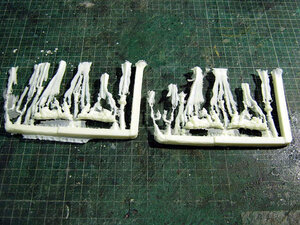
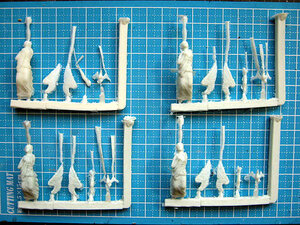
I only need one copy, but I'm a crappy one, and I'm just going to duplicate the backup.
For now, it's safe to have two.
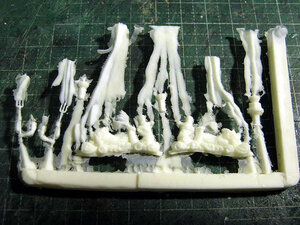
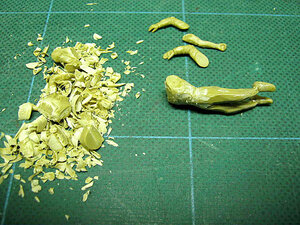
This is a duplicate image. The burr and the air bleeding are always amazing... (sweat!)
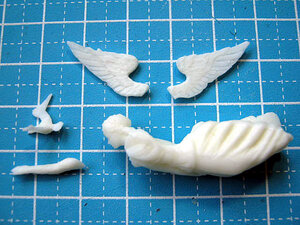
Remove burr and air vents cleanly, assemble Poseidon & monster fish, paint & stain.
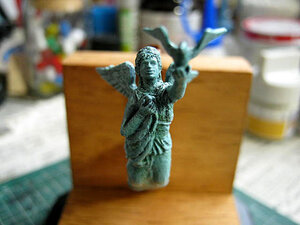
The lantern base was also painted and stained by adhering to the lantern I made last time.
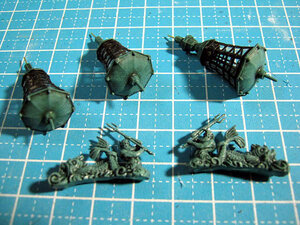
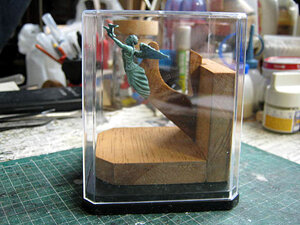
A painted lantern and statue.
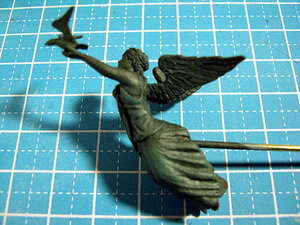
A 0.5mm brass wire was placed under the lantern base to make it easier to install on the top of the stern.
Even so, the reproduction of the Zvezda Poseidon statue is wonderful! !!
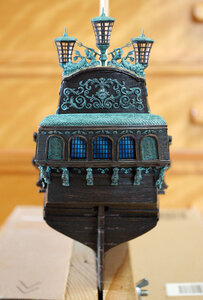
I immediately installed it on the top of the stern.
Lanterns are punched and inserted, and Poseidon & monster fish have gaps,
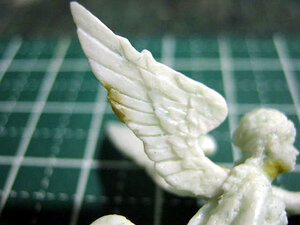
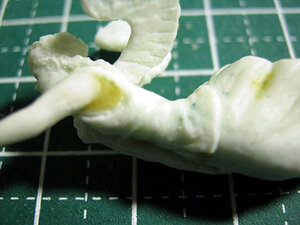
so I glued Tamiya epoxy molding putty. The part that looks ocher is Tamiya epoxy molding putty.
It's not completely dry yet, so it's only after the paint has dried, but the relief part of the
waves is a bit miserable, so I'm thinking of trying with epoxy molding putty.
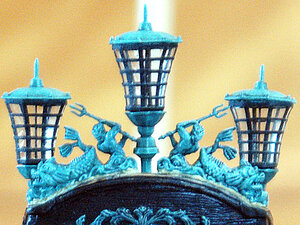
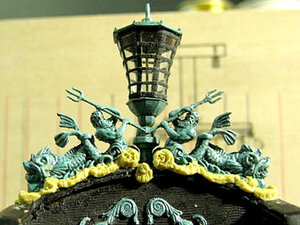
I couldn't do anything because the epoxy putty wasn't dry, so I took a close-up photo.
When I raised the ASA sensitivity and shot, the image got rough. Tohoho...
I like the mold on the back side.
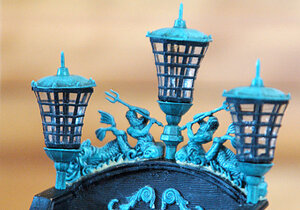
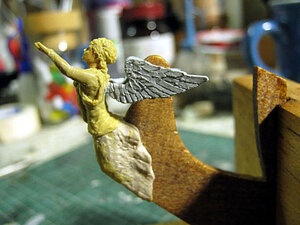
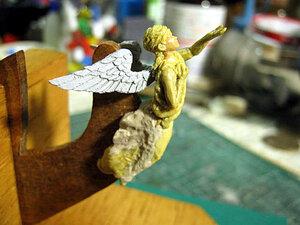
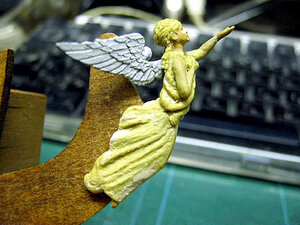
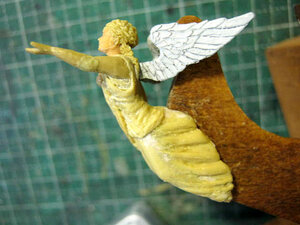
This is a close-up image from the front left side.
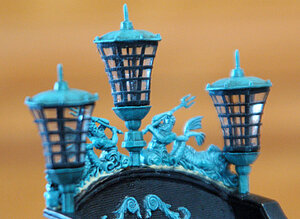
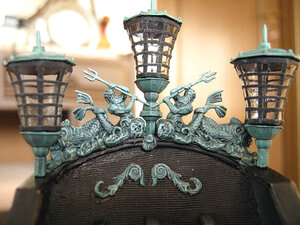
This is a close-up image from the front right side.
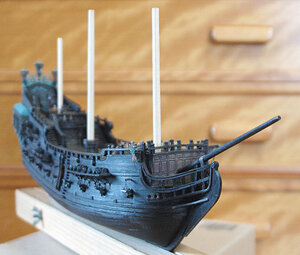
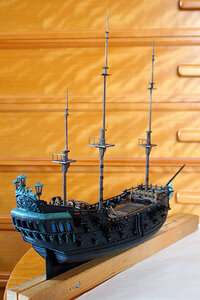
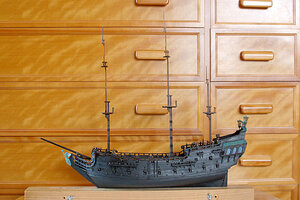
For the time being, it's the whole picture from the bow side.
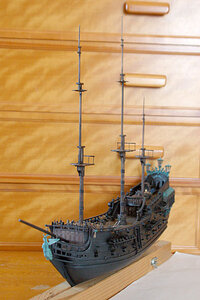
The back is out of focus.
Recently, there are many things that are "toho-ho".

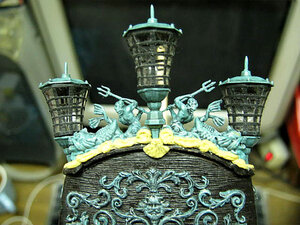
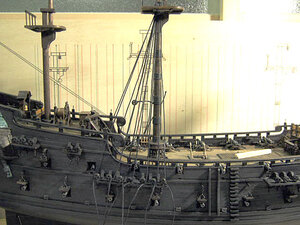
It is a picture from directly above after a long time.
The stern part is gradually completed, but it will continue. When the stern part is completed,
we will start making figure heads.

The resin was cast on a mold of Poseidon and the fish monster on the upper part of the stern,
which was molded with silicon.
The silicon type also has a lantern base.

I only need one copy, but I'm a crappy one, and I'm just going to duplicate the backup.
For now, it's safe to have two.

This is a duplicate image. The burr and the air bleeding are always amazing... (sweat!)
Remove burr and air vents cleanly, assemble Poseidon & monster fish, paint & stain.
The lantern base was also painted and stained by adhering to the lantern I made last time.

A painted lantern and statue.
A 0.5mm brass wire was placed under the lantern base to make it easier to install on the top of the stern.
Even so, the reproduction of the Zvezda Poseidon statue is wonderful! !!

I immediately installed it on the top of the stern.
Lanterns are punched and inserted, and Poseidon & monster fish have gaps,
so I glued Tamiya epoxy molding putty. The part that looks ocher is Tamiya epoxy molding putty.
It's not completely dry yet, so it's only after the paint has dried, but the relief part of the
waves is a bit miserable, so I'm thinking of trying with epoxy molding putty.

I couldn't do anything because the epoxy putty wasn't dry, so I took a close-up photo.
When I raised the ASA sensitivity and shot, the image got rough. Tohoho...
I like the mold on the back side.

This is a close-up image from the front left side.

This is a close-up image from the front right side.

For the time being, it's the whole picture from the bow side.
The back is out of focus.
Recently, there are many things that are "toho-ho".

It is a picture from directly above after a long time.
The stern part is gradually completed, but it will continue. When the stern part is completed,
we will start making figure heads.


