This is a great wordClean neat and symmetrical (my new favourite word)

Last edited:
 |
As a way to introduce our brass coins to the community, we will raffle off a free coin during the month of August. Follow link ABOVE for instructions for entering. |
 |
 |
The beloved Ships in Scale Magazine is back and charting a new course for 2026! Discover new skills, new techniques, and new inspirations in every issue. NOTE THAT OUR FIRST ISSUE WILL BE JAN/FEB 2026 |
 |
This is a great wordClean neat and symmetrical (my new favourite word)

Thank you Grant.Good morning Daniel. Stunning. Awesome railings. Clean neat and symmetrical (my new favourite word) and your extensions are hardly noticeable- I had to search for them and zoom in. I like the colour and paint configuration you have gone with for your BN. The "midnight" blue, white and beautiful pear wood make for a very effective model. Cheers Grant
Thank you Johan.The all-white railings and waterways are something else. A beautiful personal touch.
Thank you Peter.I must say I love the colorscheme too. beautiful work Daniel!
Thank you, Jan!Wow, neat and precise paint work. Nicely done.
Jan

Hello Henk, thanks for taking a look it's good to hear from you.Haven't visited you here for a while
Today for a coffee then....
Your deck and railing look excellent
Top Daniel
Regards
Henk

Thanks Johan.Adding those "little" details really do make a difference. Very nice!
Thanks Jan, I'm glad you are enjoying this.Excellent, excellent and then some. Following your BN build is a pleasure.
Jan
Don't build a German WW1 airplane with the lozenge design on the wings, it has thin blue stripes where the canvas is joined, which is simulated with individual decals! A lot of thin strips that have to be carefully placed one at a time and wrapped around the wing from top to bottom, without wrinkling, folding or tearing them. Truly an exercise in madness!Thanks Dean, the pinstripe was heavy on my mind for a while as in wondering if I had the ability to place it halfway decent. You should see how well saran wrap and I get along. I can make that stuff stick to anything (mostly itself) but what I'm trying to put it on.


Try making sails...Don't build a German WW1 airplane with the lozenge design on the wings, it has thin blue stripes where the canvas is joined, which is simulated with individual decals! A lot of thin strips that have to be carefully placed one at a time and wrapped around the wing from top to bottom, without wrinkling, folding or tearing them. Truly an exercise in madness!
A beautiful appearance, Daniel, with the white accents.Good afternoon everyone.
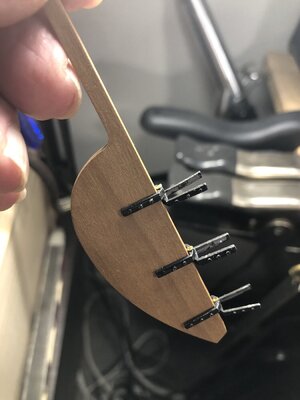
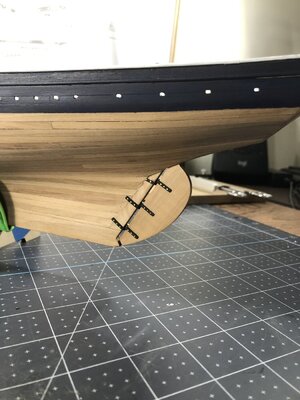
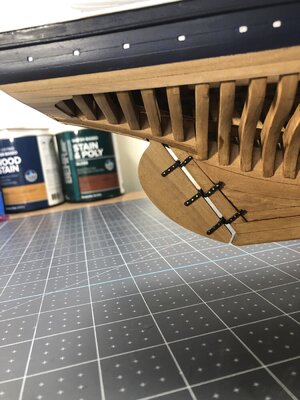
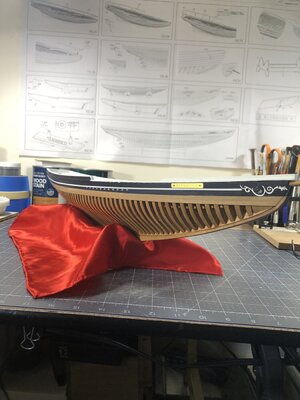
Moving along with some decent progress I attached the rudder hinges and rudder to the stern post then painted for effect.
View attachment 386031View attachment 386032View attachment 386033
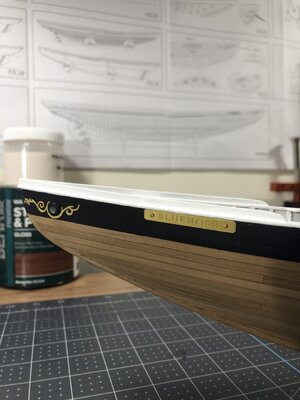
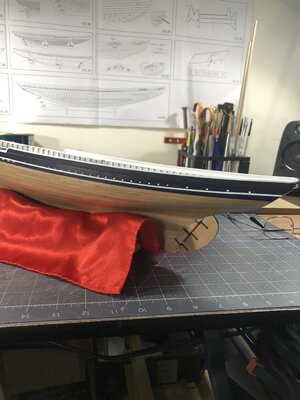
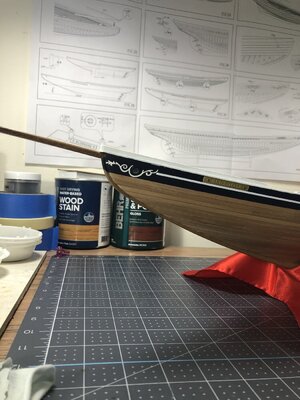
Next up I applied nosing decoration which is a photo etched brass piece along with the nameplate.
View attachment 386042
And finally, the pinstriping which was much easier to apply than I had imagined in my mind. I hand painted the brass hawse hole decoration then seal coated everything with clear matte poly. The bow sprit is just dry fitted for now.
View attachment 386045View attachment 386046View attachment 386047View attachment 386048
For now, I'm going to forgo placing a waterline on the port side, I don't want to interrupt the smooth beautiful pearwood hull in this paint scheme.
Now I can concentrate on everything from the deck up.
Thanks for looking in.
