Many thanks for the hint - with my standard water based wood glue (Ponal-Express) water is doing the job very well. But I will try your way - steeling, better borrowing my wife´s fluids.....GREAT and BEAUTIFUL work UWE, hate to give advice to such a master builder such as YOU, because i have been a a RE=DO expert in taking things apart my procedure works well on both PVA and CA what i do is using NAIL POLISH REMOVER it has bto be 100% acotone i swab the joints with a cotton swab and then take i9t apart using an exato blade sometimes you have to do it a couple of times can not rush comes apart and with no damage or discoloring. JUST MY WAY Don
-

Win a Free Custom Engraved Brass Coin!!!
As a way to introduce our brass coins to the community, we will raffle off a free coin during the month of August. Follow link ABOVE for instructions for entering.
-

PRE-ORDER SHIPS IN SCALE TODAY!
The beloved Ships in Scale Magazine is back and charting a new course for 2026!
Discover new skills, new techniques, and new inspirations in every issue.
NOTE THAT OUR FIRST ISSUE WILL BE JAN/FEB 2026
You are using an out of date browser. It may not display this or other websites correctly.
You should upgrade or use an alternative browser.
You should upgrade or use an alternative browser.
USS BONHOMME RICHARD - POF - Cross Section in Pear - 1:48 - by Uwe
Many thanks also to @Maarten and @carlosys for your kind words and all other likes - much appreciated.
I was today busy with some other things, so I could be only for short times in the workshop.
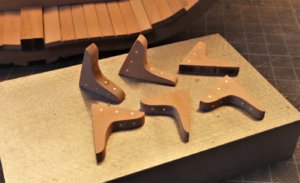
I prepared the hanging knees for the beams over the hold - at this level 6 knees have to be prepared.
To be honest I partly forgot them....... so first I had to add two more planks on each side, with these planks the knees are not hanging in the air, but founded against these planks.
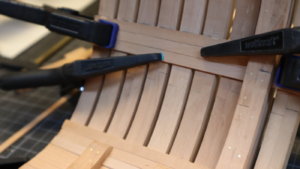
The six knees are prepared (In the meantime sometimes I hate the char-removing) with brass-"bolts" of 0,8mm
And you can see here how think my fingers are - but you can get an imagination of the later location
Hope to show tomorrow the next progress ...... Many thanks for your interest in my log
I was today busy with some other things, so I could be only for short times in the workshop.
I prepared the hanging knees for the beams over the hold - at this level 6 knees have to be prepared.
To be honest I partly forgot them....... so first I had to add two more planks on each side, with these planks the knees are not hanging in the air, but founded against these planks.


The six knees are prepared (In the meantime sometimes I hate the char-removing) with brass-"bolts" of 0,8mm

And you can see here how think my fingers are - but you can get an imagination of the later location

Hope to show tomorrow the next progress ...... Many thanks for your interest in my log
hi UWE, just remember it must be 100% acotone. Don
Some small progress made during my morning session in the workshop
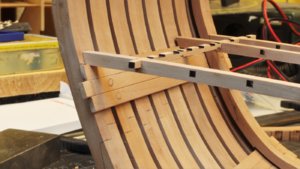
First of all the supervisor visited once more the shipyard and checked the stability of the deck
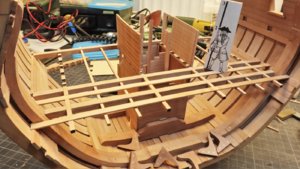
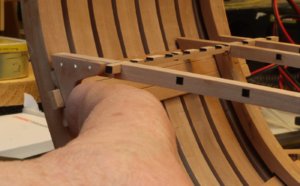
It was the first time somebody made a step on top of the deck beams - good, that he is a slim guy
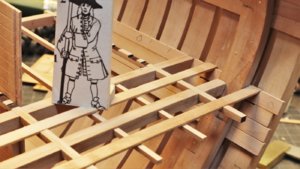
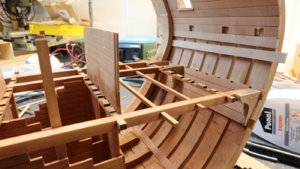
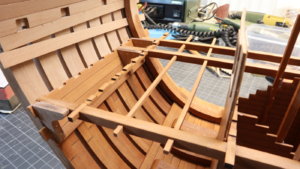
So you get a good impression, how the beam structure with carlings etc. works
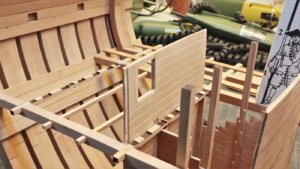
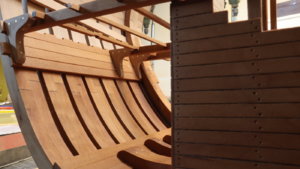
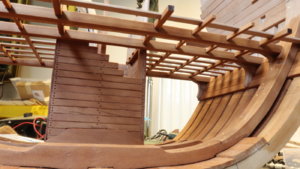
The view from a lower location
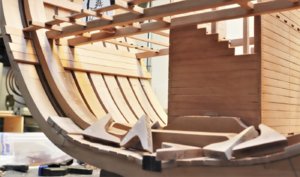
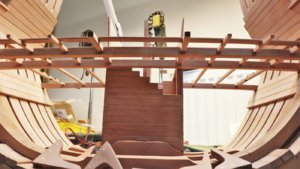
And next was the preparation of the notches to take over the small thin beams
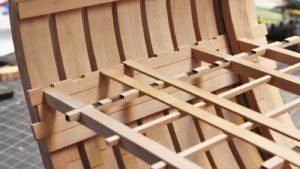
To be continued ......
First of all the supervisor visited once more the shipyard and checked the stability of the deck

It was the first time somebody made a step on top of the deck beams - good, that he is a slim guy

So you get a good impression, how the beam structure with carlings etc. works

The view from a lower location


And next was the preparation of the notches to take over the small thin beams

To be continued ......
- Joined
- Aug 16, 2019
- Messages
- 870
- Points
- 343

If my buying time was not finish that one beautifully model that I will have bought.
just love that build Uwe

just love that build Uwe

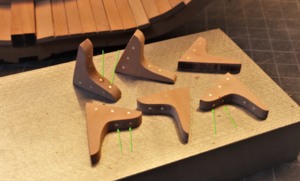
I made a mistake with my hanging knees. So if you build this section model, or others, do not make too much bolts inside the knees.
Take a look at this photo. The bolts marked with a green arrow are too much and should be not shown, due to the fact, that this would be a connection to the planks of the deck - bolts should be only towards the inside hull planking and to the side as connection towards the beam - I was too over motivated !!!
The six knees of the hold, which I prepared already will stay like they are - but on the upper decks I will not make them in this way (off course)

In the evening I worked a little bit more on the small deck-beams and dry fitted them in order to see, if they can be installed through the notches in the walls and lay on top of the beams and hull planking.
More or less everything it is fitting well - some more small adjustments are necessary to get rid of some tensions, but this will be possible (I guess)
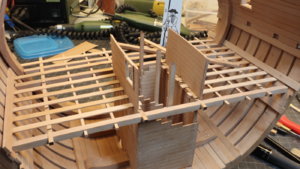
Here you can see well the small beams passing through the notches in the wall segment and laying inside on top of the small longitudinal beams
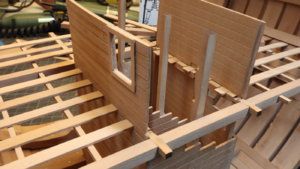
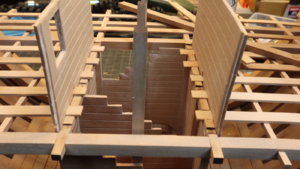
sorry for the bad quality, but I wanted to show also this side - I think you can imagine it
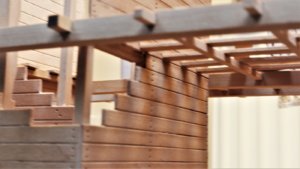
this photo is better
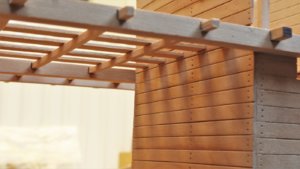
For fun I installed (dry) the beams of the next deck - it is looking like much more progress now
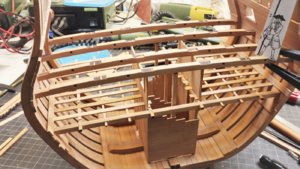
the same status from the other side - step by step it is looking like a ships section
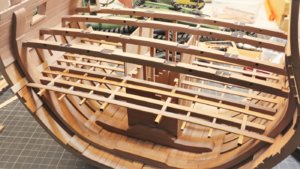
Many Thanks for the interest ...... Every time I am open for positive and negative comments, hints - sometimes on the photos others can see more, than I do
More or less everything it is fitting well - some more small adjustments are necessary to get rid of some tensions, but this will be possible (I guess)

Here you can see well the small beams passing through the notches in the wall segment and laying inside on top of the small longitudinal beams


sorry for the bad quality, but I wanted to show also this side - I think you can imagine it

this photo is better

For fun I installed (dry) the beams of the next deck - it is looking like much more progress now

the same status from the other side - step by step it is looking like a ships section

Many Thanks for the interest ...... Every time I am open for positive and negative comments, hints - sometimes on the photos others can see more, than I do
Fantastic work!!! 


Looking like a super model Uwe.
Really professional workmanship.

Really professional workmanship.

Hallo Knut,Uwe, do you have any plans to fill the nail holes in the large cabinet to imitate the nails ?.
no, on this model I will leave them like they are - from a little bit distance you can not see, if they are filled or not
In real the nail-heads would be very very small (head maybe diameter 1cm, maximum 2cm - much smaller than treenails, so everything what I would do in addition would make them bigger.
Now the next elements of the walls in the next deck are necessary.
I order to decide I marked the proposed open areas with a pencil on the pattern elements
My idea is, that it will be possible to look inside the shot locker etc......in order to see the structure
What do you think?
The inside wall - so a bigger triangle in both decks will be open
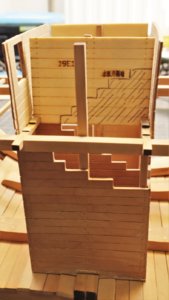
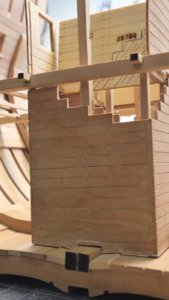
In the front wall is a window - so it is possible to have a view inside
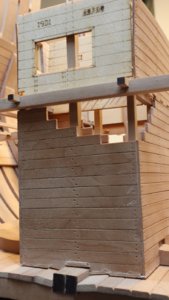
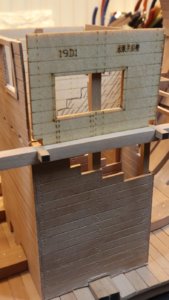
The other side - also here to prepare a bigger triangle which is open - the plank at the bottom will stay, to have an edge for the deck-planking
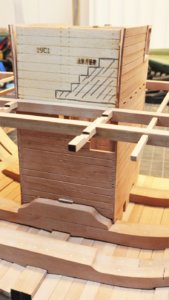
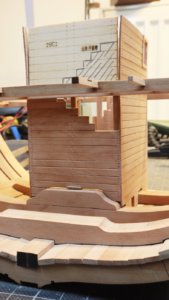
and the view without the outside wall to see the inside wall from the back side
I think I will do it in this way, but I am open for some comments and suggestions .....
I order to decide I marked the proposed open areas with a pencil on the pattern elements
My idea is, that it will be possible to look inside the shot locker etc......in order to see the structure
What do you think?
The inside wall - so a bigger triangle in both decks will be open


In the front wall is a window - so it is possible to have a view inside


The other side - also here to prepare a bigger triangle which is open - the plank at the bottom will stay, to have an edge for the deck-planking


and the view without the outside wall to see the inside wall from the back side

I think I will do it in this way, but I am open for some comments and suggestions .....
Uwe,
Looks like a great idea.
Jan
Looks like a great idea.
Jan
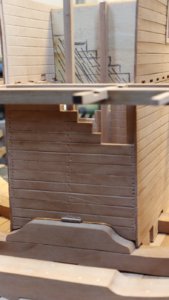
Finally I prepared the next three elements like I suggested some days ago
These are the first photos during the dry fit - still without the internal pillars
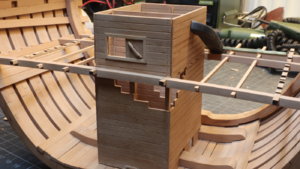
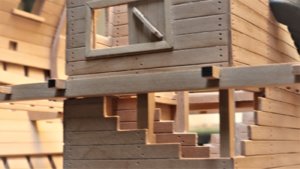
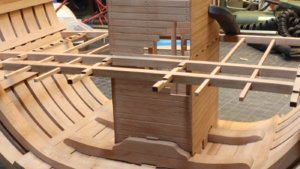
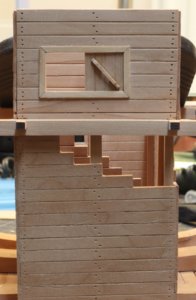
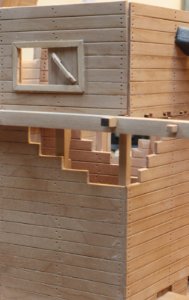
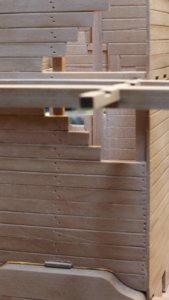
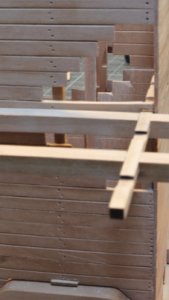
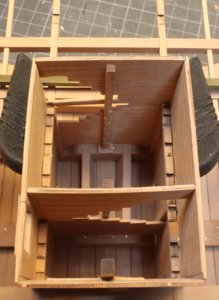
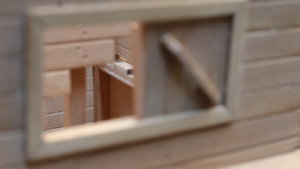
and here some closer look at the three elements with the installed pillars
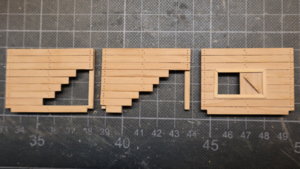
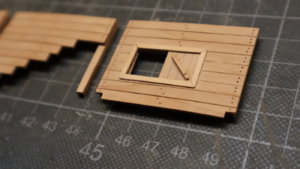
and the backside - I installed also some strips on the inside to get the impression of the frame of the sliding door
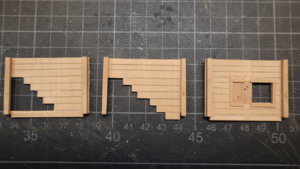
Now I have to put these three elements on side, because final installation is only possible when the deck is completed and fixed inside the section.
Many Thanks for your interest .... to be continued
These are the first photos during the dry fit - still without the internal pillars


and here some closer look at the three elements with the installed pillars


and the backside - I installed also some strips on the inside to get the impression of the frame of the sliding door

Now I have to put these three elements on side, because final installation is only possible when the deck is completed and fixed inside the section.
Many Thanks for your interest .... to be continued
Such a great idea with the openers, Uwe. A build log like yours, show incredible details of the what seems to be a well designed and prepared kit and possibilities for improvements. Awesome work!
Many Thanks for all your replies and the number of likes - much appreciated 
I am following here also some other building logs or also the photos of the Unicorn advertisement in which they show us a very interesting and well done section
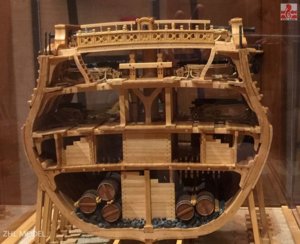
It makes really a lot of fun to work with such good materials and a well prepared kit like this one from Unicorn Models - everything is fitting very well, if you do not switch of your mind
Hallo Jim,Such a great idea with the openers, Uwe. A build log like yours, show incredible details of the what seems to be a well designed and prepared kit and possibilities for improvements. Awesome work!
I am following here also some other building logs or also the photos of the Unicorn advertisement in which they show us a very interesting and well done section

It makes really a lot of fun to work with such good materials and a well prepared kit like this one from Unicorn Models - everything is fitting very well, if you do not switch of your mind
Some progress was made during the weekend.
First of all, I finally fixed the shot locker and the pump room in the section and oiled the lower area with swedish line oil - I used a new product so I will see at the end if this one is an oil, which I will use also in future ...... definitely I see now much better, where some rests of the wood-glue are, which I have to remove afterwards
also the beam structure is now fixed and the lower side of this was also oiled
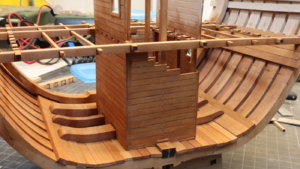
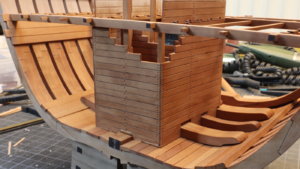
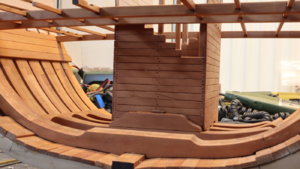
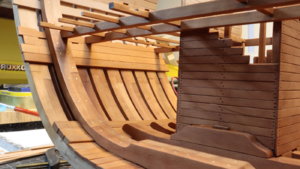
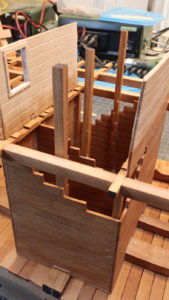
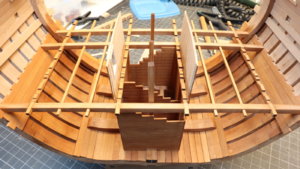


Many thanks for the likes
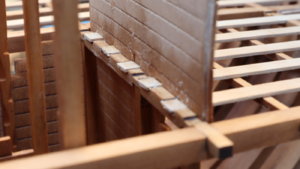
Due to the fact, that the main lower deck beams are now fixed I can also fix the first level of the smaller thinner beams and install them permanently on the notches at the locker and on the other side on top of the lower deck clamps
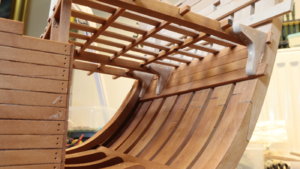
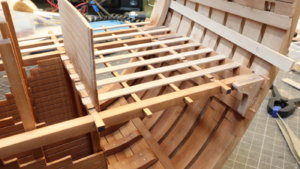
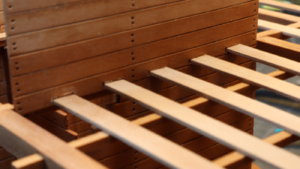
the view from inside the locker room - the small beams are laying on the notches of the beam
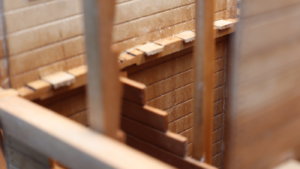
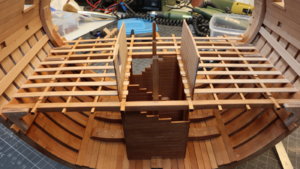
total view of the actual status with view from both sides
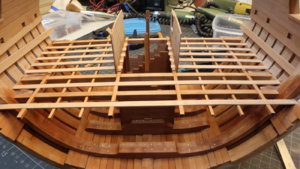
Only temporary in moment I prepared also already the last ladder into the hold
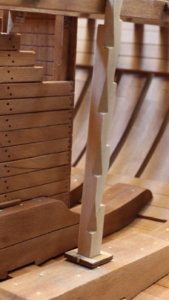
Many Thanks for your interest ..... to be continued .....
Due to the fact, that the main lower deck beams are now fixed I can also fix the first level of the smaller thinner beams and install them permanently on the notches at the locker and on the other side on top of the lower deck clamps


the view from inside the locker room - the small beams are laying on the notches of the beam


total view of the actual status with view from both sides


Only temporary in moment I prepared also already the last ladder into the hold

Many Thanks for your interest ..... to be continued .....


