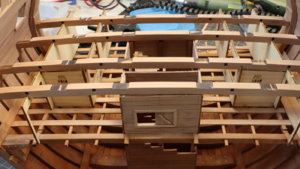
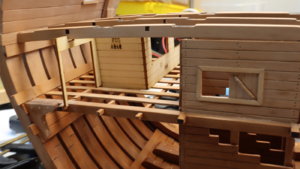
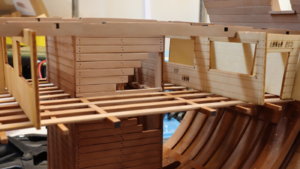
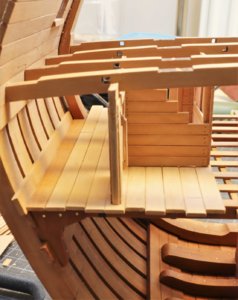
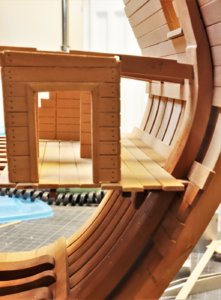
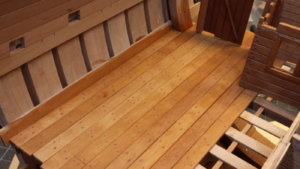
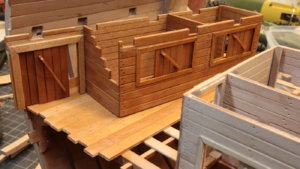
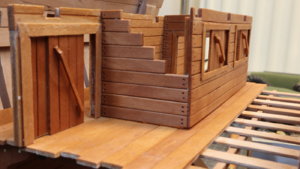
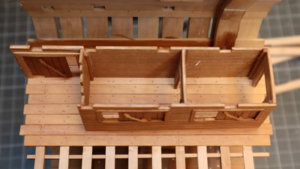
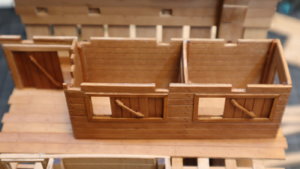
USS BONHOMME RICHARD - POF - Cross Section in Pear - 1:48 - by Uwe

Great work Uwe,
Were there no horizontal dowels in the top part of the stairs for holding your hands when climbing up?
Hallo Maarten,
many thanks for your comment and your interest.
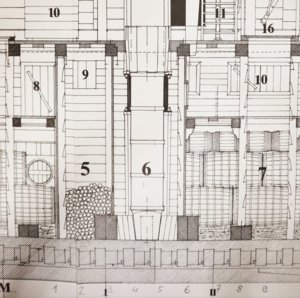
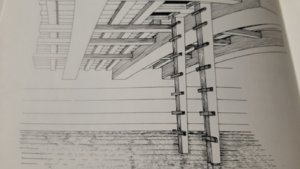
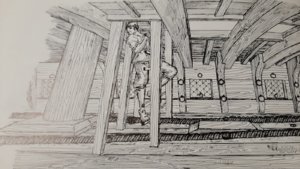
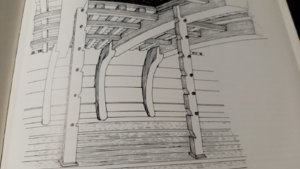
I do not think, that this was really necessary..... for climbing up and down, the sailors hat to grasp around the pillar - like a monkey climbing up a palm tree
And also no are shown in Boudriots drawings - check out the excerpt - horizontal dowels would be visible with a small circle in this view

IMG_42281.jpg
 
Not much happened, but I want to show it - in moment more the thinking and planning what to do next

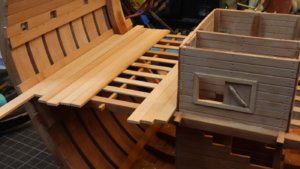
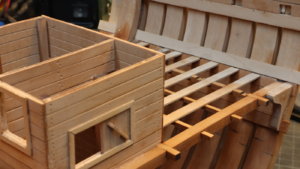
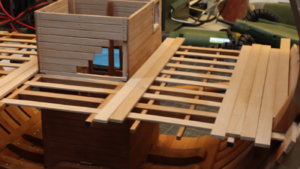
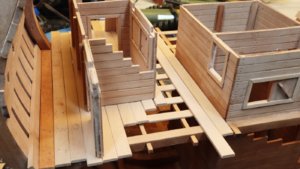
The last three wall elements were fixed - the deck planking is only prepared but not fixed - I have to decide where I want to install the planking and in which areas not. Depends also where later the other store rooms will have to be installed - see later photos
IMG_5538.JPG

IMG_5539.JPG

IMG_5540.JPG

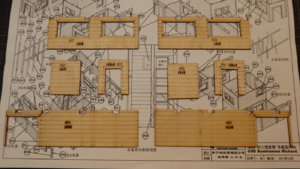
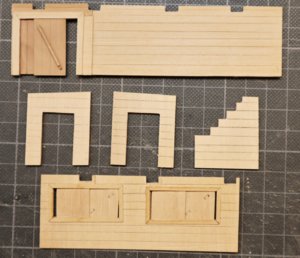
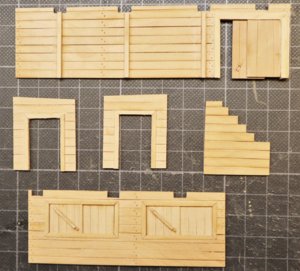
These are the temporary pattern sheets for the two store rooms on this deck - I will make them in the same way like before, with some 0,5mm pear veneer as a basis - hope to this during the weekend
IMG_5541.JPG

Only to get a feeling how it will look like
IMG_5542.JPG

IMG_5543.JPG

IMG_5544.JPG

Many thanks for your interest .... to be continued .....
 
Uwe - Finally getting caught up on this build log as I had some interest in one of these kits. You are doing a fantastic job on this build, no surprise here!! If I may comment, the large amount of laser char on those frame parts is absolutely horrible, especially for a high-end kit such as this. The kit maker is using high powered industrial lasers to quickly cut through the wood in order to speed up production. Unfortunately, for mass production of "kits" this is about the only way to do it as CNC milling these parts would be much, much slower. Modern professional fab/maker shops now use lower powered, high-speed lasers that can cut and etch "model building" materials with almost no char at all. Welcome to 2020 my friends... :)
 
Hallo Maarten,
many thanks for your comment and your interest.
I do not think, that this was really necessary..... for climbing up and down, the sailors hat to grasp around the pillar - like a monkey climbing up a palm tree
And also no are shown in Boudriots drawings - check out the excerpt - horizontal dowels would be visible with a small circle in this view

View attachment 133913
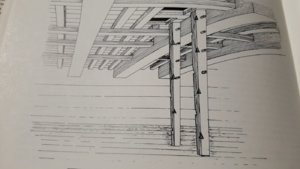


Hello Uwe.
Very well described.
This is exactly what the sailors did and climbed up.
Karl
 
Hallo Maarten,
many thanks for your comment and your interest.
I do not think, that this was really necessary..... for climbing up and down, the sailors hat to grasp around the pillar - like a monkey climbing up a palm tree
And also no are shown in Boudriots drawings - check out the excerpt - horizontal dowels would be visible with a small circle in this view

View attachment 133913
Gents,

I would agree with you on this if the pillars are free standing, but the one in the shot locker and pump well are against a wall so you cant grasp around.
If the space is narrow enough like at the pumpwell you could maybe press your back against the mast but the shotlocker is a deathtrap like this. :-).

See below some dutch design that were used for these.
20200223_191729.jpg20200223_191734.jpg20200223_191739.jpg20200223_192105.jpg

Maybe gerard has some clarification on this.
 
Gents,

I would agree with you on this if the pillars are free standing, but the one in the shot locker and pump well are against a wall so you cant grasp around.
If the space is narrow enough like at the pumpwell you could maybe press your back against the mast but the shotlocker is a deathtrap like this. :).

See below some dutch design that were used for these.
View attachment 134590View attachment 134591View attachment 134592View attachment 134593

Maybe gerard has some clarification on this.
Many thanks Maarten for the insight of the danish way - would be one possibility, but I guess it was with the french ships like Nigel mentioned, a small 3 or 5 cm deep rebate at the back side on each side, would do the job - which I made off course in scale 1:48 ;)
 
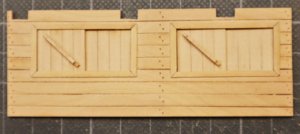
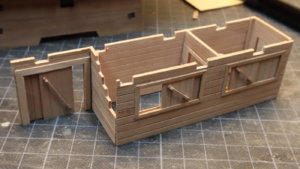
This weekend I was busy with one storeroom - I really do not know where the multiple hours were gone, but .... looks not so bad

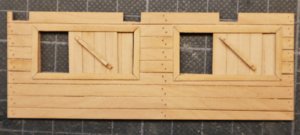
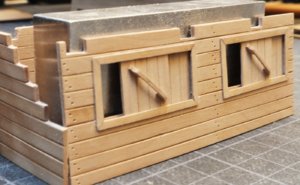
the front sides
IMG_5545.JPG

and the back sides - once more there will be the possibility to take a look inside, so I had to make an illusion of planking also inside
IMG_5546.JPG

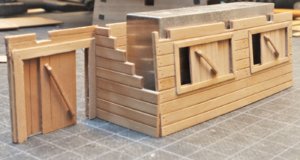
I made an additional gimmick with the small doors - they are movable !!! - so first closed
IMG_5548.JPG

and open
IMG_5547.JPG

to get an impression how it will look like
IMG_5549.JPG

IMG_5550.JPG

and a control inside the section
IMG_5553.JPG

IMG_5551.JPG

IMG_5552.JPG

Before I finally adjust the height of the walls I have to make decisions on which areas the deck planking has to be made - I also want to show partly the deck structure

Many Thanks for your interest - highly appreciated ....
 
Very nice work indeed UweThumbsupDid you use a sanding stick to bevel the plank edges?

Kind Regards

Nigel
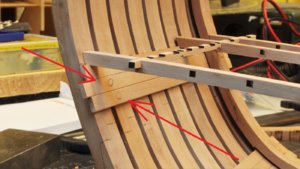
Hallo Nigel, thanks for the kind words - and - yes, I am trimming both longitudinal edges of the planks with a sanding block, in order to highlight the single planks.
Maybe partly it is too much, but with this way, I am producing a slight shadow and the single "boards" are more visible. I think it is more attractive, but it is a question of taste....
on some photos you can see also an "O" written with pencil - means "Oben" (in english "top") to know on which side I made the trimming
IMG_5456.JPG
 
Many thanks for all your comments and the likes.....
Today some smaller progress to show

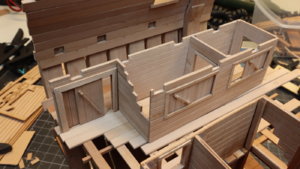
First of all the magazin walls glued and fixed together
IMG_5616.JPG

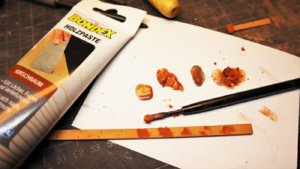
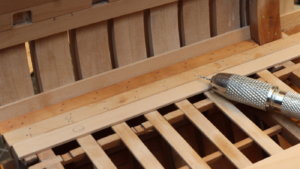
and I started with the deck planking - I am using wood-paste to fill drilled holes, this is giving the imagination of wooden tree nails
I am using Cherry paste, which is giving the best contrast after the plank is oiled (hope so)
IMG_5617.JPG

The first plank is oiled, in order to see the final effect - diameter of the drill holes is 0,6mm - the planking is still not fixed
IMG_5613.JPG

IMG_5615.JPG

IMG_5614.JPG

many thanks for the interest
 
Not so much progress during the weekend, we had something more important than the section model.
My small daughter Noémi had an ice-skating performance - she was Biene Maya / Bee Maya
IMG_5618.JPG
I am so proud - she was doing it very well Thumbs-Up Thumbs-Up Thumbs-Up

afterwards I had some short time in my workshop

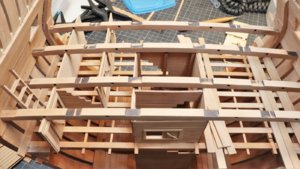
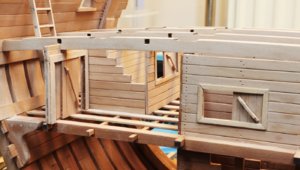
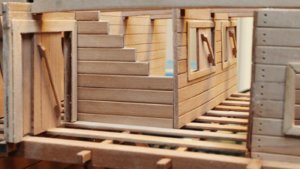
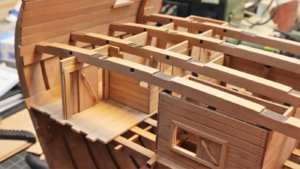
after the installation of the next rows of deck planks I dry-fitted the storeroom with the beams of the main gun deck - some small adjustments were necessary but it is fitting well - so the beams are fitting well into the notches of the storeroom walls -> I have to think how to make it with the other side, due to the fact, that I will be not able to assemble the beams, when the storeroom on the other side is also existing.....but this I will solve in the future
IMG_5636.JPG

IMG_5637.JPG

IMG_5638.JPG

Here you can see the deck planking after oiling - the "nails" are coming out nicely
IMG_5641.JPG

also the store-room was oiled
IMG_5640.JPG

IMG_5642.JPG

IMG_5643.JPG

IMG_5646.JPG
 
Hello Uwe, I kinda come to the same question as Oliver. Some timbers are darker than others (at least it is the appearance of it). I know, Pear wood can be of different colors. Is this the case, or you simply use various oils? Also, I have noticed, there are no caulking imitation on the lower deck. They are not necessary simply because didn't expose to various weather condition or?
 
Looks very good. The Biene Maya as well First Place Metal
Which Oil do you use here ? All parts has the same oil coating ?
One member here use a tape to pretect the wood from the paste. But i don´t know more who.
First the tape, than drill and the paste.
Hallo Oliver, first of all many thanks for your kind comment, especially for the Biene Maya ;)
I was using the same oil - it is a new bottle of swedish line-oil - I am not so happy with it, because it is darkening more than I wanted.
Maybe I have to change - going back to tung oil, or something else.... I am open for recommendations .....
The idea with the tape, just when you mentioned it I also remembered, that I saw it somewhere - It it maybe a good idea and way to get rid of the dried paste with sanding after closing the holes.
Hello Uwe, I kinda come to the same question as Oliver. Some timbers are darker than others (at least it is the appearance of it). I know, Pear wood can be of different colors. Is this the case, or you simply use various oils? Also, I have noticed, there are no caulking imitation on the lower deck. They are not necessary simply because didn't expose to various weather condition or?
The deck planks are in principle of the same color - yesterday I did not realize it looking at the model directly, but with your comment, looking at the close-up photos -> the color difference is really visible!
But only at the deck-planking, but not at the storeroom walls !!!
The original pear wood has the same color - so I think that the difference is caused by very fine sanding dust (of the paste) on top of the planks - therefore the slight red (cherry) color.....
OK! Recognized and I will try to find it out - maybe the taping before drilling, Oliver mentioned, is a solution, or is reducing the problem.

Usually there was no caulking in the lower decks - there was no need to be watertight -> On the upper decks I will use black or dark grey paper between the planks....

Many Thanks for your comments and critics - very much appreciated Thumbs-UpThumbs-Up
 
Back
Top