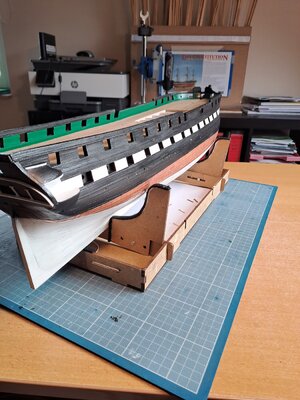
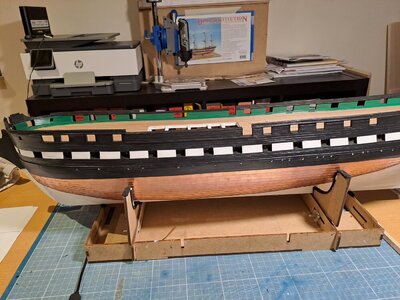
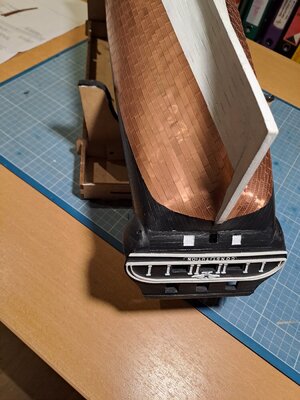
USS Constitution by Model Shipways 1:76 scale

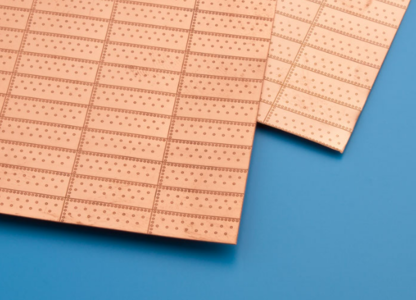
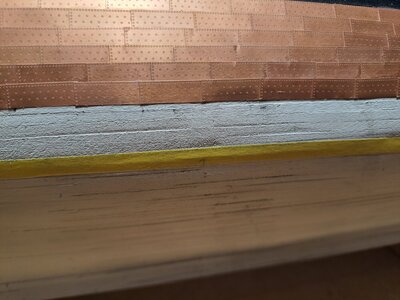
Which copper plates did you order now? The nailing only at the edges or also with two rows in between? (photo 1 or 3?)
I never worked with these from CAF, but as I know they can customize the plates in scale and also typ of nailing
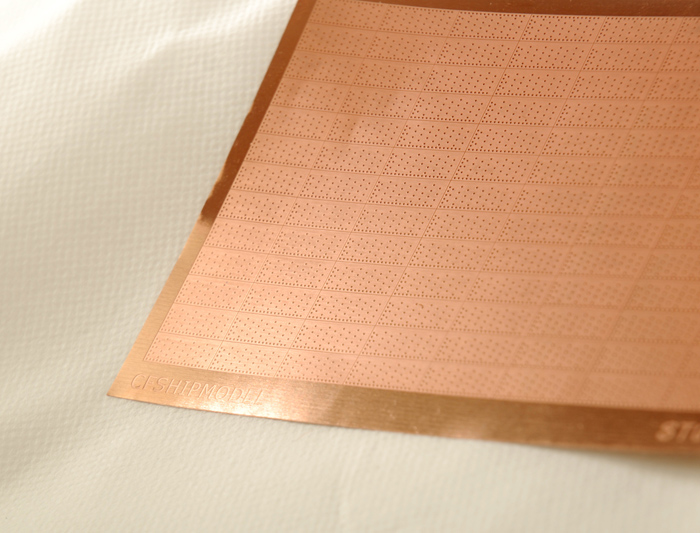

Often the nailing pattern is also out of scale, with not the best appearance - but the ones from @CAFmodel are looking very good

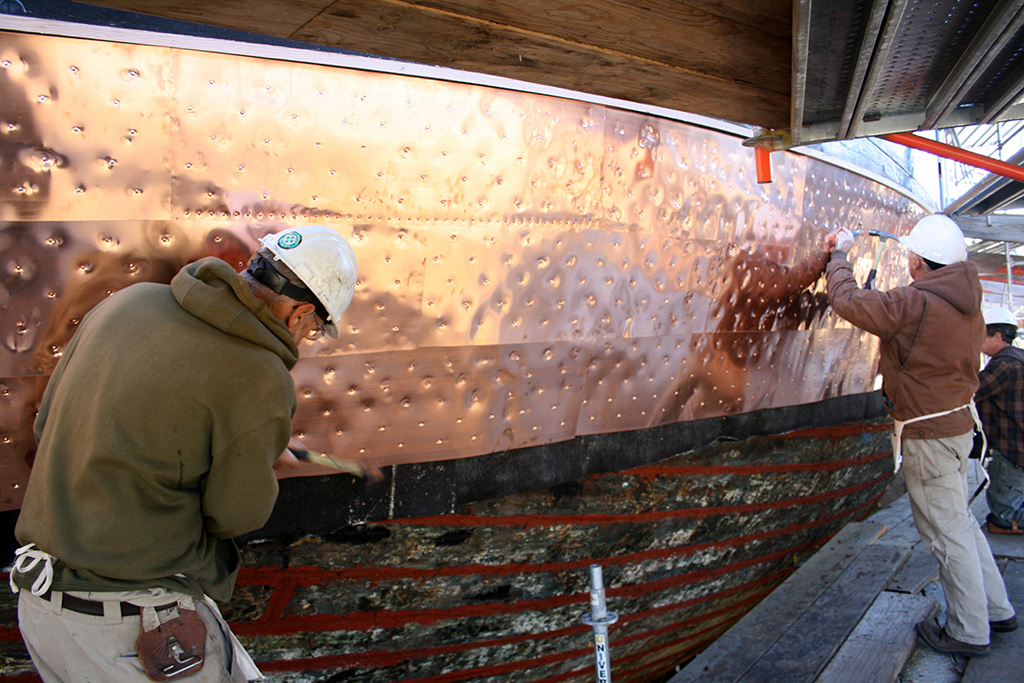
relative "modern" copper plate
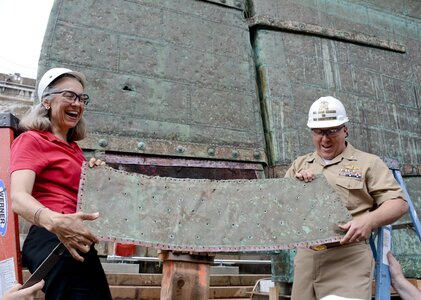
f844t4284p68640n7_QrXqkDNK.jpg

or here an older one from HMS Saturn 1745

rs6027.jpg

 
Dear Uwek,

Thx for your prompt repply: I ordered the following:
Set of Copper Hull Plates Amati copper plate set.

Photo-etched in 0.10mm copper and each plate include very realistic nail patterns. This set was designed for 1:64 scale models.
The set includes 182 left side copper plates, and 182 right side copper plates, 364 copper plates in total.

Size 1plate 18x6mm
Scale 1:64
1696951179766.png

1696951211573.png
 
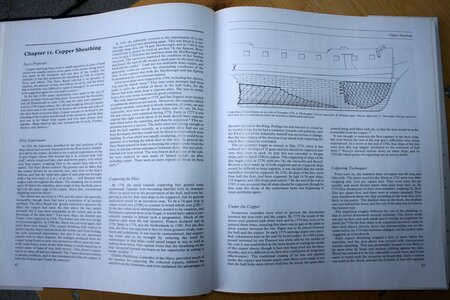
very informative page:


from the book review I have this photo, but I try to make better and complete ones when I am at home

IMG_19721.jpg


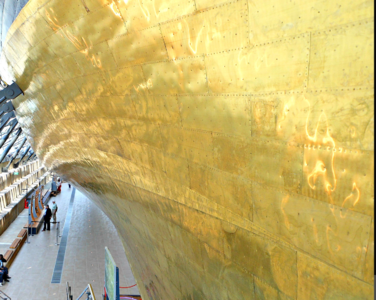
on the cutty sark are the lower sheats over the upper sheats - so they started from the top

Screenshot 2023-10-11 141858.png Cutty_Sark_Munz_metal_-_an_alloy_of_copper_and_zinc_Location,_Greenwich,_UK_-_panoramio.jpg

 
On a model it is maybe different - definitely you have to make a detailed plan how to make it
 
very informative page:


from the book review I have this photo, but I try to make better and complete ones when I am at home

View attachment 399462


on the cutty sark are the lower sheats over the upper sheats - so they started from the top

View attachment 399463 View attachment 399465

Thx I wil first look in it.
 
Dear Tony,

Have a important question: would you recommend me to start coppering from the Kiel or from top - downwarts?
I like the look of the copper plates you ordered, I'm interested to see how they turn out.
When I did my copper plating I laid them from the keel up and stern forward. Being right handed it was a lot easier for me to work from left to right.
 
I'm bak in business!
It was a great choice, the Amati plates: you can easily place them, fold them and cut them to size with regular scissors! Top!
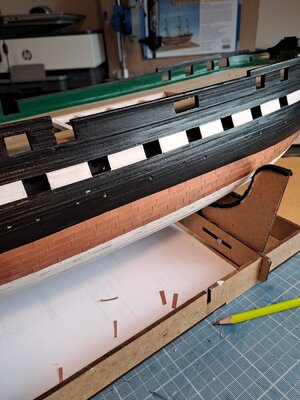
First I drew an installation plan on the Hull: for this I used 1/4" wide adhesive tape....the same width of the copper plates.
The plates themselves have a width of 1/4" x 23/32" length....

But I hope I don't get a nervous breakdown.... :) :):)
To provide one Hull with plates I need to fill 23 rows of +- 44 plates each : so +- 900 plates per side!
Yes, 1800 in total?!

So I will be busy for about 3 weeks.....
But will occasionally interrupt installation of the copper to finish something else on the ship...
Because the installation of the copper is repetitive business and quickly becomes boring... and mistakes are not allowed.
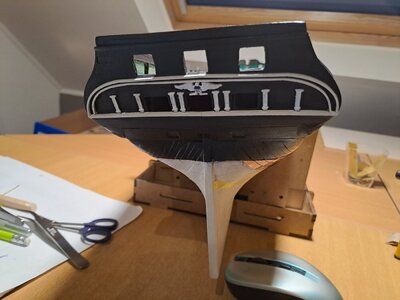
Stern planking and ornamental work in progress.... still sanding, painting and finetuning will follow...

Tony123.jpg

Tony125.jpg

Tony126.jpg

Tony127.jpg
 
I'm bak in business!
It was a great choice, the Amati plates: you can easily place them, fold them and cut them to size with regular scissors! Top!
First I drew an installation plan on the Hull: for this I used 1/4" wide adhesive tape....the same width of the copper plates.
The plates themselves have a width of 1/4" x 23/32" length....

But I hope I don't get a nervous breakdown.... :) :):)
To provide one Hull with plates I need to fill 23 rows of +- 44 plates each : so +- 900 plates per side!
Yes, 1800 in total?!

So I will be busy for about 3 weeks.....
But will occasionally interrupt installation of the copper to finish something else on the ship...
Because the installation of the copper is repetitive business and quickly becomes boring... and mistakes are not allowed.
Stern planking and ornamental work in progress.... still sanding, painting and finetuning will follow...

View attachment 399820

View attachment 399821

View attachment 399822

View attachment 399823
Hi Marc
Your model is really beginning to take shape.
What type of adhesive are you using to attach the copper plates? I'm still considering how I'm going to do mine, the copper plates you're using are the best I've seen.

Tony
 
Hello Tony,

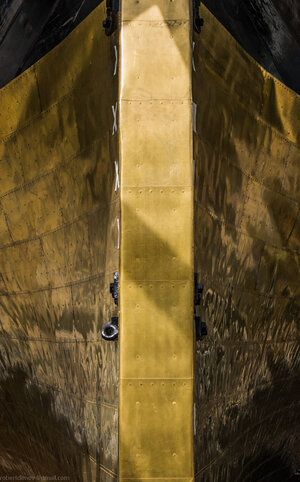
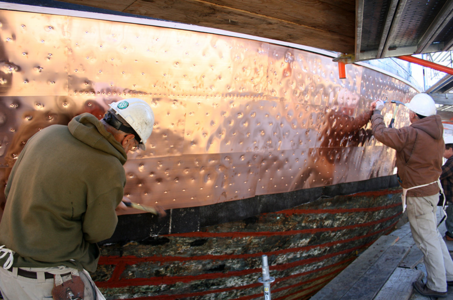
Below a photo of the ships copper: the ones I use are quasi similar...
I'm using Loctite CA glue...I think it's the only way to attach them to the hull. But caution is of course required: mistakes are not allowed. First I draw the distance from the plate on the Hull, then I glue the back side of the plate and apply a dot to the Hull...
It works fine...
And again, I obtain the same effect as below....
PS
Curious about your photos...
1697293853901.png
 
Hello Tony,

Below a photo of the ships copper: the ones I use are quasi similar...
I'm using Loctite CA glue...I think it's the only way to attach them to the hull. But caution is of course required: mistakes are not allowed. First I draw the distance from the plate on the Hull, then I glue the back side of the plate and apply a dot to the Hull...
It works fine...
And again, I obtain the same effect as below....
PS
Curious about your photos...
View attachment 399908
Hi Marc
Interesting photo it would be great to work on the real thing.
I'm nearly finished with the planking and will post some pictures when it's completed.
Tony
 
It's been a while since I posted an update.
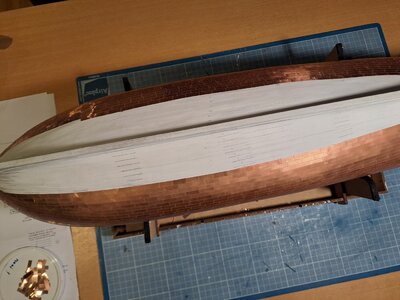
In the meantime I have already glued 1,456 copper plates! 728 on each side and I had to order additional copper plates....
According to my latest estimate, each side has about 1274 pictures! Yes indeed: 2,548 pictures in total...I'm going crazy!

Buuuut....I like it. And you?
I hope to work another week...and then be able to close!

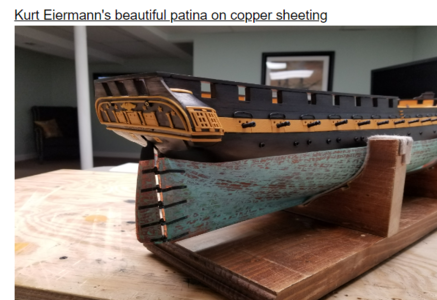
But, I would like your opinion. I am considering giving the copper a green patina. like photo below.
I am looking on the internet for a product that I can apply to the pictures to obtain the patina....

1698001675308.png

Tony130.jpg

Tony131.jpg

Tony132.jpg
 
But, I would like your opinion. I am considering giving the copper a green patina. like photo below.
I am looking on the internet for a product that I can apply to the pictures to obtain the patina....
I do like the patina, I really do. Buuuuut...if you think about it, the patina accumulated over years in the reaction of copper plates and water (others involved as well), If you choose to show the patina, you are kinda obligated (not that strong), to show your model 'wear and tear' view, IMHO. Obviously, you are the captain of your model to make a decision. ;)
 
It's been a while since I posted an update.
In the meantime I have already glued 1,456 copper plates! 728 on each side and I had to order additional copper plates....
According to my latest estimate, each side has about 1274 pictures! Yes indeed: 2,548 pictures in total...I'm going crazy!

Buuuut....I like it. And you?
I hope to work another week...and then be able to close!

But, I would like your opinion. I am considering giving the copper a green patina. like photo below.
I am looking on the internet for a product that I can apply to the pictures to obtain the patina....

View attachment 401788

View attachment 401783

View attachment 401784

View attachment 401785
Hi Marc
I think the blue patina looks great but I don't think I would have the courage to attempt it myself. After spending weeks applying all the copper plates I wouldn't want to risk applying a chemical without knowing what long term damage I may be doing. Maybe after some experiments I would change my mind.
I've just completed my hull planking and will post some photos soon.
Tony
 
I have copper-plated two ship models before. The copper changes color over time due to humidity in the environment and acquires an aged appearance. I don't think you should take any risks with patina.
 
Back
Top