USS Constitution by Model Shipways 1:76 scale

The transom I show in my post looks a lot nicer than the one that is there now. Too bad they didn't upkeep it.

Also, apparently there used to be a figurehead of Hercules at the bow. It got damaged and somehow through the years they wound up with no figurehead.
 
Apparently , two gun ports were added at the stern for the stern chasers and the guns were not always there.

17 Jul 1812 -- " ... cut away the Taffrail" to make room for 2 stern chasers. [Journals of Surgeon Amos A. Evans and Midshipman Frederick Baury, the latter in MHS; ship's log, DNA.] The guns placed there were the 18-pounder long gun from the forecastle and # 1 larboard 24-pounder long gun from the gun deck.

CONSTITUTION CLOSE UP: Minutiae For The Modeler And Artist By Commander Tyrone G. Martin, U.S. Navy {Retired)
 
Last edited by a moderator:
Hi another week has flown by, my new years resolution will be to learn some time management skills.
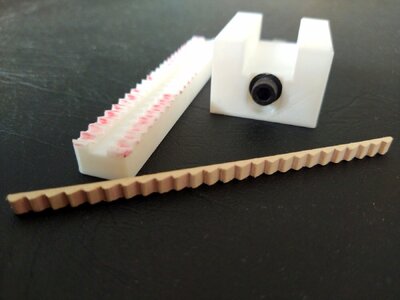
I made a big discovery when looking for a way to make the steps which involved a bit of luck. I was given a 3D printer which needed a little bit of fixing up before it would work nicely. I've been making dragons dinosaurs and robots with the grandkids all downloaded and printed from the web. This got me thinking could the printer help with shipbuilding.
My biggest problem was to make something with the printer I needed to learn how to draw it with CAD to make a 3D model them convert it to G Code for the printer. All this needed to be done with free software as there's not much spare cash this time of year. It took a while but I learnt a lot, this is what I came up with.

IMG_20231202_095718.jpg

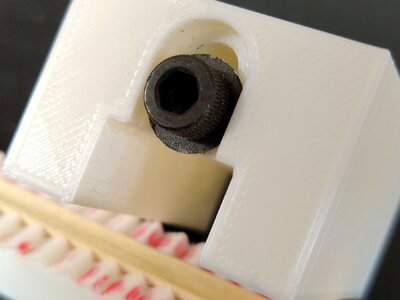
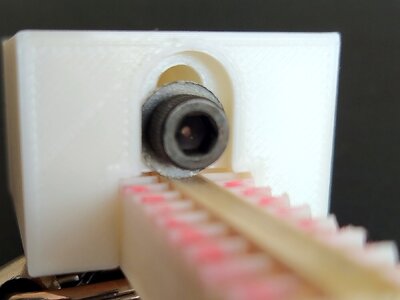
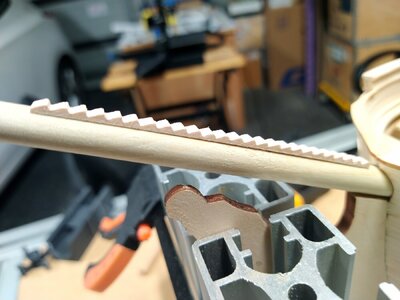
First job was to make the radius on the underside of the steps. This was done using a spring washer with a sharp edge held in a block with a screw. Taking small cuts it worked OK.
IMG_20231202_095820.jpg
IMG_20231202_095450.jpg

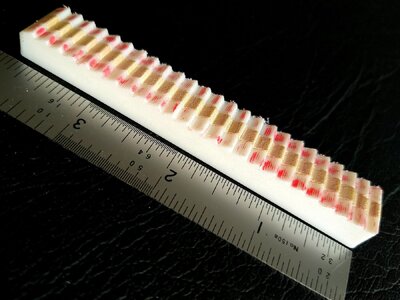
Next with the strip turned 180 the steps where made using a file. I marked the steps on the jig with a red sharpie so I could see when the file was at full depth. In the end the part was easy to make but getting there required a very steep learning curve.
IMG_20231202_095942.jpg
IMG_20231202_095803.jpg

When I was given the printer I thought it would be a fun thing to do with the grandkids. Now I'm thinking what else I can use it for.

Tony
 
If I understand you correctly, you 3D printed the plastic step jig. The jig is in fact a set of plastic steps that you cut a channel into for the strip of wood, that's going to be cut to form the actual stairs, to fit into . A file was used to cut the steps into the wood guided by the the plastic steps in the jig. The screw and washer were used to scrape a round channel with the same radius as the bowsprit into the backside of the stairs. What's a little confusing, is the photo with the ruler. It shows the plastic jig without the channel but marked with gold tape or paint. I assume that photo was taken before the channel was formed. All in all, a very simple jig with great results. Great job. Now if I only had a 3D printer.
 
If I understand you correctly, you 3D printed the plastic step jig. The jig is in fact a set of plastic steps that you cut a channel into for the strip of wood, that's going to be cut to form the actual stairs, to fit into . A file was used to cut the steps into the wood guided by the the plastic steps in the jig. The screw and washer were used to scrape a round channel with the same radius as the bowsprit into the backside of the stairs. What's a little confusing, is the photo with the ruler. It shows the plastic jig without the channel but marked with gold tape or paint. I assume that photo was taken before the channel was formed. All in all, a very simple jig with great results. Great job. Now if I only had a 3D printer.
Hi thanks for the feedback I can see now the photo can be confusing. In the photo with the ruler the steps are in the channel after the filing had been done. The empty jig can be seen in the first photo.
It would have been easier just to print the steps but I wanted to make them from wood.

Tony
 
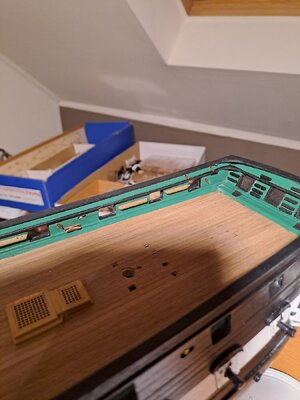
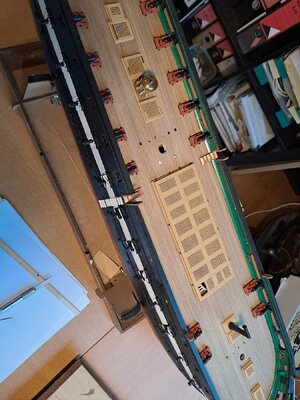
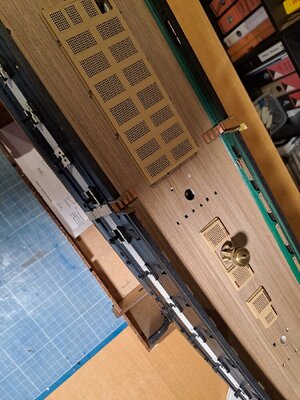
This week, I started with the Gun Deck details.....and details are important... :)

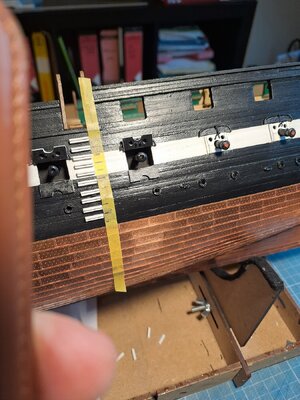
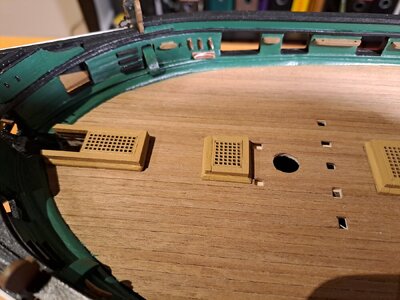
At first I thought it would be wisest to install the cleats, the pin rails and the steps. After all, the side walls are difficult to access later once the mizzen rails etc. have been mounted.
This takes a lot of time...but have fun...

Tony245.jpg

Tony246.jpg

Tony247.jpg

Tony248.jpg
 
1703163306255.png

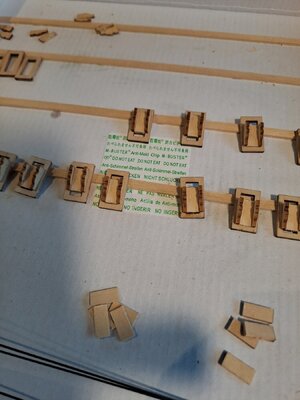
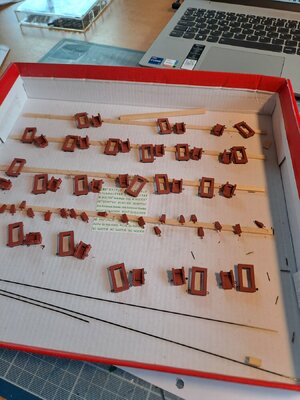
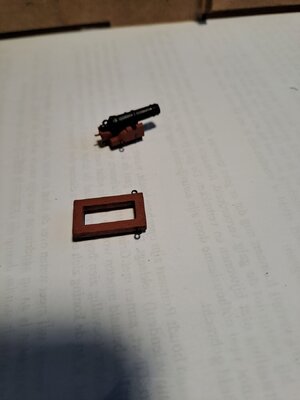
It was time to make the 32 PDR Carronades.
I must admit that I found the plans (sheet 5) anything but clear. Without research and the photos, I'm afraid I wouldn't have managed to build according to plan... all's well that ends well...In any case, it was a series of work... and special attention deserves the drilling of the holes for the eyebolts... you drill through the very thin wood, so once again pay attention.. :)

Tony250.jpg

Tony251.jpg

Tony252.jpg

Tony254.jpg
 
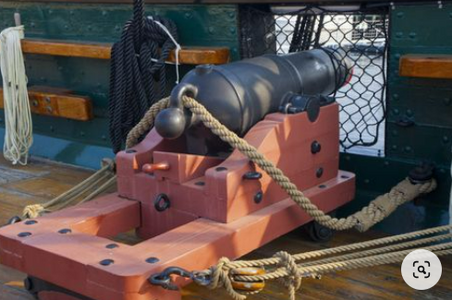
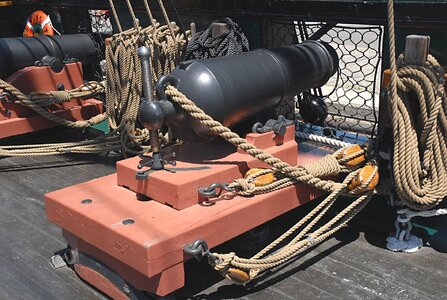
Today, the Constitution’s guns are replicas, not originals. She hasn't had original guns since 1897. All of the present guns were cast for the 1927-1931 restoration with the exception of two 1812-era replica carronades on the after quarter deck. Those are 1808 pattern carronades cast in 1981 which are closer to Constitution‘s 1812 spar deck armament than the remaining 1840 pattern gunnades. You can spot the 1808 pattern carronades because they have a screw elevation mechanism to raise and lower the barrel as opposed to the wedge. Supposedly, the gunnades are to be replaced with the carronades some time a future restoration.

5b1dc6c951234_072carronade.jpg.005740152ade060420f38b20a59a6e1c.jpg
 
Hi
Firstly I would like to wish everyone a safe and happy Christmas it's a very special time of the year.
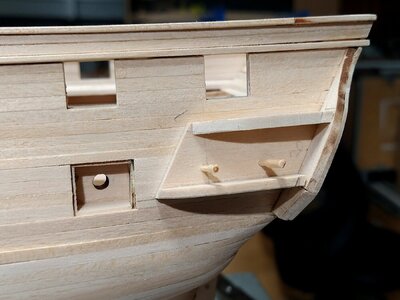
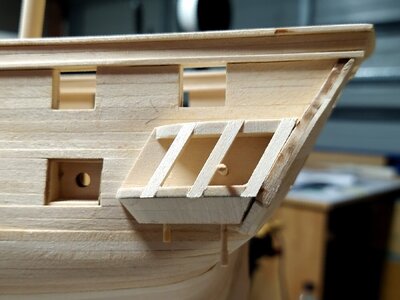
I finally made a start on the stern gallery at this stage I'm not sure how to complete it I'll try a few things out as I proceed.

IMG_20231217_144349.jpg
I made a frame and used two dowels to hold it in place. At this stage I don't want to glue anything in place until I'm 100 % happy with it.

IMG_20231219_093007.jpg
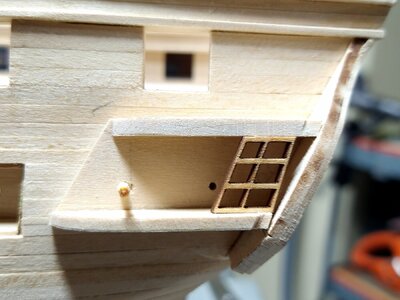
This is where the problems start the angels on the windows don't match. At this stage I'm thinking about making my own windows. I've seen lots of build logs with issues fitting the windows.

IMG_20231219_093057.jpgIMG_20231220_101237.jpg
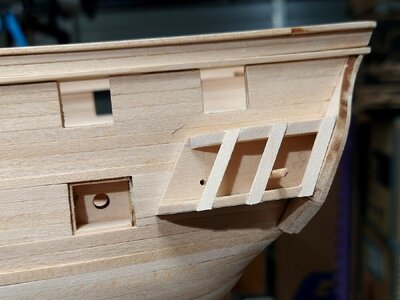
I have added a few more pieces to get a better idea of what I want and how it's going to look. I need to make some changes, so this could be the first of many. If I have problems making my own window frames I'll try to make the kit ones fit. This is not going to be easy whichever way l choose.
Tony.
 
Tony, if you've read my log, you'll noticed that I had a lot of trouble with the windows. Even with the US Navy plans, I still could not get a good handle on the exact shape of these things. The windows supplied in the kit are useless as they are based on the foreshortened elevation view in the MS plans. The most forward window is the worst. To do it right, you have to make your own and trial fit each element of the window sashes as you progress. Each window is different, your working on a curved surface and there are no right angles. I was not satisfied with my efforts. However with your superior woodworking skills, I think your results will surpass my results.

Jon
 
Today, the Constitution’s guns are replicas, not originals. She hasn't had original guns since 1897. All of the present guns were cast for the 1927-1931 restoration with the exception of two 1812-era replica carronades on the after quarter deck. Those are 1808 pattern carronades cast in 1981 which are closer to Constitution‘s 1812 spar deck armament than the remaining 1840 pattern gunnades. You can spot the 1808 pattern carronades because they have a screw elevation mechanism to raise and lower the barrel as opposed to the wedge. Supposedly, the gunnades are to be replaced with the carronades some time a future restoration.

View attachment 415567
Thank you very much for the information. I'm confused because if you surf the internet you will find at least 5 different versions.... I'll just stick to the construction plan.... :)
You are of course right....
 
Hi
Firstly I would like to wish everyone a safe and happy Christmas it's a very special time of the year.
I finally made a start on the stern gallery at this stage I'm not sure how to complete it I'll try a few things out as I proceed.

View attachment 415661
I made a frame and used two dowels to hold it in place. At this stage I don't want to glue anything in place until I'm 100 % happy with it.

View attachment 415662
This is where the problems start the angels on the windows don't match. At this stage I'm thinking about making my own windows. I've seen lots of build logs with issues fitting the windows.

View attachment 415663View attachment 415664
I have added a few more pieces to get a better idea of what I want and how it's going to look. I need to make some changes, so this could be the first of many. If I have problems making my own window frames I'll try to make the kit ones fit. This is not going to be easy whichever way l choose.
Tony.
Tony,

Very clever way. But keep in mind that you have to fit the roof block... I have the impression that you top left corner is a little bit to far behind the gun port....
Well intentioned, because it looks beautiful again.....:)
 
Back
Top