Hey, thank you very very much.... So I have to paint the eyebolts in white....
What is the function of the rope?
Marc
 |
As a way to introduce our brass coins to the community, we will raffle off a free coin during the month of August. Follow link ABOVE for instructions for entering. |
 |
 |
The beloved Ships in Scale Magazine is back and charting a new course for 2026! Discover new skills, new techniques, and new inspirations in every issue. NOTE THAT OUR FIRST ISSUE WILL BE JAN/FEB 2026 |
 |
Hey, thank you very very much.... So I have to paint the eyebolts in white....
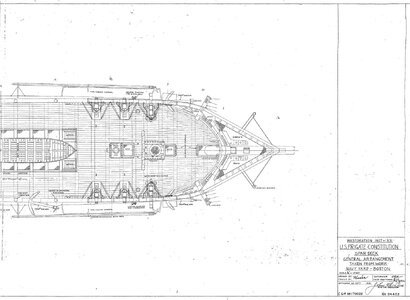
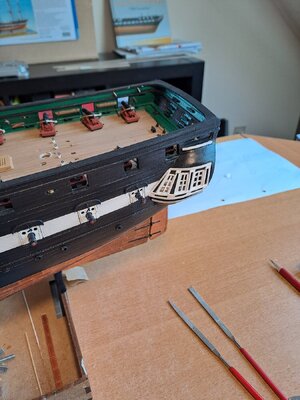
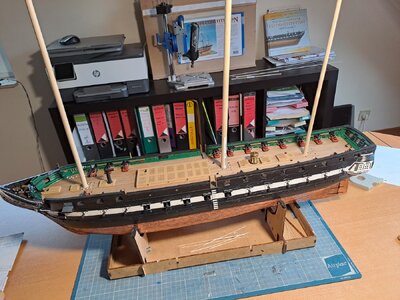
Yes, it's confusing..... I'm just a stupid Belgian....They weren't on the Sept 1931 US Navy Plan No. 24422, the latest plan I have that's available to the public as far as I know. But, they are there on the actual ship now. Interesting that the MS model plan has the eyebolts which is based on the 1927 restoration which doesn't indicate those eyebolts. In my case, because my model is based on the ship as she is configured presently, I will install those eyebolts.
View attachment 417355
Happy New Year Tony. Love the detail you incorporate into your work. Every time I see someone use a 3D printer; I get anxious to get one.
Dear Tony,
Coming back to the 3D printer... Could you advise me which to by as a step-in 3D printer eg one for beginners and play a little bit around?
Cheers
Hi everyone.I would not mind trying a 3D printer, but I hate to say, I would not know what brand, unit, or whatever to buy that would be best suited for shipbuilding. Sadly, I know nearly zero about them. I could do some googling on my own, but I am sure there are so many brands. I know that micromark.com sells them as well as Amazon. But like anything else, I don't know where to begin. I guess the reason is that from the beginning, I had no interest in 3D printing - obviously, that would help matters more than anything -
So, off to YouTube land to see some beginner tutorials !!

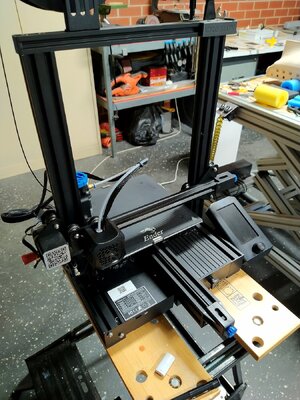
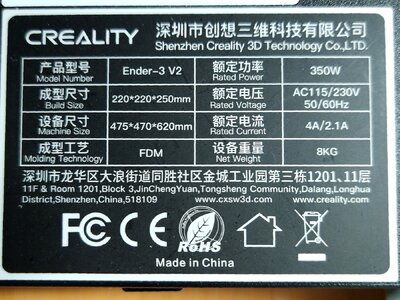
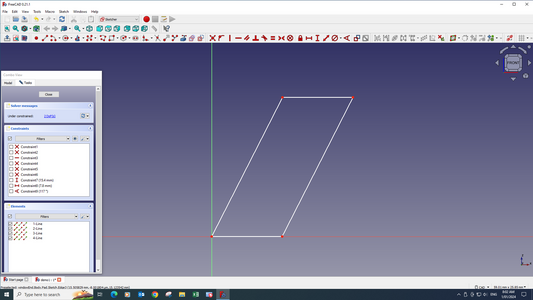
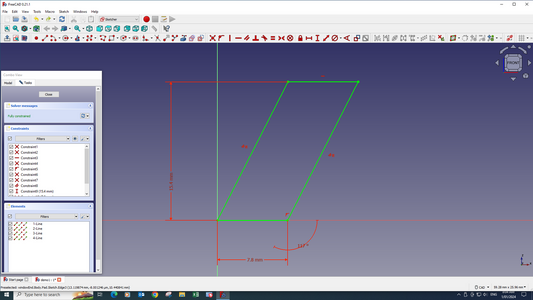
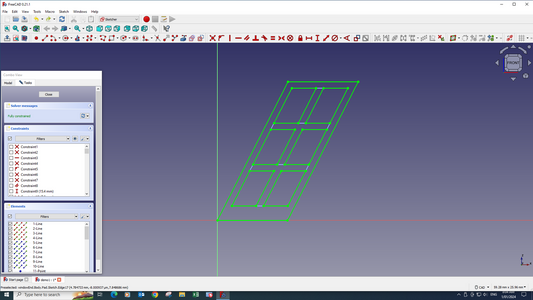
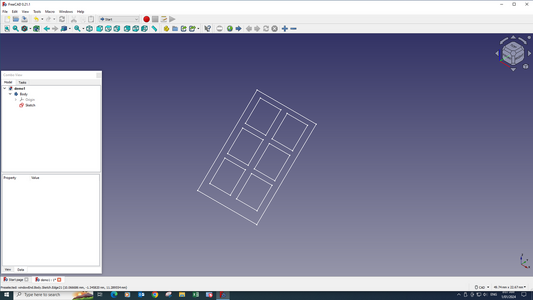
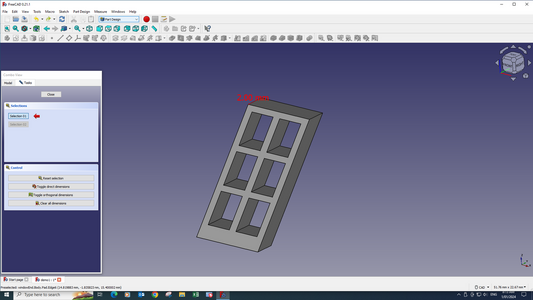
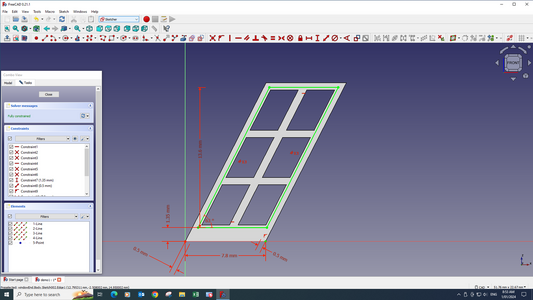
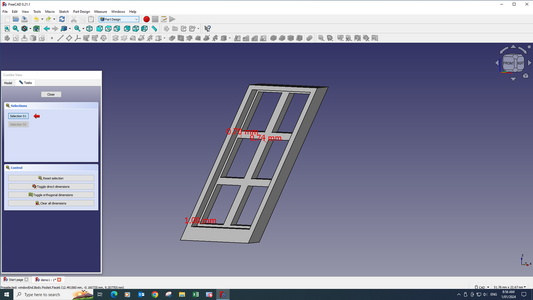
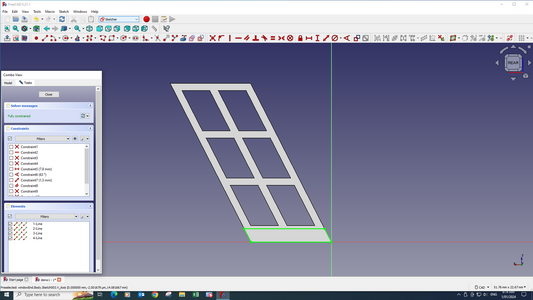
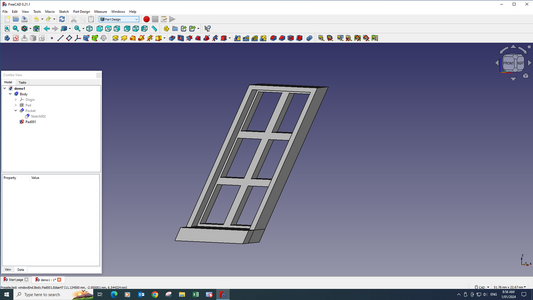
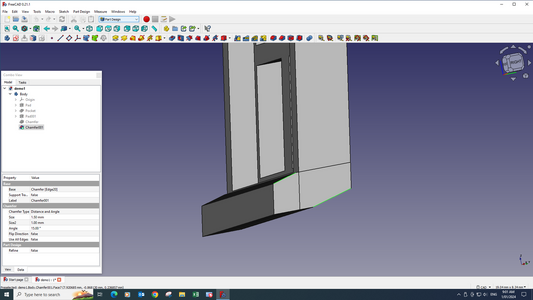
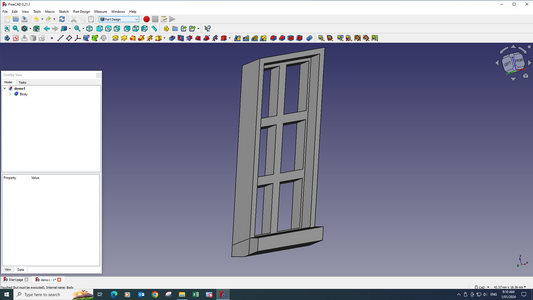

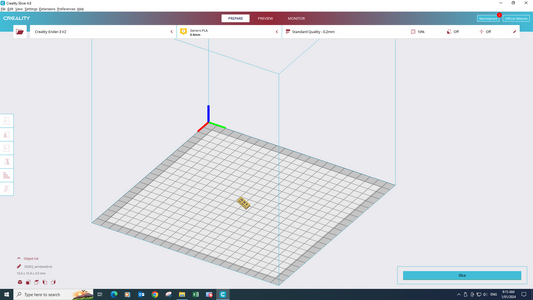
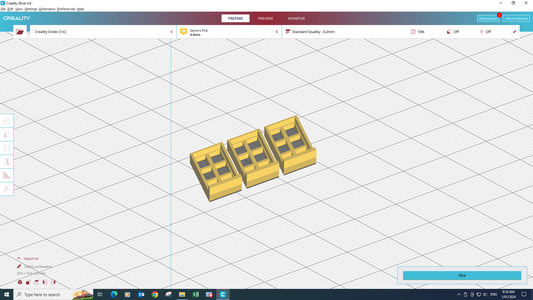
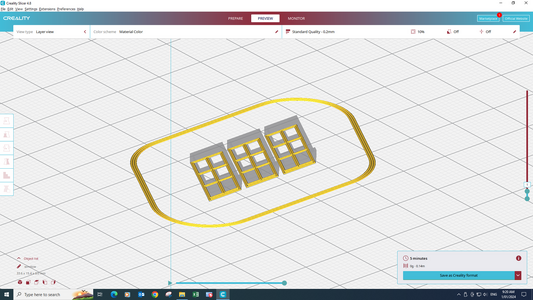
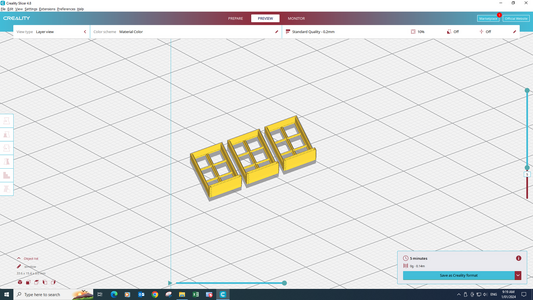
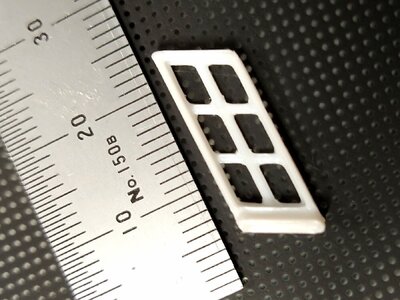
My printer uses filament, maybe one day I'll get a resin printer they look very impressive.Hi,
Do you use a resin type or filament type 3D printer?

and do you find that you get acceptable results for printing small parts? The reason I am asking is because I am trying to figure out what type of printer to get.My printer uses filament, maybe one day I'll get a resin printer they look very impressive.

Ahoy all, former sailor here. I spent 10 years serving in the navy, I was able to visit Old Ironsides 4 times. While serving I had hoped to make a career of the navy and reach the rank of Chief Petty Officer. There was an elite program for prospective chiefs (selectee) to serve aboard the Constitution, I wanted to be of that class of sailor. Alas this didn't happen. I had bought this model in Boston while visiting on a port call to Newport. I had only gotten so far as building the skeleton. But while transfering from Virginia to Florida the model was
This attempt to post a reply is doing weird technical things, but I' give it a shot. That original attempt of yours may be lost, but you aren't. Barring physical deterrents, why not give it another go? Maybe even with an old Scientific Models vintage kit from E-Bay? They're way cheaper, smaller, easier and suitable for kit bashing if you are inclined to improve upon what's in the box.Ahoy all, former sailor here. I spent 10 years serving in the navy, I was able to visit Old Ironsides 4 times. While serving I had hoped to make a career of the navy and reach the rank of Chief Petty Officer. There was an elite program for prospective chiefs (selectee) to serve aboard the Constitution, I wanted to be of that class of sailor. Alas this didn't happen. I had bought this model in Boston while visiting on a port call to Newport. I had only gotten so far as building the skeleton. But while transfering from Virginia to Florida the model was destroyed and the package the rest of the build was in was lost.
destroyed and the package the rest of the build was in was lost.

Dear Tony,My printer uses filament, maybe one day I'll get a resin printer they look very impressive.
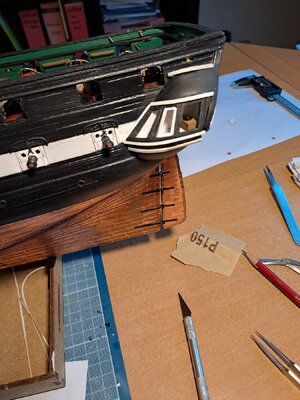
and do you find that you get acceptable results for printing small parts? The reason I am asking is because I am trying to figure out what type of printer to get.
It is my understanding that resin printers are superior to filament printers when it comes to small parts?
Having said that, however, I see your latest post showing the final result of printing your windows. They look good. So maybe that is the answer to my question.
I think with resin printers you also have to buy a curing and washing station, which is another 200$ CAD.
I'm no expert myself from what I've seen resin is a more complex process, it has to be cured and cleaned after printing. It also cost a lot more for the equipment and consumables. On the plus side the results are very much better.Hi Tony, from my very rudimentary understanding, you get more detail (such as sharper corners) from resin printers, the tradeoff is that resin is much more brittle than filament printed objects. You look like your well on your way to success though.
We have recently moved house I put off starting my Constitution until the move was over. Good luck with the new model.Ahoy all, former sailor here. I spent 10 years serving in the navy, I was able to visit Old Ironsides 4 times. While serving I had hoped to make a career of the navy and reach the rank of Chief Petty Officer. There was an elite program for prospective chiefs (selectee) to serve aboard the Constitution, I wanted to be of that class of sailor. Alas this didn't happen. I had bought this model in Boston while visiting on a port call to Newport. I had only gotten so far as building the skeleton. But while transfering from Virginia to Florida the model was destroyed and the package the rest of the build was in was lost.
