USS Constitution by Model Shipways 1:76 scale

Very impressive. And, if you need to make corrections, you don't have to start all over from the beginning. Which brings me to this point. As I see it, each window is identical to the next. (On the opposing side of the model , it's mirror image). However, the windows are not identical to each other nor do they have the same dimensions on top of the window as the bottom. Each of the three windows are unique. This was one of the problems I encountered when I was trying to make the windows. Have you discovered any difficulties installing your windows?
The three windows on the slicer program was just a demo of how parts can be multiplied (mirrored also), my windows are slightly different sizes.
Using printed windows the sizes can be adjusted easily. I only added the six panes after the sizes were correct.
You are correct the windows should be different sizes, I tried to copy your log (middle window wider at the base) but it didn't work. For some reason the angle of my stern is to steep this has resulted in all 3 windows being nearly parallel. It actually looks OK like this but it's not correct to the ship so I might try reducing the size of the roof so I can get the extra length in the middle window.
Nothing is fixed to the ship at the moment so I can play with the design.
 
Dear Tony,

My very best wishes for 2024.

It looks like you've created a new global standard for model building!
Will you develop your own kits?
It's unbelievable what you've accomplished!

And I was already happy with my 2nd attempt... My effort disappears into nothing... compared to yours...

View attachment 418245

View attachment 418246

View attachment 418247
Hi Marc
I can't believe it's 2024 already I hope you and your family have a wonderful new year.
How did you do your window frames they came out very well. I think I should stop printing and get on with my model.
Tony
 
Hello Tony,

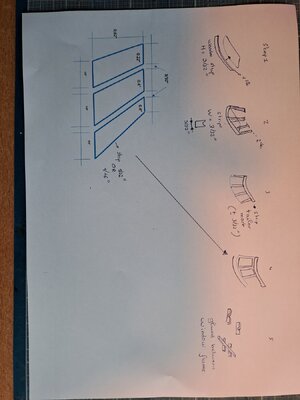
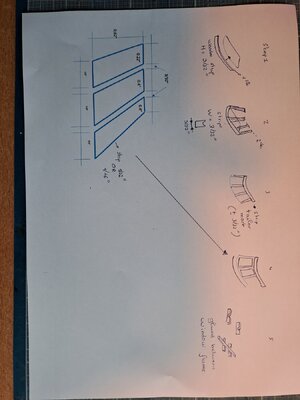
Please excuse the sketch...not really neat, but it still reflects the working method... :)
I based it on Mustafa's working method
1- I glued a 3/32" strip on top of the block. This in order to get a nice straight reference line for later gluing the windows frame
2- Considering the width of the frames I glued strips 3/32" on top of the strip from step 1
3- Strip on top of the vertical placed supports
4- I became now the frames to fir the windows.
I then measured the exact inside frame dimensions in order to fit the windows frames. The dimensions are attached as symmetry is important.
finally I fitted the grid between the window frame openings.

I'm very happy with the result....so now the gun rigging can continue...

Cheers

Marc


Tony308.jpg
 
Hello Tony,

Please excuse the sketch...not really neat, but it still reflects the working method... :)
I based it on Mustafa's working method
1- I glued a 3/32" strip on top of the block. This in order to get a nice straight reference line for later gluing the windows frame
2- Considering the width of the frames I glued strips 3/32" on top of the strip from step 1
3- Strip on top of the vertical placed supports
4- I became now the frames to fir the windows.
I then measured the exact inside frame dimensions in order to fit the windows frames. The dimensions are attached as symmetry is important.
finally I fitted the grid between the window frame openings.

I'm very happy with the result....so now the gun rigging can continue...

Cheers

Marc


View attachment 418483
Funny how it looks easy when someone else has done a really good job.
 
Hi thanks for dropping by.
I've glued together all the keel pieces except for the bow extension, this was left off till the rabbet is finished.
View attachment 381109

View attachment 381110
The ends of the slots in the keel and bulkheads have been pencil marked, when the bulkheads are all the down the marks will line up.

View attachment 381111
This is my building jig made from extruded aluminium, very strong and accurate as long as the ends are cut square.

View attachment 381112
View attachment 381113
View attachment 381114
Final dry fitting completed bulkheads all ready to be glued in place. I've made some spacers to go between the bulkheads for reinforcement.

Tony
I just learned the hard way how fragile the bulkhead extensions are. I broke 3 while I was trying to nail down the waterway. Very frustrating. My solution is to use epoxy when I break them.
 
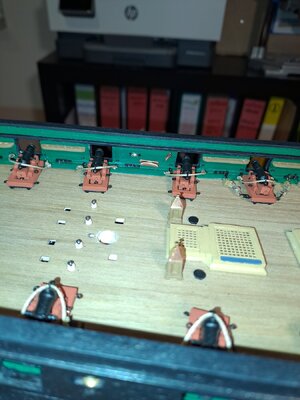
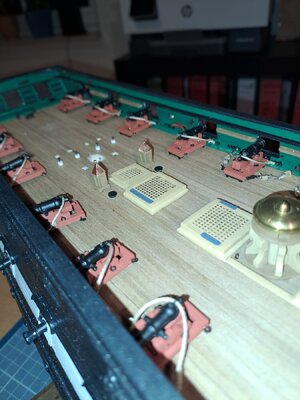
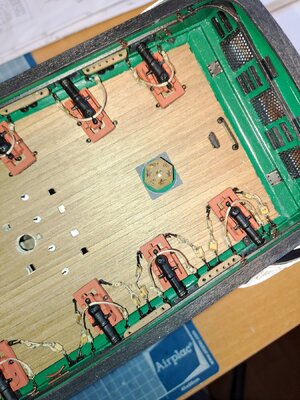
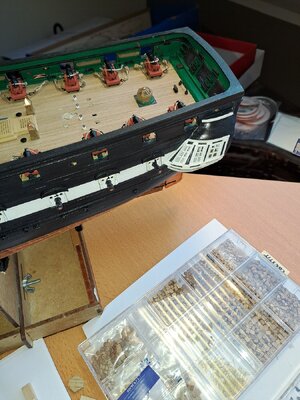
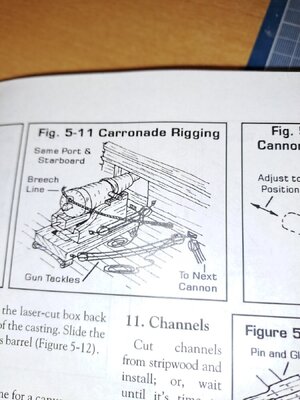
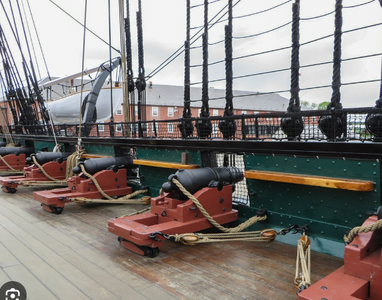
Whiles I'm rigging the Carronades, I sometimes interrupt work with a small other job...
I decided to make the binnacles.... A whole day of work, three times again until I found the right working method.
First I milled away the wood, but given the small dimensions of the binnacles, this milling is much too rough...
Another method was to use 1/32" strips and a frame, but I couldn't get this to look nice either.
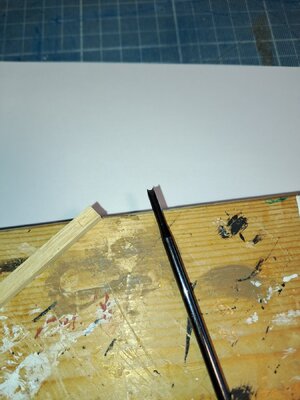
The best method to make the recesses was to use a very sharp plane...see photo...


Tony310.jpg

Tony311.jpg

Tony312.jpg

Tony314.jpg
 
Beautiful. All the details, too - the lights, the blocks and guns, binnacle, everything. Can I steal your sketch of the gallery windows? My own little Connie is a long way off, other then messing about and planning, but I need new windows and this would be a great start.
 
Beautiful. All the details, too - the lights, the blocks and guns, binnacle, everything. Can I steal your sketch of the gallery windows? My own little Connie is a long way off, other then messing about and planning, but I need new windows and this would be a great start.
Please. Please keep in mind that the measurements I give you are adapted to the Quarter Gallery of my model. So please measure yours and adjust if necessary!

Tony308.jpg

Tony318.jpg
 
1000 nerves later..... :)
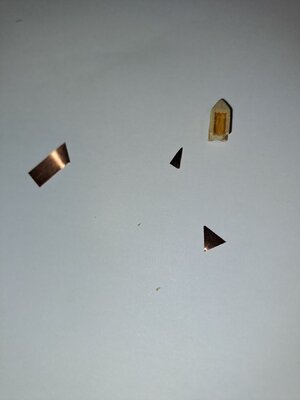
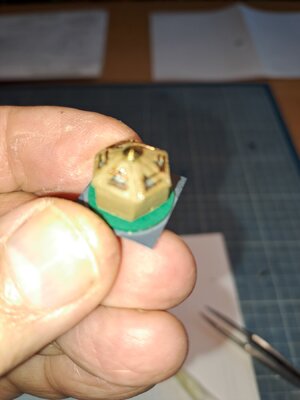
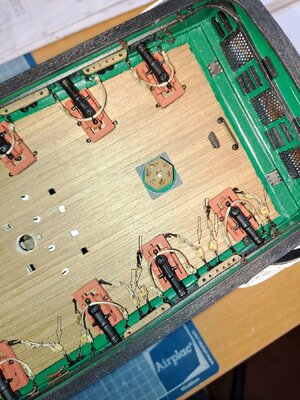
Today the Captain's Skylight....Extremely difficult due to the small dimensions of the quite complex construction: hexagon, height 3/16"....+ 6 triangles with plastic as a window...glued to a base.... and then the fine copper wires....

View attachment 419733

View attachment 419734
Hi , sorry , these blocks are mounted in reverse

Tony316.jpg
 
Back
Top