USS Constitution by Model Shipways 1:76 scale

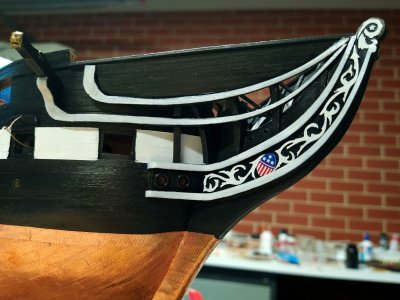
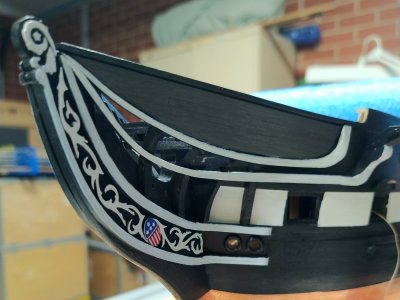
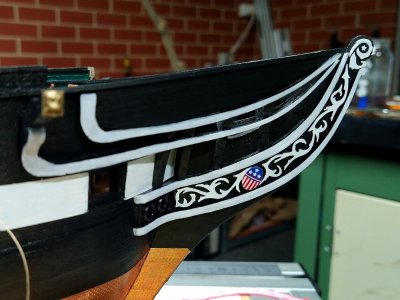
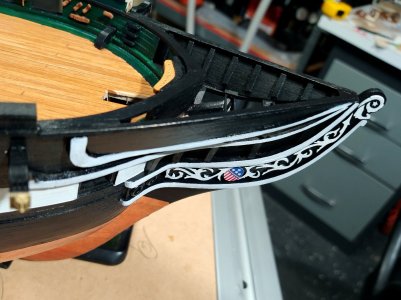
This is a wonderful depiction of the" naval hood" covering the inner structure of the "beakhead" adding both protection and structural reinforcement. The naval hood was adopted by Donald McKay to add structural reinforcement to the stems of his clipper ships.
Hi Peter
Thank you for your comments, this has been the most difficult part to make so far..
Tony
 
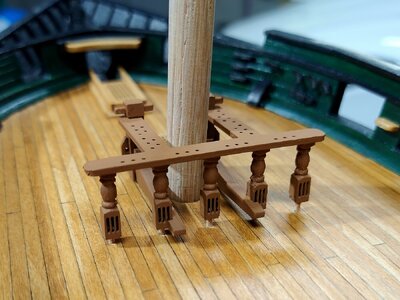
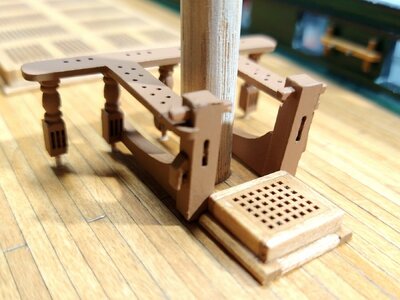
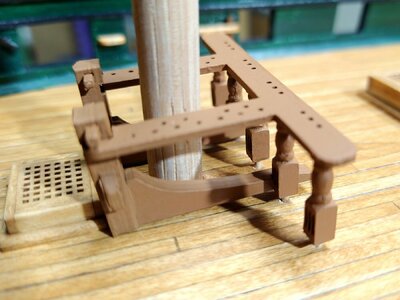
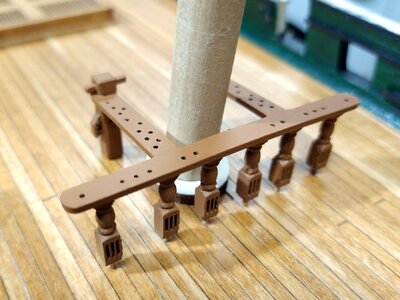
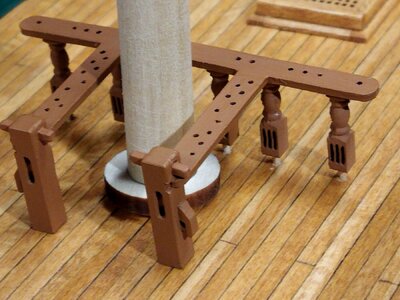
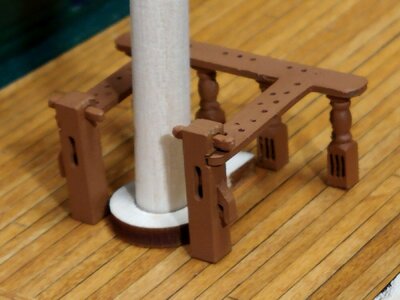
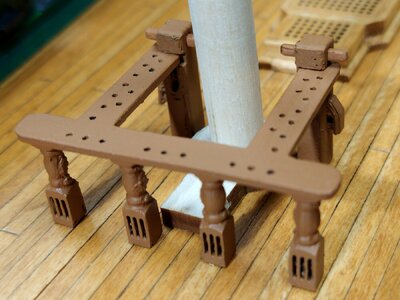
I have been playing with a few ways of making the posts for the fife rails, first I tried using the kit supplied metal castings on top of basswood posts. Cutting the 3 slots for the sheaves is very difficult and inconsistent. As I wasn't happy with the results I thought I would have a go at printing them.

IMG_20240817_203834.jpg
IMG_20240817_203115.jpg
IMG_20240817_202622.jpg
IMG_20240817_203528.jpgIMG_20240817_203413.jpg
IMG_20240817_203302.jpg
IMG_20240817_204112.jpg
The rails still need finishing and are not fixed in place yet. I don't think I saved any time by printing these parts but they're much better than the ones I made using the kit parts.
 
They're perfect. I'm envious. 3-D printing is a real advantage to those who have the equipment and ability to operate it well. Making everything by hand can be pretty frustrating.
 
Hi
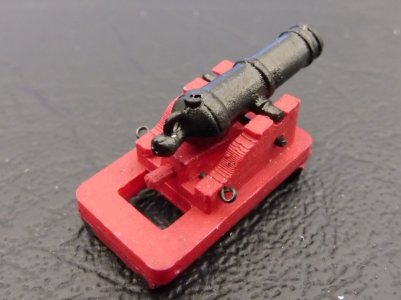
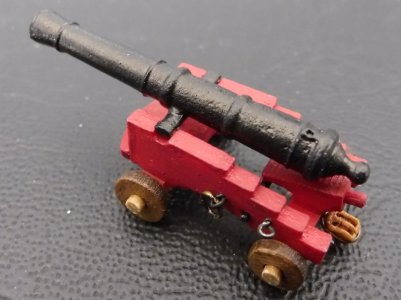
Thanks for dropping by and catching up with my progress, I've started assembling the cannons.
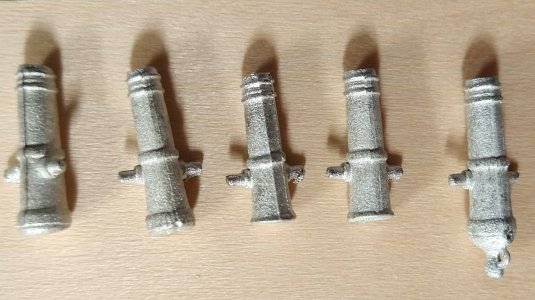
My first issue was 4 of the carronades where incorrectly moulded.
IMG_20240507_120353~2.jpg
The correct one is on the right, when I checked the parts I counted 20 and didn't notice the error. All I had to do was fill in the online form and I had the replacement parts in a couple of weeks. Considering it's USA to Australia I'm very impressed with Model Shipways customer service.
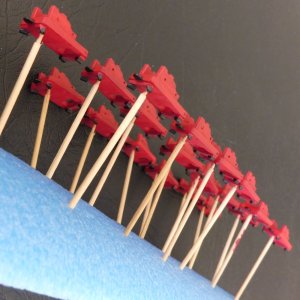
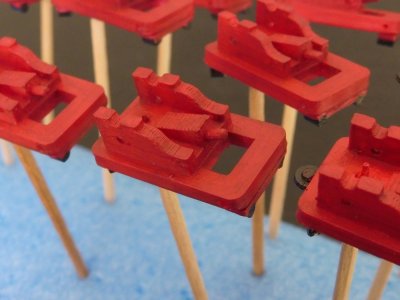
IMG_20240907_184127.jpg
P1000103.JPG
The red is a lot brighter in the photos I tried different lighting but couldn't get a better match.
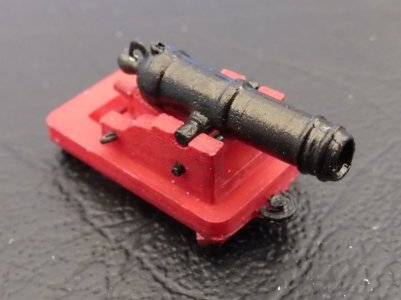
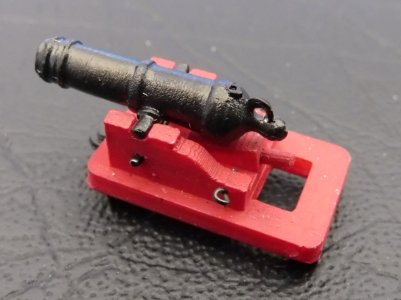
IMG_20240907_184707.jpg
IMG_20240907_184430.jpg
IMG_20240907_184614.jpg
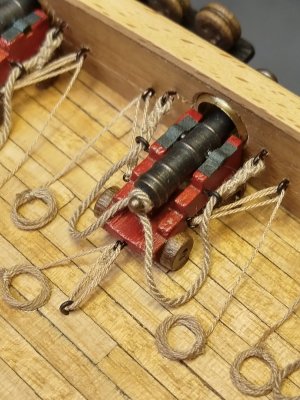
I need to experiment with how I'm going to rig the carronades, I'm thinking 5 sets of blocks and a breech line will look messy. I'm not very happy with the rigging line provided with the kit so I'll most probably make my own.
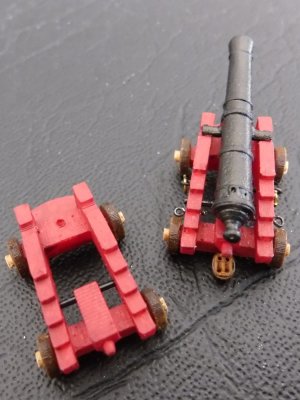
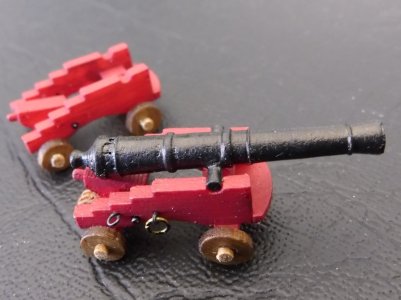
IMG_20240907_183847.jpg
IMG_20240907_183635.jpg
IMG_20240907_183135.jpg
The cannons still need a lot of work. On my last build I could not find blocks small enough to rig the cannons (Covid made online orders difficult) so I rigged them without blocks and was happy with the results.
IMG_20220302_171307.jpg
This time I going to try making my own blocks if they don't look good this will be my plan B.

Tony
 
Hi
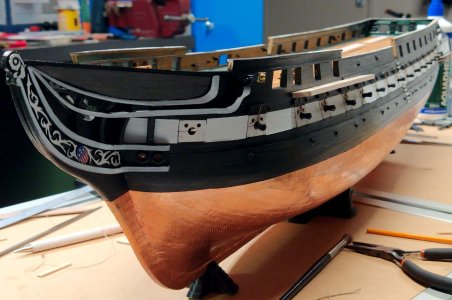
It's about time I posted some photos of my progress. I've been trying different ways of painting the stripes on the rails and the scrolls on the trailboard. I tried cutting out the scrolls after a few attempts I managed to to do one without it breaking but was not happy with the results. The stripes where worse, I tried wooden strips, styrene strips and painting nothing worked for me. I could paint the bottom 2 rails OK but not the top 2. I think if I had painted the stripe on the top rails before assembly it would have worked.
As I needed to move forward with this build I decided to paint the rails white it's not true to the original ship but it's the best looking method I tried.
IMG_20240929_114655.jpg
IMG_20240929_114334.jpg
IMG_20240929_114246.jpg
IMG_20240929_115627.jpg

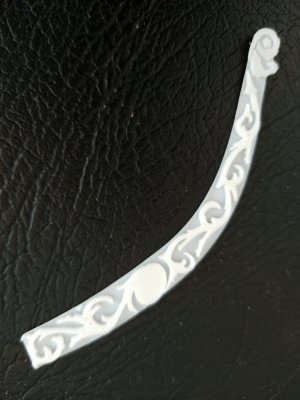
The trailboard was 3d printed and painted, converting the wooden part to a CAD file was a big learning curve but once done if I stuff up it's easy to replace.
IMG_20240930_074653.jpg

Next job is to do the main cannons.
IMG_20240929_115826.jpg

Tony
 
Yes I agree it's certainly a difficult build and it doesn't get any easier, I'm surprised by the amount of parts that have to be made. I think this kit is a good way to get started scratch building a model ship.
agreed. Some parts I will redo as well because the kit supplied parts are too fragile.
 
And there is not enough lumber in the kit to satisfy the requirements of Bob Hunt's practicum.
 
Good day
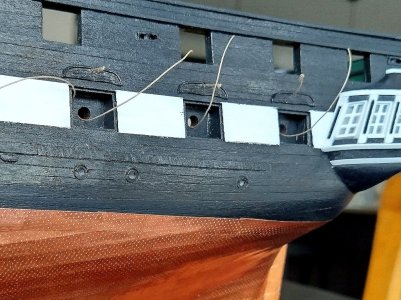
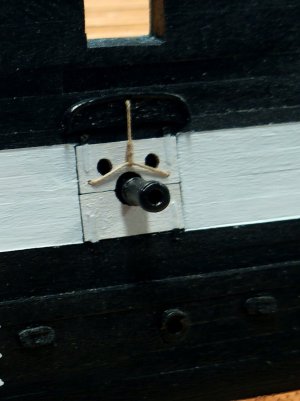
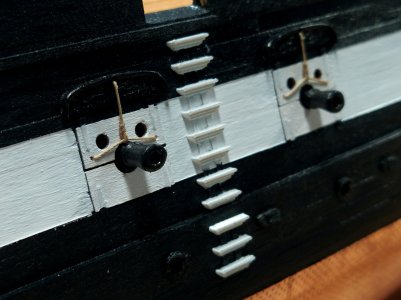
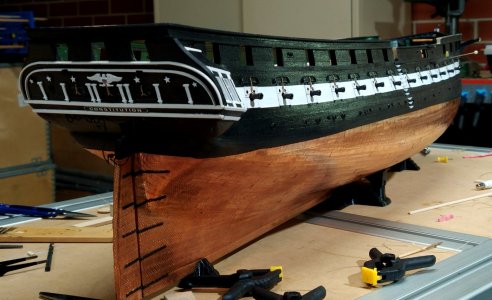
I've finished the main cannons it was more complicated than I thought. 32 ports 64 lids (painted white on the front and black on the back) and 128 hinges to be glued to the lids. The cannons are more oval than round and had to be filed round to fit into the holes in the hull.

IMG_20241016_201841.jpg
I installed the ropes for the gunport lids before planking the deck this made installing them much easier.

IMG_20241016_200757.jpg
I had every intention of assembling the lids in the open position but they proved to be to weak, when I applied tension to the lift rope the lid came off. I tried the cannons with the lids closed and liked the look.

IMG_20241016_200248.jpg
While doing the cannons I fixed the stairs up the side of the hull, these are 3d printed.

IMG_20241016_200341.jpg
IMG_20241016_200126.jpg

Tony
 
Back
Top