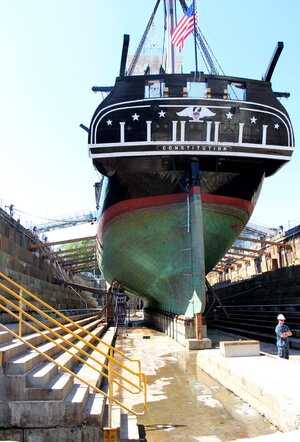
USS Constitution by Model Shipways 1:76 scale

An update from Belgium....
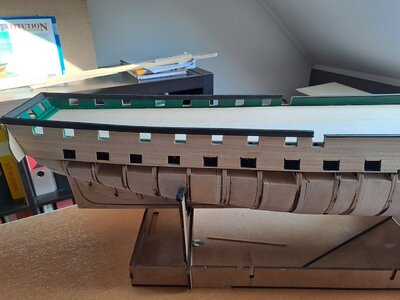
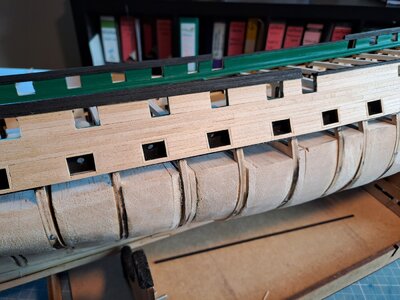
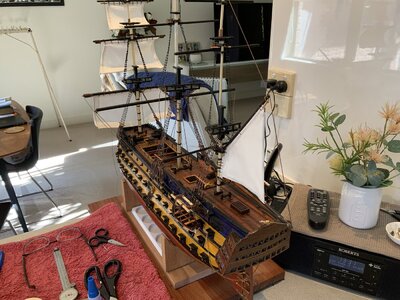
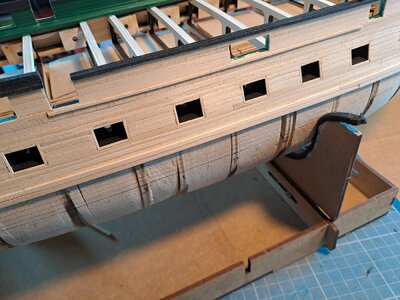
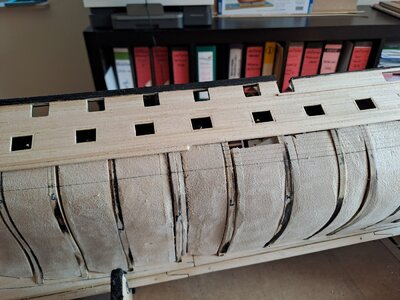
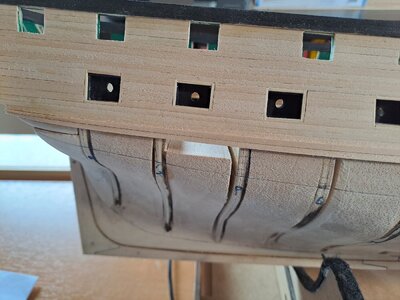
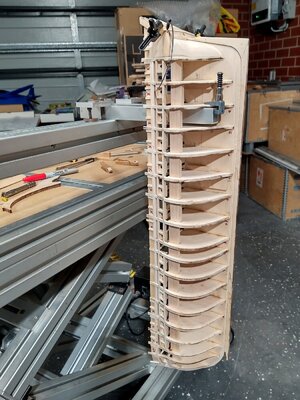
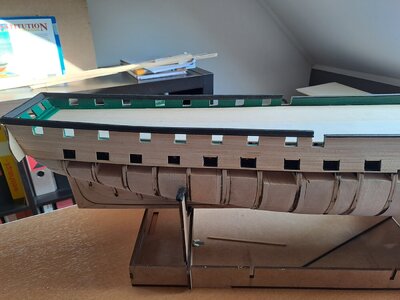
I started the Hull planking (both sides) and must admit that I don't know how I did it.....:)

Thanks to loctite CA glue, as a matter of fact it went so far very good....The planks fit together well, and even the bow went very well .....
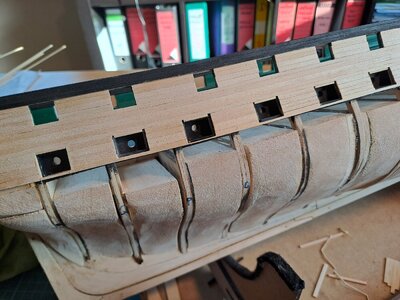
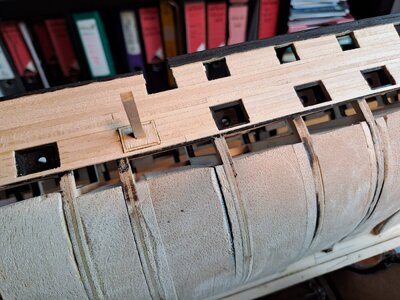
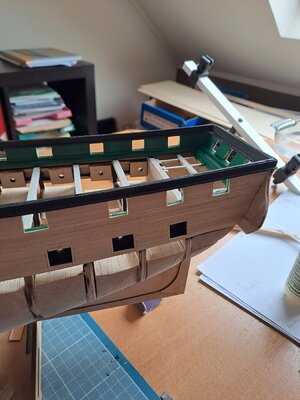
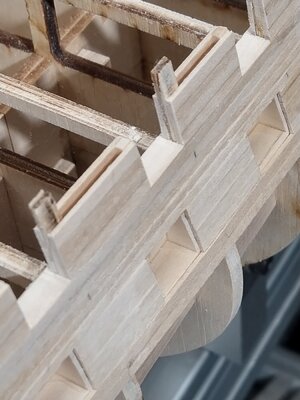
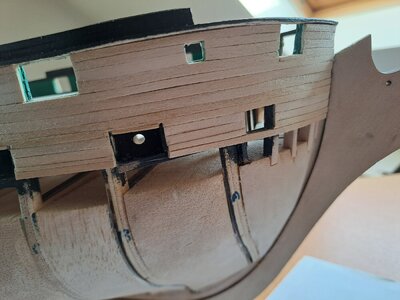
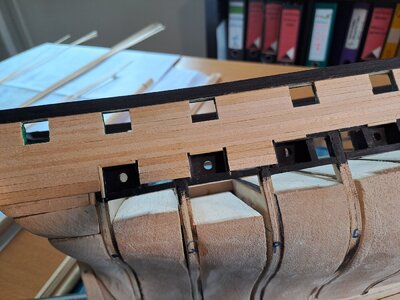
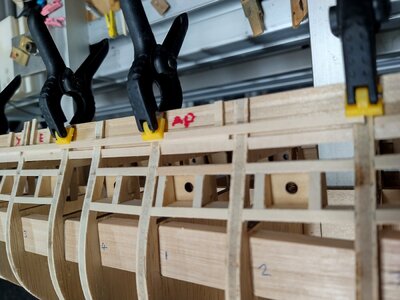
But, there is always a but, making the frames around the gunports at the gun deck is extremely difficult...it requires the utmost precision. After all, you need to place thin strips of 1/32" around the gunports while you are actually providing the hull with the strips.It took me several hours to determine the working method and I succeeded....
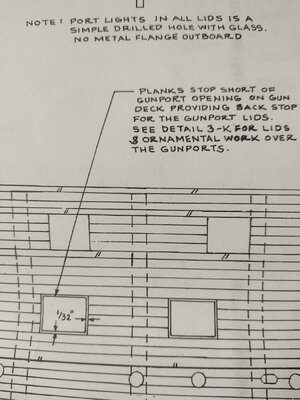
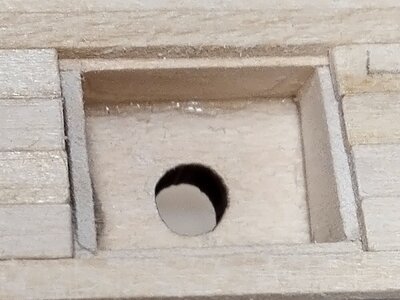
As you can see in picture 6 you have to leave 1/32" free around the gunport.... That's why I made a frame with 1/32" strips and worked around it... hoping that the frames stayed in place and that you made the strips fit extremely accurately....
Hull-5.jpg

Hull6.jpg

Hull7.jpg

Hull8.jpg

Hull9.jpg
 
An update from Belgium....
I started the Hull planking (both sides) and must admit that I don't know how I did it.....:)

Thanks to loctite CA glue, as a matter of fact it went so far very good....The planks fit together well, and even the bow went very well .....
But, there is always a but, making the frames around the gunports at the gun deck is extremely difficult...it requires the utmost precision. After all, you need to place thin strips of 1/32" around the gunports while you are actually providing the hull with the strips.It took me several hours to determine the working method and I succeeded....
As you can see in picture 6 you have to leave 1/32" free around the gunport.... That's why I made a frame with 1/32" strips and worked around it... hoping that the frames stayed in place and that you made the strips fit extremely accurately....
View attachment 391132

View attachment 391133

View attachment 391134

View attachment 391135

View attachment 391136
Hi Marc
Great to see your progress, I have also started my planking I'm nearly down to the gunports.
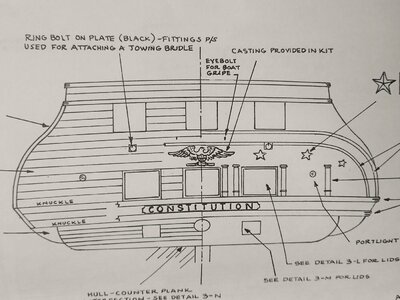
I may be wrong but do you need to add a 1/32" frame around the gunport?

IMG_20230825_094351.jpg
The way I interpreted the drawing, there is a 1/32" step around the gunport for the lid to fit into. Unfortunately the instructions do not show this very well.
As soon as I get to this stage I'll post some photos.

Tony
 
Hi Marc
Great to see your progress, I have also started my planking I'm nearly down to the gunports.
I may be wrong but do you need to add a 1/32" frame around the gunport?

View attachment 391153
The way I interpreted the drawing, there is a 1/32" step around the gunport for the lid to fit into. Unfortunately the instructions do not show this very well.
As soon as I get to this stage I'll post some photos.

Tony
Short update, I have completed the first two gunports today.
IMG_20230825_202104.jpg
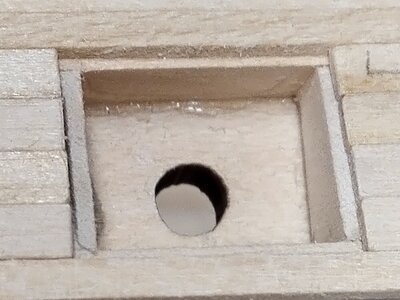
This is how mine look, I hope it's correct.
IMG_20230825_202817.jpg
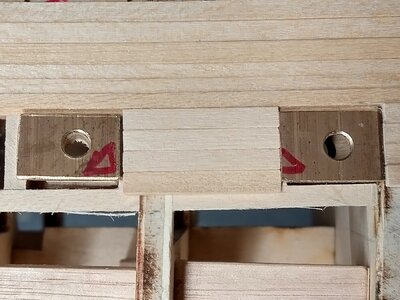
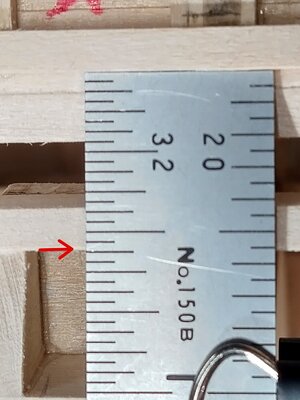
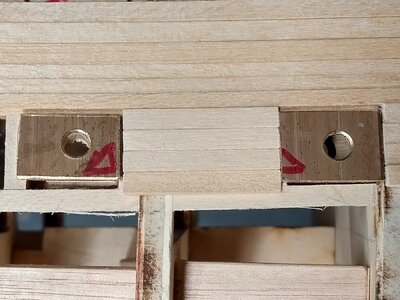
I made up some jigs to get the 1/32" step correct. The brass pieces have a a timber block glued 1/32" away from one edge, the width is the same as the gunport.
More photos when this section is finished.
Tony
 
Dear Tony,

given your finishing touch is prefect, I hardly dare to comment..... ;)
But my I advise you to paint the inner part of the gunports first in black?
Much easier to do it now....
 
Dear Tony,

given your finishing touch is prefect, I hardly dare to comment..... ;)
But my I advise you to paint the inner part of the gunports first in black?
Much easier to do it now....
All comments gratefully welcome. Good advice with the paint, I'm just holding off for the moment as I've had trouble in the past with parts not sticking to the painted surfaces.
 
Hi Tony,

How is the planking going?

I have something to confess to you: starting next weekend I'm going on leave (Holiday) for 10 days. And since my wife has forbidden me to take the ship with me, the works will be forced to stop.... :(

I hope you keep posting pictures regularly....
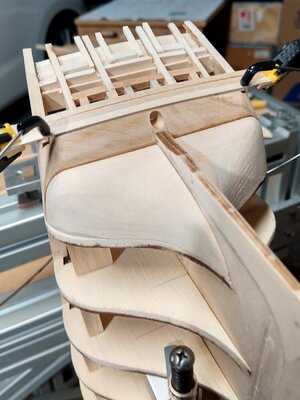
 
Hi Tony,

How is the planking going?

I have something to confess to you: starting next weekend I'm going on leave (Holiday) for 10 days. And since my wife has forbidden me to take the ship with me, the works will be forced to stop.... :(

I hope you keep posting pictures regularly....
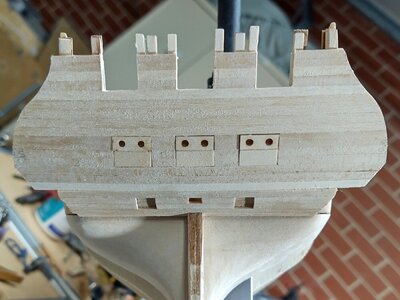
Hi Marc
I've nearly finished one side from the main rail down to the whale, but I still need to cut the gunports out.
Have a wonderful holiday, I'm looking forward to summer as it's still quite cold here.
Tony
 
Hi Tony,

I would like to install the main whale before leaving on Holiday.
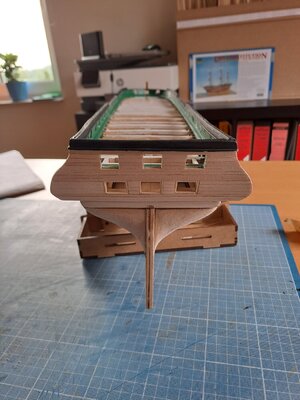
Therefore I decided to plank the Stern.......sanding stil to be done.... ;)
Do you see my mistake?

PS
I would like to get your advise (again)....
Should I first plank the counter block before installing the main whale?
How would you install the main whale?

Tony62.jpg

Tony63.jpg
 
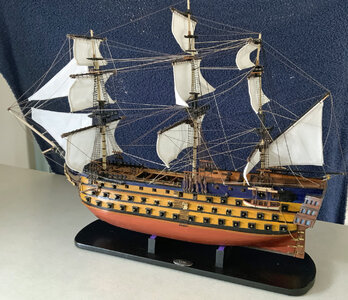
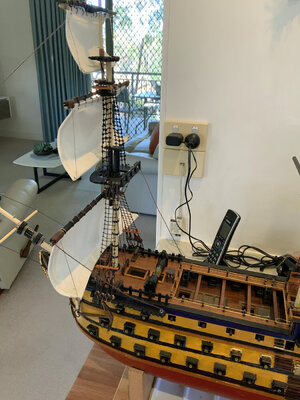
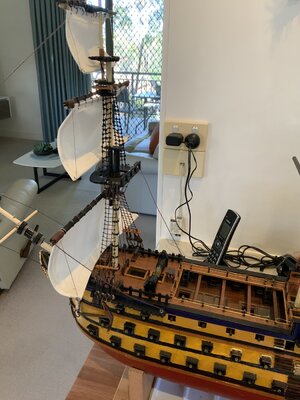
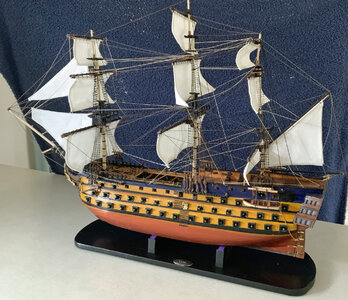
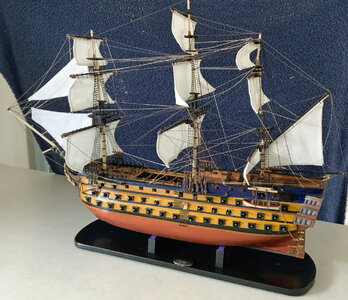
Been watching you build the constitution with a lot of interest looks like you are as usual.,building a great model again . Just to let you know i have finaly finished the vic just put a few photos on .going to build a new model HMS Terror looks like agood one have you had a look at thatone? Glad to see your move was ok.

6 vic.jpg

1 vic.jpg

003.JPG

3 vic.jpg

4 vic.jpg

005.JPG

5 vic.jpg

006.JPG

6 vic.jpg

6 vic.jpg
 
Hi Tony,

I would like to install the main whale before leaving on Holiday.
Therefore I decided to plank the Stern.......sanding stil to be done.... ;)
Do you see my mistake?

PS
I would like to get your advise (again)....
Should I first plank the counter block before installing the main whale?
How would you install the main whale?

View attachment 391885

View attachment 391886
Hi Marc
Fantastic progress the transom is looking pretty good the only minor thing I can see is the extra plank above the top gunports.
IMG_20230830_210459.jpg
I'm planning on planking the counter block before the whales but I don't know exactly how they will fit until I get to that point.
 
Been watching you build the constitution with a lot of interest looks like you are as usual.,building a great model again . Just to let you know i have finaly finished the vic just put a few photos on .going to build a new model HMS Terror looks like agood one have you had a look at thatone? Glad to see your move was ok.

View attachment 392068

View attachment 392069

View attachment 392070

View attachment 392071

View attachment 392072

View attachment 392073

View attachment 392074

View attachment 392075

View attachment 392076

View attachment 392077
Hi Terence
It's great to see the finished model I've often wondered how many Victory's get started but never finished.
I have seen some pictures of the HMS Terror model it looks very interesting with a lot of history, looking forward to your build log.
Tony
 
Hi Tony,

Indeed, and I don't know were my mistake happended...

Something I was afraid of was placing the main wale. But actually, once you get the hang of it, it's time consuming but not difficult....
Of course a lot of calculations preceded the placement and especially a lot of sanding and measuring and sanding and measuring...... ;)
And, now the fillers are paying off.... I easily can glue the strips were I want......

Tony66.jpg

Tony67.jpg

Tony68.jpg
 
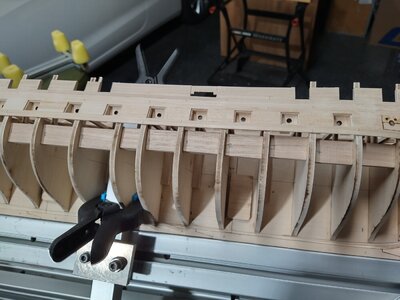
It's time for another progress report, I've completed the planking from the main rail to the top of the whale.

IMG_20230909_191123.jpg
My plan was to plank the transom first, holding the hull like this made aligning the planks easier.
IMG_20230909_190919.jpg
First plank in position, the side extensions will be fitted after the planks to insure that the transom curve is correct.
IMG_20230909_192911.jpg
Transom complete the port lids are just dry fitted to check sizes.

IMG_20230909_190200.jpg
The placement of the first plank is very important, I wanted to go from the gunport to the main rail without cutting down the planks.
IMG_20230909_192155.jpg
This is how I setup the first plank, 5 planks down to the gunports and 3 up to the rail.

IMG_20230825_202104.jpg
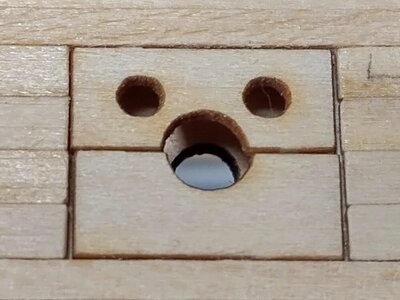
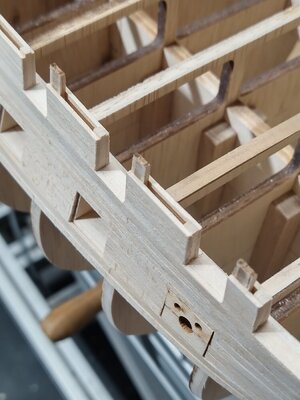
A 1/32" lip is required for the lids, when closed they must be flush with the hull.
IMG_20230825_202817.jpg
I made a some brass pieces with a block of wood glued 1/32" away from the edge to position the planks between the ports.

IMG_20230825_201635.jpg
Two more planks to finish this section then test fit the gunport lids to make sure they fit OK.

IMG_20230909_164413.jpg
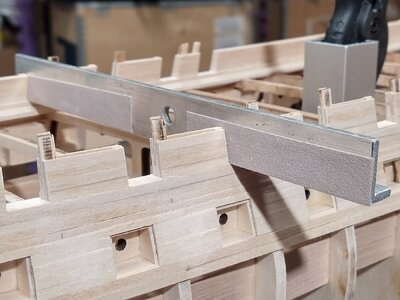
Last job is to cut out the upper deck gunports this turned out to be easier than I expected. First I used a micro saw then a file and finished it off with an aluminium L section with sandpaper stuck to it. Nice square corners and didn't take too long to do.

IMG_20230909_163712.jpg
IMG_20230909_165120.jpg
IMG_20230909_165052.jpg

The whales will be next once I've worked out how to make them.
Thanks a lot for looking at this and any comments welcome.

Tony
 
Hello dear Tony,

I just got back from my vacation. And saw your photos.

You know, I don't really have words for it, but what you do is simply perfect!
The planks fit together perfectly, everything is perfectly perpendicular... How do you do it?

I'll start it again tomorrow...but I already have a question. Do you have a detail photo of the back, specifically the part where the rudder fits?
Hi Marc
I hope you had a great vacation.
The tricky part with the first part of my planking was getting the first plank in the right position. I wanted the planks to fit between the top rail and the gunports without having to trim the planks down.
Do you want photos of the real ship or my model?
The Constitution museum has a great site with plans of the ship. Lots of photos, the plans are very good but maybe too much information.


IMG_3680.jpg

Tony
 
Back
Top