-

Win a Free Custom Engraved Brass Coin!!!
As a way to introduce our brass coins to the community, we will raffle off a free coin during the month of August. Follow link ABOVE for instructions for entering.
-

PRE-ORDER SHIPS IN SCALE TODAY!
The beloved Ships in Scale Magazine is back and charting a new course for 2026!
Discover new skills, new techniques, and new inspirations in every issue.
NOTE THAT OUR FIRST ISSUE WILL BE JAN/FEB 2026
You are using an out of date browser. It may not display this or other websites correctly.
You should upgrade or use an alternative browser.
You should upgrade or use an alternative browser.
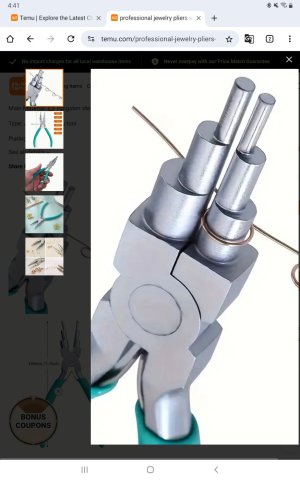
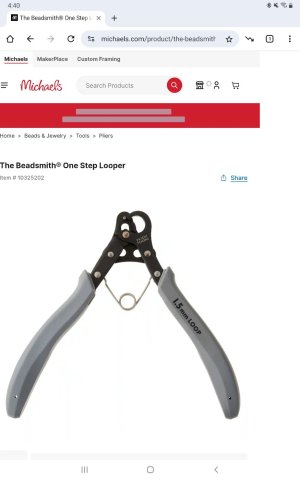
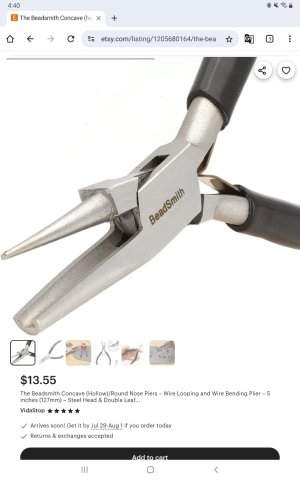
I really like the tools above but maybe because I am too cheap to buy them I go the simple route. To make a lot of rings and eyebolts that are all the same exact size and with dozens of different diameters available, drill bits work great. My preference is copper as it is clean, easy to work, and blackens much more easily than brass. I do use brass wire/rod on occasion, but it can be worked the same way.
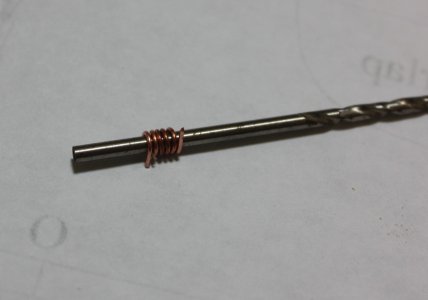
Find the ID of the eye bolt needed and wrap the wire around the appropriate size drill bit.
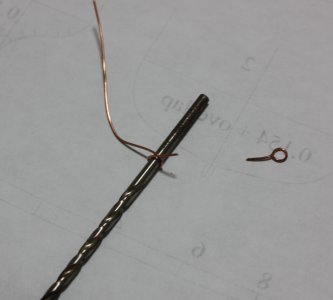
Snip the excess and remove the eye bolt
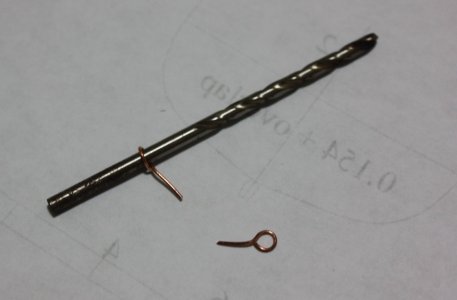
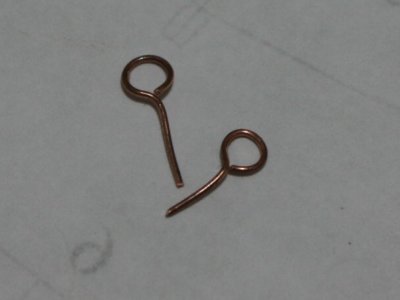
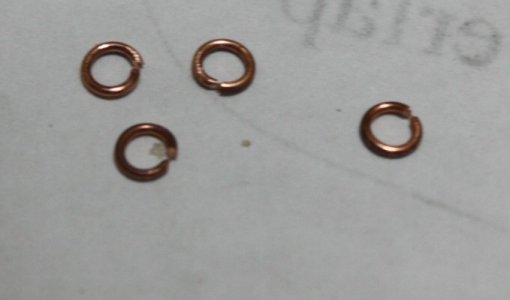
Same principle for making rings. Wrap the wire around the appropriate size drill bit numerous times, then remove the spring and snip the rings.
The rings can be soldered if they will be under stress on the model. Both eyebolts and rings can be cleaned up with some acetone them brushed with diluted liver of sulfur before or after being installed. I find it easier to install the parts then blacken them once fixed in place as the diluted LoS will not stain the wood.
Find the ID of the eye bolt needed and wrap the wire around the appropriate size drill bit.

Snip the excess and remove the eye bolt


Same principle for making rings. Wrap the wire around the appropriate size drill bit numerous times, then remove the spring and snip the rings.


The rings can be soldered if they will be under stress on the model. Both eyebolts and rings can be cleaned up with some acetone them brushed with diluted liver of sulfur before or after being installed. I find it easier to install the parts then blacken them once fixed in place as the diluted LoS will not stain the wood.
I use the tools because I mainly use brass-plated steel wire that is much much stiffer than pure brass or copper. Pain in the butt trying to wrap around a drill bit or other form.I really like the tools above but maybe because I am too cheap to buy them I go the simple route. To make a lot of rings and eyebolts that are all the same exact size and with dozens of different diameters available, drill bits work great. My preference is copper as it is clean, easy to work, and blackens much more easily than brass. I do use brass wire/rod on occasion, but it can be worked the same way.
Find the ID of the eye bolt needed and wrap the wire around the appropriate size drill bit.
View attachment 534433
Snip the excess and remove the eye bolt
View attachment 534432
View attachment 534434
Same principle for making rings. Wrap the wire around the appropriate size drill bit numerous times, then remove the spring and snip the rings.
View attachment 534435
View attachment 534436
The rings can be soldered if they will be under stress on the model. Both eyebolts and rings can be cleaned up with some acetone them brushed with diluted liver of sulfur before or after being installed. I find it easier to install the parts then blacken them once fixed in place as the diluted LoS will not stain the wood.
I get that. Hope you don't mind my asking but where do you need wire that strong on a model ship? I can see RC craft needing actual working strength materials but for static models I am at a loss.use the tools because I mainly use brass-plated steel wire that is much much stiffer than pure brass or copper. Pain in the butt trying to wrap around a drill bit or other form.
Many thanks Phil
Allan
First off, it is a thin gauge. But stiff. Softer metals can easily be bent out of shape. I like the way it stays the way I bend it. (26 gauge, 28 gauge)I get that. Hope you don't mind my asking but where do you need wire that strong on a model ship? I can see RC craft needing actual working strength materials but for static models I am at a loss.
Many thanks Phil
Allan
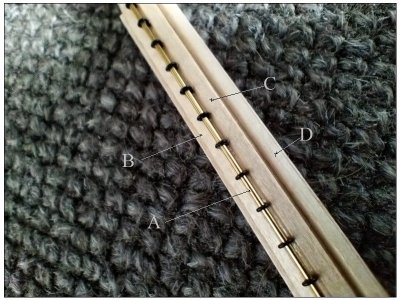
Hi AllanThank you for photos, the rings look perfectly round. Being new to this era and trying to learn, can you explain what the various parts are? It is no doubt just me, but I cannot figure out which part is the actual yard. Many thanks for your help.
Allan
View attachment 534344
Thanks for the reply the yards are difficult to photograph and show a lot of detail.
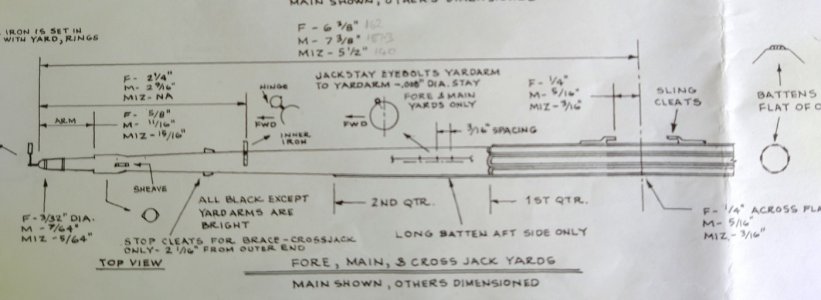
The drawing shows the parts better than my photos.
A is the jackstay
B,C & D are the batterns fitted around the yard.
Hope this helps.
Tony
There's lots of tools and ways to make the eyebolts my problem was the small size. I'm using 0.5mm wire making an eyebolt with a 0.7mm hole no tool I had could make one that size.what did you use to make the eye bolts and did make a jig for bending them
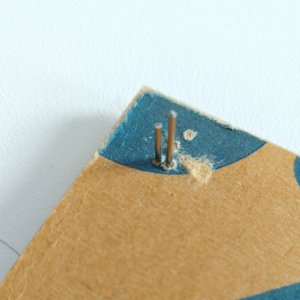
I made a simple jig using Perspex and two 0.7 pins.
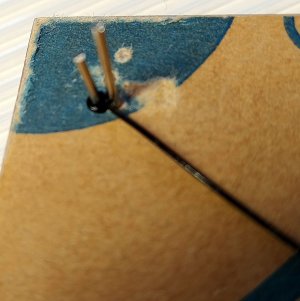
Bend the wire around the first pin and use the second pin to bend the wire at 45 degrees.
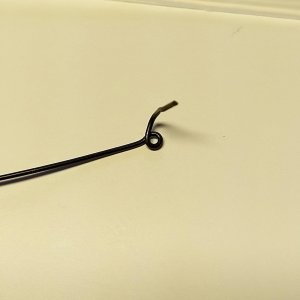
Trim the excess wire.
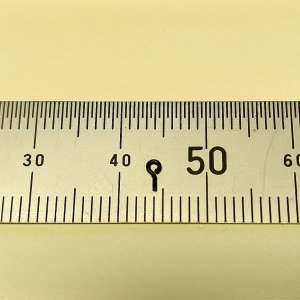
Complete.
Tony
It definitely helped. Thank youHope this helps.
Very nicely done, very clearly explained. Thank youThere's lots of tools and ways to make the eyebolts my problem was the small size.
Allan
Here's how I make small eyebolts from jewelry wire. It's a short YouTube video that I haven't had the time to add a narration. Basically formed by twisting the wire around an appropriately sized drill bit. The tool I am using to hold the wire is a hemostat clamp.
Thanks JeffHere's how I make small eyebolts from jewelry wire. It's a short YouTube video that I haven't had the time to add a narration. Basically formed by twisting the wire around an appropriately sized drill bit. The tool I am using to hold the wire is a hemostat clamp.
I like this method and used it for the eyebolts on the gun carriages. The disadvantage of this method is the holes required are nearly twice the size and there's a twist at the bottom of the eye.
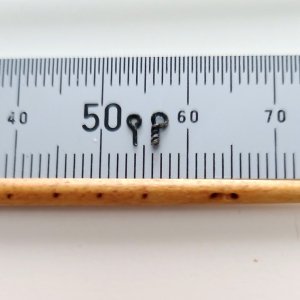
Same wire and hole ID, the holes required in the yards need to be a lot bigger.
Tony
Thanks Jeff
I like this method and used it for the eyebolts on the gun carriages. The disadvantage of this method is the holes required are nearly twice the size and there's a twist at the bottom of the eye.
View attachment 534687
Same wire and hole ID, the holes required in the yards need to be a lot bigger.
Tony
Here are some examples of the ones that I make. the wire sizes are (left to right) 24, 26, and 28 gauge. The brass is the size supplied with the Model Expo Conny. There are not nearly enough to do the yards included with the kiter
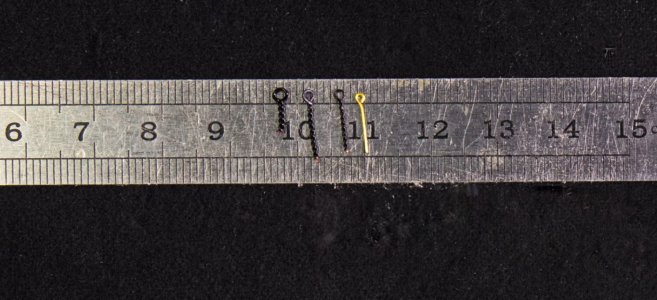
The size of the eye can be controlled by selection of the drill diameter. 28 gauge (0.32mm) wire is a nice size for the yards and the twisted part in not very large. I used these on the Conny cross section that I made. You can make a hundred of then in bit over an hour. There is some potential advantage of the glued twisted stem holding in wood better than straight wire.
Last edited:
- Joined
- Jan 26, 2017
- Messages
- 1,337
- Points
- 493

Hello Tony. I'm starting to prepare the masts. Your chafing fish of the masts look perfect. Can I ask how you made them?Just a quick update, I'm building up the masts. I started on the masts last year now I'm adding the finishing touches.
- Joined
- Jan 26, 2017
- Messages
- 1,337
- Points
- 493

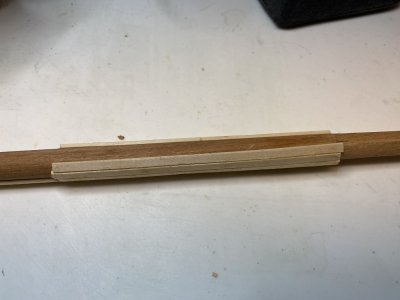
Tha's a great idea, I might use it, thanks.I am building the Constitution cross section. As per the instructions I made my "chafing fish" using 1/8 X 1/16" strip. I used wood filler and sanded everything smooth.
View attachment 545996
Sorry for the late reply. I used 3/32 * 3/64 strips chamfered on the edges so they fit together without too much of a gap. I also fitted the caps first which made shaping the ends of the chafing fish much easier.Hello Tony. I'm starting to prepare the masts. Your chafing fish of the masts look perfect. Can I ask how you made them?
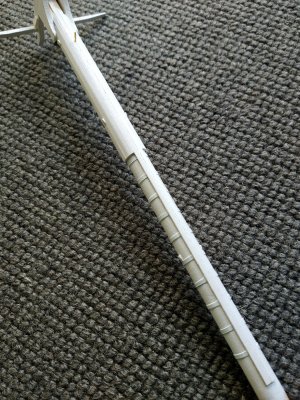
Tony
- Joined
- Jan 26, 2017
- Messages
- 1,337
- Points
- 493

Thanks for the reply, Tony. I hope the chafing fish I make will look as beautiful as the one you made.Sorry for the late reply. I used 3/32 * 3/64 strips chamfered on the edges so they fit together without too much of a gap. I also fitted the caps first which made shaping the ends of the chafing fish much easier.
Hi
It's been a while since I've posted any progress and I apologise for that. It's taken me a while to complete the yards and various other bits before starting the rigging.
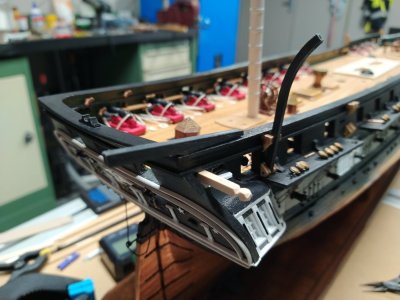
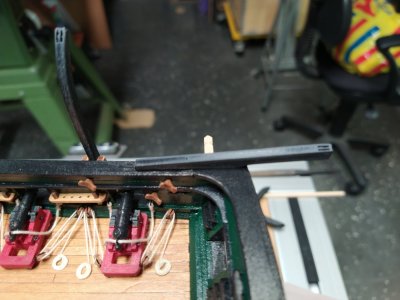
Life boat fittings temporary fitted I'll remove them while doing the rigging and fix them later.
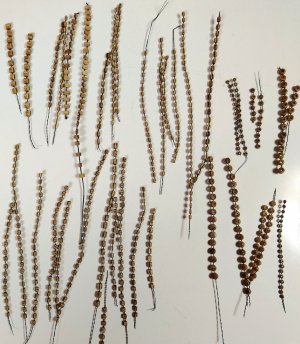
975 blocks deadeyes and bullseyes to varnish.
It's been a while since I've posted any progress and I apologise for that. It's taken me a while to complete the yards and various other bits before starting the rigging.


Life boat fittings temporary fitted I'll remove them while doing the rigging and fix them later.

975 blocks deadeyes and bullseyes to varnish.


