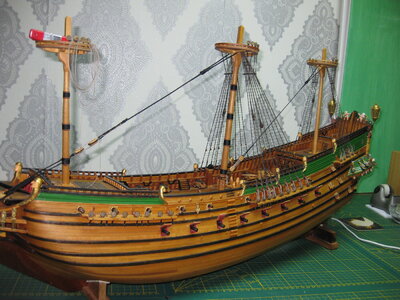
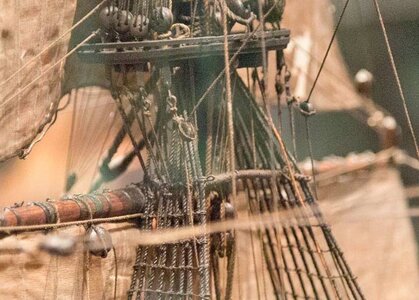
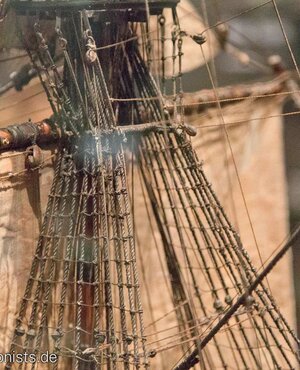
VOC ship The Prins Willem (scale 1:75) Year 1651

Yes on picture with flash. But on my desk looking to it, you unsee it. The rope is very dark. And some mistakes you must keep, they're lessenserie for the next time.
So true, the present day cameras (in our phones) are just too accurate.
But your ratlines are a peace of beauty!
Promise I won't say anything anymore on Z- or S-shrouds...;)
 
I'm still peeking once in a while what's going on here ;)
Great that you've decided to change ratlines... but yes... Z shrouds :pROTF

Next time you won't get it out from it so easy! :p:D

Cheers,
Matt
 
So after a while and many repairs on the washing machine :confused: (default in motor, couldn't find it, because there was a problem with leakage current, causing the earth leakage switch to trip all the time.) But today a new motor will arrive and hopefully the problem will be solved. And decorating the home for Xmas takes time.
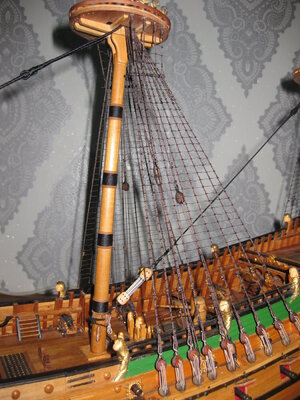
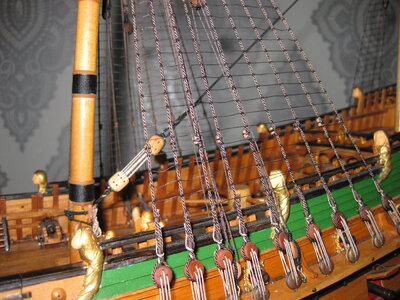
today I finished the shroud of the main.

IMG_2173.JPGIMG_2174.JPGIMG_2175.JPG

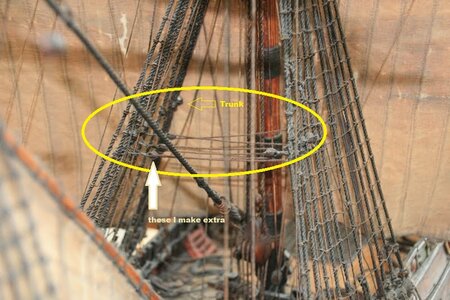
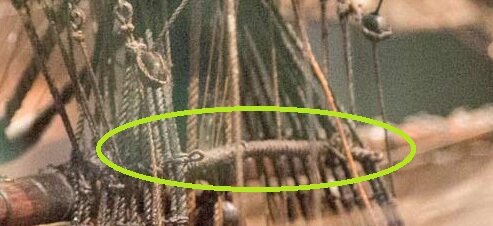
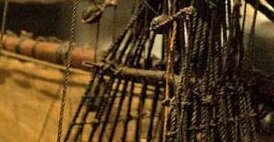
Now I gone make this part. Books tell this will be on a later period of time but the model in the museum shows them. Don't know how this been called.

f1112t6795p166824n12_CNpAEeqy.jpg

I also see on the old model that the trunks are much higher positioned. On the drawings they are lower mounted. It makes more sense to mount them higher like the model. Because they are on that position straight above the belaying pins. So I need to think how to solve that. Maybe I make extra trunks and leave the old ones in place. That causes the least damage.
Thanks for visiting :)
Coffee
 
A little bit of research let seen more then knowing.

Fore
main01.jpg
A nice detail in this picture is to see how the futtock shrouds are attached to the deadeyes of the top. just a S-hook and a eye in the rope.

main
main02.jpg

especially this one
fore
main01a.jpg

I only can discover 0ne like in the pdf at the William Rex. But that one is in the middle of the shrouds. This one on the model looks like it's nearby the last shroud rope.
main
main03.jpg
Above picture shows that it is attached to the last 5 shrouds.

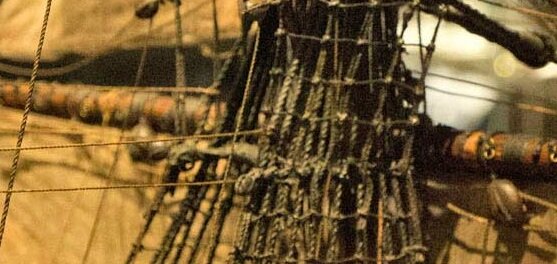
the below picture of the fore mast shows it also on the last five shrouds
fore
fore01.jpg

Great just by posting this log I think I solved the problem and makes it clear.
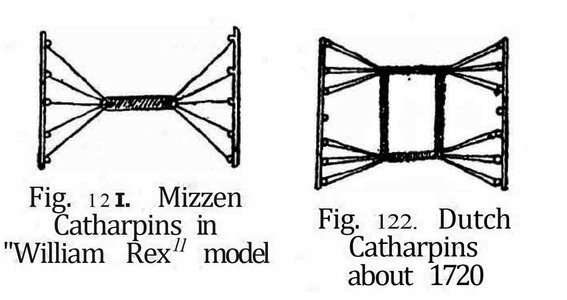
It is like the model of the William Rex in Anderson but then only on the last 5 shrouds.

main04.jpg
 

Attachments

  • zwichtingen.pdf
    449 KB · Views: 16
Last edited:
very interesting detail - maybe specialists like @Ab Hoving , @mati.n or somebody else have more detailed knowledge about this rigging detail.
I am pretty sure, that they way changed during the time ......
Yes I think the same. And there are so many little details in the rigging, just by looking to the pictures and discover. This is fun by itself.
 
Beautiful work on the shrouds and ratlines Stephan! May be you can post a step-by-step tutorial as to how exactly you do your shrouds and what knots you use for tie-offs. I for one would love to see your process from scratch.
 
Good job. These tackles are called Schwyz-Serveni.
The main task of the Swiss-sarvenei was to prevent the divergence of the upper parts of the cables from the mast when tightening the cables of the wall cables.
You will be convinced of this yourself if you perform this operation without installing the Swiss Sarvenei.
Initially, instead of Schwyz-sarvenei, so-called skerry cables were installed (which were then tied into bundles, etc.). By the second half of the 18th century, they came to the conclusion that "the game is not worth the dressing" - it is enough just to fasten the already covered cables of the lower masts with cables before setting and tightening the putin cables ... -sarveni, were made of several slings rounded together, and at the ends they formed lights through which a fastening halyard was passed ...
 
Hi Stephan,

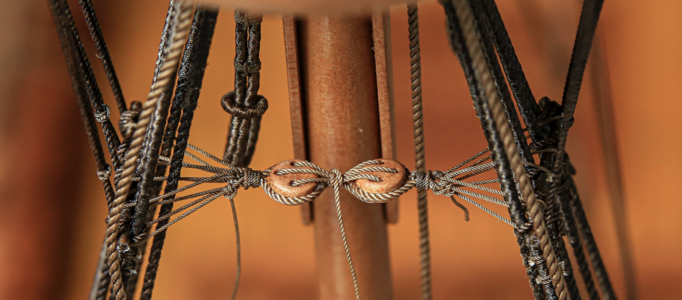
If I was you I will go for catharpins similar to this:

Either De 7 Provinciën style:

Zrzut ekranu 2021-11-26 o 14.53.30.png

or Prins Willem style presented in H. Ketting book.

Zrzut ekranu 2021-11-26 o 21.05.35.png
Zrzut ekranu 2021-11-26 o 21.07.44.png

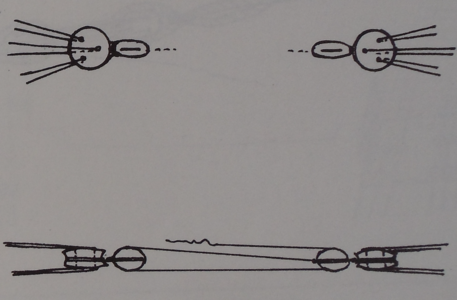
This is similar way I did on my model.
Distance between deadeyes is just smaller and with knot in between to lock it in place.

Zrzut ekranu 2021-11-26 o 15.06.05.png


This is another detail of rigging very poorly documented.
However above examples looks to me most interesting.

This is another situation... where you will just have to decide, which one you like most and just do it :)


In term of lower catharpins... hmmm there is no real evidence on any plans of Prins Willem where are they shown to be fitted.
Ok... they are visible on the photo of the model, which you posted... but I never seen them in Batavia, De 7P, Willem Rex, Two Decker...
...but if you like them.... probably no one will ever question them :) another poorly documented part of the rigging... unfortunately. However, I'm not sure now where... but I think I read about them to be "British" invention and used mainly in this fleet and on big warships... but I can't support this by any source... maybe one day I will find out where I saw this.

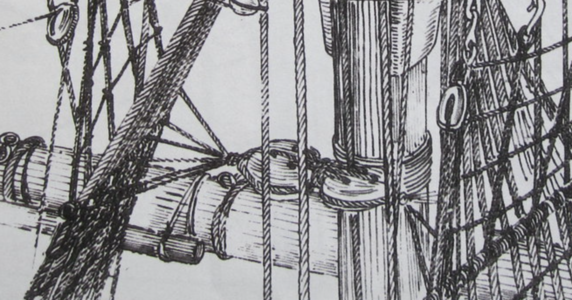
If you decide to do them... they have to be rigged in specific way... Mondfeld has drawing in shroud section.

Also your shroud trucks are to low on the shrouds as far I can see on the photos. Look's like you have them at 1/3. If you look at the PW plans they should be around half way between futtock stave and upper deadeye. Adding another set of trucks will look odd... so either keep them as you have now or just cut of and rig it bit higher.

Cheers,
Matt
 
or Prins Willem style presented in H. Ketting book
Yes, I discus this with Ab somewhere. He told me the best reference are the originaliteit models or paintings. Herman Ketting was using the info he had in that time to write the book and make the plans. There are a lot of things he changed by the knowledge he had in that time.

In term of lower catharpins... hmmm there is no real evidence on any plans of Prins Willem where are they shown to be fitted.
Ok... they are visible on the photo of the model, which you posted... but I never seen them in Batavia, De 7P, Willem Rex, Two Decker...
...but if you like them.... probably no one will ever question them
Are they called lower catharpins? Indeed never heard about them. I like them on the model. You can only see them on the main.

Also your shroud trucks are to low on the shrouds as far I can see on the photos. Look's like you have them at 1/3. If you look at the PW plans they should be around half way between futtock stave and upper deadeye. Adding another set of trucks will look odd... so either keep them as you have now or just cut of and rig it bit higher.
You're right about this. Shoot mee why I put them there, I think from drawings I have or just a big mistake.
I think I get them of and place them where they should be.

@all thanks for the likes and compliments
 
Catharpins can also be used for pulling in the foremost shroud to be able to brace the lower yard further.
(If rigged to adjust cross wise tension)

Looking great!

Cheers
Peter
 
Last edited:
Thanks Peter and Kurt.

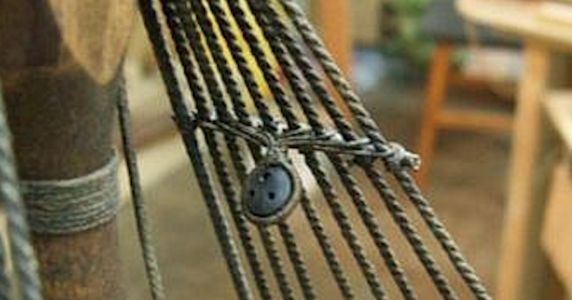
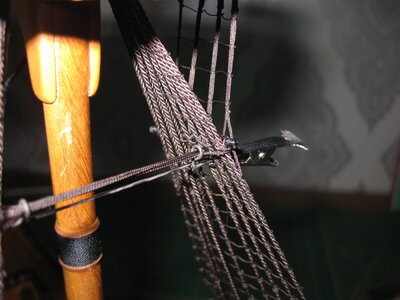
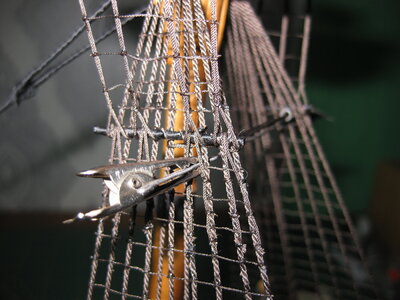
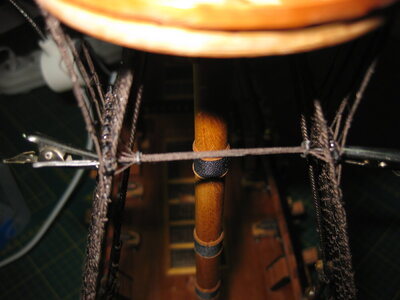
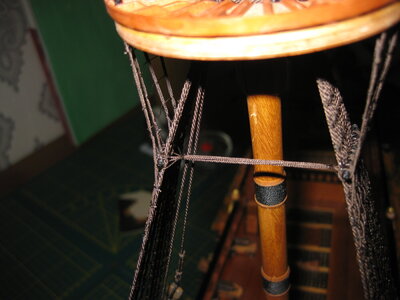
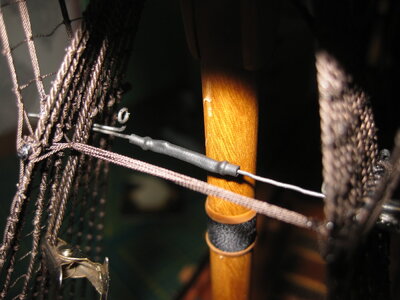
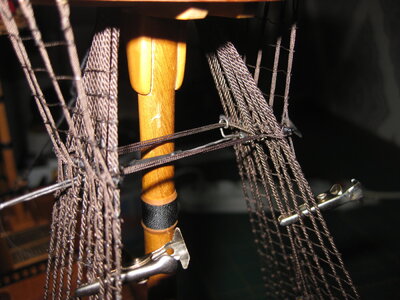
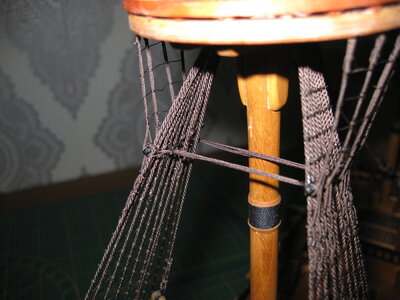
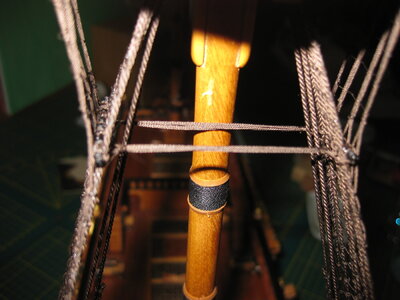
Catherpins.The only thing I can say is, start as early as possible in the construction of your rig.
Otherwise you end up like me. breaking my nerves
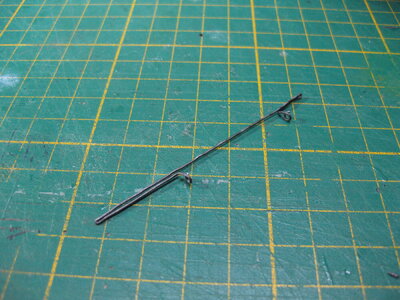
Special constructed tool :)
IMG_2177.JPG

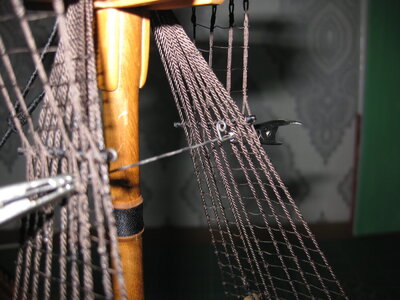
secured between the shrouds
IMG_2178.JPG

Put the rope between the shrouds through the 2 eyes
IMG_2179.JPGIMG_2180.JPG

secure on outer side of the eyes by a binding
IMG_2181.JPG

cut the tool away
IMG_2186.JPG

repair the tool and use again for a second time
IMG_2187.JPGIMG_2190.JPGIMG_2191.JPGIMG_2192.JPG

and now just wrap it up with rope (next time)
 
Back
Top