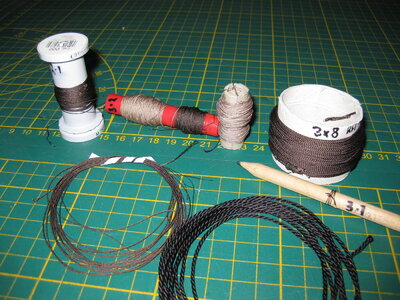
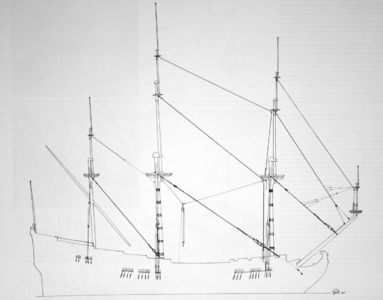
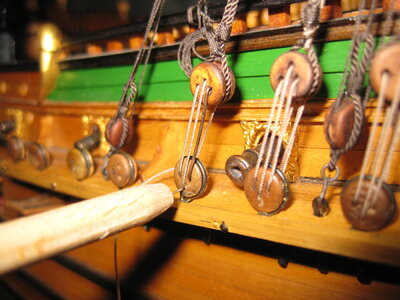
VOC ship The Prins Willem (scale 1:75) Year 1651

Thanks Peter and Kurt.

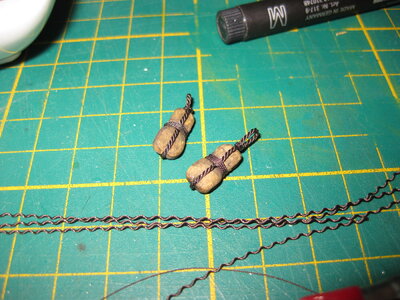
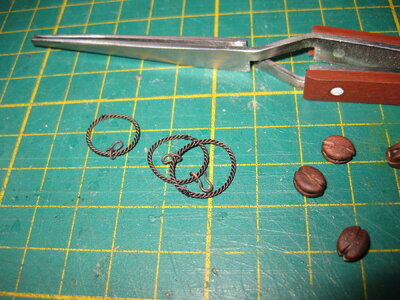
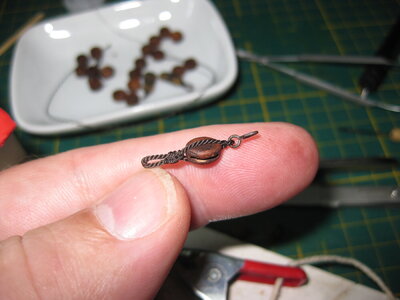
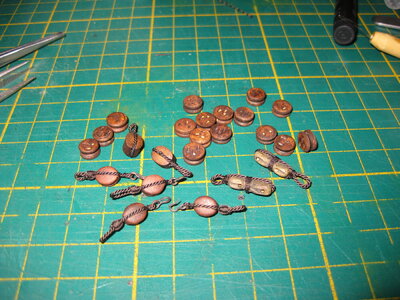
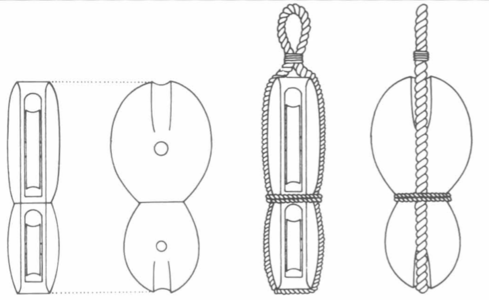
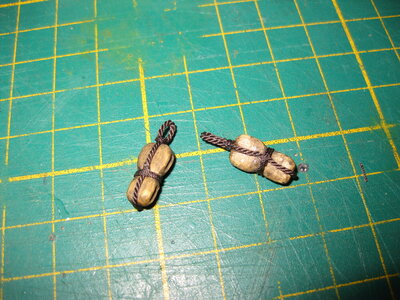
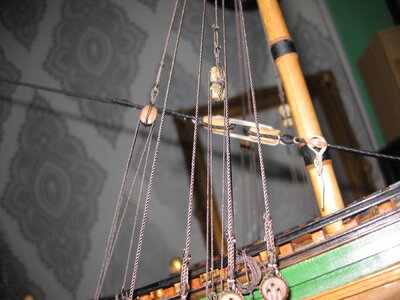
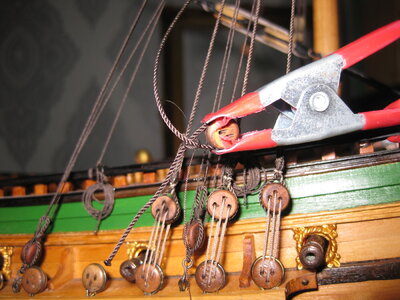
Catherpins.The only thing I can say is, start as early as possible in the construction of your rig.
Otherwise you end up like me. breaking my nerves
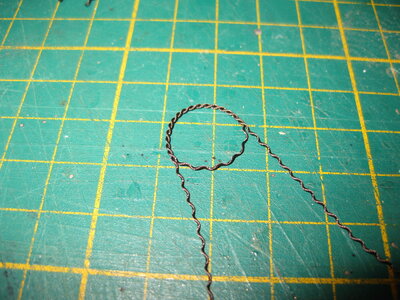
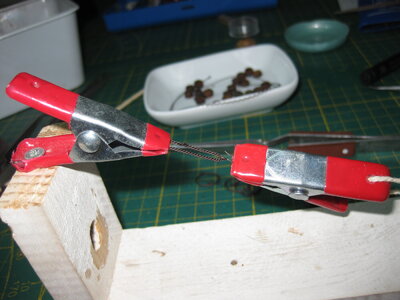
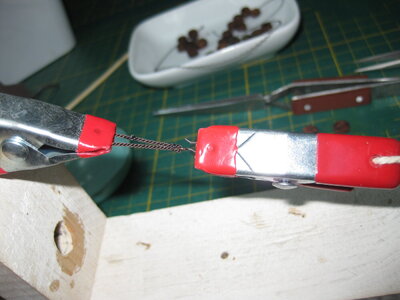
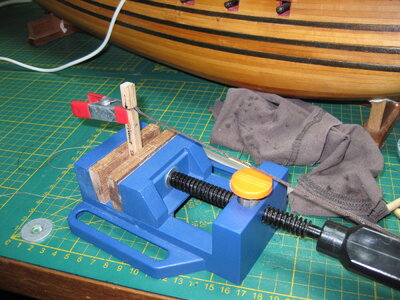
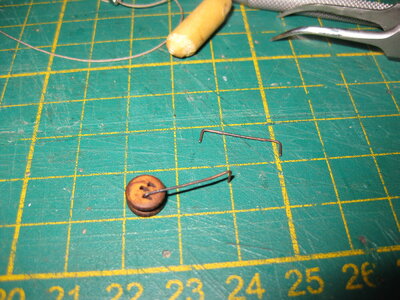
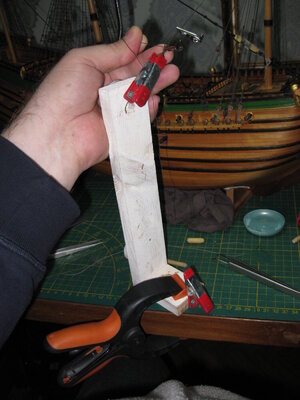
Special constructed tool :)
View attachment 271782

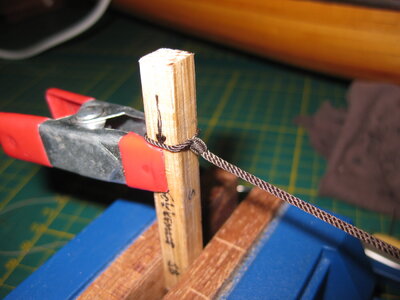
secured between the shrouds
View attachment 271783

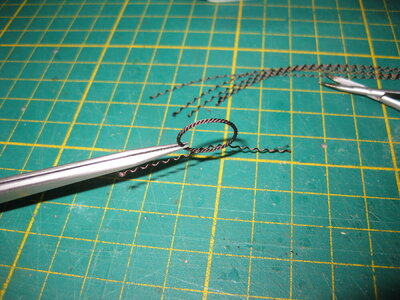
Put the rope between the shrouds through the 2 eyes
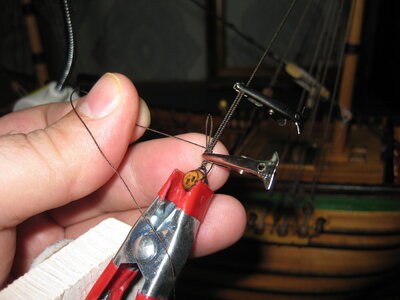
View attachment 271784View attachment 271785

secure on outer side of the eyes by a binding
View attachment 271786

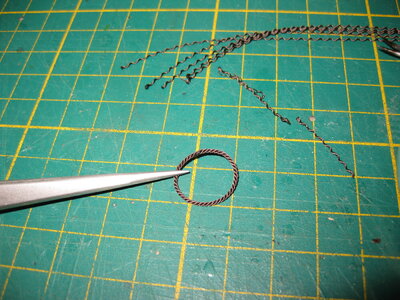
cut the tool away
View attachment 271787

repair the tool and use again for a second time
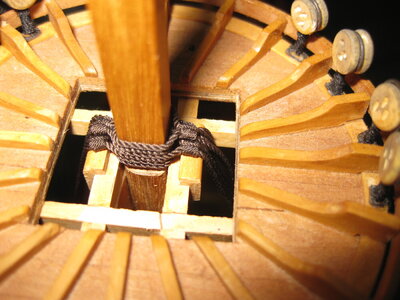
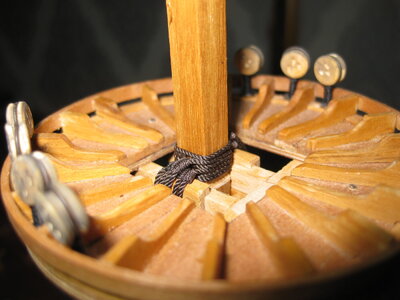
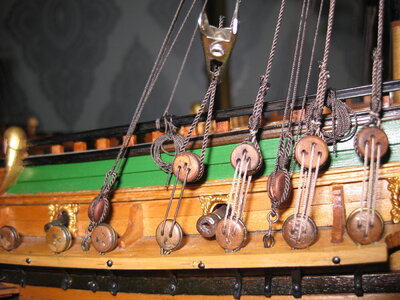
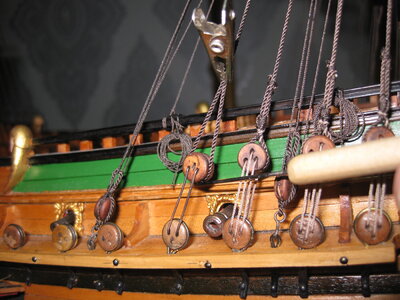
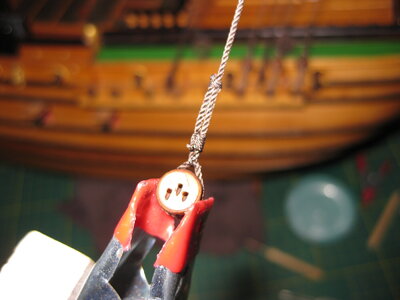
View attachment 271788View attachment 271789View attachment 271790View attachment 271791

and now just wrap it up with rope (next time)
Stephan,
Wow, I appreciate your drive for quality. I mean you created wonderful Tops. It is no surprise that you would carry on your drive for quality in your rigging. Creative ingenuity in your method to rig in tiny tight spaces. Now I know how I might do the same with my FAT fingers

Wonderful work sir!!

Cheers,
Ken
Thanks Ken. These are very nice words.
 
I forget to take pictures. But it's to do. Takes only some time and patience.
Speaking of "time and patience" Stephan, how much time did you invest in making that excellent ring and eyebolt? I would think that my fingers would be cramped in no time at all. And, as I learned early on, I always make a few extras of any small piece components. If I don't surely I will drop, lose, the dog will eat, or the vacuum will eat them, then I have to go back and set everything back up to make 1 or 2 pieces. I always learn the hard way. hahah.

I was thinking of trying the method you used as it could be easier than creating the eyebolt from brass rod/wire for smaller scale work.

Thanks for sharing your work and methods.

Cheers,
Ken
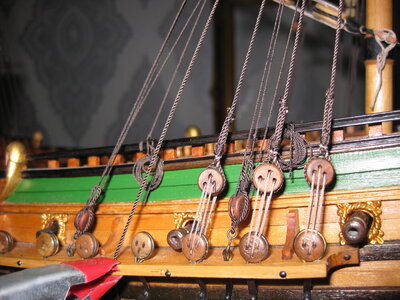
 
Hi Stephan,

It's me again complaining :pROTFROTF
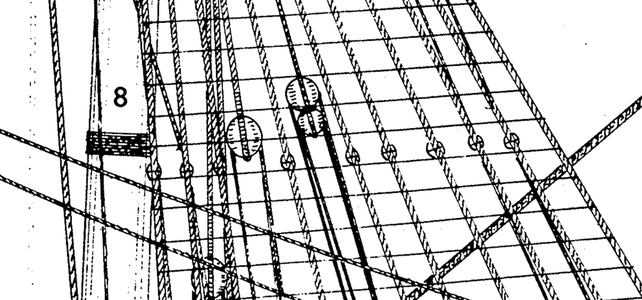
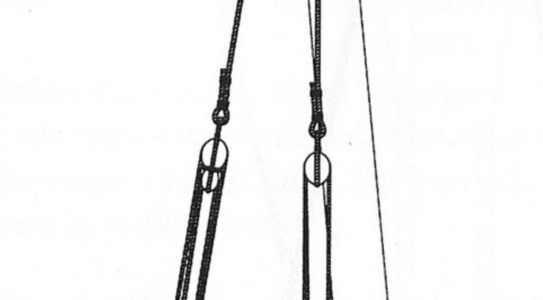
I think you have fiddle block (violin) for side tackles upside down...

Thicker block should be on top. Next to seizing...
...yours have thinner part next to seizing...

Pictures for better understanding what I mean...


Zrzut ekranu 2021-12-6 o 13.41.18.png
Zrzut ekranu 2021-12-6 o 13.42.22.png
Zrzut ekranu 2021-12-6 o 13.45.23.png
 
Update number ???? Who cares :cool::D

Thanks everybody for the likes and comments. I started with the foremast.
First rope making and blocks. Then preparing the blocks for the side tackles.
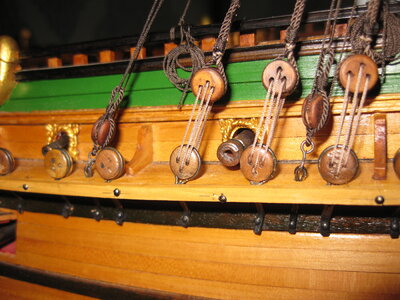
View attachment 273622View attachment 273623View attachment 273624View attachment 273625View attachment 273626View attachment 273627View attachment 273628View attachment 273629View attachment 273630View attachment 273631
Hi Stephan,
See your oven tempered rope is staying excellent in shape after untwisting it and allows you to create perfect noose for the block.
I will use this also as you described in de modelbouwer. Very nice article.
 
Hi Stephan,
See your oven tempered rope is staying excellent in shape after untwisting it and allows you to create perfect noose for the block.
I will use this also as you described in de modelbouwer. Very nice article.
Thanks Maarten, there is a writer hidden in me. :)
But it works perfectly as I described. Also the tensions on the rope after twisting (curling up) are then gone. You are left with a nice flexible straight rope.
 
Thanks Maarten, there is a writer hidden in me. :)
But it works perfectly as I described. Also the tensions on the rope after twisting (curling up) are then gone. You are left with a nice flexible straight rope.
I also use polyester rope from Gutermann but sofar I just briefly heated with a heat gun, but this definately seems to work better. Thx.
 
@All thanks for the likes and comments.

Special on request of @Heinrich A little how too. I already told that I use the method of Andrey Kudin.
little bit differed but I think the movie of Andrey and my picture are making the thing clear.

First I cut a piece of rope for the side tackle or shrouds to make a pair. and on a piece of wood that has the same dimensions as the mast I make the knot in form of a woolding.

IMG_2258.JPG
IMG_2259.JPG

After I finished this I lay it on the top of the mast. You can see that I did not make the mast complete. I will do that after the work is done on that point. And move a level up when I finished that part of the standing rigging.

IMG_2260.JPG
IMG_2248.JPG

The side tackle I already showed before

IMG_2246.JPG

IMG_2247.JPG

Then I fit the deadeye on the shroud. I work again piece by piece. The first pair on Starboard side then the next pair on the other side and back. From front to back. So the 3th pair I will show in these pictures.

first the deadeye on the rope with steel clips to make sure the distance is everywhere the same. Fix the rope with a clip. and put a little glue under the deadeye to the rope to make sure the rope stays on that place.

IMG_2249.JPGIMG_2250.JPGIMG_2251.JPG

After that I make a knot to keep the rope in place

IMG_2252.JPG

A special third hand to help me make the woolding above the deadeye.

IMG_2254.JPG
IMG_2253.JPG
IMG_2255.JPG

Then I rig the halyard on the shrouds and use one iron spacer I used before to keep the distance. A needle in the eye of the deadeye makes the rope stay in place after removing the spacer and go further with the halyard.

IMG_2256.JPG

IMG_2257.JPG

done
 
Superb work and very logical to follow. Thank you very much Stephan. I have already bookmarked this for when I get to that stage.
 
Back
Top