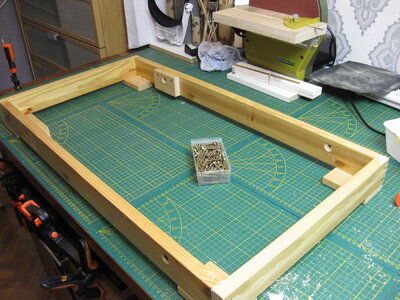
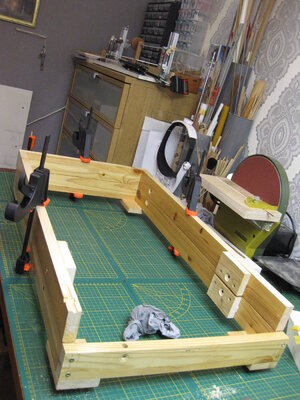
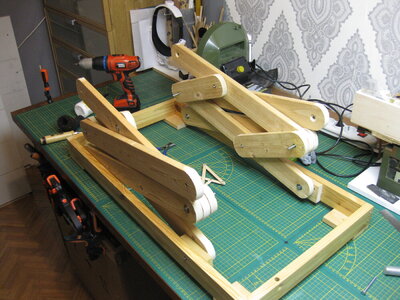
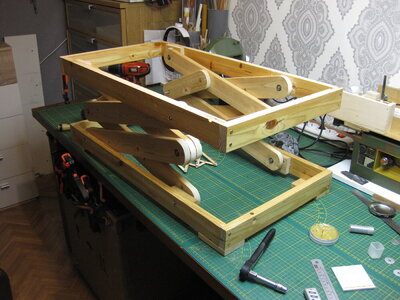
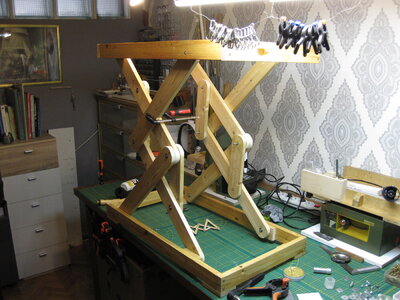
Always nice to see a Dutch Guy fiddling a Swedish Ikea Bed into a adjustable table with Chinese GearsPast days I was working on my lifting table.
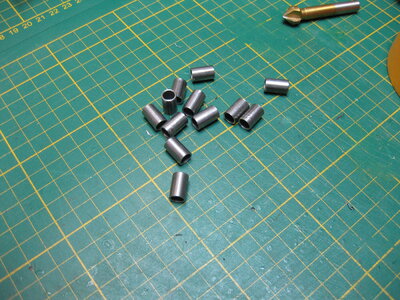
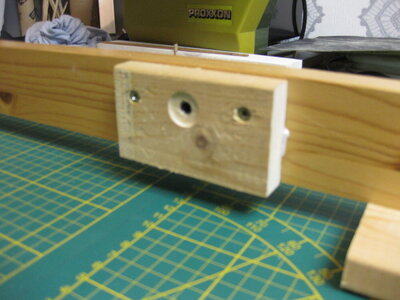
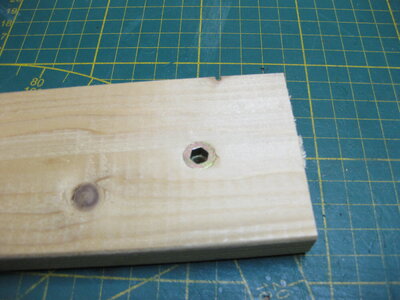
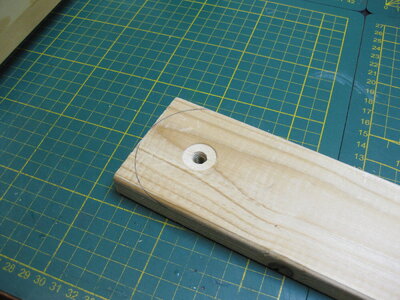
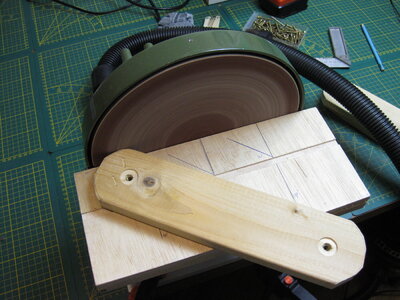
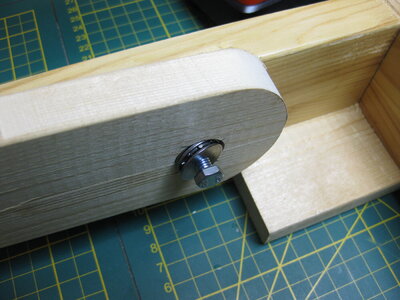
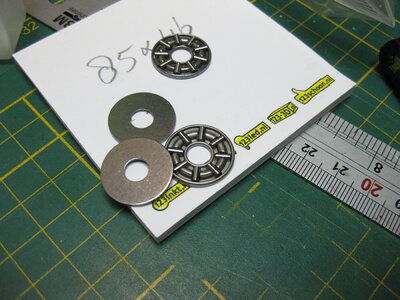
I cut all the wood and drilled all the holes in it. Now I'm making metal shims to hold the screws in the wood.
View attachment 298459View attachment 298461View attachment 298460
-

Win a Free Custom Engraved Brass Coin!!!
As a way to introduce our brass coins to the community, we will raffle off a free coin during the month of August. Follow link ABOVE for instructions for entering.
-

PRE-ORDER SHIPS IN SCALE TODAY!
The beloved Ships in Scale Magazine is back and charting a new course for 2026!
Discover new skills, new techniques, and new inspirations in every issue.
NOTE THAT OUR FIRST ISSUE WILL BE JAN/FEB 2026
You are using an out of date browser. It may not display this or other websites correctly.
You should upgrade or use an alternative browser.
You should upgrade or use an alternative browser.
VOC ship The Prins Willem (scale 1:75) Year 1651
- Thread starter Steef66
- Start date
- Watchers 76
-
- Tags
- 1:75 prins willem
I am curious about the "Stengewinderepen" which I take it has something to do with lowering the topmast. Does it have to do with the fitting of a fid in the heel of the topmast?
Can't wait to see this lifting table... will you take out a patent?
Fair winds.. Ed
Can't wait to see this lifting table... will you take out a patent?
Fair winds.. Ed
- Joined
- Aug 8, 2019
- Messages
- 5,585
- Points
- 738

Yes it is to lift the topmast. What I understand of it is to lower the point of buoyancy. And for maintance when the ship goes for anchor in the harbor.I am curious about the "Stengewinderepen" which I take it has something to do with lowering the topmast. Does it have to do with the fitting of a fid in the heel of the topmast?
- Joined
- Aug 8, 2019
- Messages
- 5,585
- Points
- 738

For only 12 euroAlways nice to see a Dutch Guy fiddling a Swedish Ikea Bed into a adjustable table with Chinese Gears
It does look like solid construction. Will you paint it or use a poly?
- Joined
- Aug 8, 2019
- Messages
- 5,585
- Points
- 738

The square parts on top and bottom ar already painted (standaard Ikea paint) the lifting part I don't paint, could do harm to the function. Maybe just some beewax. The top I'll give a layer of beewax. I used before on my crosscut sled.It does look like solid construction. Will you paint it or use a poly?
Congrats!!! Very well made, mon ami!!
An interesting mechanism. Normally slides or rolls 1 leg at the bottom by such a lifting table. But here they are both fixed which makes it more solid.it's working
Well done, Stephan.
- Joined
- Aug 8, 2019
- Messages
- 5,585
- Points
- 738

Thanks Jim.Congrats!!! Very well made, mon ami!!
Thanks Peter. Yes it was a video and construction I found on YouTube. See post #512. The sliding mechanic takes to much details in the constructionand therefore difficult to make. The lifting hight is the same with this construction.An interesting mechanism. Normally slides or rolls 1 leg at the bottom by such a lifting table. But here they are both fixed which makes it more solid.
Well done, Stephan.
To finish:
I need to make a hand wheel to lift the table or make it elektriciteit. I have gears ans motor in stock. And finaly the wheels on the bottom. This week I go to the shop to buy them. This make the final cost just below the 50 euro's.
- Joined
- Aug 8, 2019
- Messages
- 5,585
- Points
- 738

I have stabilised the scissor mechanism by installing crossbars between the left and right sides of the two scissor mechanisms.
The maximum height is now 108 cm. and the minimum height is now 30 cm.
The space on the table is 45x80 cm.
The only thing left to do is the electric drive. For this I have ordered parts and the waiting is on these parts.
The maximum height is now 108 cm. and the minimum height is now 30 cm.
The space on the table is 45x80 cm.
The only thing left to do is the electric drive. For this I have ordered parts and the waiting is on these parts.
- Joined
- Aug 8, 2019
- Messages
- 5,585
- Points
- 738

My last update was a month ago. Time to let you see I started again with the build.
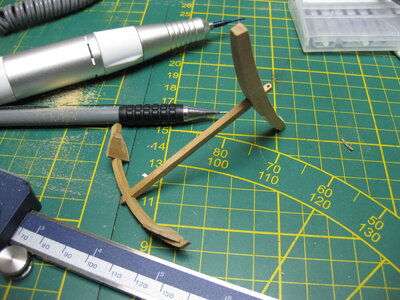
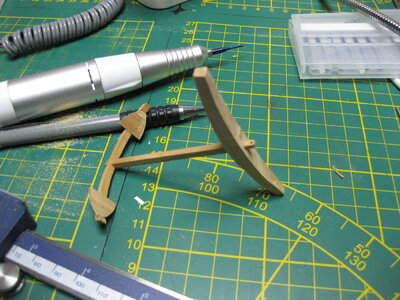
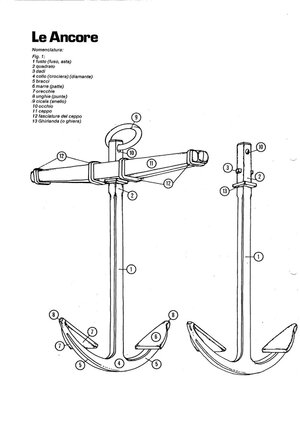
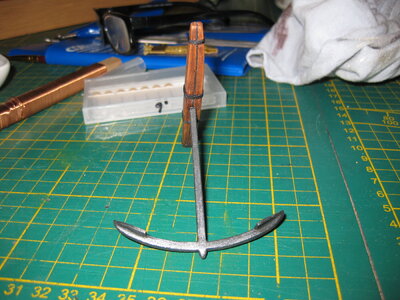
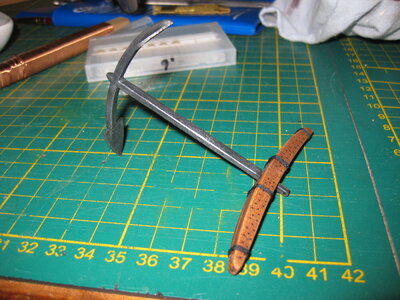
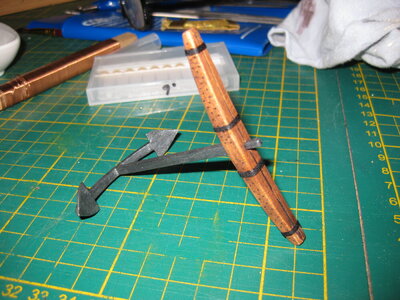
I was planning to go further with the rigging but shoulders need a little more rest before I can go on with that. So I decided to start with the anchors. I gonna make them out of wood. I use cherry, I got a lot of that en it is perfect for the job. First making plans in AutoCad And printed these in pdf.
Then prepare the wood and start building.
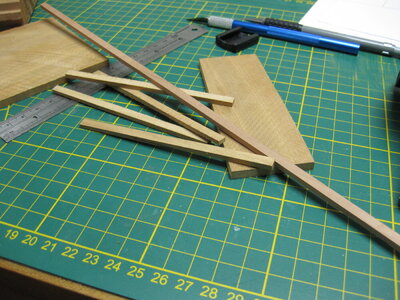
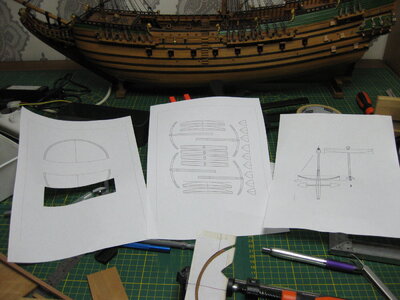
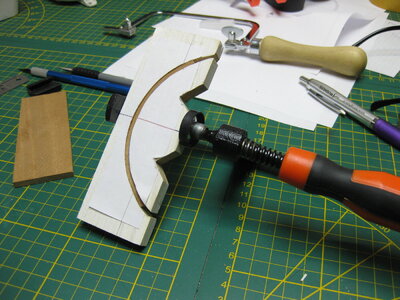
I weaken 2 strips of cherry in boiled water en put them in the mould to dry
Then I shaped the first part and put the parts dry fit together. Only the wooden bar on top to make the job complete. That I will show next time.
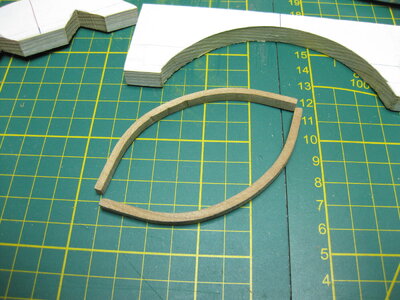
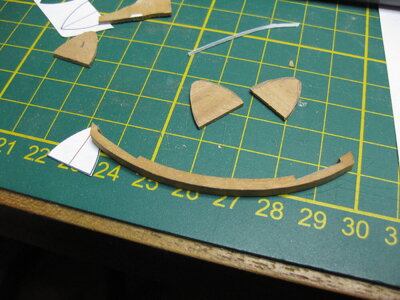
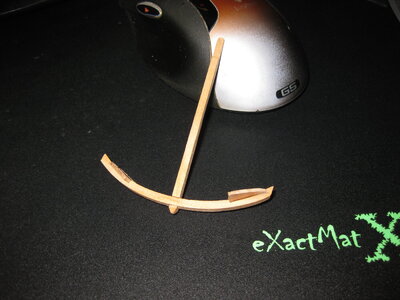
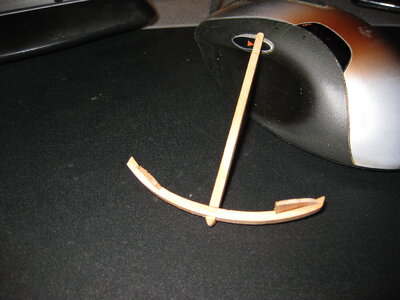
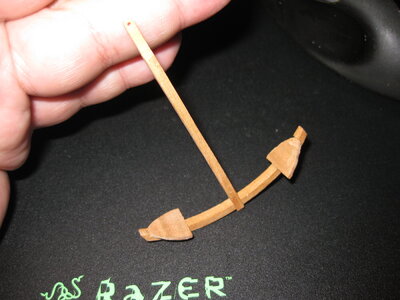
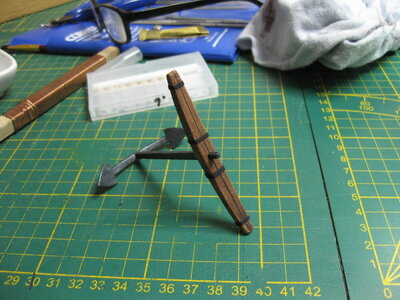
when everything is glued I form the wood more and panit it black. Then I put the bar on it.
I was planning to go further with the rigging but shoulders need a little more rest before I can go on with that. So I decided to start with the anchors. I gonna make them out of wood. I use cherry, I got a lot of that en it is perfect for the job. First making plans in AutoCad And printed these in pdf.
Then prepare the wood and start building.


I weaken 2 strips of cherry in boiled water en put them in the mould to dry
Then I shaped the first part and put the parts dry fit together. Only the wooden bar on top to make the job complete. That I will show next time.


when everything is glued I form the wood more and panit it black. Then I put the bar on it.
Attachments
- Joined
- Oct 17, 2020
- Messages
- 1,691
- Points
- 488

Good evening Steef, are you leaving the stump in one piece?
- Joined
- Aug 8, 2019
- Messages
- 5,585
- Points
- 738

You mean the stock? No I will let it look like 2 pieces of wood held together by hoops. Just by carving the wood.Good evening Steef, are you leaving the stump in one piece?
- Joined
- Aug 30, 2020
- Messages
- 676
- Points
- 353

I need to make notes from many of the posts here to see if I can at least get some of my rigging done ok, overall it looks great Steel66.Hi Stephan,
Nicely done shrouds and ratlines
However... I wouldn't be myself if I won't be looking really closely at your photos
Two things actually
1. This should be right handed rope
2. Twist is bit messed up. Probably when you were twisting rope you miscalculate weight, that is why you have uneven twist or over twist on the rope.
I'm sure you can replace it with proper rope
View attachment 288823


