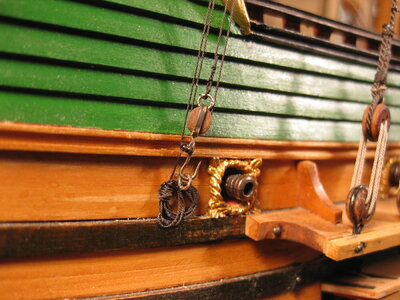
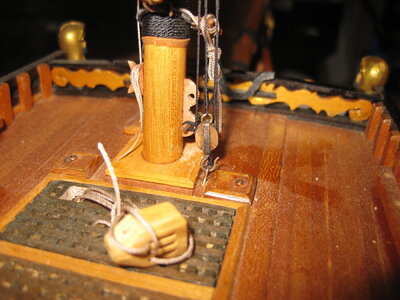
VOC ship The Prins Willem (scale 1:75) Year 1651

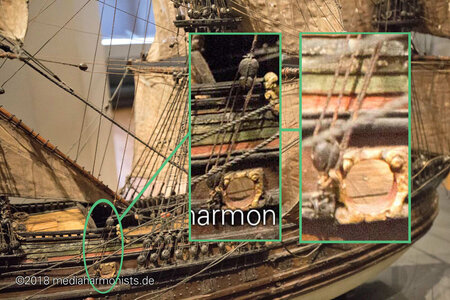
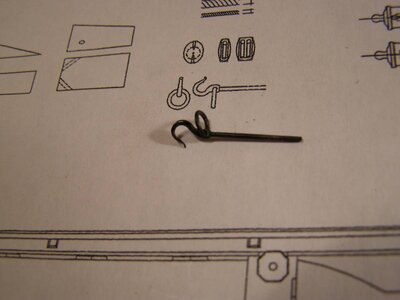
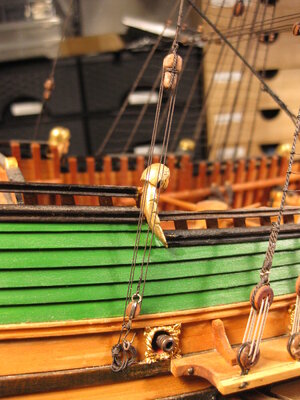
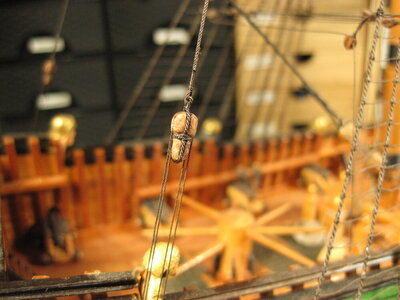
This is my next project these days. Need to make a hook with an eye for a block. At least it seems to be something like that. I got a picture of the museum model. (If anybody have High res pictures to send me, your welcome.)

IMG_3915a.jpg

I try the method of Bibigon (Sergey Trubchaninov) to achieve this


I will keep you updated if I succeed, or not :rolleyes: a lot of Coffee for sure
 
:) on the Russian site I found another example of Bibigon
P4060001.JPGP4060002.JPGP4060003.JPG

That looks easier to do on a small hook.

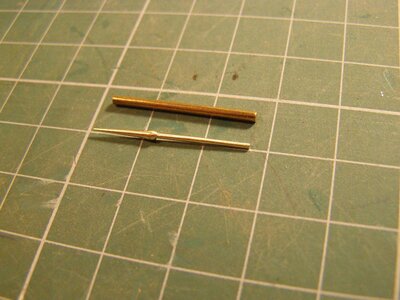
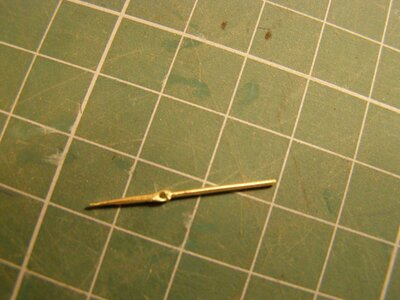
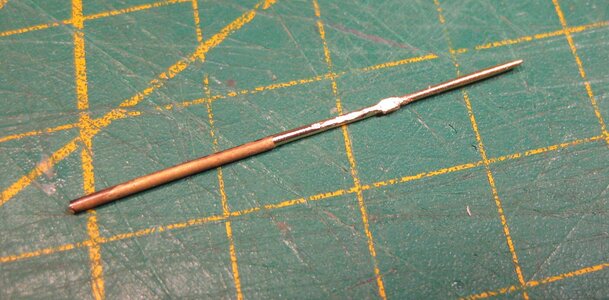
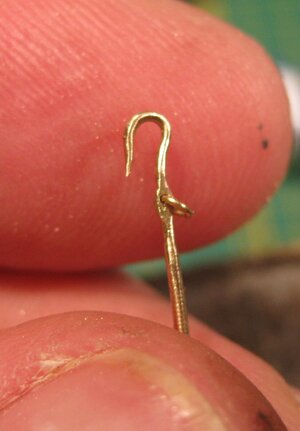
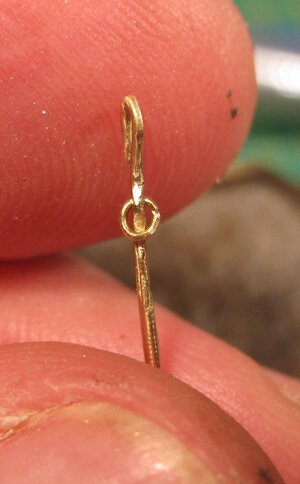
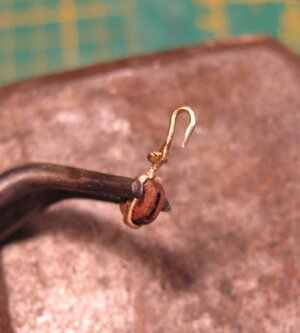
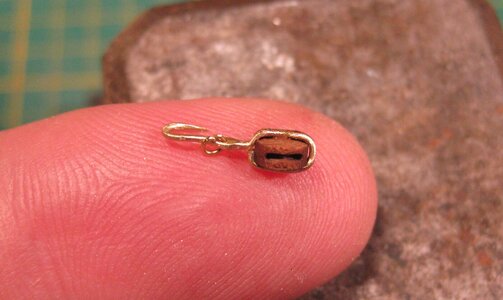
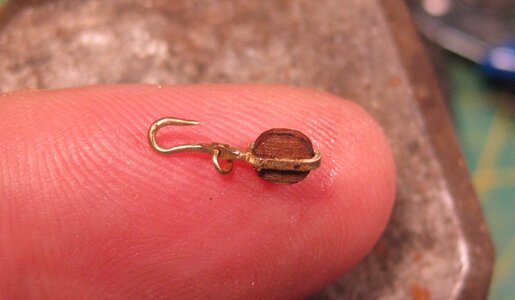
I started with brass wire of 1 mm. in diameter. And the result after 2,5 hour (one hour to beat the carpet monster :confused: ).

IMG_3916.JPGIMG_3917.JPGIMG_3918.JPGIMG_3919.JPGIMG_3920.JPGIMG_3921.JPG

I'm satisfy about it and 50% of the job is done, one more to come.
 
:) on the Russian site I found another example of Bibigon
View attachment 401160View attachment 401161View attachment 401162

That looks easier to do on a small hook.

I started with brass wire of 1 mm. in diameter. And the result after 2,5 hour (one hour to beat the carpet monster :confused: ).

View attachment 401154View attachment 401155View attachment 401156View attachment 401157View attachment 401158View attachment 401159

I'm satisfy about it and 50% of the job is done, one more to come.
WOW! JUST WOW!
 
:) on the Russian site I found another example of Bibigon
View attachment 401160View attachment 401161View attachment 401162

That looks easier to do on a small hook.

I started with brass wire of 1 mm. in diameter. And the result after 2,5 hour (one hour to beat the carpet monster :confused: ).

View attachment 401154View attachment 401155View attachment 401156View attachment 401157View attachment 401158View attachment 401159

I'm satisfy about it and 50% of the job is done, one more to come.
#Trying to find my lower jaw in the carpet# Astonishing!
 
:) on the Russian site I found another example of Bibigon
View attachment 401160View attachment 401161View attachment 401162

That looks easier to do on a small hook.

I started with brass wire of 1 mm. in diameter. And the result after 2,5 hour (one hour to beat the carpet monster :confused: ).

View attachment 401154View attachment 401155View attachment 401156View attachment 401157View attachment 401158View attachment 401159

I'm satisfy about it and 50% of the job is done, one more to come.
That is just ridiculously amazing, (translate that google) you are out of this worldAlien
 
Very good work on these hooks - I used also bibigons way for my hooks on the Le Coureur, but yours are looking much better ..... very good work
 
Paul , Johan, Richie, Jim and Uwe thanks for your compliments.
And thanks all for the many likes and visit to my log

@Uwek You try these:
IMG_3939.JPG

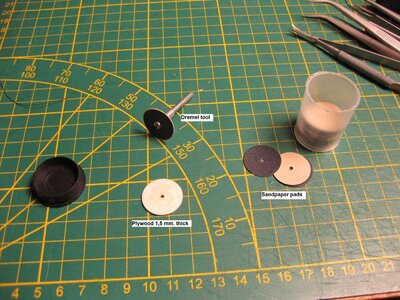
I like to work with them. This is sandpaper in a small circle to attached on your Dremel or Proxxon drill. I also made a piece of thin plywood in the same shape to put behind the sandpaper when I need a strong surface. This works perfect to shape these tiny things. The other thing I use is Corradi Needle files, the smallest set you can get.

Back to my log I finished the backstays. (pardoens)

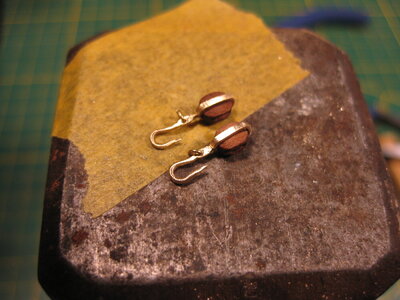
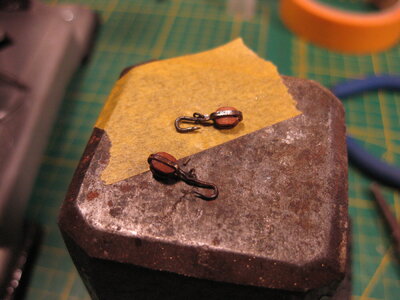
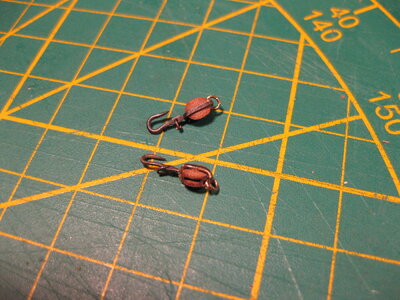
First the second block with hook, just took 1 hour this time.

IMG_3922.JPG
IMG_3923.JPG

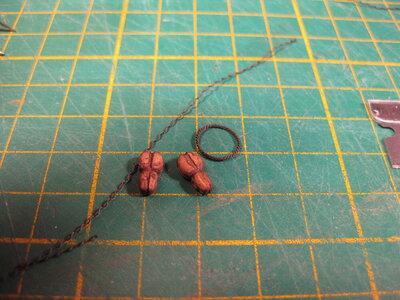
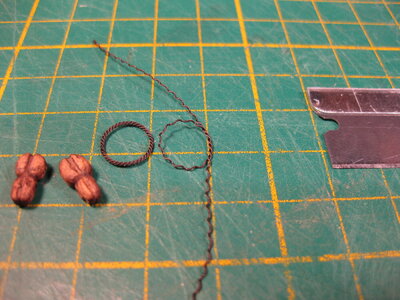
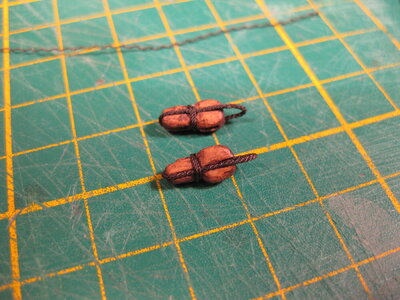
Then I made 2 grommets, I use a piece of rope that I split up in 3 strands. From one strand I make a grommet and glue the last parts together.

IMG_3924.JPG
IMG_3925.JPG
IMG_3926.JPG
IMG_3927.JPG

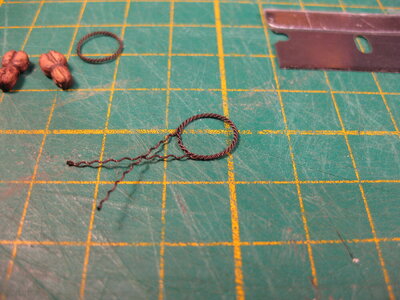
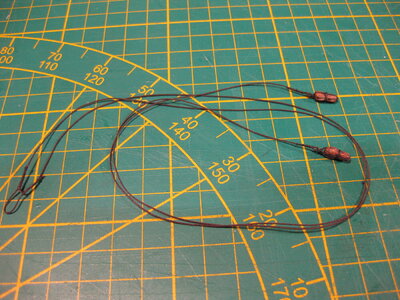
Then I made the backstay

IMG_3928.JPG


Extra ring on top of the block to fit the backstay to it

IMG_3929.JPG

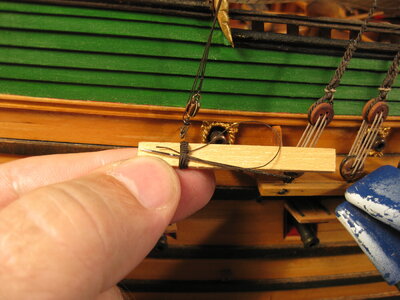
Here I make a coil of the remaining rope.

IMG_3930.JPG

The finished backstays

IMG_3932.JPG
IMG_3934.JPG
IMG_3935.JPG
IMG_3936.JPG
IMG_3937.JPG

Extra picture of the stay block and hook I made before.

IMG_3938.JPG

Guess what, Shrouds and Ratlines are next :rolleyes:
 
Paul , Johan, Richie, Jim and Uwe thanks for your compliments.
And thanks all for the many likes and visit to my log

@Uwek You try these:
View attachment 401419

I like to work with them. This is sandpaper in a small circle to attached on your Dremel or Proxxon drill. I also made a piece of thin plywood in the same shape to put behind the sandpaper when I need a strong surface. This works perfect to shape these tiny things. The other thing I use is Corradi Needle files, the smallest set you can get.

Back to my log I finished the backstays. (pardoens)

First the second block with hook, just took 1 hour this time.

View attachment 401404
View attachment 401405

Then I made 2 grommets, I use a piece of rope that I split up in 3 strands. From one strand I make a grommet and glue the last parts together.

View attachment 401406
View attachment 401407
View attachment 401408
View attachment 401409

Then I made the backstay

View attachment 401410


Extra ring on top of the block to fit the backstay to it

View attachment 401411

Here I make a coil of the remaining rope.

View attachment 401412

The finished backstays

View attachment 401413
View attachment 401414
View attachment 401415
View attachment 401416
View attachment 401417

Extra picture of the stay block and hook I made before.

View attachment 401418

Guess what, Shrouds and Ratlines are next :rolleyes:
Very nice and very fine work, Stephan. This must be very satisfying.
Regards, Peter
 
:) Thanks for the likes and the jokes.
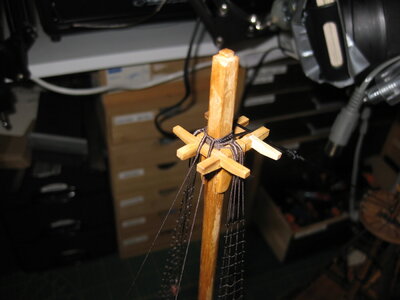
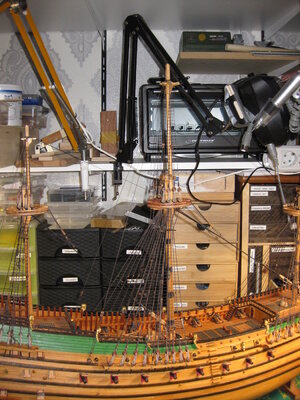
The cleats are in place and the main topmast stay is done. Wow that was a lot of work. Making the mouse, the block with hook and the block on the top of the fore topmast to lead the stay down was a pain in ... to get that in place. But it is done and it looks good. Next are the back stays.

View attachment 400986View attachment 400987View attachment 400988View attachment 400989View attachment 400990View attachment 400991View attachment 400992View attachment 400993View attachment 400994View attachment 400995
Good morning Stephan. Shroud cleats are a pain in the butt….(well for me). Brilliantly done. Cheers Grant
 
Back
Top