Thanks all for returing to my log and all the nice comments, likes and interest.
After trying throwing away and searching for better methods to make cleats I succeeded with a method
@archjofo showed us
here Thanks for that Archjofo.
First I made some violin blocks like I showed before in this log.
View attachment 400475
And then I started with the cleats.
First attempt:
View attachment 400476View attachment 400477View attachment 400478View attachment 400479
The grain is in the wrong way so they broke to easily. I remembered the other way of Archjofo and went searching for that. I have a castelo strip 3x12x1000 mm. what I'm using for that. I cut out a piece of 1,5 mm of the side so I get a piece of 3x1,5 mm. See pictures
View attachment 400480View attachment 400481View attachment 400482View attachment 400483View attachment 400484View attachment 400485View attachment 400486View attachment 400487View attachment 400488View attachment 400489View attachment 400490
Pffff almost to small to work on. But I succeeded and here the result for all the blocks needed to compleet the standing rigging of the main topmast.
View attachment 400491View attachment 400492
The last picture after darkening them with the Kolderstok dark walnut stain.
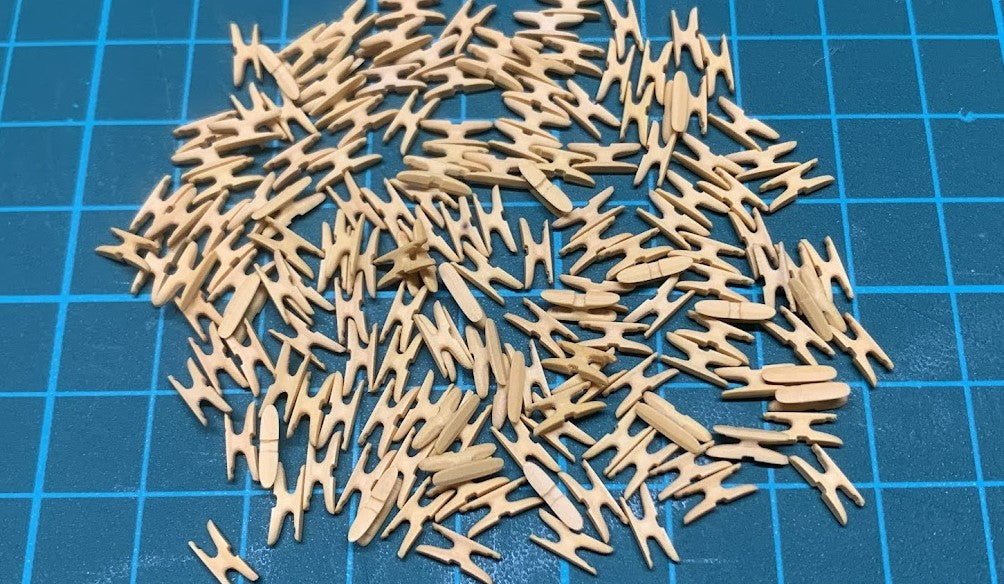
I have to make a lot of these cleats, there are almost on every shroud these little buggers attached. So I make a few sticks of castello to make these cleats when I feel to do a few. Not all in one time, I hate repeating work.
View attachment 400493
100 pieces to go (few spare)


") Thanks for the likes and the jokes.
Thanks for the likes and the jokes.


