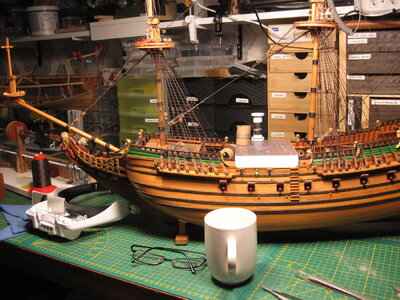
VOC ship The Prins Willem (scale 1:75) Year 1651

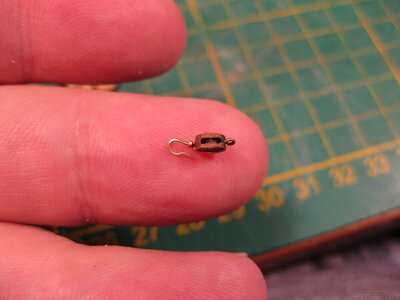
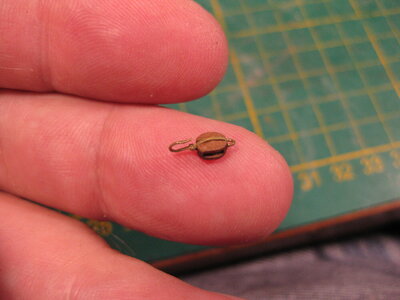
Stephan, very impressive. The mouse and stay are 2nd to none as is your served cable. But really, the the metal work, in scale on your hook stropped block is super. You seem to be moving right along with your rigging of this wonderful ship.
 
Very nice and very fine work, Stephan. This must be very satisfying.
Regards, Peter
As good as I've seen Stephan. Persistence and skill with a fine outcome.
Dear Stephan
wonderful work, thanks for the explanations with the pictures, it's halp to me to Learn from you Thumbsup:)
Some really fine work Stephan. Must be very satisfying to be your own blacksmith.
Excellent craftmanship.
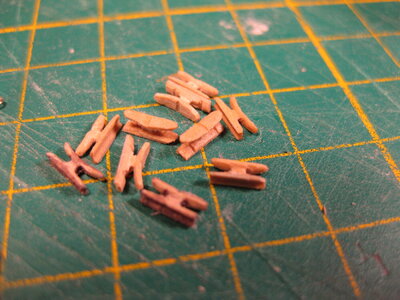
Good morning Stephan. Shroud cleats are a pain in the butt….(well for me). Brilliantly done. Cheers Grant
Stephan, very impressive. The mouse and stay are 2nd to none as is your served cable. But really, the the metal work, in scale on your hook stropped block is super. You seem to be moving right along with your rigging of this wonderful ship.
Guys thank you all for the kind words, this is for me a boost to go further rigging this ship.
And all the likes and visit to my log are also appreciated, thanks!
 
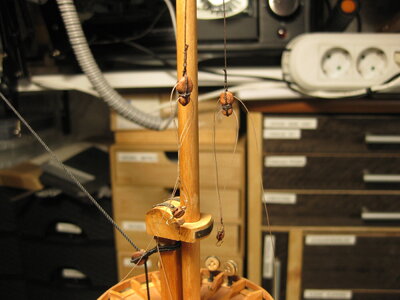
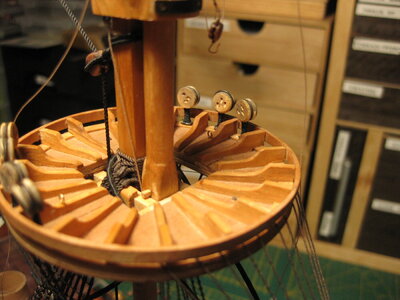
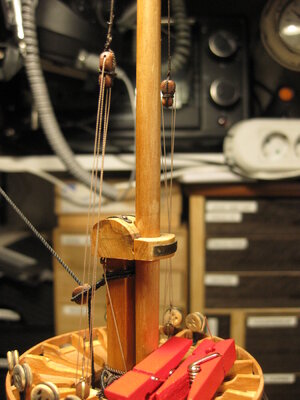
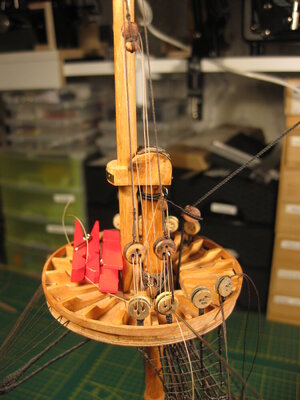
Fore topmast shrouds, tackle, stay and backstays.
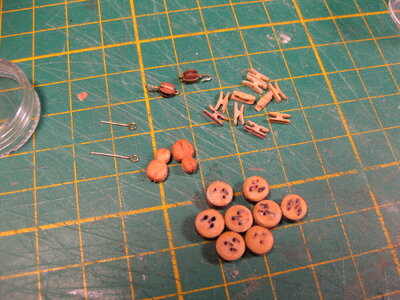
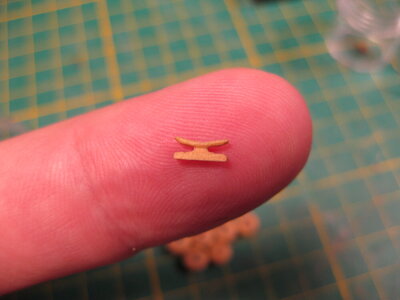
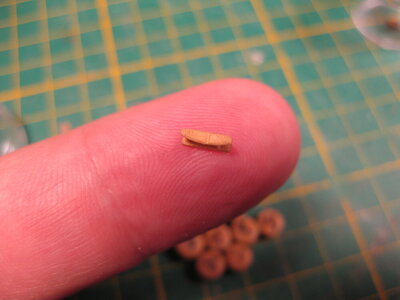
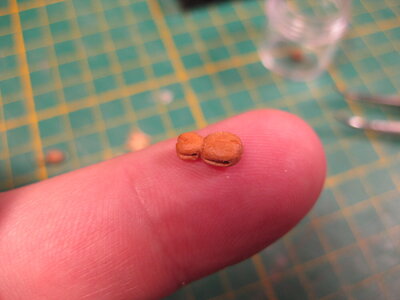
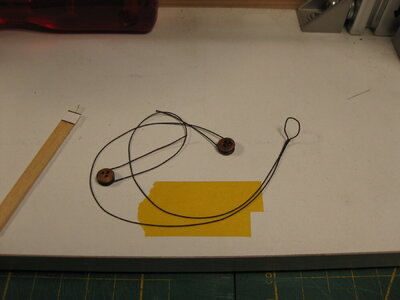
First preparing the parts for the shrouds and tackle.

All the blocks some parts smaller then before. Also i get mare skills in making the cleats, they getting better and better.
IMG_3940.JPGIMG_3941.JPGIMG_3943.JPGIMG_3944.JPGIMG_3945.JPGIMG_3946.JPGIMG_3947.JPG

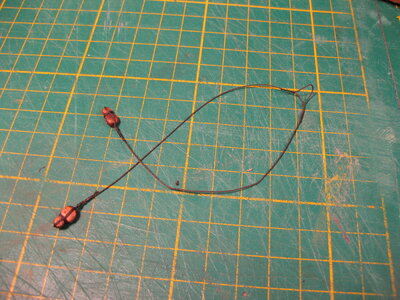
Then we start the rigging of these parts, first the tackle

IMG_3948.JPGIMG_3949.JPGIMG_3950.JPGIMG_3951.JPG

We leave them like that. Because when I start the ratline they are in the working area and then I need them to get on the side.
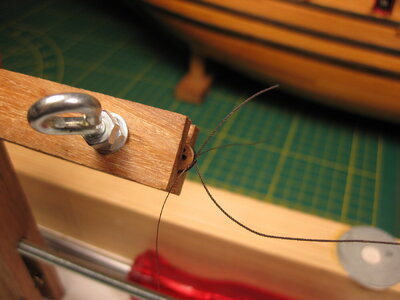
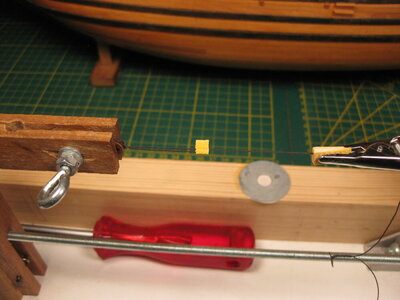
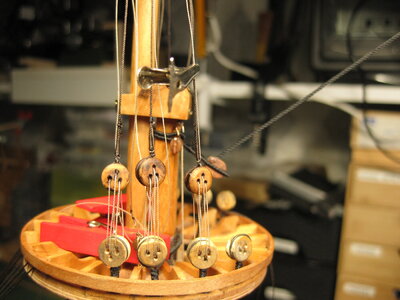
I started the shrouds and the first one is almost done. The hook I use to adjust the deadeyes, works perfect. I use Kudin his method, only I don't use a knot to adjust, but a little alligator clamp.

IMG_3952.JPGIMG_3953.JPG

I also did a little fine-tuning on the deadeyes, they where a little to thick and that wasn't look so good, Alexander mentioned it before. No re-do, just a learning curve.

Thanks for visiting my log! :)
 
Awesome blocks and hooks and cleats. Impressive work.
Thanks Herman
Absolutely love those hooks. I am struggling to make mine, I still cannot develop the system for making them in uniform. :(
Thanks Jim. Handmade producs are never uniform :) but if you wish I can make a step by step photoslide for a 3 mm block. This is different to a 4 mm or bigger block. Because the brass wire is much more fragile.
Dear Stephan
you are doing wonderful work on the blocks, the hooks, the cleats and shrouds Thumbsup:) well done my friend.
Thanks My friend
I think the ropes look a bit thin in the photos.
Are the diameters correct?
Yes, they are compared to the method Mondfeld use. That is almost similar to other methods. The outcome is the same.
It looks thin because compared to standard rope in building kits it is indeed thinner.
 
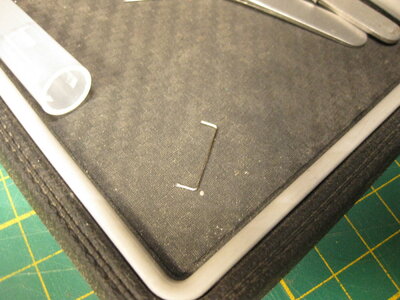
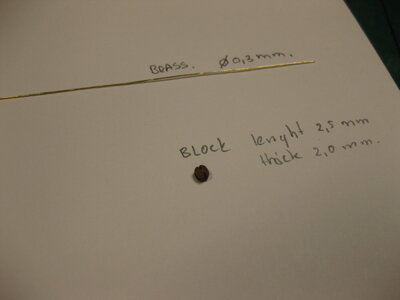
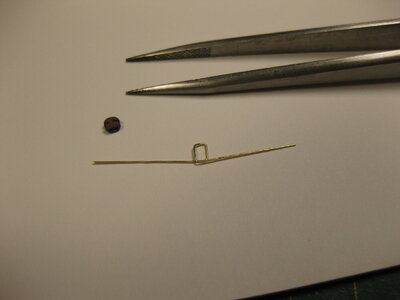
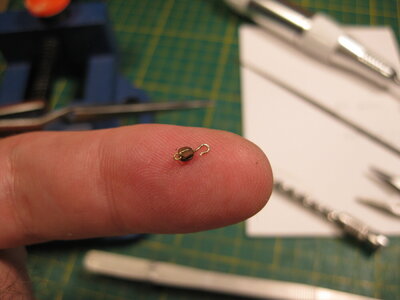
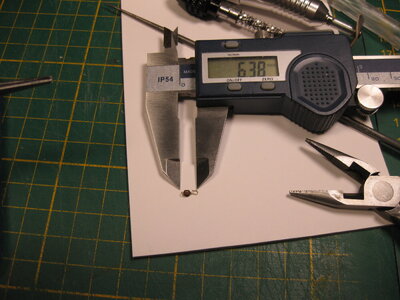
@Jimsky Jim special for you a small tutorial to make a hook on a 2,5 mm block. I don't have 2 mm. blocks. But the idea is the same. Lets start by telling it is small, very small and you need steady hands and magnifier glasses.

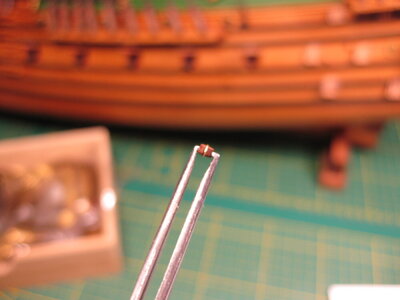
I'm starting with 2,5 mm block and 0,3 mm. brass wire

IMG_3955.JPG

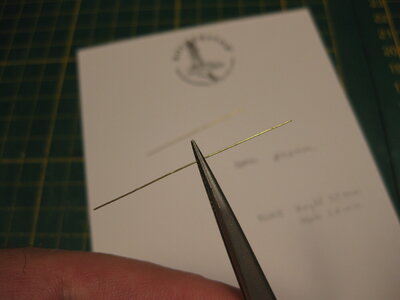
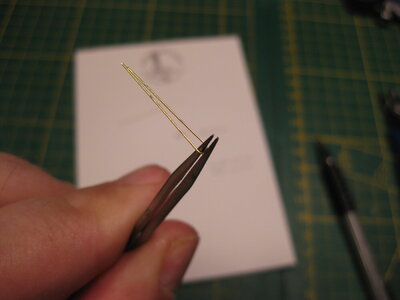
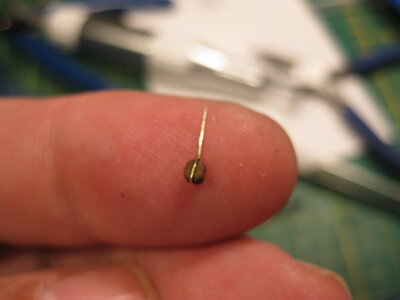
First take the wire between the tweezer on the spot where the thickness is equal to the thickness of the block. And make a square where the block fits in.

IMG_3956.JPGIMG_3957.JPGIMG_3958.JPG

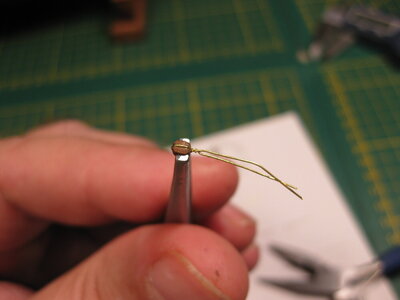
Twist carefully the both ends around each other. By this way the block is fixed in place.

IMG_3959.JPG

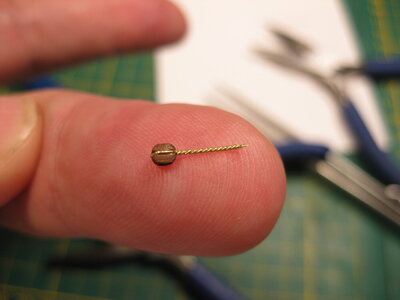
Continue till the length is twisted nicely. Careful, step by step, twist by twist. 0,3 mm. brass wire breaks easily when you twist.

IMG_3960.JPGIMG_3961.JPG

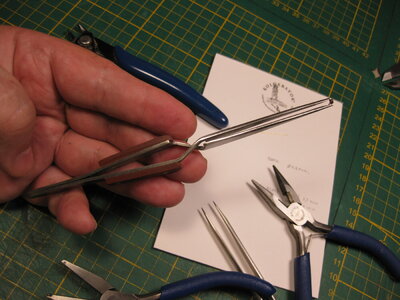
I use a clamping tweezer where I adjusted the point so it holds the block in place.

IMG_3962.JPGIMG_3963.JPG

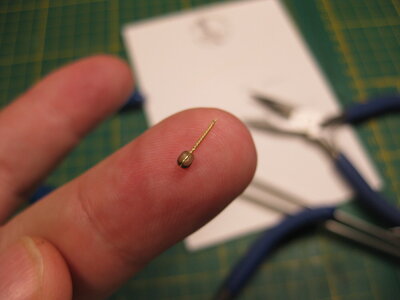
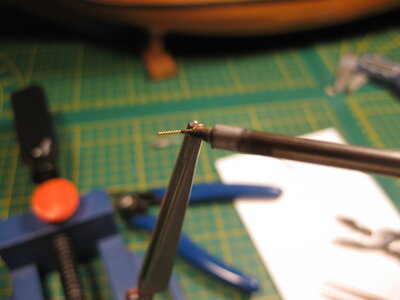
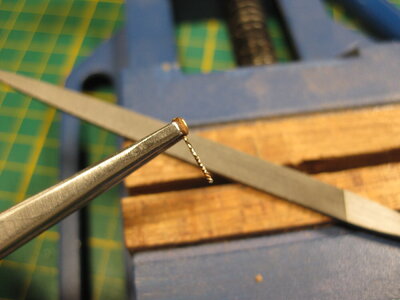
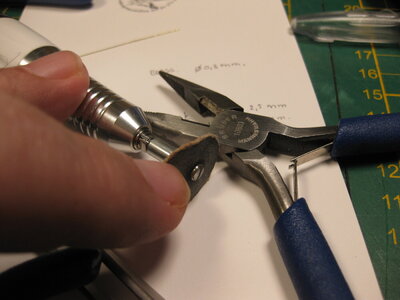
Solder the twisted end. and use a little needle file ( Corradi) and the sandpaper rounds for the drill to shape the end after soldering. Let it look brass again and let the twist disappear.

IMG_3964.JPGIMG_3965.JPGIMG_3966.JPGIMG_3967.JPG

Sorry the last picture is a little blurred.
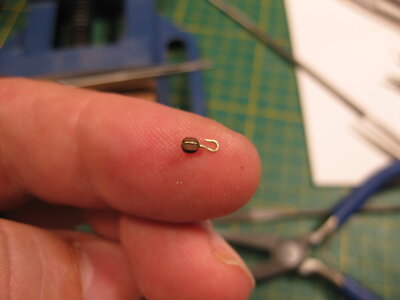
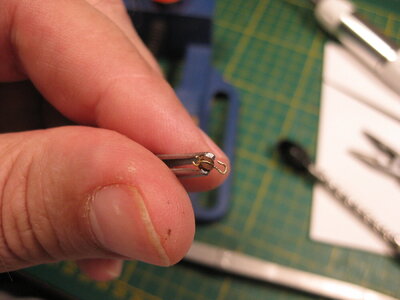
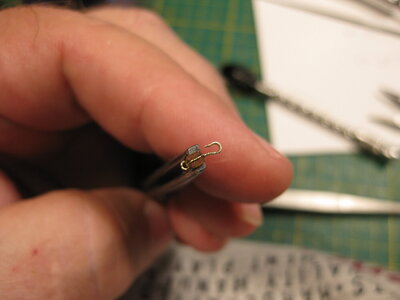
Then shape the hook with a small round pliers and shape the end with your file of the sandpaper rounds.

IMG_3968.JPG

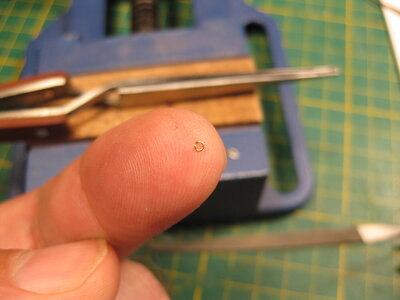
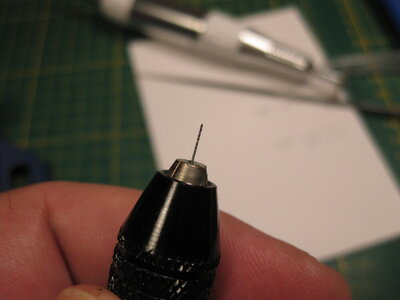
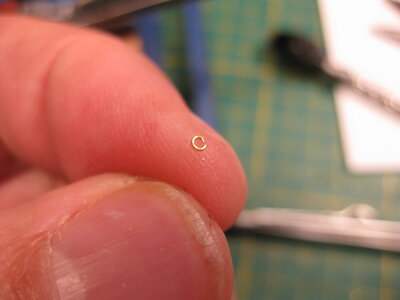
With a small 0,3 mm. drill I make on top of the block a little hole under the brass wire. Take care, this is delicate work. A ring I made on a 0,5 drill and cut with a x-acto knife is put in the hole I created.

IMG_3969.JPGIMG_3970.JPGIMG_3971.JPGIMG_3972.JPGIMG_3973.JPG

And the little bugger is ready to use, I don't black him, in time it will be black by itself. But if you want to black it use these little cotton sticks with brass black on it to rub over the brass.

IMG_3974.JPGIMG_3975.JPG

This is how to make a hook on a tiny 2,5 mm. or 2 mm. block. On a bigger block there is another way to do it.

I hope this was helpful Jim and maybe it is just an idea to find your own way to make these. It took me half an hour to make, but the next one will be much quicker because I know what tools I need. How much do you have to make?
 
Last edited:
@Jimsky Jim special for you a small tutorial to make a hook on a 2,5 mm block. I don't have 2 mm. blocks. But the idea is the same. Lets start by telling it is small, very small and you need steady hands and magnifier glasses.

I'm starting with 2,5 mm block and 0,3 mm. brass wire

View attachment 403575

First take the wire between the tweezer on the spot where the thickness is equal to the thickness of the block. And make a square where the block fits in.

View attachment 403576View attachment 403577View attachment 403578

Twist carefully the both ends around each other. By this way the block is fixed in place.

View attachment 403579

Continue till the length is twisted nicely. Careful, step by step, twist by twist. 0,3 mm. brass wire breaks easily when you twist.

View attachment 403580View attachment 403581

I use a clamping tweezer where I adjusted the point so it holds the block in place.

View attachment 403582View attachment 403583

Solder the twisted end. and use a little needle file ( Corradi) and the sandpaper rounds for the drill to shape the end after soldering. Let it look brass again and let the twist disappear.

View attachment 403584View attachment 403585View attachment 403586View attachment 403587

Sorry the last picture is a little blurred.
Then shape the hook with a small round pliers and shape the end with your file of the sandpaper rounds.

View attachment 403588

With a small 0,3 mm. drill I make on top of the block a little hole under the brass wire. Take care, this is delicate work. A ring I made on a 0,5 drill and cut with a x-acto knife is put in the hole I created.

View attachment 403589View attachment 403590View attachment 403591View attachment 403592View attachment 403593

And the little bugger is ready to use, I don't black him, in time it will be black by itself. But if you want to black it use these little cotton sticks with brass black on it to rub over the brass.

View attachment 403594View attachment 403595

This is how to make a hook on a tiny 2,5 mm. or 2 mm. block. On a bigger block there is another way to do it.

I hope this was helpful Jim and maybe it is just an idea to find your own way to make these. It took me half an hour to make, but the next one will be much quicker because I know what tools I need. How much do you have to make?
dear Stephan
great tutorial Thumbsup the pictures are very helpful
 
@Jimsky Jim special for you a small tutorial to make a hook on a 2,5 mm block. I don't have 2 mm. blocks. But the idea is the same. Lets start by telling it is small, very small and you need steady hands and magnifier glasses.

I'm starting with 2,5 mm block and 0,3 mm. brass wire

View attachment 403575

First take the wire between the tweezer on the spot where the thickness is equal to the thickness of the block. And make a square where the block fits in.

View attachment 403576View attachment 403577View attachment 403578

Twist carefully the both ends around each other. By this way the block is fixed in place.

View attachment 403579

Continue till the length is twisted nicely. Careful, step by step, twist by twist. 0,3 mm. brass wire breaks easily when you twist.

View attachment 403580View attachment 403581

I use a clamping tweezer where I adjusted the point so it holds the block in place.

View attachment 403582View attachment 403583

Solder the twisted end. and use a little needle file ( Corradi) and the sandpaper rounds for the drill to shape the end after soldering. Let it look brass again and let the twist disappear.

View attachment 403584View attachment 403585View attachment 403586View attachment 403587

Sorry the last picture is a little blurred.
Then shape the hook with a small round pliers and shape the end with your file of the sandpaper rounds.

View attachment 403588

With a small 0,3 mm. drill I make on top of the block a little hole under the brass wire. Take care, this is delicate work. A ring I made on a 0,5 drill and cut with a x-acto knife is put in the hole I created.

View attachment 403589View attachment 403590View attachment 403591View attachment 403592View attachment 403593

And the little bugger is ready to use, I don't black him, in time it will be black by itself. But if you want to black it use these little cotton sticks with brass black on it to rub over the brass.

View attachment 403594View attachment 403595

This is how to make a hook on a tiny 2,5 mm. or 2 mm. block. On a bigger block there is another way to do it.

I hope this was helpful Jim and maybe it is just an idea to find your own way to make these. It took me half an hour to make, but the next one will be much quicker because I know what tools I need. How much do you have to make?
WOW! What an honor, I have a post dedicated to me! First of all many, many thanks! Since I virtually met you here and after some of your posts, I knew there was nothing that could stop you from fabricating this and that. You will always find a way to do it! Much appreciated for your tutorial and dedication, specifically, I know that you have lost some strength in your fingers, BTW hope this will go away soon. I am going to try this for sure! Thanks again, bro!!
 
WOW! What an honor, I have a post dedicated to me! First of all many, many thanks! Since I virtually met you here and after some of your posts, I knew there was nothing that could stop you from fabricating this and that. You will always find a way to do it! Much appreciated for your tutorial and dedication, specifically, I know that you have lost some strength in your fingers, BTW hope this will go away soon. I am going to try this for sure! Thanks again, bro!!
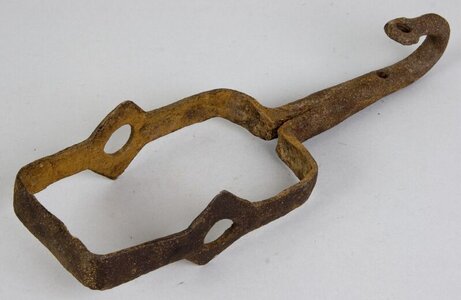
Your welcome, love to do things like this. Bigger blocks are another approch. This one I copied of a real historical hook and block I seen in a museum, can't find the picture back but looks like this
 
@Jimsky Jim special for you a small tutorial to make a hook on a 2,5 mm block. I don't have 2 mm. blocks. But the idea is the same. Lets start by telling it is small, very small and you need steady hands and magnifier glasses.

I'm starting with 2,5 mm block and 0,3 mm. brass wire

View attachment 403575

First take the wire between the tweezer on the spot where the thickness is equal to the thickness of the block. And make a square where the block fits in.

View attachment 403576View attachment 403577View attachment 403578

Twist carefully the both ends around each other. By this way the block is fixed in place.

View attachment 403579

Continue till the length is twisted nicely. Careful, step by step, twist by twist. 0,3 mm. brass wire breaks easily when you twist.

View attachment 403580View attachment 403581

I use a clamping tweezer where I adjusted the point so it holds the block in place.

View attachment 403582View attachment 403583

Solder the twisted end. and use a little needle file ( Corradi) and the sandpaper rounds for the drill to shape the end after soldering. Let it look brass again and let the twist disappear.

View attachment 403584View attachment 403585View attachment 403586View attachment 403587

Sorry the last picture is a little blurred.
Then shape the hook with a small round pliers and shape the end with your file of the sandpaper rounds.

View attachment 403588

With a small 0,3 mm. drill I make on top of the block a little hole under the brass wire. Take care, this is delicate work. A ring I made on a 0,5 drill and cut with a x-acto knife is put in the hole I created.

View attachment 403589View attachment 403590View attachment 403591View attachment 403592View attachment 403593

And the little bugger is ready to use, I don't black him, in time it will be black by itself. But if you want to black it use these little cotton sticks with brass black on it to rub over the brass.

View attachment 403594View attachment 403595

This is how to make a hook on a tiny 2,5 mm. or 2 mm. block. On a bigger block there is another way to do it.

I hope this was helpful Jim and maybe it is just an idea to find your own way to make these. It took me half an hour to make, but the next one will be much quicker because I know what tools I need. How much do you have to make?
That tutorial was so helpful, thank you for sharing.
 
Small update of making the deadeyes on the shrouds

With special thanks to Kudin who showed us how-too:


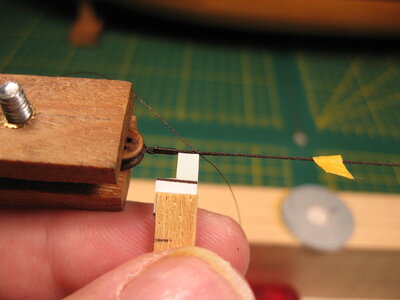
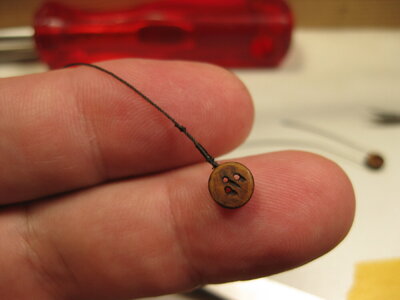
The deadeyes are glued with a tiny drop of ca in place and then in the serving tool rigged. I use a piece of paper to have correct measurement of the binding.

IMG_3976.JPGIMG_3977.JPGIMG_3978.JPGIMG_3979.JPGIMG_3980.JPGIMG_3981.JPGIMG_3982.JPG

You see the big cup of coffee, well you need that include the magnifier glasses to the left.
Thanks for watching
 
Just - BRAVO
Looking very good - and many thanks for showing us the working steps in detail
Your welcome, and thanks for your nice words.

I do not like the deadeyes on the shrouds. They do not look in scale. I'll not start over with better deadeyes. But learned that next time I first make a test shroud, like Archjofo did, to see the proportions before starting the rigging. When the sails and yards are in place include all the rigging, it won't really stand out and look good.
 
Back
Top