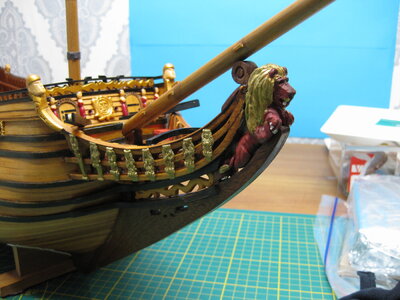
VOC ship The Prins Willem (scale 1:75) Year 1651

Mistakes I made that might be helpful:

I tried to sew the hem but it was so out of scale (size of the stitches as well as the width of the fold necessary for sewing) that I ended up gluing it with a speciality fabric glue rather than stitching it. It remained very flexible but not as flexible as the fabric itself.
I also didn't like the look of the 'stitched on' bolt rope so I glued that on as well. Same comment as above.
I used my baked polyester ropes for the bolt rope. Perhaps you have noticed that baked poly ropes get a little stiff compared to unbaked ropes. While this allows them to 'hang' very smoothly when used as a rigged line this additional stiffness did not help on the sails. I would try either unbaked poly or cotton bolt ropes.
I rather like the Navara Fine Lawn but it too is ultimately too thick.

I hope these notes are helpful...
They are. Poly rope and baked is in my experience flexible then unbaked. But maybe that is about how you bake and how you make your rope. 3 strands or 4 strands is a difference, how much weight on the rope and how tight you turn. Thanks for sharing your experience. On my Spanish Galleon I glued the sails too.
 
Maybe what I mean is that the baked rope likes to stay straight (not take sharp bends) compared to unbaked rope. Does everyone have a different result than me? I wonder why???
How long and at what temparature do you bake? Because I also have rope like Dubs
 
Maybe what I mean is that the baked rope likes to stay straight (not take sharp bends) compared to unbaked rope. Does everyone have a different result than me? I wonder why???

It's the absolute opposite for me ... mmmm.

thinner ropes at 300 F for four minutes - thicker ropes at 350 F for five minutes

5 minutes at 170 degree Celsius for me here.

Dirk
 
175⁰C and 5 minutes for me. With serafil 120/2
When turning rope I wait till the strands are 10% shorter before I start to turn the rope.
Paul maybe you should use degrees Celcius instead of Fahrenheit :)
 
175⁰C and 5 minutes for me. With serafil 120/2
When turning rope I wait till the strands are 10% shorter before I start to turn the rope.
Paul maybe you should use degrees Celcius instead of Fahrenheit :)
My oven only works in Fahrenheit ROTF...

Maybe I should stop making ropes! (Actually, I already decided that one...)
 
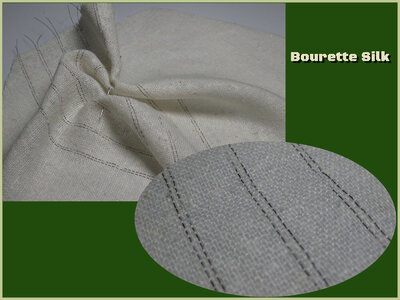
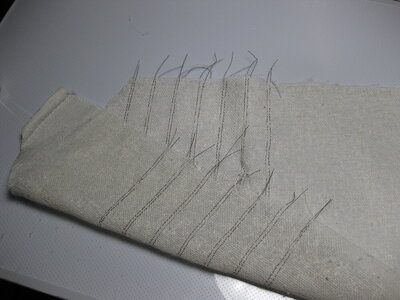
First test making the lines in the sail. I didn't do it on the sewing machine because this gives some tension and the sailcloth will not bent like it should be. I did it with a small needle, magnifier and some nice music in my earplugs. After some practise and finding my way I get faster and better. The first line took me half a hour. the last one less then 5 minutes and almost perfect in line.
I did not sew the yarn in but threaded it in. See picture below to see how the cloth bends and how the thread is threaded in.

IMG_2858aan.jpg

A good magnifier is necessary, because you want to keep the yarn in the weaving line of the cloth. In the beginning I made some mistakes.
When you choose, like I, for a double line the mistake will be visible. But this is a test and also practise. I will complete this spritsail. And then I will focus on the hem and bolt rope. I think I'm gonna threaded them to, not sew. I don't want tension that interfere the bending of the cloth. Maybe the ends/corners will need a drop of glue to keep the thread in place. Stay tuned!

PS: All this work all just to make perfect furled sails :rolleyes:
 
Impressive work and patience demonstration. One question, the line appears or not on the other side ? (May be thikness of the silk dependend)
Thanks, patience you'll need in our hobby, never rush, this is visible in the result. In the picture I showed, you see the backside in the round macro part. Both sides are the same.
here an extra picture to see both sides
IMG_2860.JPG
 
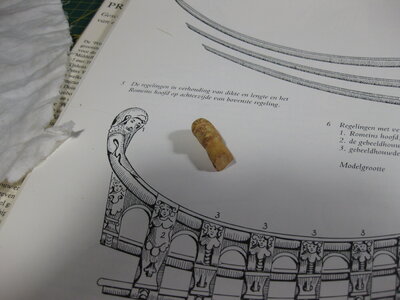
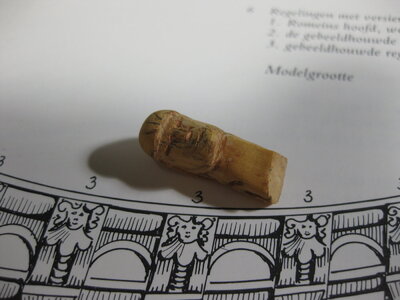
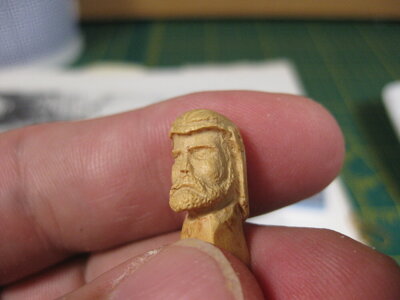
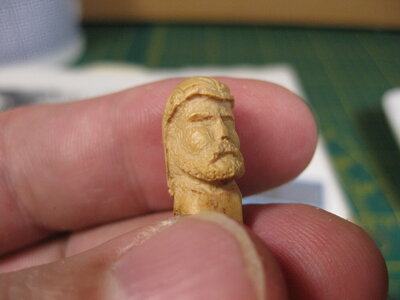
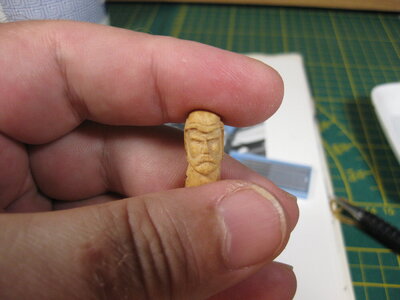
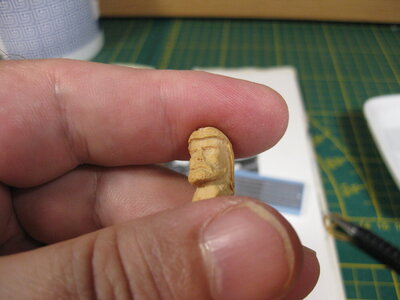
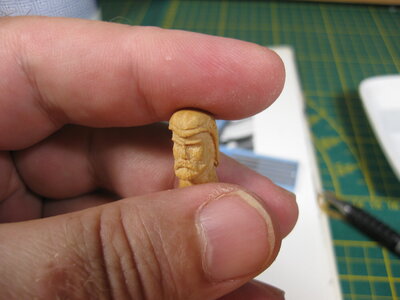
Today I worked after a long time on my Prins Willem and started to redo the Roman heads on the bulkhead?? (don't know if that is the correct name)

Original situation:

IMG_1177.JPG

After cleaning the head:

IMG_2888.JPG
IMG_2889.JPG

New face with beard

IMG_2891.JPG
IMG_2892.JPG

Eyes

IMG_2894.JPG
IMG_2895.JPG
IMG_2896.JPG


Lot of work to do, need to do the helmet and body
 
Today I worked after a long time on my Prins Willem and started to redo the Roman heads on the bulkhead?? (don't know if that is the correct name)

Original situation:

View attachment 336588

After cleaning the head:

View attachment 336581
View attachment 336582

New face with beard

View attachment 336583
View attachment 336584

Eyes

View attachment 336585
View attachment 336586
View attachment 336587


Lot of work to do, need to do the helmet and body
Looks good, Stephan. A noble warrior.
Regards, Peter
 
Very good carving - looking very good
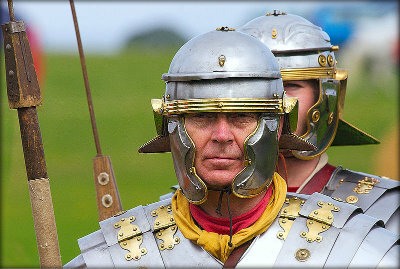
Maybe you should make the roman soldiers during a break without wearing the helmet
it is looking very complicated to make in carving
Roman-Soldier-Facts.jpg
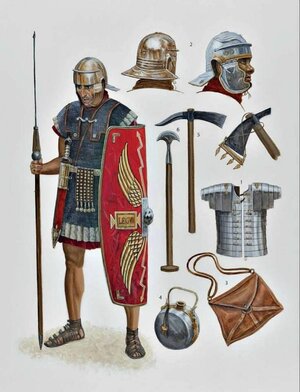
rzymskie-uzbrojenie-z-wczesnego-i-wieku-ne.jpg
 
That is one mean-looking warrior Stephan. Excellent carving work again!
 
Back
Top