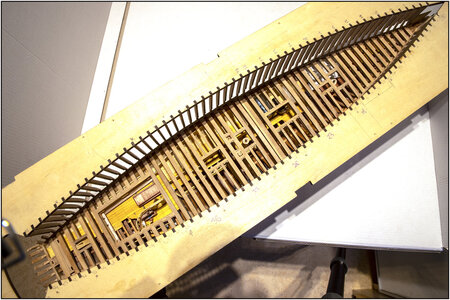
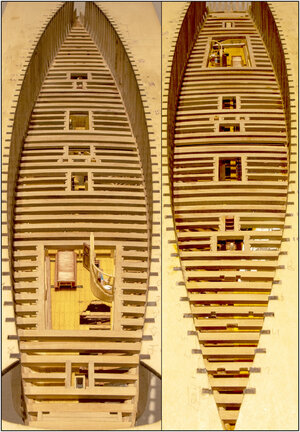
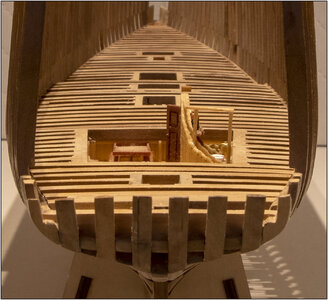
First I sanded the deck beams flat and finished with a polishing block with a fine grain.

For the next steps I will deviate from the manual again. I'll try to explain why.
The manual contains the following steps:

-place sheets and strips with deck planks.
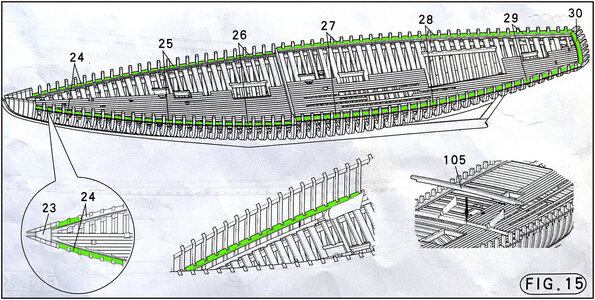
- make the waterways on the deck planks.
After that, some small parts are placed and the hull is detached from the jig.
According to the plan, the hull planking is started from above, which becomes the bulwark.
The modified plan:
Since I cut the hull at the waterline, I want to have a little more rigidity in the part above the waterline. That's why I want to put the top planks on the hull first. To create the bulwarks.
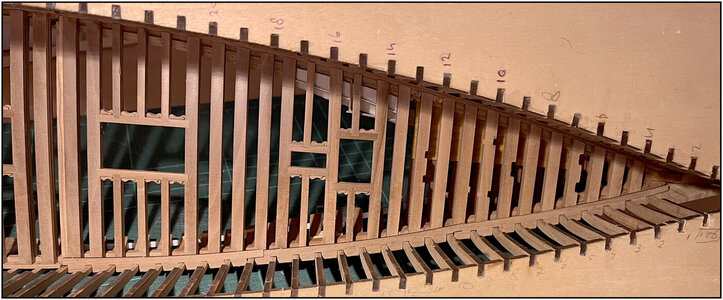
Before I can install them, the waterways have to be made to measure. Both in terms of recesses around the frame heads and on the outside. There they must connect flush with the outside of the frames. So that the hull planks run smoothly again.
But ………. I find it strange that the waterways are fitted ON the deck planks. That doesn't seem logical to me. If water flies over the deck, a layer of water remains on the deck. Only when the water is sufficiently high, it runs over the edge of the imposed waterways.
I think the waterways and deck planks are on the same level.
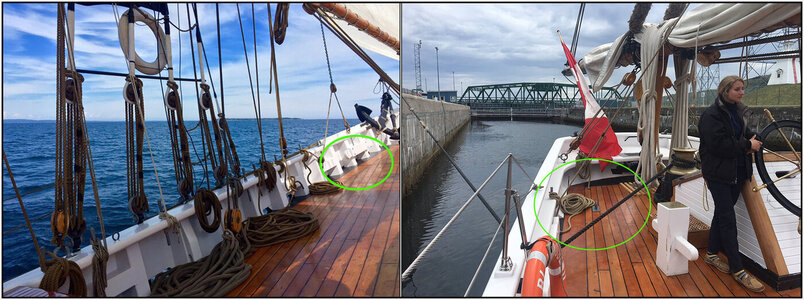
This is clearly visible on these 2 photos of the BN-II. It can also be seen that the planks on the raised aft deck (right photo) also run backwards with the curve of the hull. So not straight like on the sheets of the kit.
These photos of the original BN also show that I also:
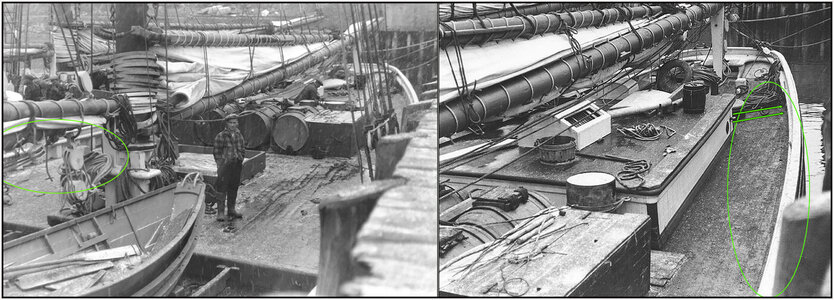
In the photo on the right you can also see the frame heads at the 2 arrows. The deck planks are not completely parallel to the hull, but partly nibbled in.

In this drawing from the Saga, which I showed earlier, L.B. Jenson didn't draw the planks on the aft deck quite parallel to the hull either, but also slightly nibbled into the molding along the waterway.
Put everything together and decided that these will be my next steps:
1: first make the waterways to size and apply primer and gray paint.
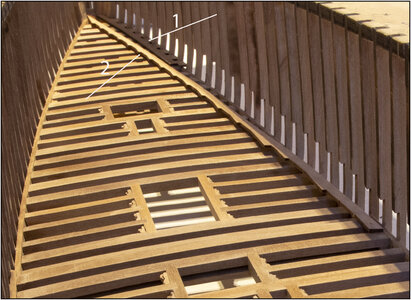
Arrow 1 = waterway
Arrow 2 = 'nibble' strip for deck planks
But don't glue it yet because:
2: prime frame heads and sanding to paint white later.
3: prime, sand and apply the top hull planks on the inside. Where the scuppers are level with the waterways.
4: saw the top part loose from the jig and I can get to the deck more easily.
5: paint the inside of the bulwark and the frame heads white.
6: placing gray waterways.
7: make the strips where the deck planks will fall into nibbling. I will make my final plan for the deck planking.
I will probably use the strips and sheets from the kit, which were used for the deck planking. See the yellow accentuated parts in the 1st drawing of this post. But I will probably cut strips of 2mm wide for the deck planks. I 3mm is too wide. Then I should be able to get enough planks out of that. Otherwise I use wood from my own stock.
All in all, a lot of steps with a mutual connection that I have to take into account. For the time being, there is still time to rethink everything and adjust the plan if necessary. First make the 12 waterway strips to size.
Regards, Peter




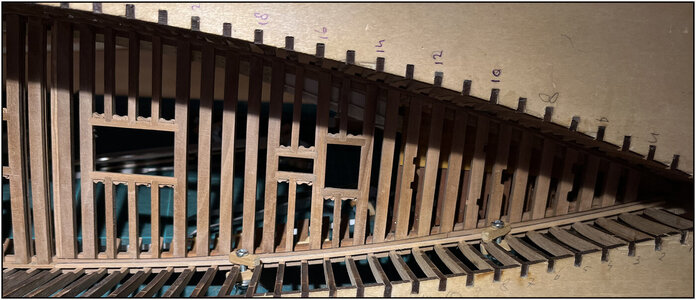

 Just the 'own-standard'.