YUANQING BLUENOSE - Peter Voogt [COMPLETED BUILD]

The postman always rings twice, but this time ....... the door was open before ringing :). The toys are inside:
131 Frees.jpg
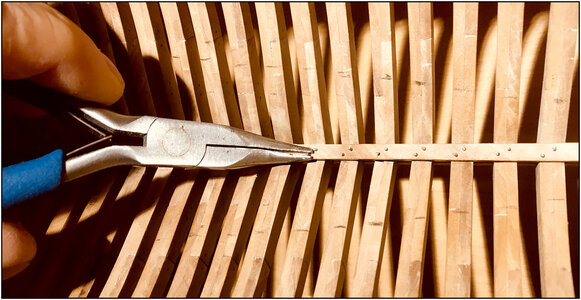
I still had the big clamp, there have to come a little smaller hand-picked ones. But it does have a lot of weight not to shift.

Taste on 1 of the recesses of the keelson, which will not come into view:
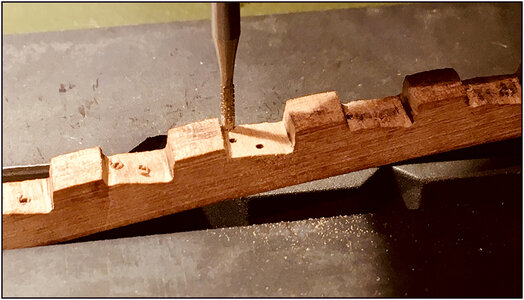
132 FreesProef.jpg
Macro with a iPone ..... ;) But for the impression, not bad.
So that's going to be straight and flat.
PS: I had made the upright sparations of the other recesses a bit oblique. 14 recesses of this piece of keelson will have to fall exactly over 14 rafters. Only one has to be a little too narrow and everything doesn't slide into place. Then find out which of the 14 just doesn't fit.

Let's practice something more for this self-taught act and then I can go for it.
Regards, Peter
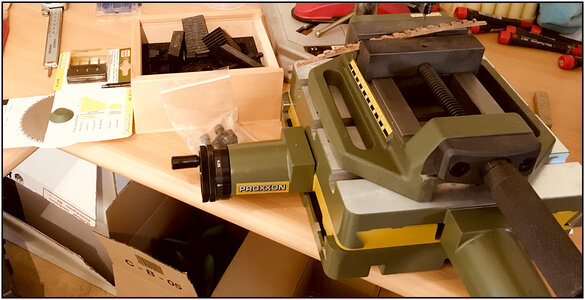
 
That framing looks very impressive. I'm constantly impressed by your innovations. What a great log to follow.
Jan
Hi Jan, thanxs for the compliments.
But I'm really getting these 'innovations' from other build logs of this excellent SoS. As far as possible, I have always tried to ‘cite sources’ of those who showed there skills.
For the milling, @Donnie is responsabel :) with this post:
Regards, Peter
 
Hi Jan, thanxs for the compliments.
But I'm really getting these 'innovations' from other build logs of this excellent SoS. As far as possible, I have always tried to ‘cite sources’ of those who showed there skills.
For the milling, @Donnie is responsabel :) with this post:
Regards, Peter
And to think I did it all with files! ;)
But toys are good too...ha ha!
 
Yes Dean, that makes your work more impressive :).
And it's re-attached: Toys for Boys, as tools, machines, trains, (slot)cars .........
And perhaps: time management. For a hobby? Mwa .......
Regards, Peter
It’s all good Peter. A new toy can bring more fun into the hobby for you.
Me personally, I don’t feel a model needs that kind of precision, to involve a milling machine. But it can’t hurt either, so it’s a builder preference. ;)
And I will say that you have proven your quality of craftsmanship and precision in your previous build of the Robert E Lee, and again on this Bluenose. I have no doubt in my mind that you will create another masterpiece for us to enjoy! I look forward to following your progress!
 
Last edited:
Thanxs Heinrich.
But due to the macro’s, the man with the hammer has to come back for a while to give some nails another hit. He has to deliver a neat job. ;)
Regards,Peter
Your patience and skillful hands are commendable. For the hammer you are excused from a pneumatic jack hammer and just ask Jack to do it under your supervision. Looks like a winner will be coming off of the skids. Rich
 
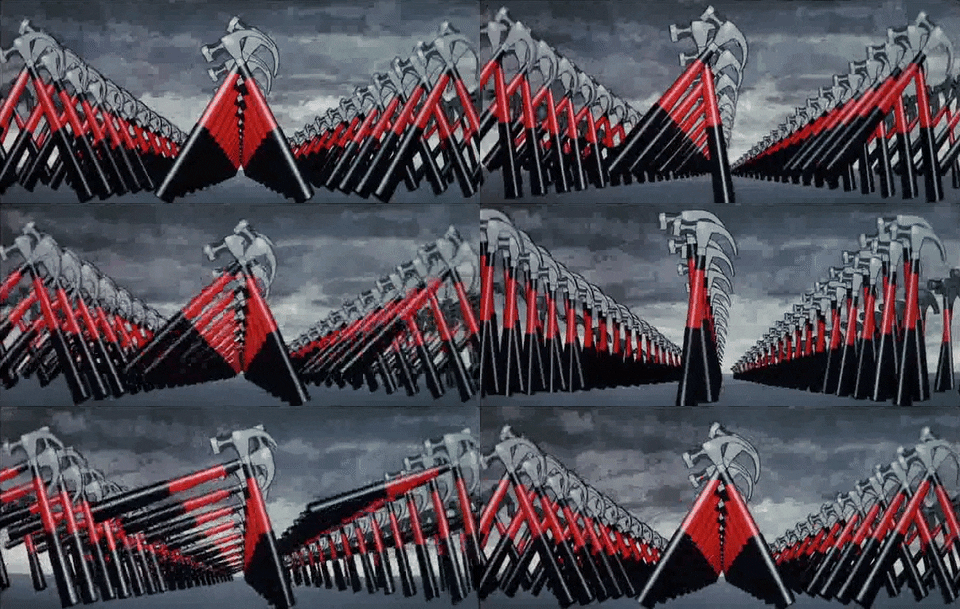
Oh my word, Peter. :)ROTF ! I actually taught "Another Brick in the Wall" to my students and used that very same GIF! Each week we have what is called an ISHOW - a class in which a teacher can showcase something of his choice. Sometimes, I get pretty daring when it comes to my subject choice - as was the case on that occasion!
 
Oh my word, Peter. :)ROTF ! I actually taught "Another Brick in the Wall" to my students and used that very same GIF
...no wonder they like it, they all sang ROTFROTFROTFROTFROTFROTF

We don't need no education
We don't need no thought control
No dark sarcasm in the classroom
Teacher Heinrich, leave them kids alone
 
The only difference was that in this case the students were all adults! ROTF
Mmmmm …….. your students were adults ……
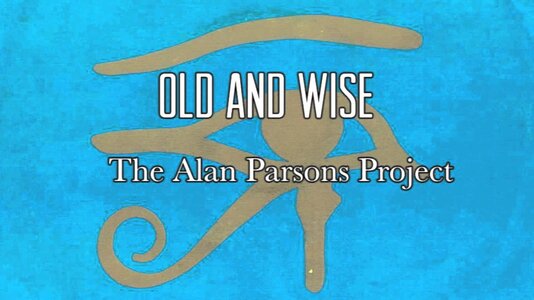
Next time show or let them hear:
55074507-B5C4-43ED-AC1D-9F927AF6C6BD.jpeg
As you know, Alan was for a long time the producer of PF.
Therefor I have also all the vinyls of him and that's why I now draw from his repertoire.
Is it perhaps also a Chinese character in the picture? Or just Egyptian.
Regards, Peter
 
Last edited:
Time for the BN again.
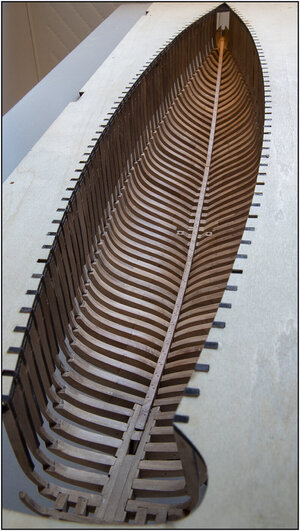
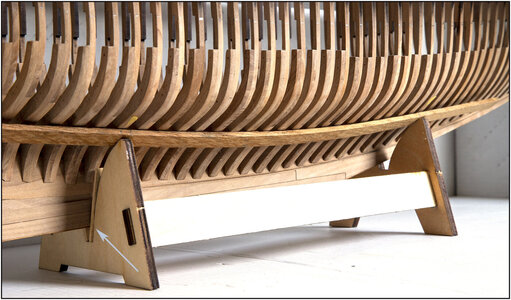
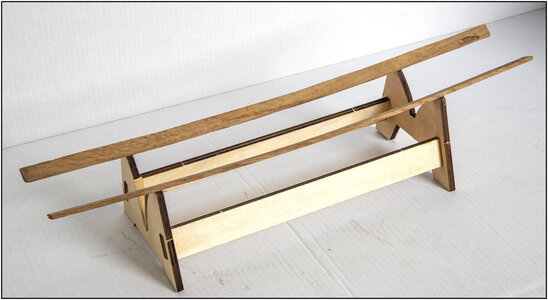
For working on the inside, I first made the support included in the kit. And made some adjustments.
2 along battens to distribute the support over several frames.
138 Stand.jpg
Also to prevent the supports from slipping between the frames.
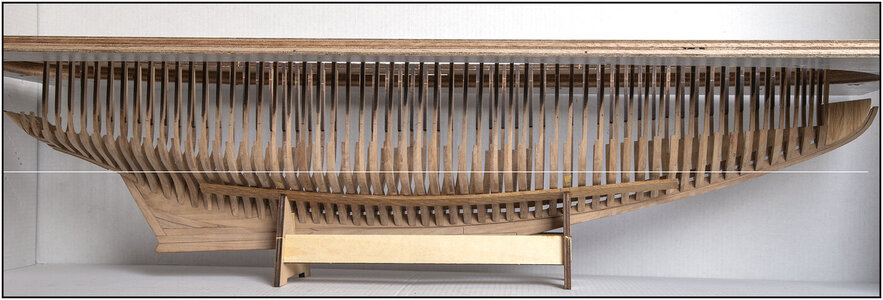
And I put the hull in the support in such a way that the waterline of the hull is also exactly level (X-axis). That is not necessary for the upcoming work, but for some thinking about some upcoming steps, I should have already done that.
139 Stand.jpg
In the picture you see the white digital line as the imaginary waterline. It is just under the 5th frame from the bow and the stern.
I marked both frames (little yellow arrows) witch are exacts above both vertical stands of the support. Those are by my model the 18th frames from the bow and the stern. In the YQ drawings they are the 19th and 17th. Now I can set the hull every time again in the same adjusted position.

On the lowest part of the keel, on the stern side, I adjust 2 pieces of wood in the stand to fixate the keel and hull exact vertical. And that makes the jig/hull horizontal in her transverse position, Y-axis. (length = X-axis, width is Y-axis):
140 Stand.jpg

Time to build.
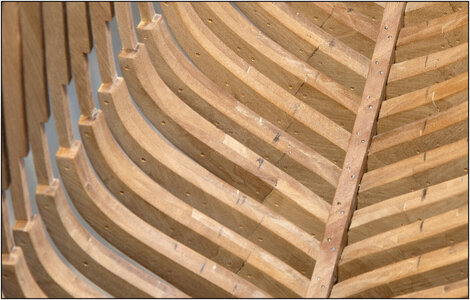
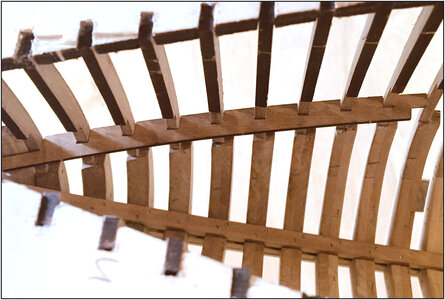
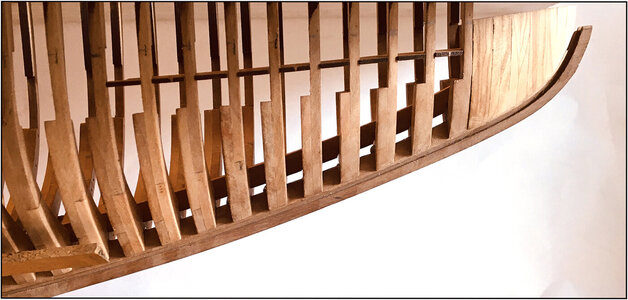
The first inside step: the spacers. Those a very fragile thin pieces of wood.
So carefully file the recesses to the width of the frames. The first installed:
141 Space.jpg
Seen from the outside:
142 Space.jpg
Later on the spacers will be replaced and adjusted against the frames as waterways.
Regards, Peter
 
Last edited:
Fine tuning the first spacers, #24 #25 #26, gives no problem. But at #27 there was a difference between the first 3 recesses that was not right.
The distance between 2 frames, measured from left side to left side, is 10.3 mm / 0.405". Measured by most of the spacers. But also by the frames. Only frame 56 and 57 in the stern are closers by each other.
But not only #27, also at #29 there are differences:
143 Space.jpg
So that is extra careful with all the other spacers. Not just files them to the width of the frames, but also the right distance.
Regards, Peter
 
Back
Top