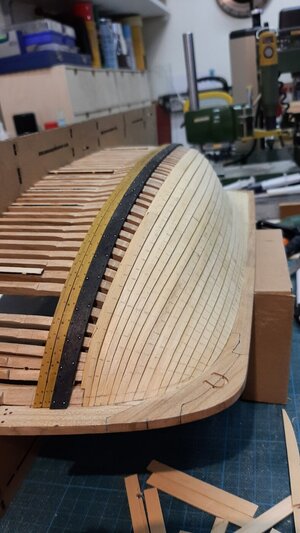
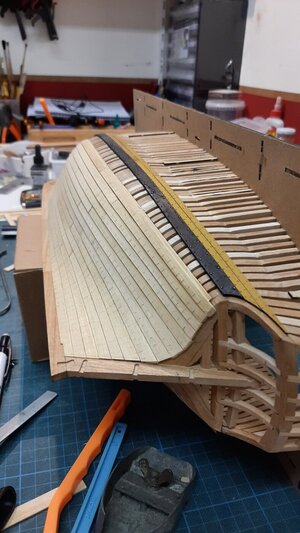
Hms Alert by Maarten [COMPLETED BUILD]

Hoi Maarten,
After catching up in the BN Group Build, I found some time to look in the other Group Builds. In the Alert-Group I found a lot of interesting build-log’s. Also yours, Jim’s and Uwe’s about the trennels. Where did you ordered the burr’s? In the Netherlands or abroad with acceptable postage?
Regards, Peter
Hi Peter,

Ordered them by Drijfhout. They do in jewelers tools.

 
Yes I know it is getting boring but more planks to go.
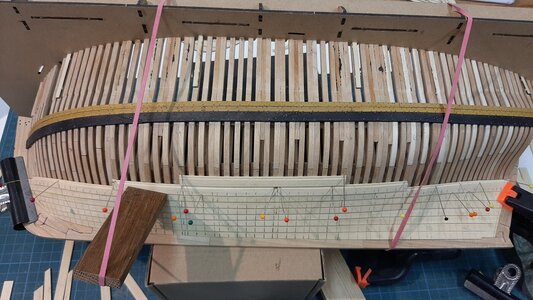
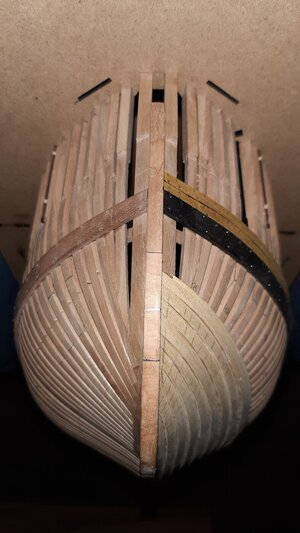
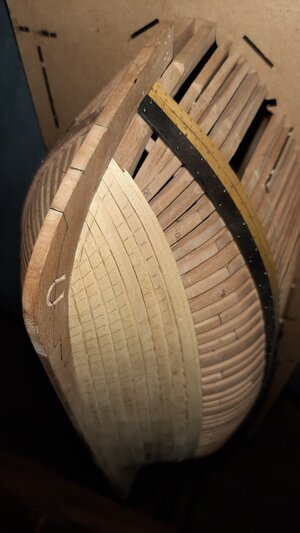
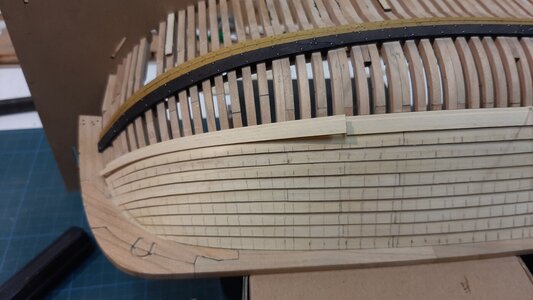
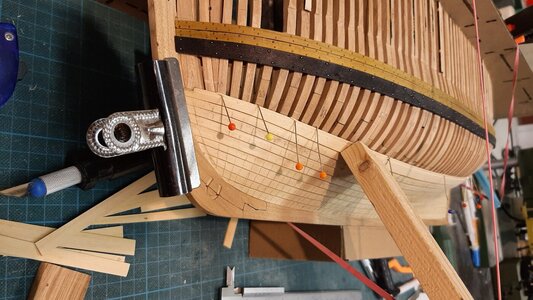
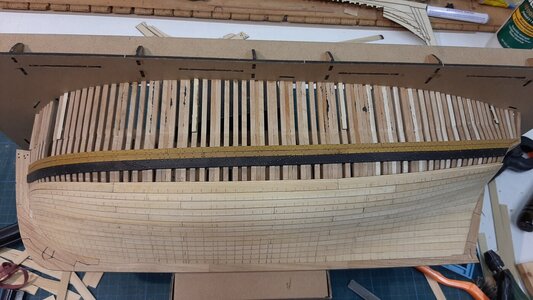
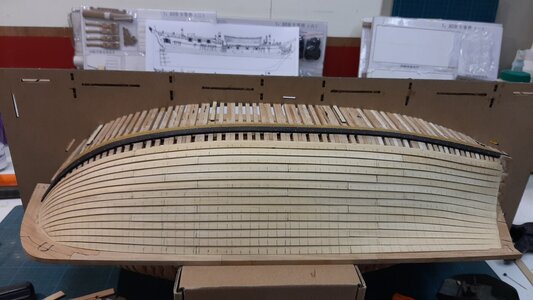
In the mean time 9 rows of planks are fitted from the 16 in total, getting there :).

To keep track on where the frames are I started to mark the centre of them with a pencil. This to make it easier later on to drill the holes for the bolts.
20210129_153900.jpg

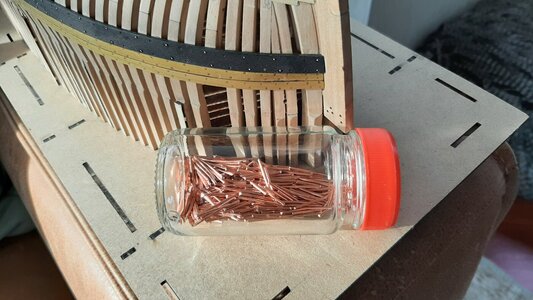
Before sanding the hull I will drill the holes for the bolts. 70 frames with 16 planks will make some 1120 holes and bolts allthough some of these are treenailed instead of bolted.
I already started cutting copper wire for these copper bolts.
20210130_121035.jpg

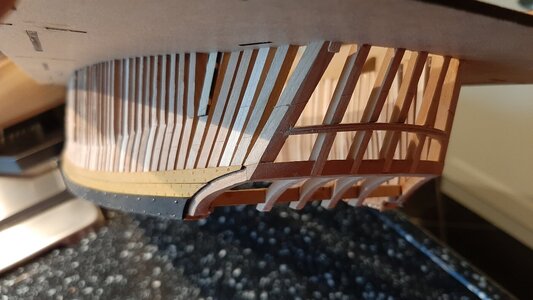
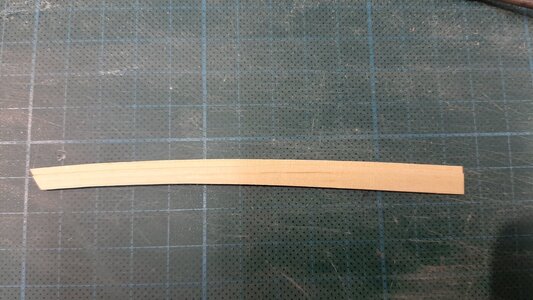
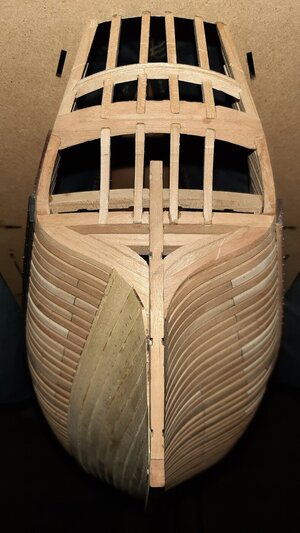
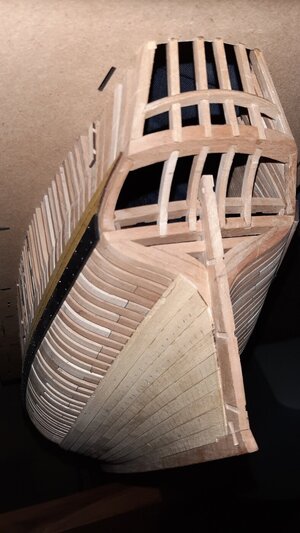
As towards the bow the curvature of the planks is getting severe I pre cut them into shape before bending.
20210129_144124.jpg

And fitted.
20210129_181313.jpg

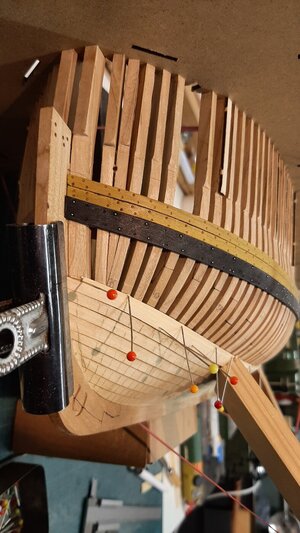
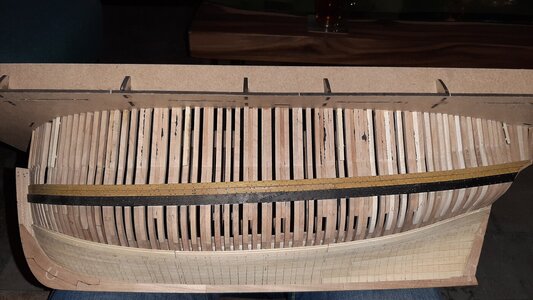
As said 9 rows fitted at the time.
20210129_202414.jpg
20210129_202510.jpg
20210129_202547.jpg20210129_202639.jpg
20210129_202743.jpg

Hope coming week I will find some time to finish the outside planking, then onto finishing the inside ceiling.
 
Yes I know it is getting boring but more planks to go.
In the mean time 9 rows of planks are fitted from the 16 in total, getting there :).

To keep track on where the frames are I started to mark the centre of them with a pencil. This to make it easier later on to drill the holes for the bolts.
View attachment 209616

Before sanding the hull I will drill the holes for the bolts. 70 frames with 16 planks will make some 1120 holes and bolts allthough some of these are treenailed instead of bolted.
I already started cutting copper wire for these copper bolts.
View attachment 209617

As towards the bow the curvature of the planks is getting severe I pre cut them into shape before bending.
View attachment 209618

And fitted.
View attachment 209619

As said 9 rows fitted at the time.
View attachment 209620
View attachment 209621
View attachment 209622View attachment 209623
View attachment 209624

Hope coming week I will find some time to finish the outside planking, then onto finishing the inside ceiling.
Your workmanship always amazes me Maarten. And you also seem to have a firm grasp on the 'craftsmanship' of how shapes translate into wood forms. Simply inspiring!
 
Yes I know it is getting boring but more planks to go.
In the mean time 9 rows of planks are fitted from the 16 in total, getting there :).

To keep track on where the frames are I started to mark the centre of them with a pencil. This to make it easier later on to drill the holes for the bolts.
View attachment 209616

Before sanding the hull I will drill the holes for the bolts. 70 frames with 16 planks will make some 1120 holes and bolts allthough some of these are treenailed instead of bolted.
I already started cutting copper wire for these copper bolts.
View attachment 209617

As towards the bow the curvature of the planks is getting severe I pre cut them into shape before bending.
View attachment 209618

And fitted.
View attachment 209619

As said 9 rows fitted at the time.
View attachment 209620
View attachment 209621
View attachment 209622View attachment 209623
View attachment 209624

Hope coming week I will find some time to finish the outside planking, then onto finishing the inside ceiling.
wonderful work Thumbsup Okay
It‘s a real pleasure to watch your progress:)
 
Time for some more planks.
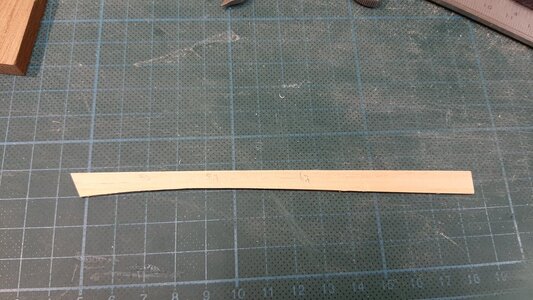
To give you an idea about how to shape these planks with a big curvature I show one of the top planks in the bow.
Again I use a wider plank to have extra material to create the curvature needed. On the plank I mark the widths at the specific frame locations, and use these to create the maximum curvature needed.
20210202_201307.jpg

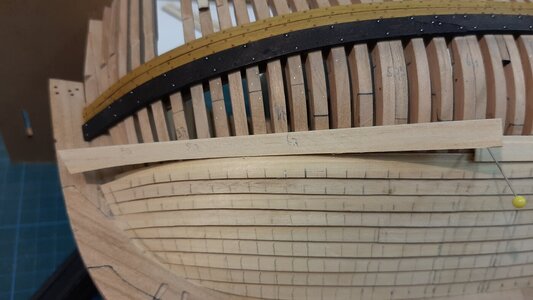
Then I dry fit towards the adjacent plank to get the fitment as good as possible.
20210202_201319.jpg

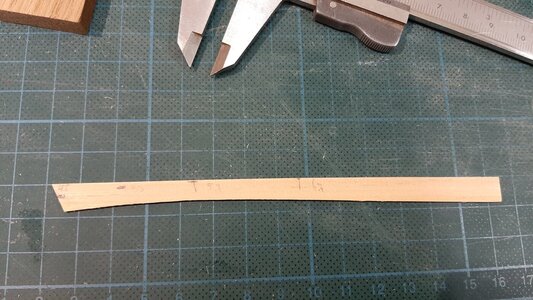
When the lower curve is correct I mark to top side of the plank to get the correct width incl the rebate which is milled when the plank is shaped.
20210202_201625.jpg

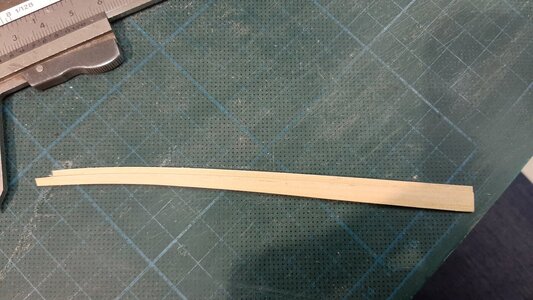
Then I mill it.
20210202_202248.jpg

Followed by steaming and bending and finally fitting.
20210202_203015.jpg
20210202_210659.jpg

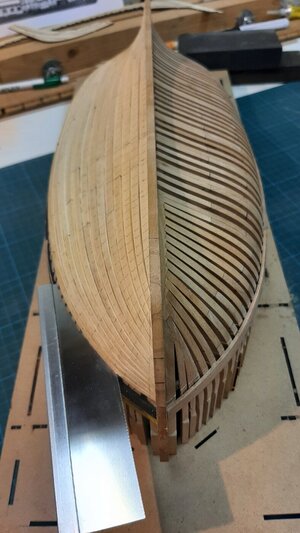
And after fitting more rows of planks the hull is finished for now, the last two row of planks I fit later.
20210206_103246.jpg20210206_103251.jpg20210206_103300.jpg20210206_103310.jpg

The finishing of the planks still has to wait untill the last two rows are fitted.
 
Now it is time for the big surprise, this was the reason for me to buy this kit.
We are ready for the big cut.
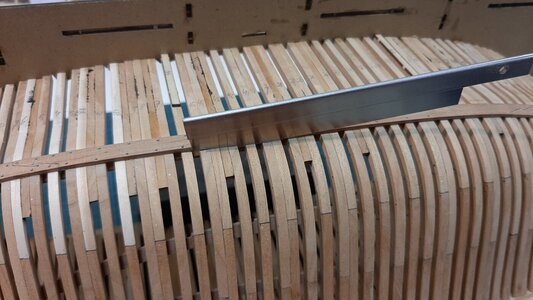
With my Japanese saw I cut my hull in half.
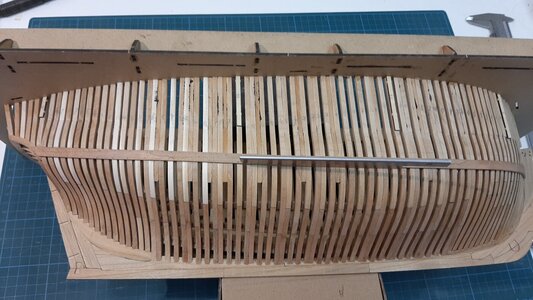
20210206_110855.jpg20210206_110850.jpg

This saw blade is ony 0,4 mm so easily cuts through without a lot of loss of material.
I start in the middle and work towards the bow and stern on both sides. The bow and stern are kept untill the end to maintain rigidity during sawing.
I cut the below the main wale and on the bow slightly below that as the inner shelf clamp is lower placed then the outside wale.
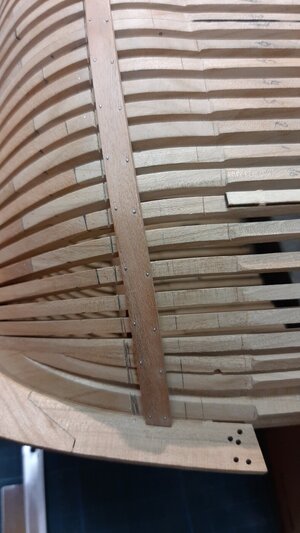
20210206_113143.jpg

Then I saw towards to bow.
20210206_122945.jpg

Until half way the stem before finally cutting through.
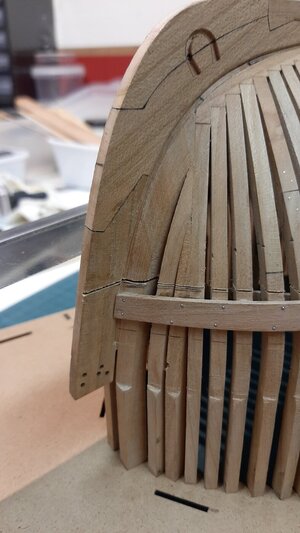
20210206_122951.jpg

On the stern I am not cutting through so here I dissollve the PVA with some nail polish remover to loosen the glue joint between the upper transome and the stern.
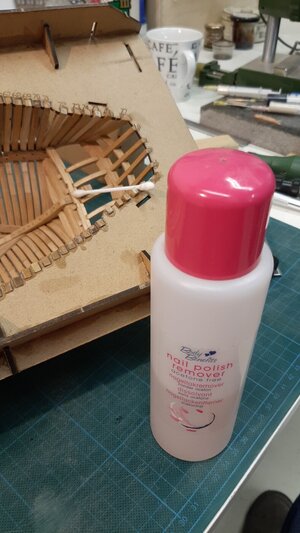
20210206_124356.jpg

I also loosen the joint of the upper transome to the frames with a saw and a cutting blade.
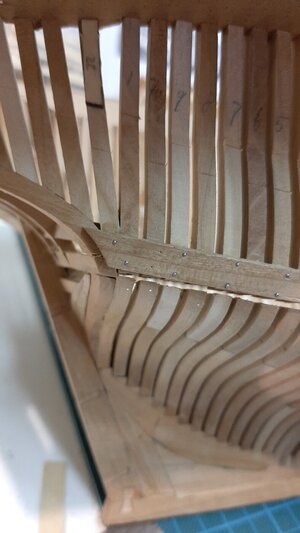
20210206_130818.jpg

Giving some room at the bow to loosen the stern, slowly it is getting loose.
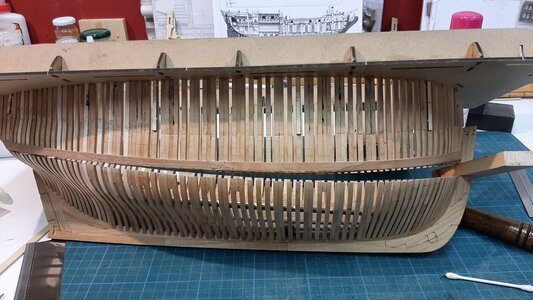
20210206_130808.jpg

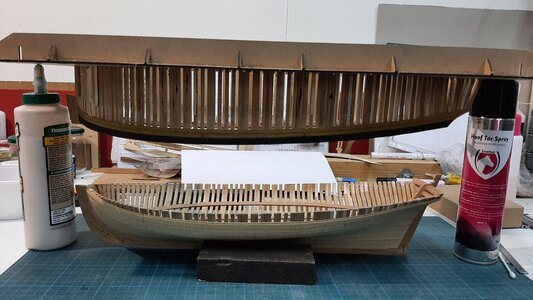
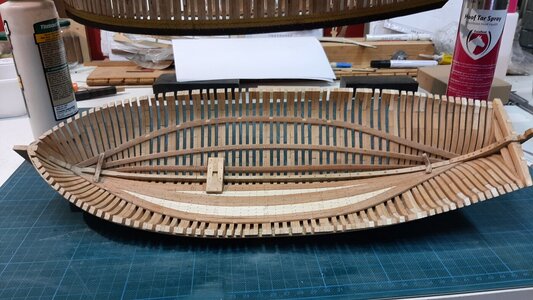
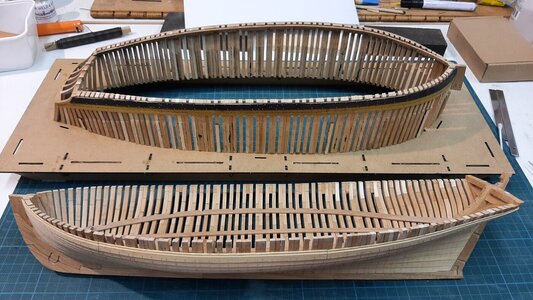
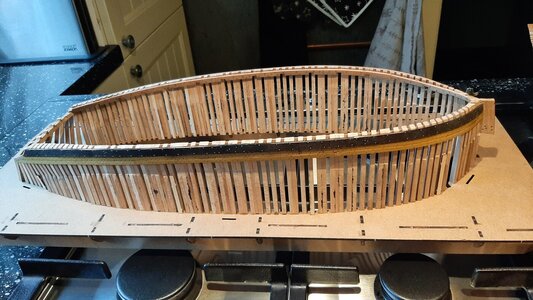
Now the two hull parts are separated. And this is the way I will display the model, so you are able to look into the hull.
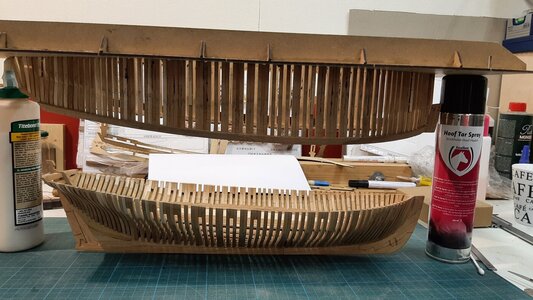
20210206_131551.jpg20210206_131636.jpg

The lower section is now easy to work on and rigid like a block of steel.
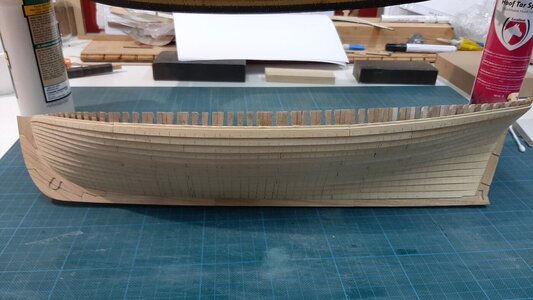
20210206_131653.jpg
20210206_131700.jpg

Upper and lower part together.
20210206_131745.jpg

And the upper part.
20210206_141306.jpg20210206_141757.jpg

This is how to change your cutter into a viking ship.
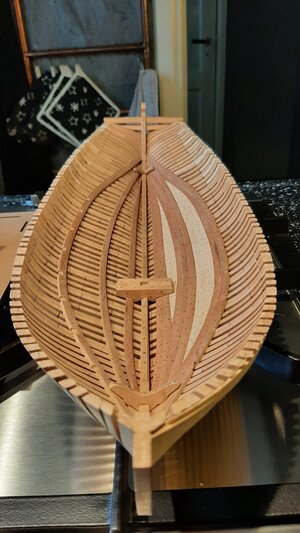
20210206_141241.jpg

Now I have to finish the cutting surface, finish the inside ceiling, outside planking and then fit the copper bolts.
But that is next.

This was the inspiration the contempory model of the Granado.
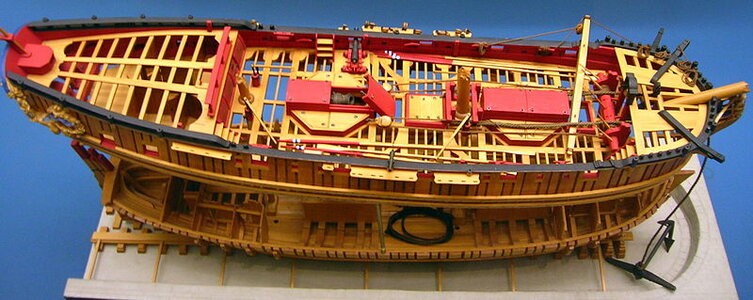
800px-Granado_bomb_vessel_model.jpg
 
Last edited:
While I am still in the process of recovering from the fact you just cut your ship in half - I wonder if you could explain how you established the lower curvature of the plank in posting #211.

I know its sort of like asking Michelangelo how he sharpens his chisels after seeing the David but that's where I am at in this hobby... Thanks much.
 
Back
Top