HMS Jalouse - Caldercraft by Ted

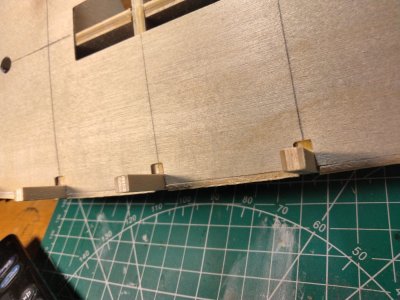
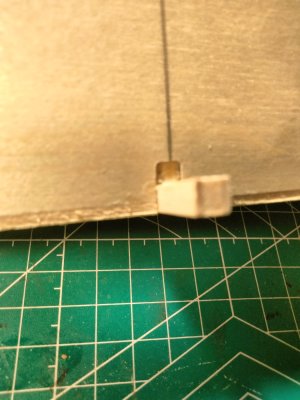
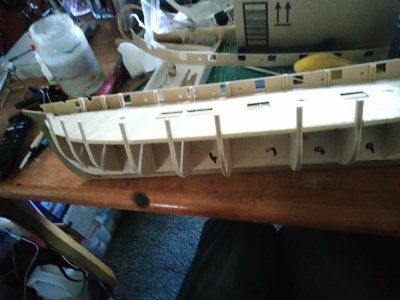
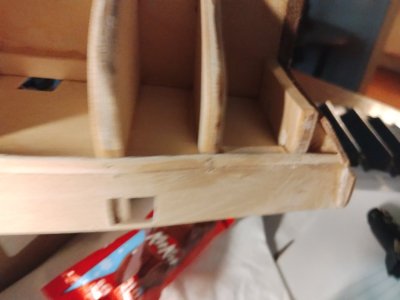
The hull frames are wider than the false deck by a little more than 4mm. So I shimmed out difference at the edge. The openings for the mast still need to be adjusted but I'll take care of that when decking. Or then again I may have made a mistake and the edge of the false deck was supposed to have a 2mm gap at both sides. This is where I'm at now at the edge profile on both sides of the hull are identical. The plans don't show any gaps and the instructions just say install the false deck. IMG20250207091011.jpgIMG20250207091052.jpg
 
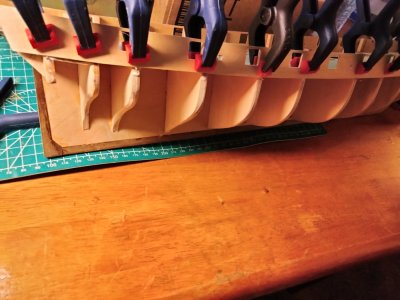
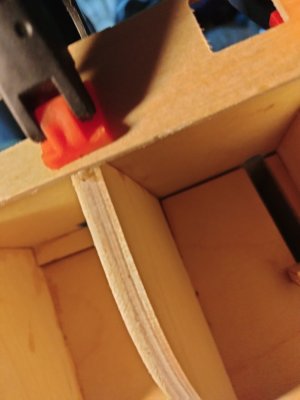
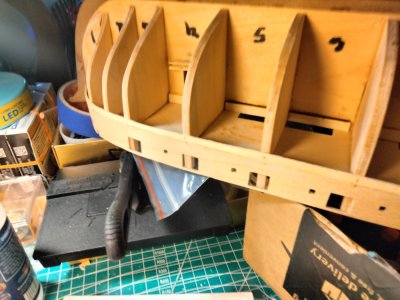
I got the bulwarks glued in place last evening and this morning. I don't know if this kit is easier or I gained a lot of experience from my Bluenose. I'm able to stay a step or two ahead and am more relaxed now
 
I'm looking ahead to my next build.
I want to build the San Felipe l.
Does anyone know the comparative difference in the ZHL and OcCre kits
 
I don't know if this kit is easier or I gained a lot of experience from my Bluenose.
Hello Ted, as far as I'm concerned, the Bluenose is a kit for advanced builders. You have learned wooden ship building via the total immersion method and came out of it with a very nice-looking ship. My guess is you will find plank on bulkhead ships somewhat easier however there will be areas which will still give you problems but hey, that's what makes it all a fun challenge. Keep up the good work.
 
Hello Ted, as far as I'm concerned, the Bluenose is a kit for advanced builders. You have learned wooden ship building via the total immersion method and came out of it with a very nice-looking ship. My guess is you will find plank on bulkhead ships somewhat easier however there will be areas which will still give you problems but hey, that's what makes it all a fun challenge. Keep up the good work.
Thank you my friend.
It did my heart good getting praised for the Bluenose.
Maybe I was out of bounds suggesting someone else tackle the Bluenose kit.
You are correct that even POB kits provide challenges. My latest project came with twisted keel. I thought I had it corrected but when I installed.the bulwarks one was about 1/16" out of alignment at the stern. When I glued that side I used some spring clamps and ended up with a small gap at the bow shifting the bulwark forward. The stern on this kit isa little tricky so i removed the bulwark for correction. All you guys stressed the importance of getting this step correct.
Anyway I'm still having a blast.
Best regards
Ted IMG20250209124512.jpg
 
Does anyone know of another source for a planking fan other than the one listed above? The FedEx employee was trying to upload it to my Google drive with their wifi and something went wrong. The upload is locked trying to complete. Cannot be stopped, erased or.deleted.
Thank you
 
Does anyone know of another source for a planking fan other than the one listed above? The FedEx employee was trying to upload it to my Google drive with their wifi and something went wrong. The upload is locked trying to complete. Cannot be stopped, erased or.deleted.
Thank you
here you go, Ted
 

Attachments

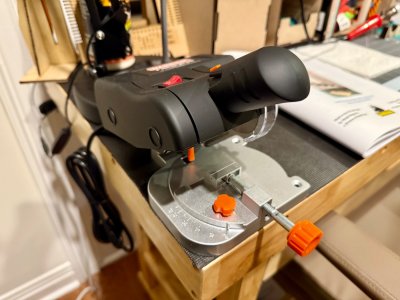
The long awaited Amati master cut arrived this afternoon. I have been watching John Aliprantis use her a in YouTube for years. Mine won't even cut through the wood they provided in the box It cuts halfway through the.5 mm strip.
Their are no adjustments. This is a sore disappointment. I'm weak at making 90 degree cuts and hopes to up my game
Any suggestions on n making this work or a better device View attachment 499288View attachment 499289View attachment 499290


I have had good luck with these 2” chop saws, just make sure you put a fine tooth blade on it, if it does not come with one already. This is my second one, the first lasted about 8 years, they’re less than $40 at Harbor Freight and a three pack of 100 tooth blades are $9

IMG_0181.jpeg
 
I have had good luck with these 2” chop saws, just make sure you put a fine tooth blade on it,
Big difference between a chop saw and a guillotine type cutter/crusher device. Thanks for posting the photo and information. Based on your experience, what are the advantages that you have found over a hand saw? The price you gave seems quite fair, but do you find it makes a better cut than using a razor saw?
Thanks Mark
Allan
It requires a light sand on the end as cutting a softer wood might leave a bit of an edge. And I alway use a square to set 90 and 45 degrees for accuracy. Obviously the cut is faster than a razor saw and miter box. But even a razor saw can leave a bit of edge on runout.
 
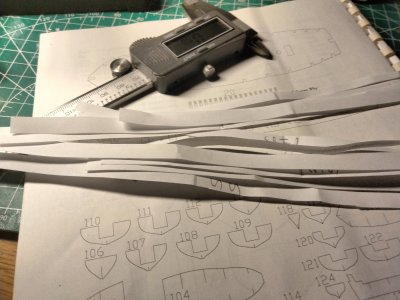
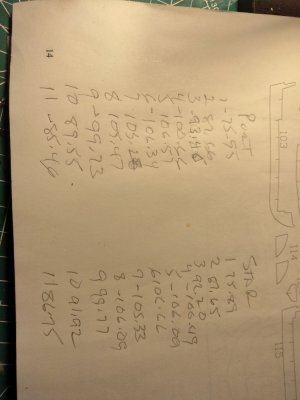
I cut paper strips and laid out the circumference of each frame on both sides. Then worked up a chart with the measurements. Most measurements are within .5mm from side to side or less. Outliers at 1.3 mm and 1.5mm. The average being around .25mm. I suspect the greatest variation being due to errors in marking and measuring.
My understanding of this method is that if I trim the planks perfectly I will fill the hull planking with single pieces end to end with no stealers or fillers. I don't think this is possible but it is the target. This is my first attempt at using this method. The plans say to bend the successive plank and start trimming where it crosses the one above
My model is double planked and has copper below the waterline.
Some questions come to mind.
1) First do I double plank the entire hull including where the copper plates are installed?
2) Do I make try to make duplicate planks for both Port and Starboard sides or do I make separate sizes according to the chart? (For example Port frame 6 is 106.34mm: Starboard frame 6 is 106.66mm.)
3) How close is realistically acceptable in getting the planks to the target measurement?
4) The plans and instructions don't indicate rabbets or bearding lines. Should I just plow ahead without them. Both books I have for reference show their use.
Should I just taper the planks to fit?
5) The plans show 1.5 x 5.0mm planks. Some are as small as 4.71mm. Almost all are around 4.78mm.
6) Is it realistic to attempt using this method at this small of a scale or should I just use the method listed in the plans?
I hope this provokes someone into giving me some guidance or just basic hints.
Happy Modeling here,
Ted IMG20250213174144.jpgIMG20250213174141.jpgIMG20250213184420.jpg
 
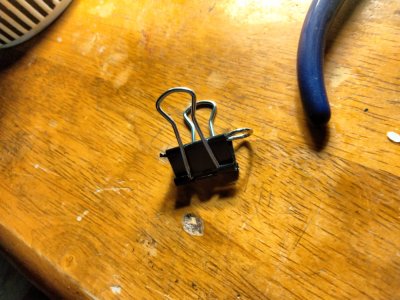
Made up a new batch of clamps from project binders. Gotta love the genius that thought this one up.
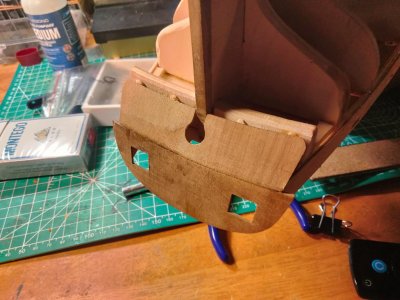
Installed the stern pieces early due to ambiguity in the plans on how the finish fits. The drawings only show the top four planks in the stern and bow views.
Installed the first Starboard side plank.
Finally got the planking fan printed. Went to FedEx and they did something to my phone that locked up Google drive.IMG20250218071955.jpgIMG20250218071934.jpgIMG20250218072018.jpgIMG20250218072021.jpg
 
Once again my learning curve has reared his head. I made up.the paper strips and marked them using the planking fan provided me by @Jimsky followed by marking three central frames with the resulting layout. After four TR al planks I was wildly out from the layout. The planks provided in the kit vary quite a bit.
The only corrective action that comes to mind is to sand down every strip to make room for an additional row of planking. Since this would cancel all the fun from the planking I did a test using full size planks. The result is a partial plank at the keel. Actually looks it might be perfect with a rabbit. (The plans show no rabbits or bearding lines.) The actual number of planking rows from the test are one less than the calculated rows.
Apparently the variance in planking strip widths is significant. I am in no position to complain about the kit as the one I purchased was from an individual and had set on a shelf for mine than ten years
( I have made a second rule for future kits. Only purchase kits verifiably of recent manufacture.)
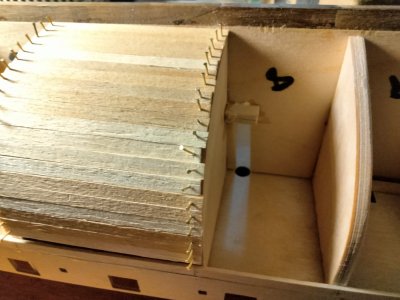
My bottom line is that I'm going to make new paper strips and layout with the reduced row. My goal of achieving a first plank that would be suitable as finished is modified by allowing the half sized garboard row keeping in mind that the hull gets copper plating.IMG20250219075149.jpg
 
I don't quite understand what I am looking at. Have you glued down the strips shown in your post 117, or are you just pinning the strips down to see if it works with your planking fan layout?
 
Once again my learning curve has reared his head. I made up.the paper strips and marked them using the planking fan provided me by @Jimsky followed by marking three central frames with the resulting layout. After four TR al planks I was wildly out from the layout. The planks provided in the kit vary quite a bit.
The only corrective action that comes to mind is to sand down every strip to make room for an additional row of planking. Since this would cancel all the fun from the planking I did a test using full size planks. The result is a partial plank at the keel. Actually looks it might be perfect with a rabbit. (The plans show no rabbits or bearding lines.) The actual number of planking rows from the test are one less than the calculated rows.
Apparently the variance in planking strip widths is significant. I am in no position to complain about the kit as the one I purchased was from an individual and had set on a shelf for mine than ten years
( I have made a second rule for future kits. Only purchase kits verifiably of recent manufacture.)
My bottom line is that I'm going to make new paper strips and layout with the reduced row. My goal of achieving a first plank that would be suitable as finished is modified by allowing the half sized garboard row keeping in mind that the hull gets copper plating.View attachment 502161
Are the planks bevelled along their length? Where is the rabbet?
 
Once again my learning curve has reared his head. I made up.the paper strips and marked them using the planking fan provided me by @Jimsky followed by marking three central frames with the resulting layout. After four TR al planks I was wildly out from the layout. The planks provided in the kit vary quite a bit.
The only corrective action that comes to mind is to sand down every strip to make room for an additional row of planking. Since this would cancel all the fun from the planking I did a test using full size planks. The result is a partial plank at the keel. Actually looks it might be perfect with a rabbit. (The plans show no rabbits or bearding lines.) The actual number of planking rows from the test are one less than the calculated rows.
Apparently the variance in planking strip widths is significant. I am in no position to complain about the kit as the one I purchased was from an individual and had set on a shelf for mine than ten years
( I have made a second rule for future kits. Only purchase kits verifiably of recent manufacture.)
My bottom line is that I'm going to make new paper strips and layout with the reduced row. My goal of achieving a first plank that would be suitable as finished is modified by allowing the half sized garboard row keeping in mind that the hull gets copper plating.View attachment 502161
Hi Ted. I’m assuming these are test planks to identify the number for the planking fan? I’m personally not a fan ROTF of the planking fan although others use it wonderfully. I rather line off the hull using simple maths….Good planning tho . Cheers Grant
 
Back
Top