H.M.S. Victory by Caldercraft - Build Log

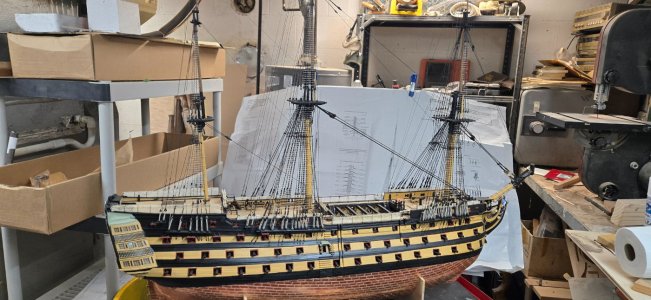
I began two separate tasks, the installation of the lower deck cannons and the beginning of the long process of ratlining!

There are two different length cannons for the lower decks, the longer for the bottom row and shorter ones above.
I used a 1.9mm drill bit to drill the holes. I was hoping I could create a block of wood to insert in the cannon voids. But my work in adding the liners didn't quite make them all consistent. I was able to create a long 12x12mm block and after a few tries was able to drill a hole through the center that actually came out on the other end in the center! I should have just clamped it and used my drill press, but I did it free hand.

I then drilled the holes as close to the center as I could. I placed all the cannons in and they appear to be pretty good.
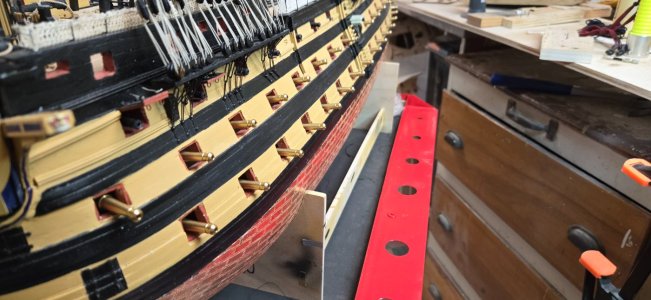
20250304_125843.jpg20250304_131157.jpg

I then blackened all of the cannons with Birchwood Blackening. I added about 12 cannons in and let them soak for about 3-5 minutes. I would then take them out and let them dry on a paper towel for a bit and then give them a second dunking. After that, I put them on toothpicks to dry. They may need a bit of touchup with my black iron paint.
20250304_151218.jpg

I was able to glue them in place with CA glue and once done with the yards, I'll circle back and begin the lids.
I may do them before, it will depend on what kind of tangle the rigging will create!
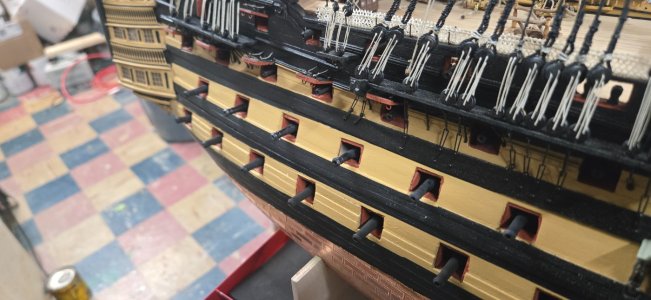
20250307_151825.jpg
 
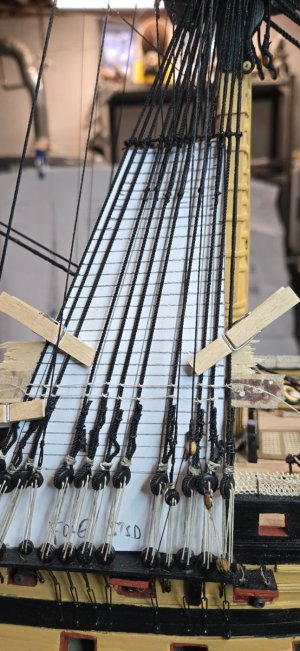
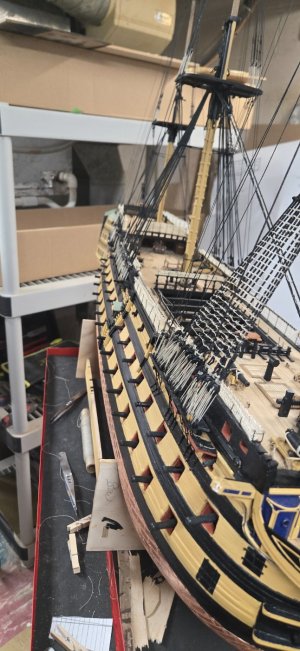
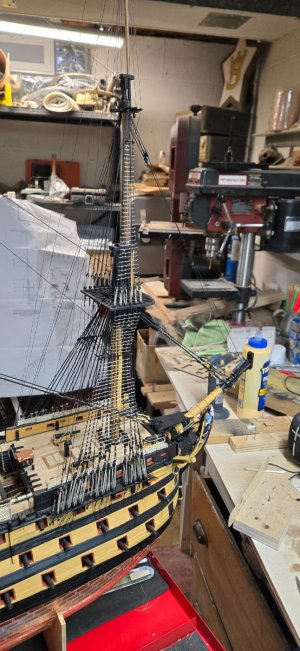
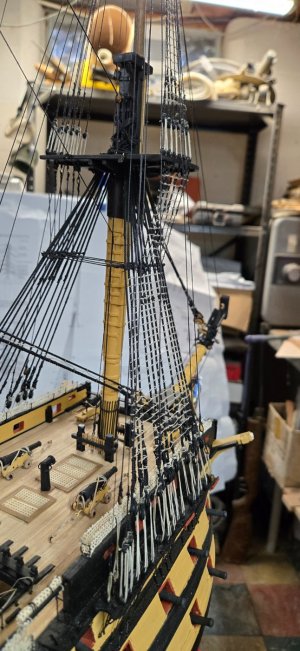
My next or concurrent task was to begin the ratlines.

I used plan sheet 12 and traced the shrouds and ratlines on paper. I had to darken some of the lines on the plan to see them through the paper. I did this for the lower, futtock and upper shrouds. I believe that all I will have to do is reverse them and redraw the lines for the other side....we shall see!
20250303_161745.jpg

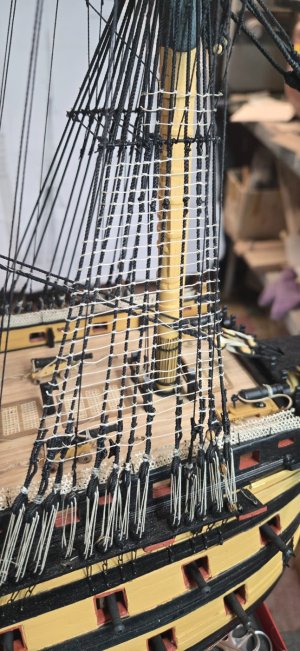
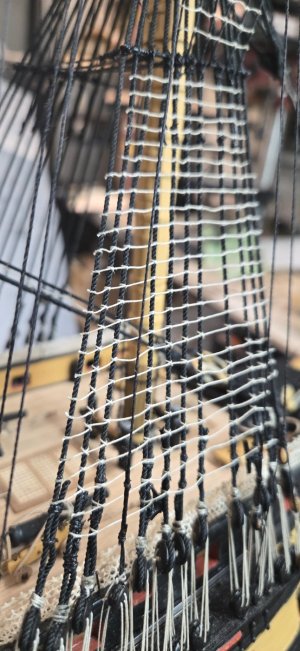
I pinned the template to the foremast lower shroud and began tying the ratlines. There was a learning curve to tying the clove hitches, but once I got it, they go pretty quickly. The directions suggest leaving the end tails until after you use watered down white glue to secure the ratlines, I didn't do that, cutting them all of so they wouldn't get in the way. I'll leave the white glue till I'm down with a whole mast and make sure the lines are pretty even.
20250307_151806.jpg20250307_151812.jpg

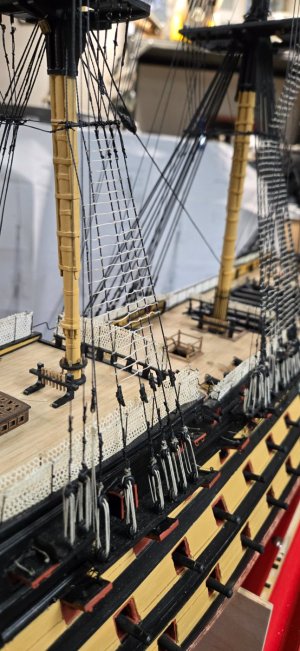
I did have some trouble with the lowest ratlines as I rigged the deadeyes a bit too high and the cleats and tied off shrouds interfere with those lower lines. I added them the best I could. Again, I'll rely on the taller sailors to climb the rigging!

20250307_151815.jpg

20250307_151838.jpg
 
My next or concurrent task was to begin the ratlines.

I used plan sheet 12 and traced the shrouds and ratlines on paper. I had to darken some of the lines on the plan to see them through the paper. I did this for the lower, futtock and upper shrouds. I believe that all I will have to do is reverse them and redraw the lines for the other side....we shall see!
View attachment 505502

I pinned the template to the foremast lower shroud and began tying the ratlines. There was a learning curve to tying the clove hitches, but once I got it, they go pretty quickly. The directions suggest leaving the end tails until after you use watered down white glue to secure the ratlines, I didn't do that, cutting them all of so they wouldn't get in the way. I'll leave the white glue till I'm down with a whole mast and make sure the lines are pretty even.
View attachment 505503View attachment 505504

I did have some trouble with the lowest ratlines as I rigged the deadeyes a bit too high and the cleats and tied off shrouds interfere with those lower lines. I added them the best I could. Again, I'll rely on the taller sailors to climb the rigging!

View attachment 505505

View attachment 505506
Beautiful work
 
Thanks for all the stop bys, comments, likes and more! They mean a lot that folks actually take the time keep up on other builders!!!!

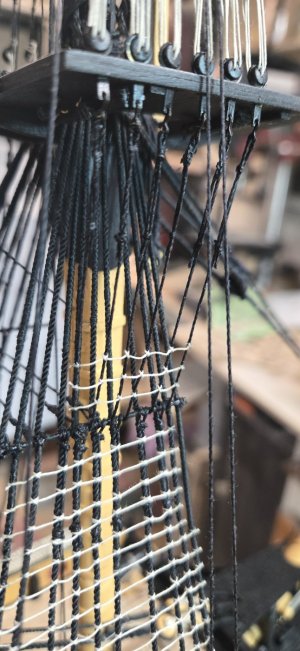
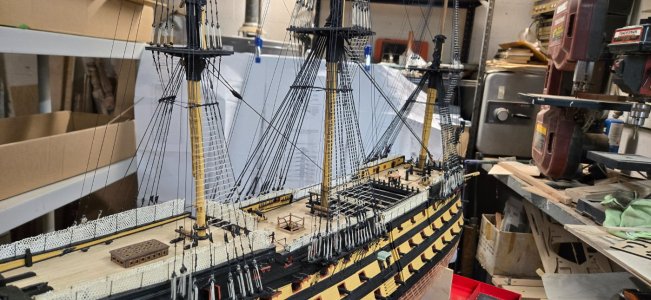
Been working slowly on the rat lines. It's a slow process and ironically, it's hard on my back. A lot of the work is high up even with a better work table and there is a lot of strain. Who knew model work was tough!!!!!

I have the futtock and upper ratlines for the mizzen mast starboard side left. Probably 3 hours or so of work, then on to the other side.

Hopefully thought, the weather is going to start getting better up here in west NY so I can start getting my sailboat ready for the summer. It hasn't been very good yet, mostly rain, snow or just cold and dreary. At some point the model will just kind of sit to the side until this September. Don't hate me!!!!!

20250402_163054.jpg

20250402_163059.jpg

20250402_163102.jpg

20250402_163114.jpg

20250402_163120.jpg

20250402_163129.jpg

20250402_163132.jpg
 
Thanks for all the stop bys, comments, likes and more! They mean a lot that folks actually take the time keep up on other builders!!!!

Been working slowly on the rat lines. It's a slow process and ironically, it's hard on my back. A lot of the work is high up even with a better work table and there is a lot of strain. Who knew model work was tough!!!!!

I have the futtock and upper ratlines for the mizzen mast starboard side left. Probably 3 hours or so of work, then on to the other side.

Hopefully thought, the weather is going to start getting better up here in west NY so I can start getting my sailboat ready for the summer. It hasn't been very good yet, mostly rain, snow or just cold and dreary. At some point the model will just kind of sit to the side until this September. Don't hate me!!!!!

View attachment 511238

View attachment 511239

View attachment 511240

View attachment 511241

View attachment 511242

View attachment 511243

View attachment 511244
Nice progress and very neat work
 
Back
Top