Artesania Latina Anatomy of Lord Nelson’s HMS Victory 1805

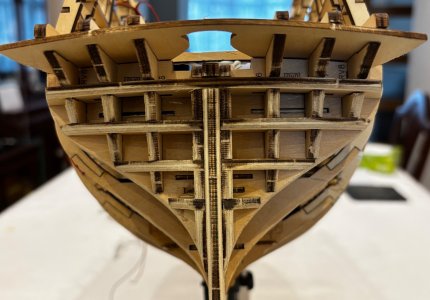
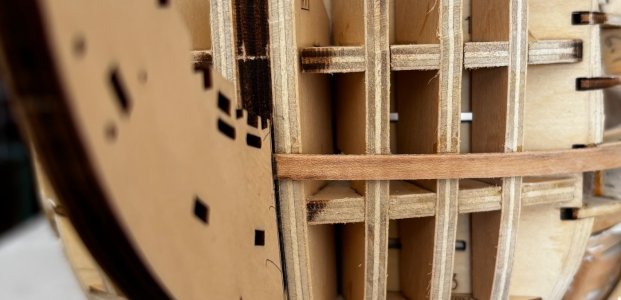
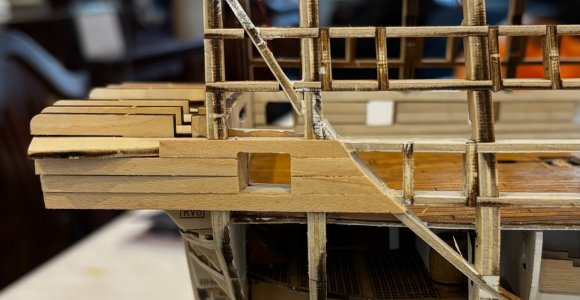
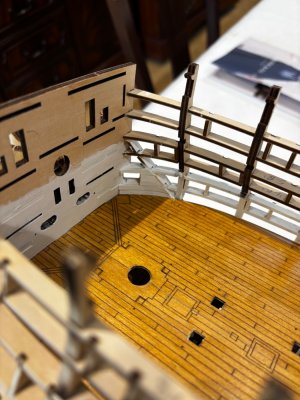
More excellent progress Alan and now I see the beam I mentioned to be cut away. What are your thoughts on the finger join approach AL have opted for the front to back decks?
 
More excellent progress Alan and now I see the beam I mentioned to be cut away. What are your thoughts on the finger join approach AL have opted for the front to back decks?
Not a big fan to be honest as it gives little leeway for anything slightly out of line/ square
Think I mentioned in an earlier post that a straight forward butt joint would be easier to work with, but saying that, the lower gun deck hasn’t worked out too bad

IMG_2322.jpeg
 
I have been anxious to find someone building this kit. Thank you for posting. Are you aware of any other build logs?
Think there’s a couple on facebook “HMS Victory Modellers site. Including mine
Think I’m the most advanced atm
 
Instructions Video #16 completed

I don’t want to see another bit of sandpaper for a long time :)
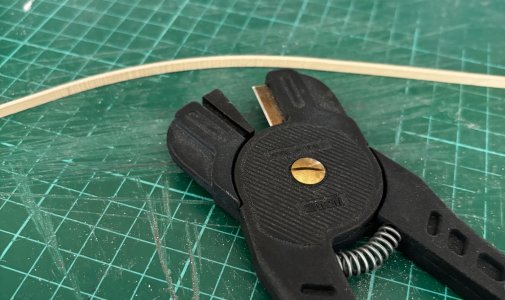
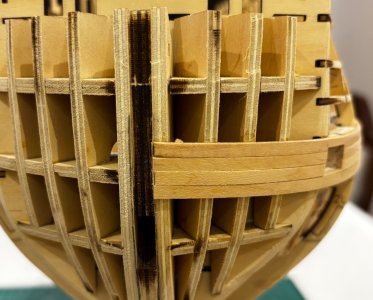
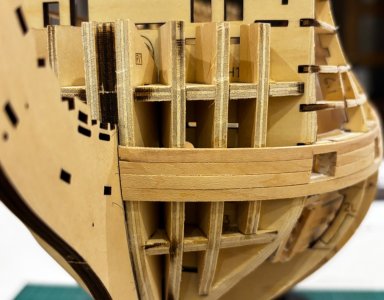
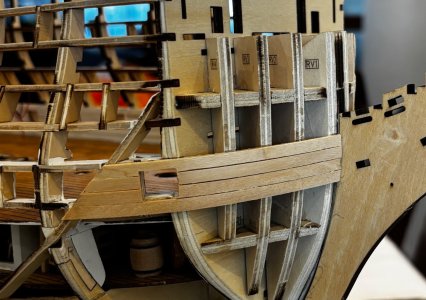
After doing the first bow plank curve I remembered I had the Amati Form-a-strip in my ship modelling tool box, much quicker as you can form the curves dry off ship before final fixing. You may also find it useful to temporarily fit the beak to more accurately mark the bow plank cut points

IMG_2296.jpeg

IMG_2298.jpeg

IMG_2305.jpeg

IMG_2306.jpeg

IMG_2308.jpeg

IMG_2309.jpeg

IMG_2310.jpeg

IMG_2311.jpeg

IMG_2312.jpeg

IMG_2317.jpeg

IMG_2318.jpeg

IMG_2319.jpeg

IMG_2320.jpeg

IMG_2321.jpeg
 
Last edited:
Hi Alan
You seem to have nailed the curve with using the Amati Tool, good work! With the finger joints on the decks I may look at the possibility and practicability of veneering the upper decks with new individual thin strips as this is the only deck you can see in full. Not sure about this as I have not really checked out the ramifications etc. Will put that idea on the backburner. As I mentioned earlier I am continuing on with my San Fransisco build, will probably get the 1st planking done today. After a little filler, the odd ale and a hour or two of aggressive sanding she should be ready for 2nd planking. I will post a pic of my efforts in my next reply to your thread. Keep up the great work!
Regards
Tony
 
Thanks Tony
I’m toying with the idea of 2nd planking this hull, forwarding a few videos it looks like they paint directly onto the first planking
When I get to that part I’ll see what it looks like before making a final decision I have plenty of thin veneer strips left from my 1st Victory project
Looking forward to seeing some of your pics
Regards
Alan
 
Just watched video 69 posted yesterday, rigging scares me somewhat! :eek:
I'm using CA glue to attach my 1st planks to the San Fran just wondering what you are using. Yes I see from your pic temp attaching the Beak is a good idea!
Regards
Tony
 
Last edited:
Just watched video 69 posted yesterday, rigging scares me somewhat! :eek:
I'm using CA glue to attach my 1st planks to the San Fran just wondering what you are using. Yes I see from your pic temp attaching the Beak is a good idea!
Regards
Tony
Hi Tony
Yeah, I’m using CA glue, just be careful to wipe away any excess at top/bottom of planks before it dries too hard
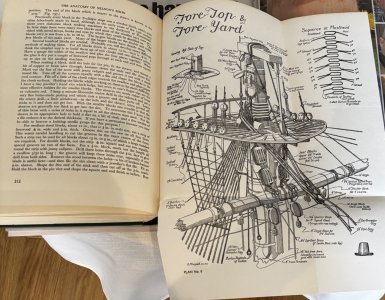
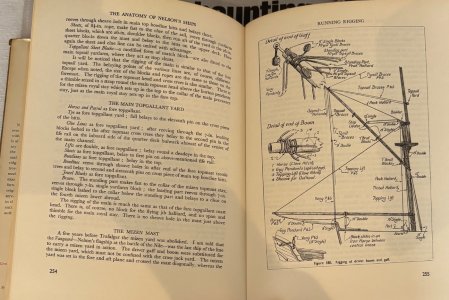
The rigging is quite daunting to say the least, but there are plenty of good books and resources to help with it to supplement their videos. I would strongly recommend a copy of C N Longridge’s The Anatomy of Nelson’s Ships among others that I have, it has several pull out plans of many aspects not just rigging

IMG_2331.jpeg

IMG_2330.jpeg

IMG_2329.jpeg

IMG_2327.jpeg

IMG_2326.jpeg
 
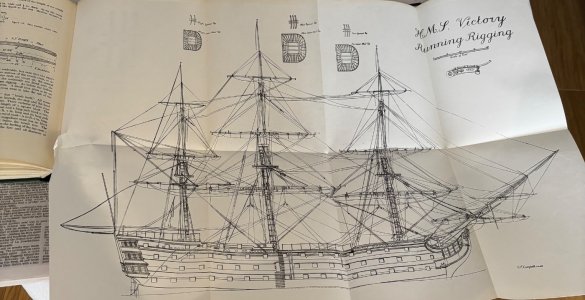
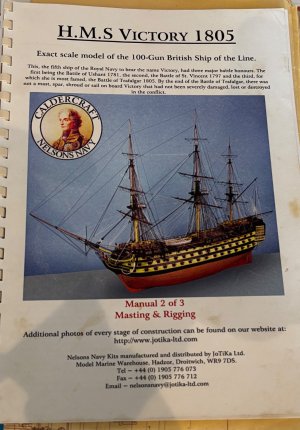
Although I never reached rigging stage with my last Victory, I did intend too and prepared myself well for it. I managed to obtain a full set of plans for the Caldercraft 1/72 scale Victory which includes large plans of the rigging in 6 stages plus a belaying plan
I’m pretty sure ( although it was some years ago) that they were available from their web site

IMG_2332.jpeg
 
Last edited:
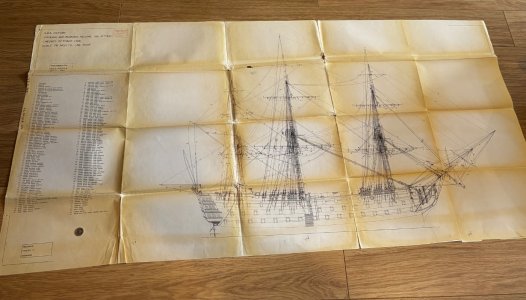
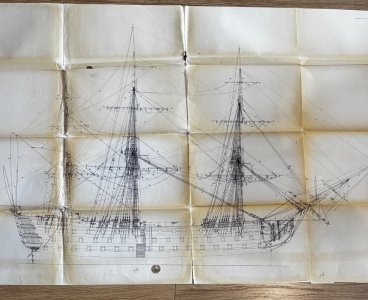
I also managed to acquire a very large (1/8 inch to 1 foot) rigging plan from from the Planning Department of Portsmouth Dockyard showing standing and running rigging “as fitted “ dated October 1966, don’t ask :) It was quick yellowed at the time and has got worse (20p piece in pics to judge size)
Regards
Alan

IMG_2323.jpeg

IMG_2324.jpeg

IMG_2325.jpeg
 
Last edited:
It looks like the planking of the hull on the model is following the sheer of the gun ports. The sheer line of the planking has no relation to the sheer line of the decks and gun ports. I realize this is a kit design mistake, but you can fix it if you want to. It would really not be that noticeable except that the wales, which follow the sheer of the rest of the outboard planking, will look odd. You can see the difference very clearly on the Longridge and other drawings that you posted.
Allan
 
Hi Allan
Thanks for your observation
I think it’s too late to change anything now without causing a lot of damage
One thing I did check early on by watching upcoming videos is that the wales do follow the correct lines in relation to the gun ports etc. Hopefully when everything is sanded down smoothly and painted it won’t be that noticeable
Regards
Alan
 
Hi Alan.
Wow lots of good advise thanks for that, you certainly did your home work! I will investigate the book and see if I can download the Caldercraft manual too. The illustration (plan No. 8) on its own is very helpful. Although I may not start my Victory for a 2 or 3 months I have started a journal of information/reference to help me along the way. Your build is already a great point of reference.
Regards
Tony
 
Hi Alan
I note that on the instruction video #14 at about 4.50 the wiring on beam B14 does not travel through the whole beam it is re-routed around the adjacent curved back wall. I though this maybe to accommodate another light in that area but it does nor appear to. Any idea why this is done that way?
Regards
Tony
 
Hello.

What glue/process did you use to make up the boards for cutting the hold parts out of? I am using the same glue as AL uses in the video and they keep breaking whilst I am trying to cut the patterns out (doesn't help the wood seems really difficult to cut even with a swann morton blade). I tried an alternative by making the boards using diluted PVA but that was even weaker.
Hi,
Yeah I had the same problem, I persevered for vid 3 by re-gluing after they came apart but changed tac for videos 4&5 (check out further in thread), as there are far more pieces to cut, by getting 1.5mm sheet and cutting the shapes from that, then scribing the planking
Regards
Alan
 
Hi,
Yeah I had the same problem, I persevered for vid 3 by re-gluing after they came apart but changed tac for videos 4&5 (check out further in thread), as there are far more pieces to cut, by getting 1.5mm sheet and cutting the shapes from that, then scribing the planking
Regards
Alan
Thanks. I checked the post and yeh that seems a better way of doing it. I did try to find some 1 or 1.3 and then use some veneer strips for the planking but could only find 1.5mm.

Whilst I wait for delivery I will, same as you, persevere for video 3. I've done the hardest one to cut (the panel with the cutaway) in and only managed to break it in 4 places haha.

Thanks
 
Back
Top