Are you saying, Peter, that the neighboring association does the bay watching?Even though the front rows may be full, I can borrow these from the neighboring association

 |
As a way to introduce our brass coins to the community, we will raffle off a free coin during the month of August. Follow link ABOVE for instructions for entering. |
 |
 |
The beloved Ships in Scale Magazine is back and charting a new course for 2026! Discover new skills, new techniques, and new inspirations in every issue. NOTE THAT OUR FIRST ISSUE WILL BE JAN/FEB 2026 |
 |
Are you saying, Peter, that the neighboring association does the bay watching?Even though the front rows may be full, I can borrow these from the neighboring association

When the referee looks over his shoulder, yes. But he has to watch the game of (River) Beach Volleyball……….Are you saying, Peter, that the neighboring association does the bay watching?

Helicopter view like seating, hmm sounds about right for Grant.You also thanks for this nice words, Grant. Yep, a bit crazy and I'm still allowed to walk around freely.
It is not necessary to bring your own chair. Even though the front rows may be full, I can borrow these from the neighboring association:
View attachment 396776
Regards, Peter

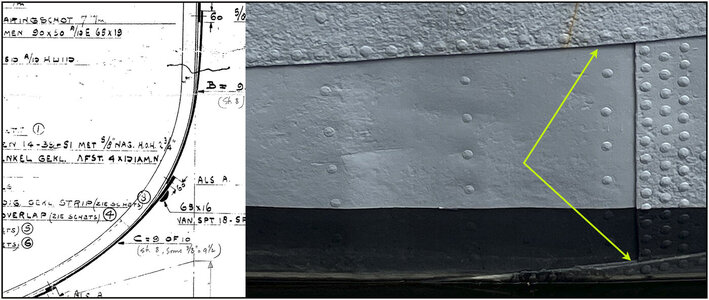
The dark looking rivet heads are appealing, at least to me. They look rather realistic, probably also appropriate for the time of build.Thanks for this input, Uwe.
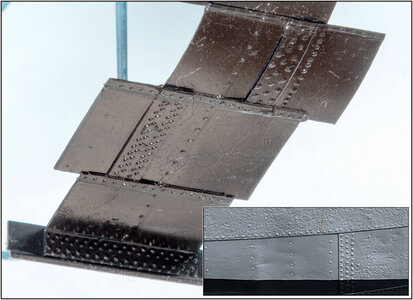
Made a macro of the resin rivets besides the paper cuts:
View attachment 396775
The shape is almost perfect.
Nice to see you found some other small rivets. But 1: they have a to rounded head, 2: I have to rivet them on the inside, 3: I hope that there will be soon more minutes in a hour and more hours in a day. I heard they are doing research into that.
PS: Drilling all that holes is not the problem. Builded up some experience on my BN.
Regards, Peter
Good morning Peter. Thank you that is the best seat in the house. Cheers GrantYou also thanks for this nice words, Grant. Yep, a bit crazy and I'm still allowed to walk around freely.
It is not necessary to bring your own chair. Even though the front rows may be full, I can borrow these from the neighboring association:
View attachment 396776
Regards, Peter
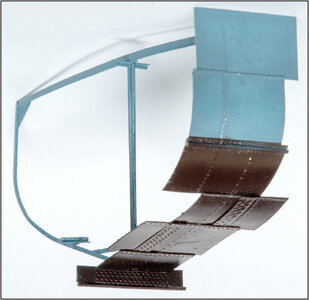
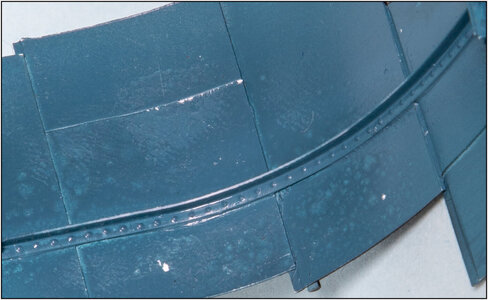
Yep, next step is painting the test frame to see how the rivets look.I suspect, once you've applied some finish, they'll present the required outcome.
Only for 1:4 or 1:8 scale models …….such a chair would be also very helpful for the rigging works at the top of the masts ......
Hi Gijsbert. Nice to have you on board of my new build and you found a side-way to stay in tune.Hi Peter, I just found out that you have started a new project! So curious about how you are going to approach the build of this nice little lugger. My life has taken some exits away from the modelling highway, but for your activities I"ll love to get notified!!!
Gijsbert
Imagine a fully rigged 100-gunship model in 1:48 is standing on your working table - the masttop is appr. in 1,80 meter heightOnly for 1:4 or 1:8 scale models …….


Thanks, Paul. I am glad I tackled this ‘problem’.What a delightful outcome to your trials! Always impressive Peter!
Thanks, Uwe.I think that you are really on a very good waylooking very promising
BTW: Which colour does your cutting mat has? I guess green based on the actual thesis by @Steef66
Yes. My state of mind is what started that whole discussion on my build reportThanks, Uwe.
BTW: ‘Green’ is not a color, that is a condition that many people find themselves in at sea.
The same as ‘Blauw’, that’s a state of mind.
Regards, Peter


 .
.


He got a green mat, for sure. See post #3I think that you are really on a very good waylooking very promising
BTW: Which colour does your cutting mat has? I guess green based on the actual thesis by @Steef66
