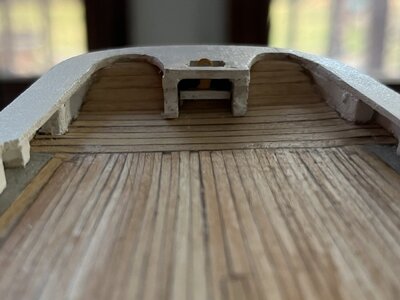
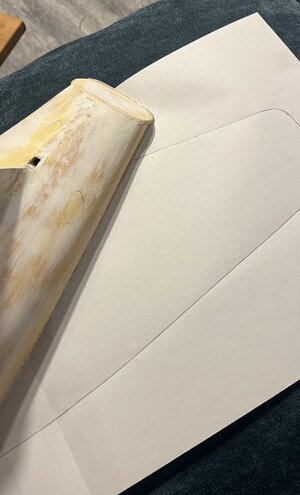
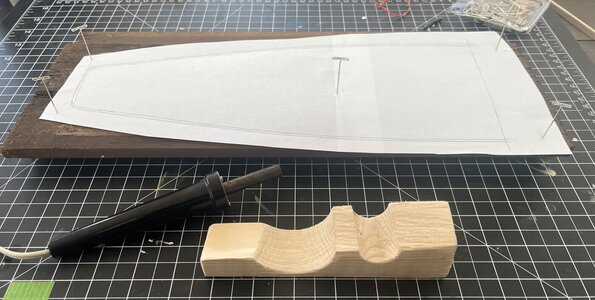
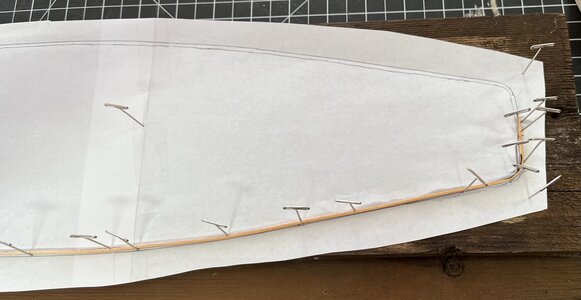
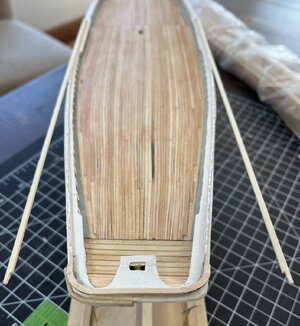
I agree with Uwe: a nice looking deck.9/12 to 9/18
After spending some time in Cali with my daughter while she was getting some well deserved R&R after working on the Smith River Complex fire at the CA/OR border I came home to an appointment with my orthopedic surgeon to clean up some meniscus tears and arthritis artifacts in my knee (kicking a knee replacement down the road), I’m finally feeling like working on my Bluenose.
I only have a few more planks on the quarterdeck to nib and install so hopefully I’ll be able to knock them out within a couple of days.
View attachment 395305
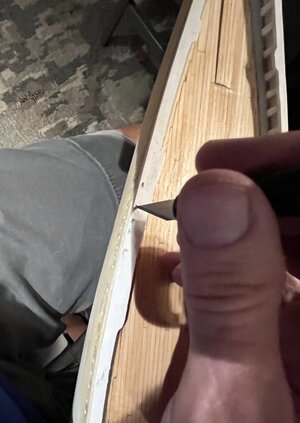
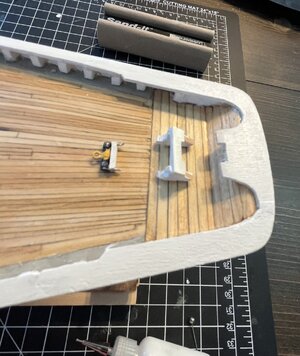
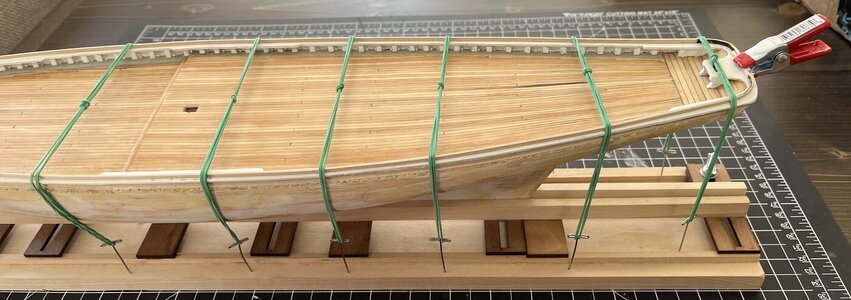
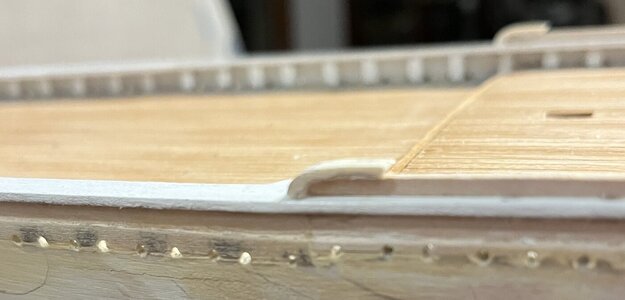
The couple of days turned out to be a couple of hours as I’ve finished closing the hull. I did notice on the next to last plank that I had forgotten to pencil the sides of 3 planks on each side. I’m assuming I’ll be able to notice once the deck is sanded, but I decided NOT to pull them up and re-do them.
View attachment 395306
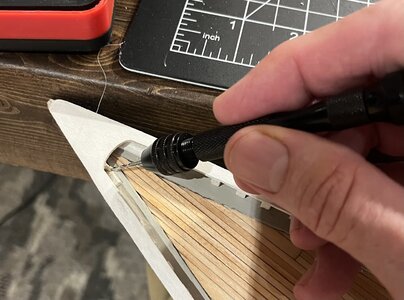
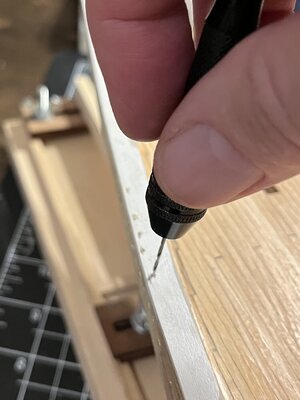
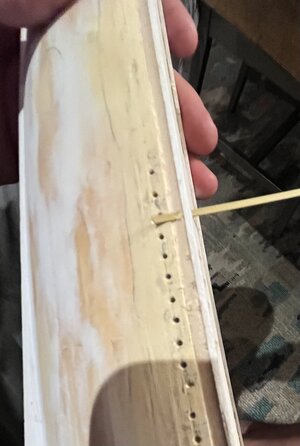
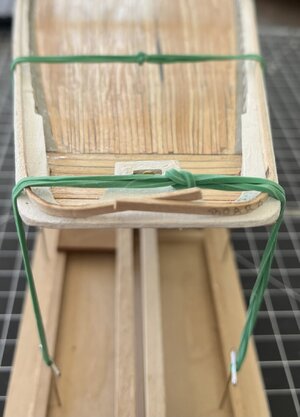
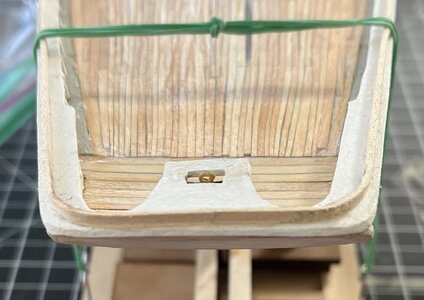
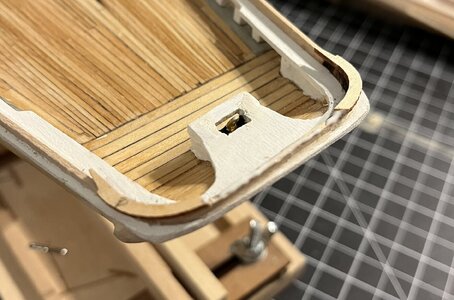
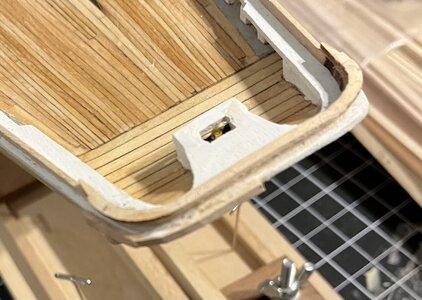
Now I’ll focus on sanding, and obviously more sanding. Yes, I can tell where I didn’t pencil the planks, but when I pointed it out to my wife, she couldn’t see what I was talking about. While sanding I knocked off 2 of the fake stanchions, worrisome yes, but not a big deal as I can glue them back on. I also noticed that I still need to clean up the planking on the transom as I had not even tried to have the ends of the planking align with each other.
View attachment 395307
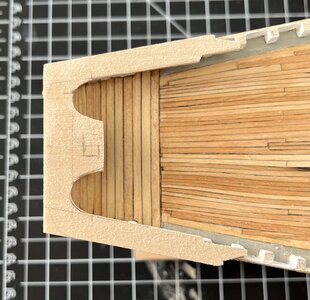
Transom is cleaned up and planked - now back to sanding.
View attachment 395308
After I had used a variety of sandpaper grits in my sanding block, I began using some “sanding twigs” I bought a while ago. I’m sure they are not new to many of the people on here, but they were new to me. I started with 180 grit twigs, then went to 240, then 320, and wrapped my sanding up with a 400 grit. These twigs are nice as they allow me to sand in a fairly small space as they are only about 1/8” wide, are flexible, and only cost about $13 for 100 of them.
View attachment 395309
View attachment 395310
Based on how everything looks, I am not going to add the extra board at the great beam (to hide the snaggle-toothiness of the foredeck.
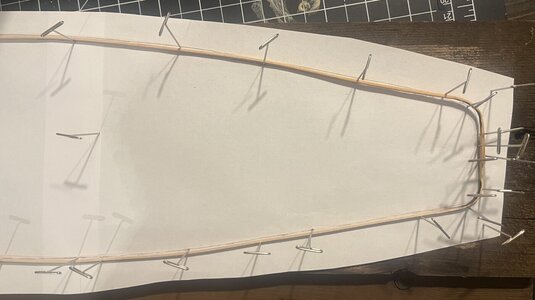
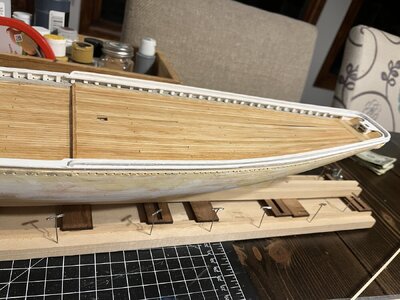
I still need to do two things to wrap up this portion of my build: 1) Decide what color/shade of stain to use on the deck and 2) Touch up the white and grey paint of the rail and waterways.
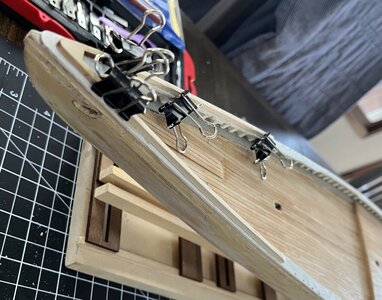
I’ve cut the deck choices down to 2; a clear satin varnish and a satin classic oak (Minwax polyshade). I glued a few planks together and then put both a single coat and a second coat on them. I decided to go with two coats of the classic oak (with a light sanding with 320 grit between coats).
View attachment 395311
Although I really like the overall color of the deck, it’s a bit too shiny for me. To knock it down, I did another light sanding.
View attachment 395312
View attachment 395313
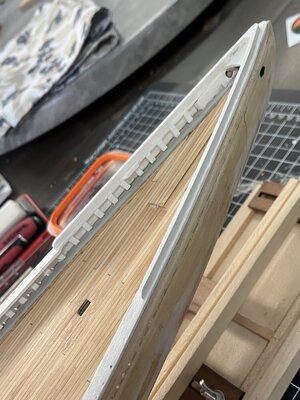
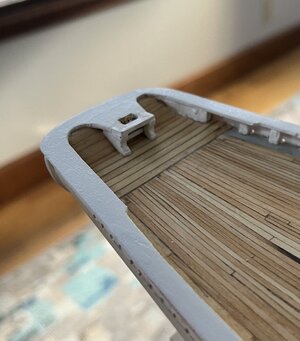
Then a touch up of the white and grey paint of the rail and waterways.
View attachment 395314
View attachment 395315
Looking for a recommendation…
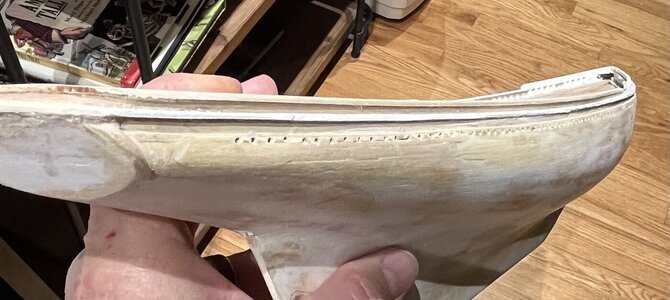
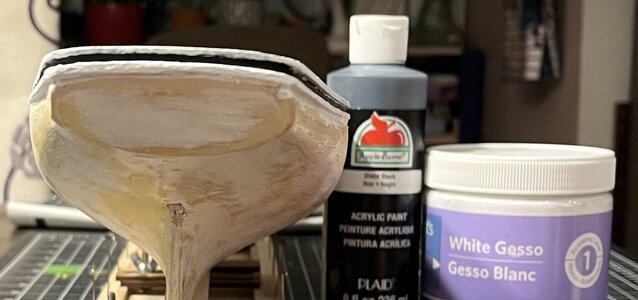
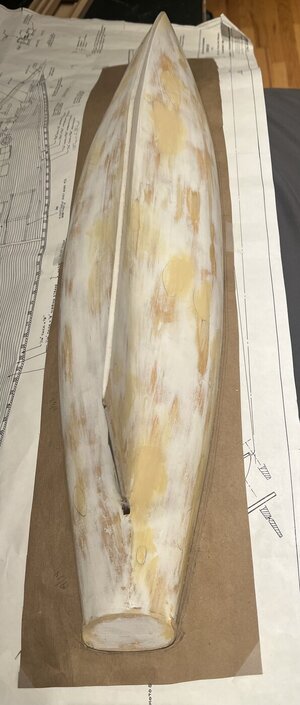
Do I paint the hull or do I install the rails?
Getting ready for another short trip to Mexico that’s chocked full of work. Nice part is I’ll be in Vallarta, bad part is I may not have time to work on my Molino while I’m there.
Work time: 9 hours
Total work time: 148.5 hours
About the railing: I did install it first, the the painting. The paint can fill minor slits.
Regards, Peter





 My ship would be destroyed by now.
