-

Win a Free Custom Engraved Brass Coin!!!
As a way to introduce our brass coins to the community, we will raffle off a free coin during the month of August. Follow link ABOVE for instructions for entering.
-

PRE-ORDER SHIPS IN SCALE TODAY!
The beloved Ships in Scale Magazine is back and charting a new course for 2026!
Discover new skills, new techniques, and new inspirations in every issue.
NOTE THAT OUR FIRST ISSUE WILL BE JAN/FEB 2026
You are using an out of date browser. It may not display this or other websites correctly.
You should upgrade or use an alternative browser.
You should upgrade or use an alternative browser.
Build Log "CAF" HMS Enterprise
- Thread starter Paul132
- Start date
- Watchers 40
-
- Tags
- caf model enterprise pof
The graphite/ white glue technique is working well for you Paul.
- Joined
- Jan 31, 2021
- Messages
- 566
- Points
- 353

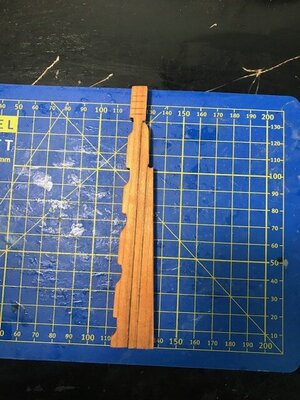
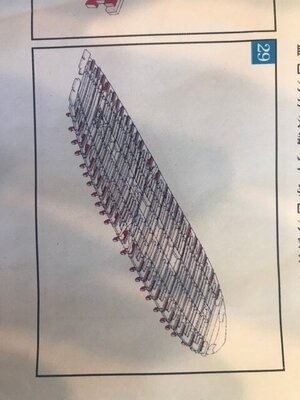
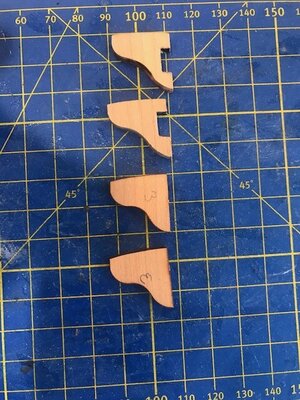
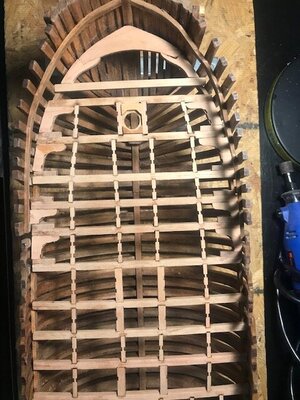
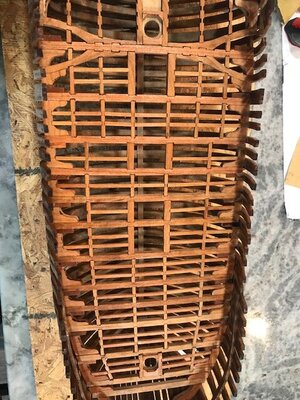
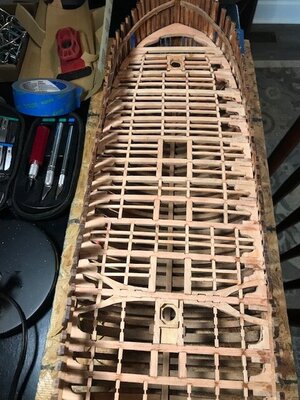
Folks, began working on the deck knees today, had been waiting on a response form Tom at CAF on the notching of the vertical knees around the Deck Stringers. As u can see in the first image, the plan for the parts in red, show these to be notched, however they have not been laser cut, so these must be done manually. There are 48 on the main deck. This will slow the process a bit. Also Im now seeing how critical it is for the frames to be 100% in the correct place coming out of the jig.....so.....a bit of fine tuning will be needed as I install the horizontal knees


Last edited by a moderator:
Paul, you are powering though this build. Well done.
Maybe it would be better to wait with the installation of the next beams and carlings until you have finished the knees at the last beam?Im not happy with the knees, I need to slow down, and fine tune more. It will be a shame to cover all this detail with deck plank however
With this you have a slightly better possibility to reach out the correct area - our fingers are often thicker than the space between all the timber.
I mean the order something like this:
beam 1 - knees 1 - beam 2 - carlings 1+2 - knees 2 - beam 3 - carling 2+3 - knees 3 and so on
- Joined
- Jan 31, 2021
- Messages
- 566
- Points
- 353

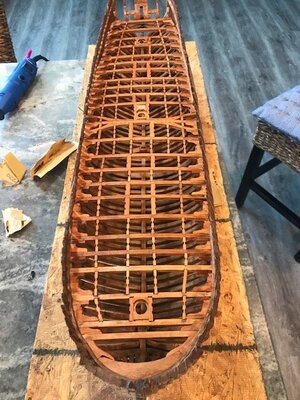
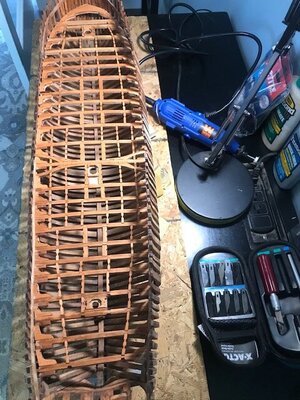
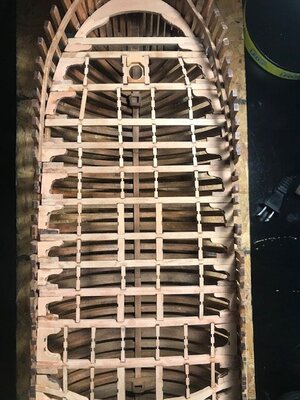
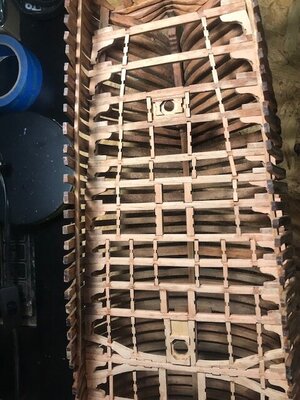
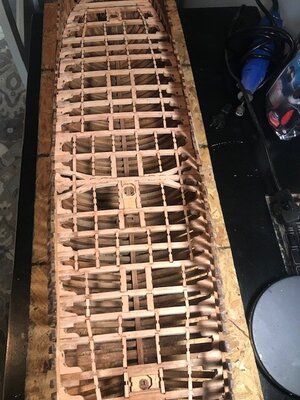
Mates, much better success with the knees over the last few days, all vertical and horizontal knees are now in, lots of sanding to do to get everything nice and smooth and flat, and remove some glue stains. For those of you building this kit, I would take Uwek's advice above and complete 1 section of deck, beam to beam, ie: beam 2 to 3, then 3 to 4, etc....working bow to stern, including the knees and carlings, matching each section to the plan. I actually followed the CAF plan which was to install all the deck beams first, then all the carlings, and finally the knees. Yep, you guessed it....1 deck beam slightly off becomes a big headache.


I remember how fiddly that deck structure was to build. Looking good. 
- Joined
- Jan 31, 2021
- Messages
- 566
- Points
- 353

Today added the stringers running port to starboard between the carlings, (any one know what these are called), from Midships to Bow, and gave a light sanding, next will be Midships to Stern. Actually a learning experience today, as I was looking at progress so far. I should have marked the center of all the deck beams to ensure they were perfectly aligned front to back. I will do so on forecastle and Quarter deck.


Paul,
you can clean up the brass by hand with steel wool and thinners. Then use Brass black.
you can clean up the brass by hand with steel wool and thinners. Then use Brass black.
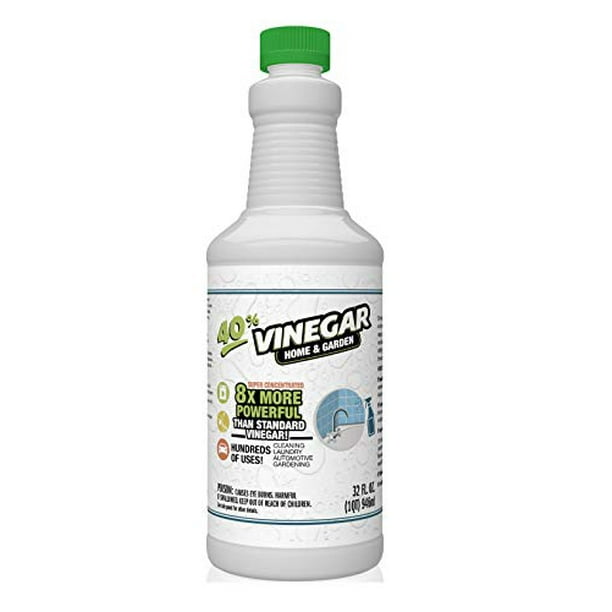
In addition to what Brian said, I would suggest giving a bath in the white Vinegar for 10~15 minutes (depending on the parts). If you can find 30~40% vinegar, even better.not too much today, starting to detail out steering gear and rudder for installation. On the cast brass parts, ie hinges, what is the reccomendation? Brian tumbled his, and then used Brass Black....I dont have a tumbler.....
