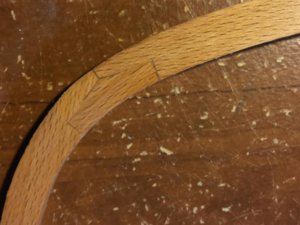
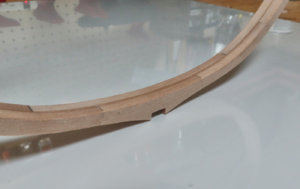
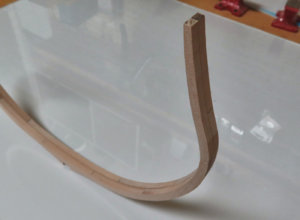
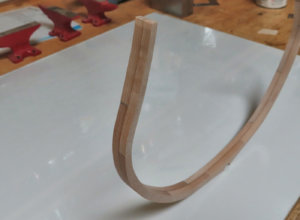
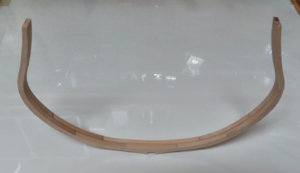
But the wood should not burn only by sanding, so I would reduce the speed, or sand (if you are using a disk sander) more on the inside, where the speed of the moving grid is much less than at the outside
-

Win a Free Custom Engraved Brass Coin!!!
As a way to introduce our brass coins to the community, we will raffle off a free coin during the month of August. Follow link ABOVE for instructions for entering.
-

PRE-ORDER SHIPS IN SCALE TODAY!
The beloved Ships in Scale Magazine is back and charting a new course for 2026!
Discover new skills, new techniques, and new inspirations in every issue.
NOTE THAT OUR FIRST ISSUE WILL BE JAN/FEB 2026
- Home
- Forums
- Ships of Scale Group Builds and Projects
- Group Build Archives
- Blandford Cross Section PoF Group Build
You are using an out of date browser. It may not display this or other websites correctly.
You should upgrade or use an alternative browser.
You should upgrade or use an alternative browser.
Donnie's HMS Blandford Cross Section Build: 1/32 Scale [COMPLETED BUILD]
Not really an issue, Jim. The butt joints are not structural...only affect appearance. Even a “wide open” butt joint won‘t weaken a frame.I like the burning effect on the edges, the real question - how the glue will adhere to the burned edges?
- Joined
- Jul 9, 2019
- Messages
- 497
- Points
- 323

I applaud you for jumping in, and I've been nothing by impressed with your work (and advice) so far. I'm sure you'll do a great job, Donnie. I plan to watch your Blandford build closely, as I am hoping to get on board the Frame Train with the Trident Alert build.I hope that I do not make too many of my friends here "cringe" at my efforts.
Very clean and accurate work, and fits completely correct into the jig
->>> Congratulations for your first finished frame, which is looking for 100% good
->>> Really good my friend
->>> Congratulations for your first finished frame, which is looking for 100% good
->>> Really good my friend

Very nice job, Donnie! You’ve got this!
There is really nothing to add what others said, really accurate(clean) and pression joints, not to mention a foot notch!! 

I am REALLY humbled by all the expert's builders' comments. I truly am. I really appreciate all the positive feedback.
Kindly and sincerely,
Donald
Kindly and sincerely,
Donald
It's looking really good Donnie! Learning to scratch build really opens up your eyes to the possibilities of potential future builds you can take on.
In post 96 you mentioned a down cut endmill. I've done tons of milling of metal but not wood. Do you use a down cutting mill for everything or just in particular situations.
The down-cut end mill that I bought and used for this, is specifically for wood and plastic. I have never tried using this endmill for anything else. The design of this particular end mill allows for a clean-cut and does not tear or fray the wood or make fuzzies. I tried to use a regular end mill to do wood a long time ago and it did not cut clean. There is something about the TIP design that keeps the cuts clean in wood.
This is the link to get the down-cuts. http://www.2linc.com/endmills_downcut_2fl.htm
This is the link to get the down-cuts. http://www.2linc.com/endmills_downcut_2fl.htm
- 20° Downcut Helix pushes burrs downward to improve top edge appearance and prevents workpiece lifting on vacuum chucks.
- Extremely sharp cutting edge allows high feedrates while producing an excellent surface finish.
- Center cutting for straight plunging or ramping down into workpiece.
- Standard and Metric Size End Mills.
- Produced from a Premium, Ultra-Fine, Nano Grade Solid Carbide for maximum tool strength and durability.
Thanks for the link... That just cost me a hundred bucks.
Just kidding, I really appreciate it.
Just kidding, I really appreciate it.
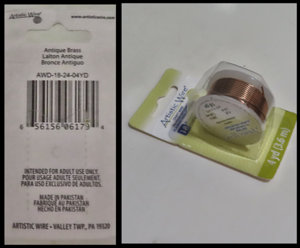
A little break in the action - I am gluing the spreader bar and while that is being done, I took some pics of this bronze looking (actually says antique brass on the label) that I saw at Hobby Lobby that I liked. The color is slightly darker than the pic shows. It is a dull-looking - old copper type look.
I will give a report as to my findings and how it works out.
I will give a report as to my findings and how it works out.
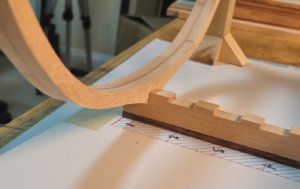
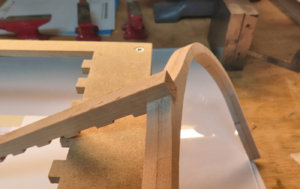
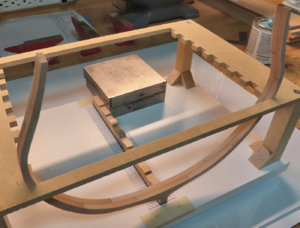
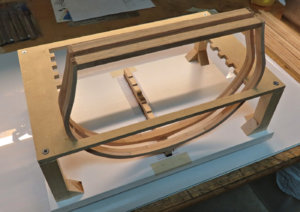
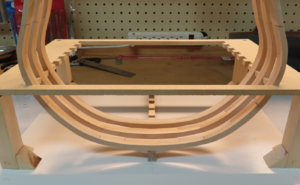
I have these two frames just sitting in the jig for a loose test fit. Nothing is fixed down. Probably a regret later, but instead of filing each notch at an angle to make the frames set in place better, I just decided to make the top of jig lower. About 5 to 6mm or so.
The keel is not lined up - I do not have the 3/32 tubing installed yet. So, we will see what happens when I start securing things down. The Birch is really nice to work with (thank you Dave/ lumberyard).
I finally figured out how to sand off parts w no burn. I just scan the part from the outside of the sanding wheel to the inner inside of the sanding wheel and push in a little as I scan across. The second frame is little evidence of no wood burning. I left a little hangover on the front of the keel and it will be trimmed even. The keel is deflecting a little as nothing is secured down but just sitting in the jig.
The latest. . .
Beautiful job on those frames!
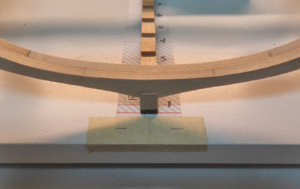
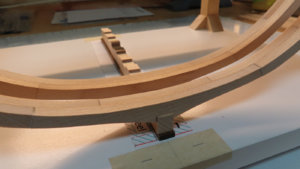
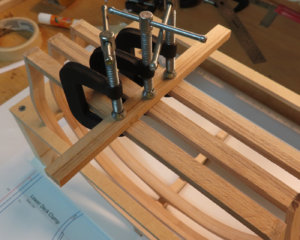
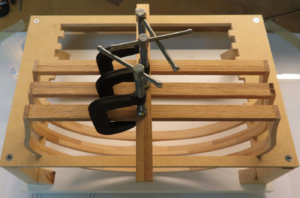
Thanks, guys for the compliments. Well, I found out that what seems all square is not all square and lined up. I forgot to mill a notch in the spreader bar. Now, that I think about it, I should have milled like a 1/4 x 1/4" or 5mm x 5mm notch so that I could take a square rod to press down into each spreader to make sure the upper part of frames were square. But, I got this technique going and is working well for the moment. I just measured the centerline of each spreader bar and penciled in a line on each bar, then used a square rod of wood to use as a batten for alignment for trueness.
The camera is slightly off-center and makes the frames and alignment bar look off center, but it is not. Therefore, this is what I have so far:
The camera is slightly off-center and makes the frames and alignment bar look off center, but it is not. Therefore, this is what I have so far:


