-

Win a Free Custom Engraved Brass Coin!!!
As a way to introduce our brass coins to the community, we will raffle off a free coin during the month of August. Follow link ABOVE for instructions for entering.
-

PRE-ORDER SHIPS IN SCALE TODAY!
The beloved Ships in Scale Magazine is back and charting a new course for 2026!
Discover new skills, new techniques, and new inspirations in every issue.
NOTE THAT OUR FIRST ISSUE WILL BE JAN/FEB 2026
You are using an out of date browser. It may not display this or other websites correctly.
You should upgrade or use an alternative browser.
You should upgrade or use an alternative browser.
french 64-gunner LE FLEURON in scale 1:48 by Joachim
- Thread starter Uwek
- Start date
- Watchers 68
-
- Tags
- ancre le fleuron
A good and important information - noted for the future - Many Thanks GérardHello,
I know it's too late to correct, but the hawsers are drilled parallel to the longitudinal axis of the ship.
View attachment 152762
GD
- Joined
- Oct 31, 2019
- Messages
- 229
- Points
- 298

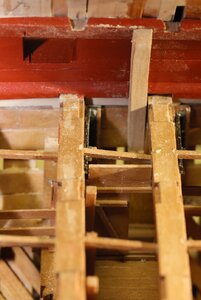
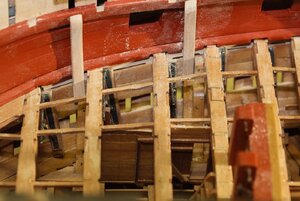
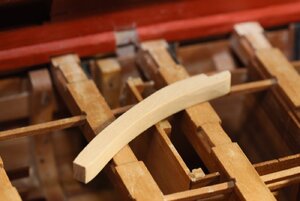
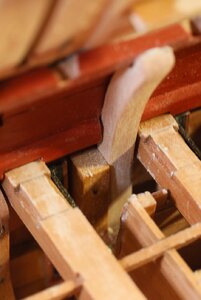
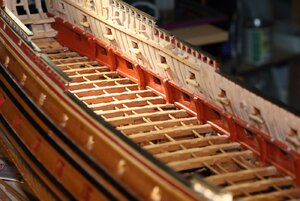
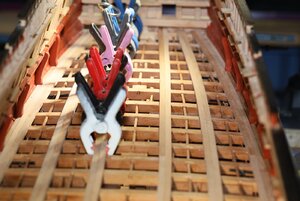
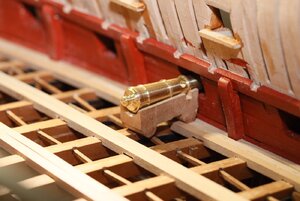
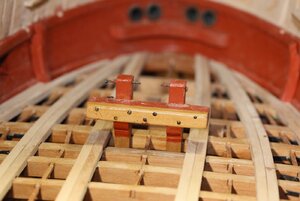
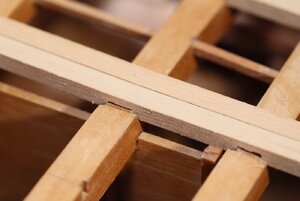
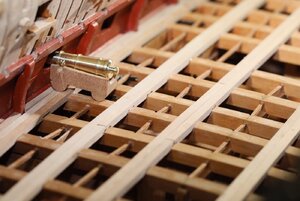
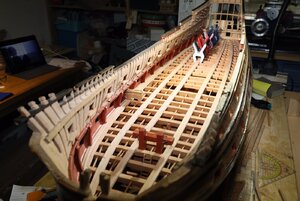
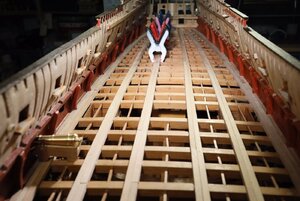
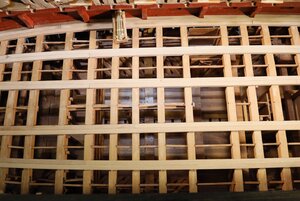
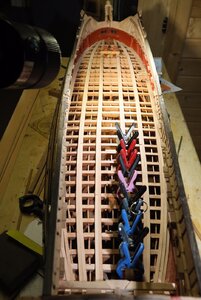
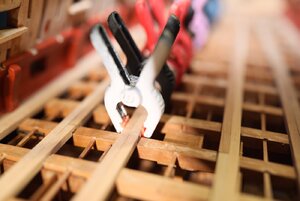
The main deck beams are set. The aisles are embedded in the recesses in the deck beams. In this kind I will leave the cannon deck for this moment to allow a deeper look into the hold later. In a few places, such as for example for the cannons, I will still occasionally set deck beams locally, but probably not continuously from bow to stern.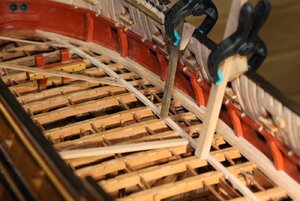


Kurt Konrath
Kurt Konrath
I like the details in beams and interlocking design of deck beams and planks.
- Joined
- Oct 31, 2019
- Messages
- 229
- Points
- 298

- Joined
- Oct 31, 2019
- Messages
- 229
- Points
- 298

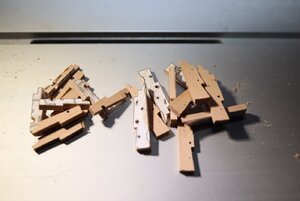
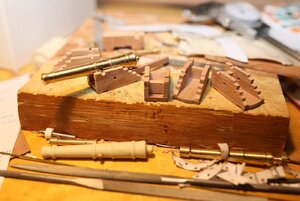
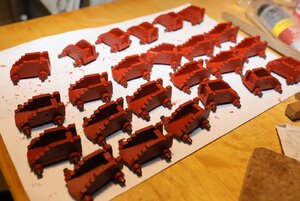
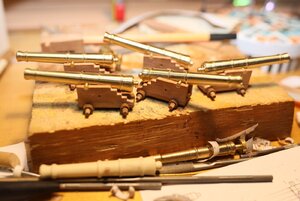
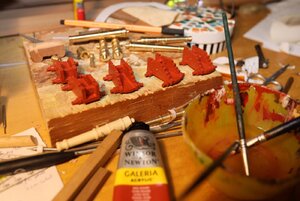
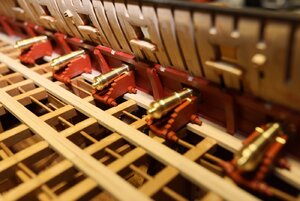
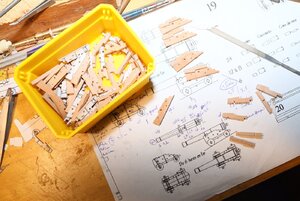
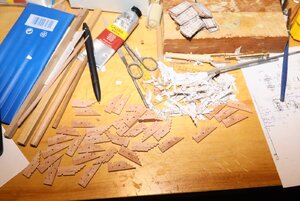
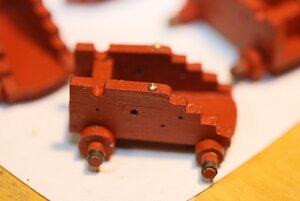
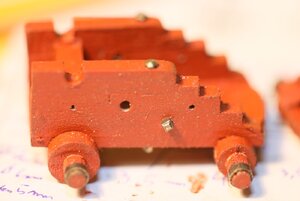
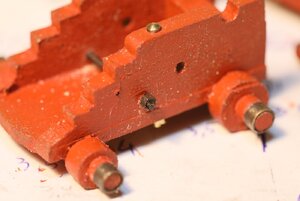
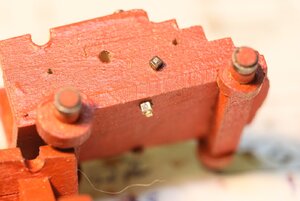
The carriages are very time-consuming, I didn’t think before. There are 24 pieces, consisting of a base plate, 4 parts for the outer walls, 2 axles and four wheels. Saw, plate grinder and lathe (for the round ends of the axles that hold the wheels) are all in use. The carriage is also colored. And then there are fittings Many many steps!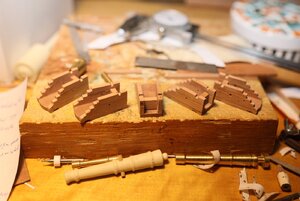


Last edited by a moderator:
Kurt Konrath
Kurt Konrath
Your off to a good start on the carriages. You will have a lot to be happy about when they are all done.
- Joined
- May 28, 2020
- Messages
- 46
- Points
- 78

Stunning work m8!Three months have passed again. Above all, I sanded a lot. Many hours. Especially the bow, inside and out, as well as the rear inside.
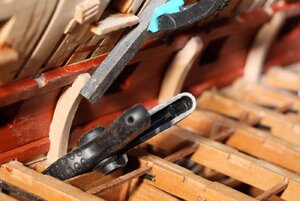
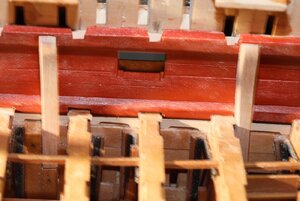
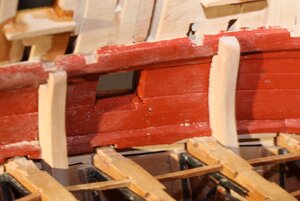
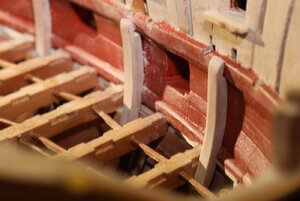
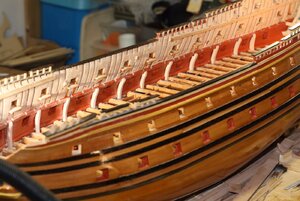
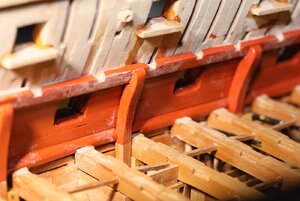
Then I marked the cannon hatches and reinforced the surrounding gaps in the hull with filling wood. The hull is thus much more stable. The first two planks are also now attached. So far, I have always struggled with bending the timber. This time I put the individual bars in a pot for 45 minutes with slightly cooking water. The wood can then be bent without great effort in all directions without splintering. I noticed the 45 minutes in a film of a carpenter who bends wood for chairs.
View attachment 118409
View attachment 118410
View attachment 118411
View attachment 118412
View attachment 118413
View attachment 118414
My steam-pot
View attachment 118408View attachment 118416View attachment 118417
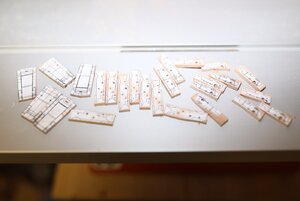
I also created the hatches for the lower cannon deck.
View attachment 118418View attachment 118419
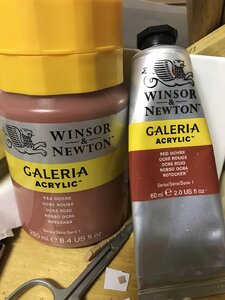
Its good to see you are using the correct shade of red oxide on the model. So many people make the mistake of painting their model in brilliant fire engine red, which is incorrect.
Very nice work Joachim I totally agree with Brian,what is the shade of red?The writing on the tube is out of focus in the pictures
Kind Regards
Nigel
 I totally agree with Brian,what is the shade of red?The writing on the tube is out of focus in the pictures
Kind Regards
Nigel
- Joined
- Oct 31, 2019
- Messages
- 229
- Points
- 298

Very nice work JoachimI totally agree with Brian,what is the shade of red?The writing on the tube is out of focus in the pictures
Kind Regards
It is red ochre and Winsor Newton is a french company. Amazon sells this colour.
Nigel
Attachments
Thanks Joachim,didn't think it would be that simple,with probably around twenty shades of red to choose from
Kind Regards
Nigel
- Joined
- May 28, 2020
- Messages
- 46
- Points
- 78

Nice to see the Red Ochre - On paints .... (having been a fine artist for 30 yrs) do watch quality carefully. Cheap paints are not a 'saving' in the long run. This isn't specific comment to Galeria but a general comment. Cheap paints are generally full of fillers and little pigment meaning over time they fade or change colour. So if you are building a quality model use quality paints. Never use 'student' quality paints. These are my personal opinions based on 30 yrs experience with artist's paints.
- Joined
- Oct 31, 2019
- Messages
- 229
- Points
- 298

- Joined
- Oct 31, 2019
- Messages
- 229
- Points
- 298

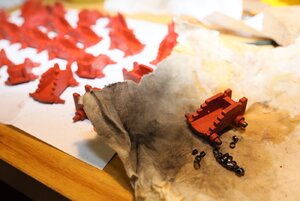
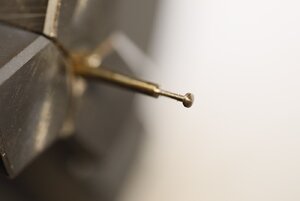
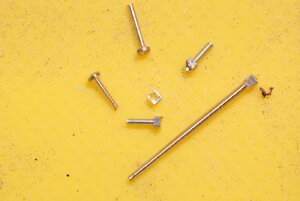
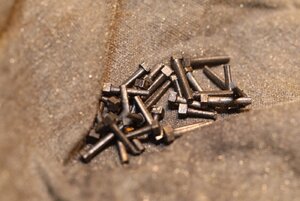
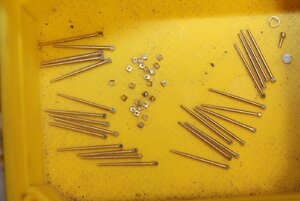
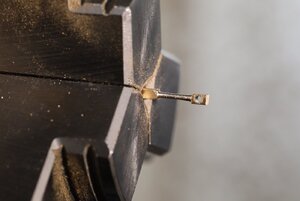
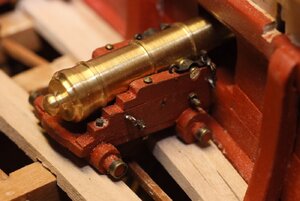
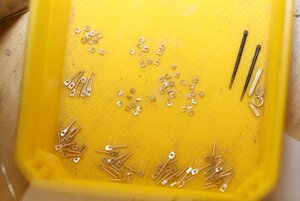
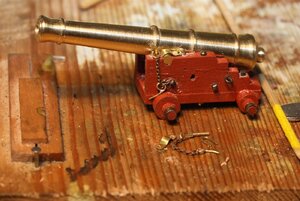
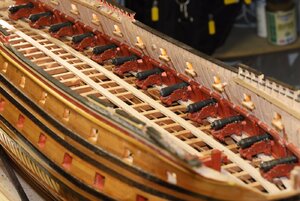
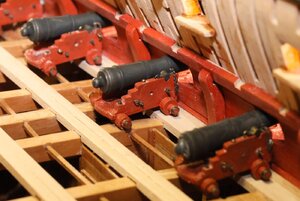
The mountings have a lot of fittings. Many bolts, which go through the wooden boards of the carriage, hold them together. At the end they have nuts.
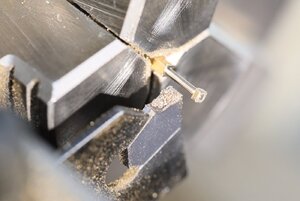
In the pictures you can also see some of the smallest nuts in the world. I produce the nuts on the lathe: 1.5 x 1.5 mm brass rod clamped, the center grained with a center drill and then drilled 2-3 mm Deep. Then I cut approx. 2 slices on the chain saw. As a rule, 2 nuts per working step. Unfortunately not more, because the drill cannot penetrate very deep into the brass rod: If you go deeper into the thin material, the drill no longer goes straight through the rod. It will make a curve and will destroy the nut.
Pipe and fittings are burnished / oiled.


Last edited by a moderator:
Wow - Wow - Wow
Looking very good - and many thanks for showing us the way you do it !!!
Looking very good - and many thanks for showing us the way you do it !!!


