Here is an Amati vendor here in the States:Thanks. I checked Amati. They have everything I could want and more but they must be in Europe. The shipping must be a problem. Is there a US company with the variety that Amati has?
Wooden Model Ship Kit
 |
As a way to introduce our brass coins to the community, we will raffle off a free coin during the month of August. Follow link ABOVE for instructions for entering. |
 |
 |
The beloved Ships in Scale Magazine is back and charting a new course for 2026! Discover new skills, new techniques, and new inspirations in every issue. NOTE THAT OUR FIRST ISSUE WILL BE JAN/FEB 2026 |
 |
Here is an Amati vendor here in the States:Thanks. I checked Amati. They have everything I could want and more but they must be in Europe. The shipping must be a problem. Is there a US company with the variety that Amati has?
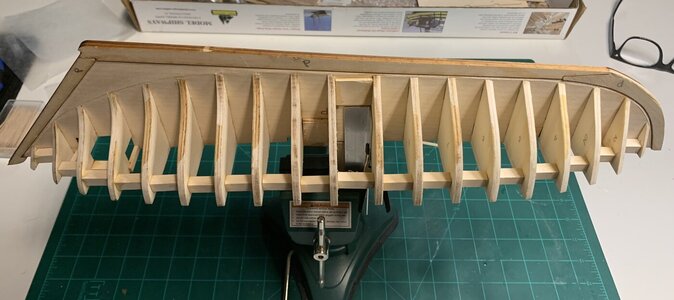
Before you do that, clamp that keel between two long, rigid, straight pieces of wood, creating a keel clamp which will ensure that the keel remains perfectly straight as you add your reinforcements. Otherwise, you could easily end up with a bent or twisted model, which won't be apparent until after you plank the hull. This is an important preventative measure.View attachment 296202
The two halves are glued together. Now I will start adding the struts between the bulkheads. I’m going ti use what’s in the kit. It has 15 - 5/16” x 5/16” x 24” wood strips that is to be used for the launching ways but I plan to use a different mounting.

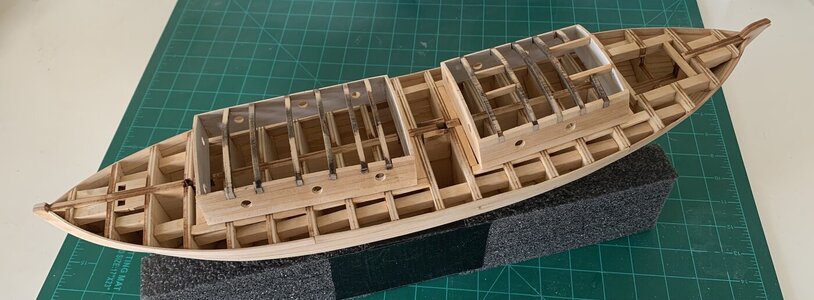
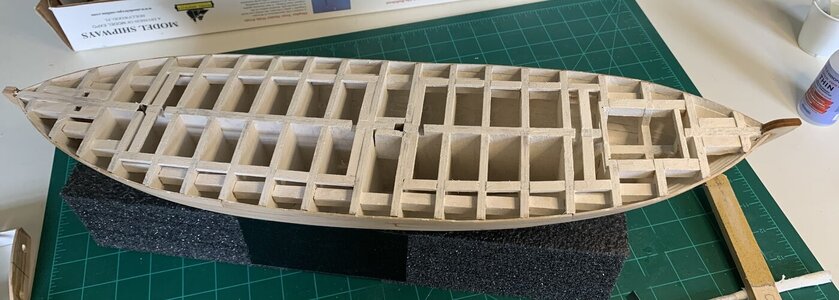
Good Morning Duncan. Looking good and progressing well.About 4 planks to go. I had to add a stealer at the bow because the plank ends were getting too small. I think I will add one more in the bow That will keep the planks wider. Don’t think I will need any in the stern.
View attachment 303942
View attachment 303943
I have the same opinion. Especialy when it is hull like the Glad Tidings Pinky schooner with two or three different paints (underwater hull in brown red, above this yellow)...In all the photos of the real schooner, I can see the planking through the paint. I guess what I am trying to say is I don’t want to cover all my hard work with paint. Any thoughts?
Duncan, my personal preference is an airbrush when it comes to painting hulls, and I get the best result on wooden ships using my wife's craft acrylics instead of acrylic paint for plastic models. An inexpensive Badger airbrush would work just fine. An airbrush allows you to put down paint thinly and evenly enough not to hide the texture of the wood (or your mistakes!), but also gives pretty consistent opacity.Thanks. I look at your reference. Very interesting. The coverage is a little to transplant for the hull for my tastes. Would multiple applications make it less transparent? Could you not just thin out an acrylic. Also I am still concerned about water-based paint raising the grain. (I’m just a beginner.)


