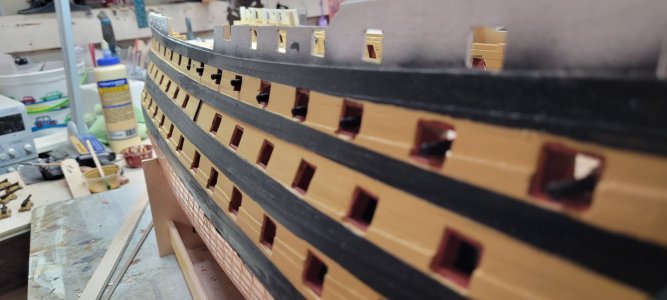
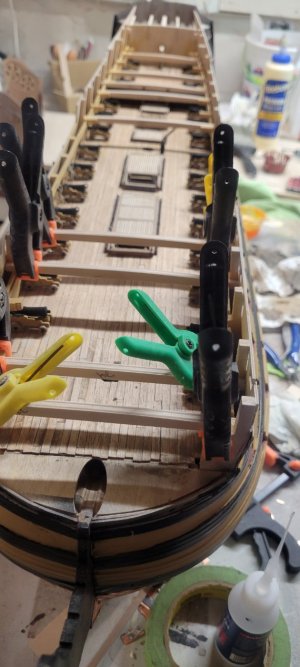
H.M.S. Victory by Caldercraft - Build Log

Hello everyone!

...thanks for the birthday wishes Grant! Much appreciated!

I haven't forgotten about you guys or my 'precious'!!!!

Just hard to spend time in the basement when the sun is still shinning!
That being said, I have been plugging away when I have some free time or when it rains.

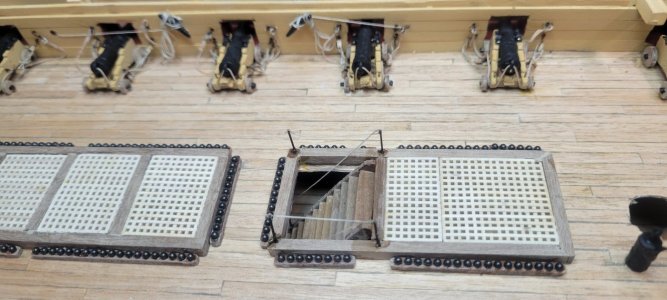
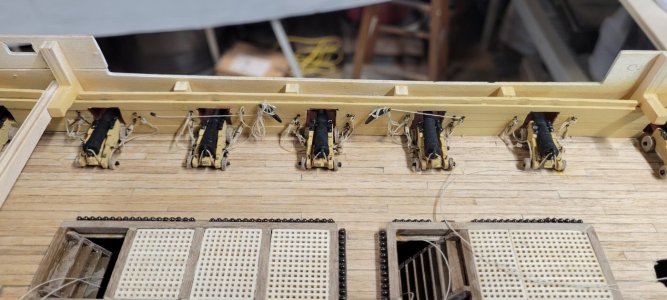
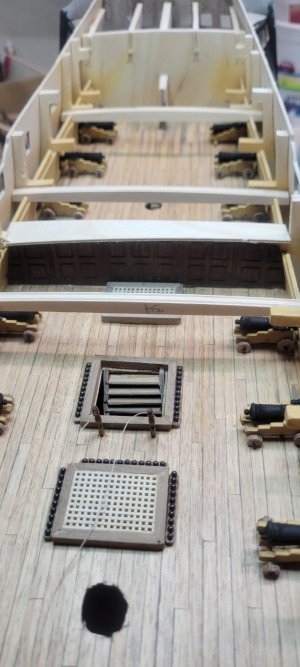
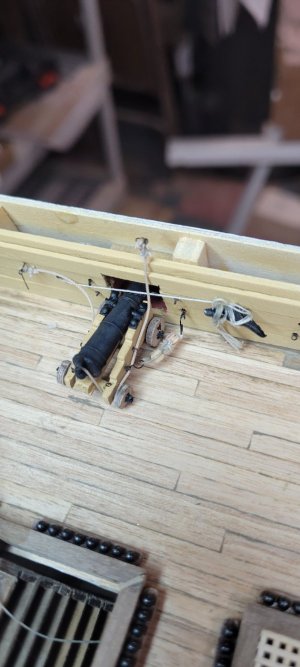
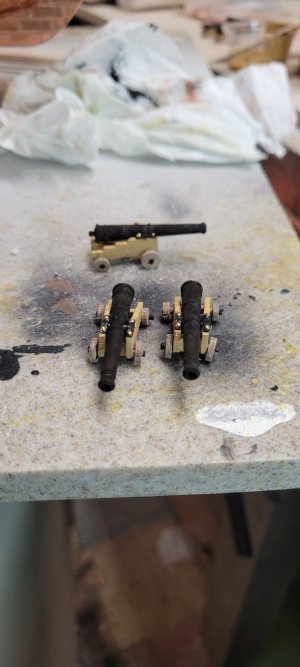
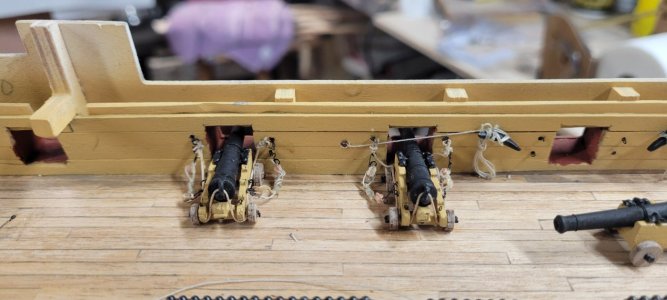
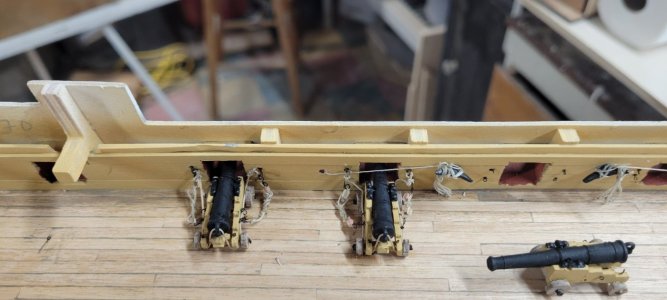
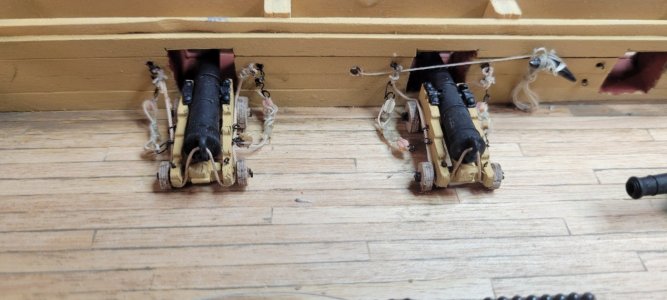
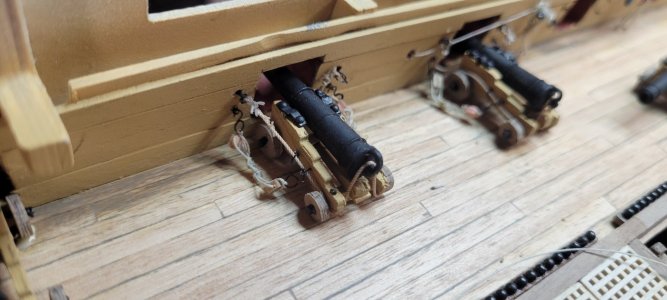
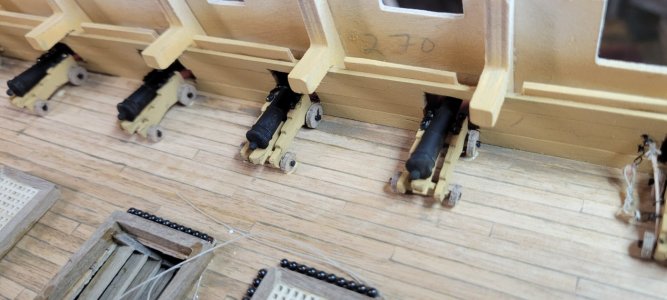
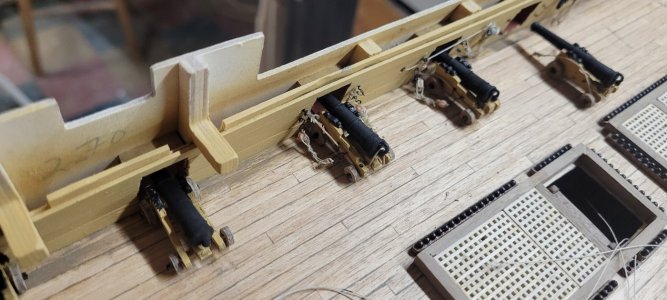
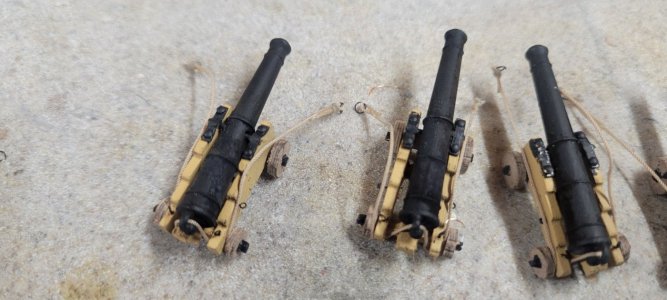
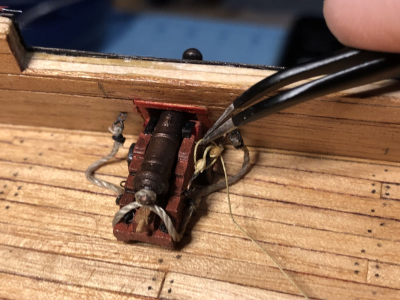
I had ordered different rope for the main breech lines from Rope of Scale. I really like the tighter look of the rope as opposed to what is supplied with the kit.

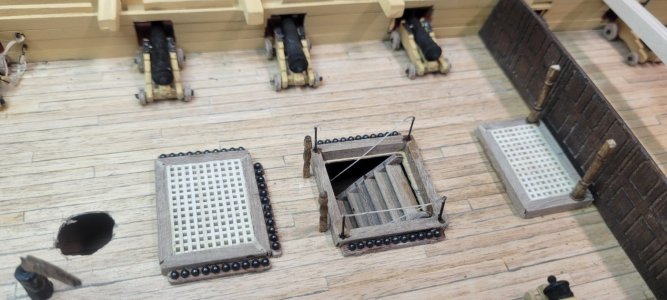
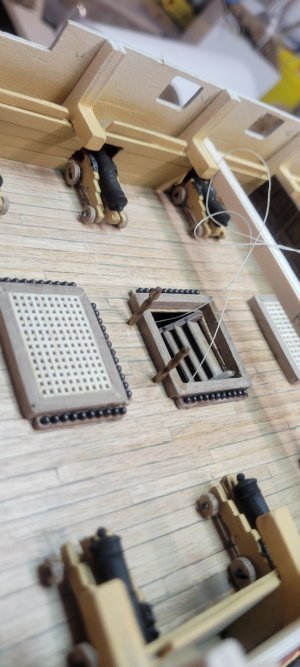
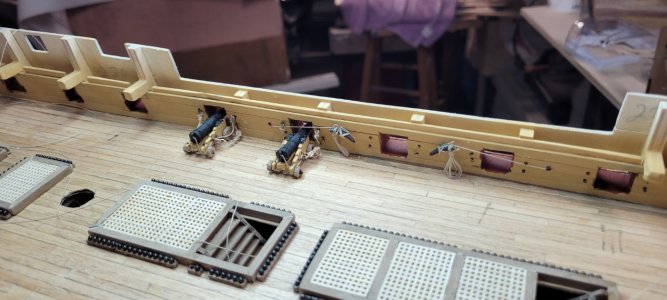
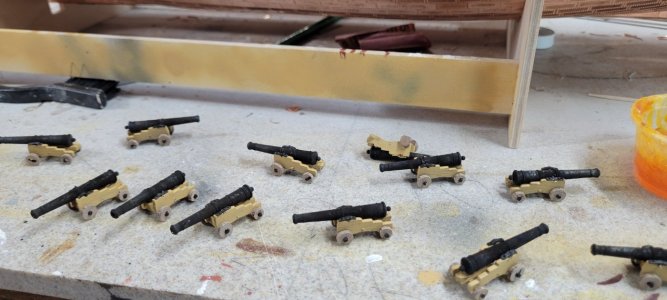
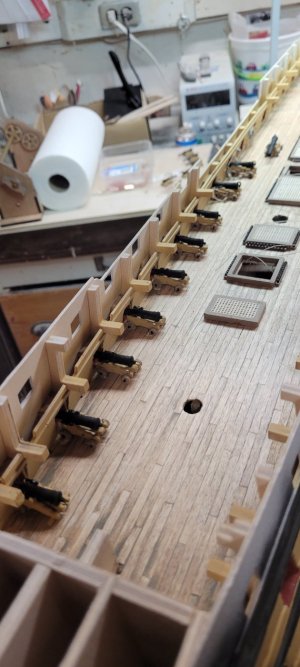
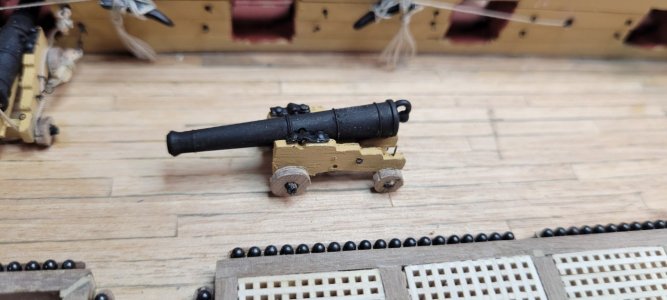
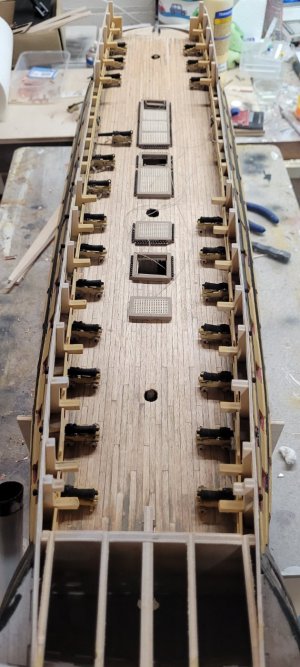
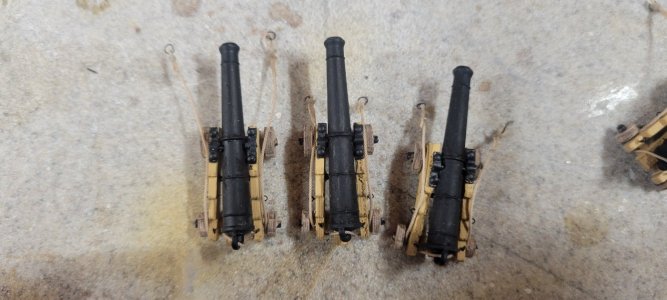
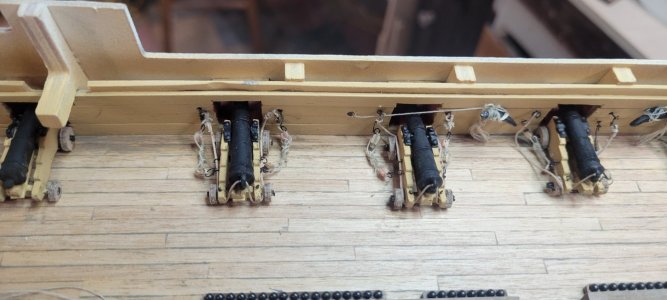
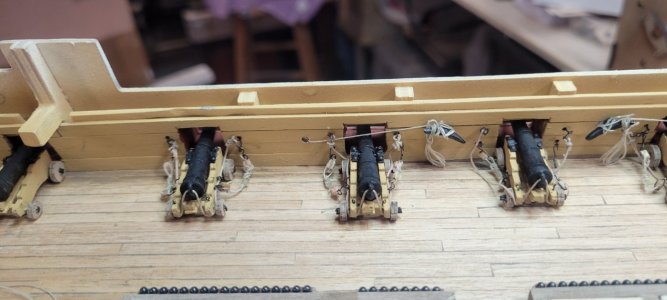
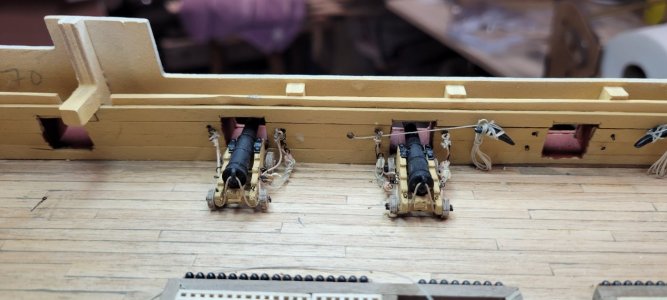
I had added breech rings to the 10 cannons that will be visible. Learning to rig all of the ropes has been a huge learning curve. My fingers are just so fat and no matter what I do, they aren't as steady as they used to be!

I also wanted to try and match in miniature what a rigged cannon should be. I did try to buy double blocks, they they turned out to be too small and I abandoned using them on this deck. I may hunt for blocks that are a bit larger for the upper decks...

In addition, there is process or steps that should be followed in a certain order to make these look good. I am still learning them too. Right now, it's taking me an hour to rig just one cannon.

Currently:
  • I thread the breach rope through the ring on the cannon and try to leave enough on either side to allow to be attached to bulkhead wall. I also had to leave enough to tie a ring to each end so that I could attach them to the rings installed in bulkheads. I have given up on creating hooks for this deck, but I will revisit that too.
  • Each cannon also have two tackles to run the gun in and out and a third for the back of the cannon.
  • These too are tough. Very tiny parts and very fiddly.
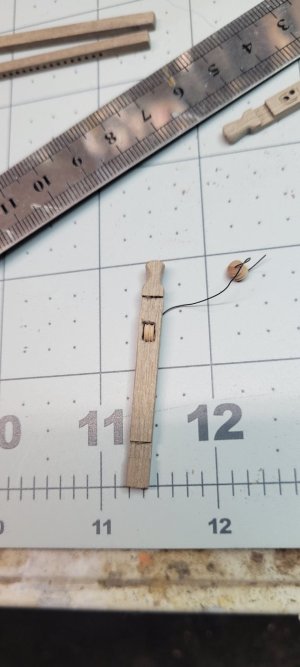
  • Attaching a connection ring to one block which is the stand alone block close to the bulkhead
  • Attaching a connection ring and the line that runs through both blocks that will attach to base of cannon.
  • It's hard to keep the blocks in a good position to tie off the rings and thread the rigging in the blocks.
  • Still learning and my solace is that the cannons will be hidden from direct view.
  • They are giving me practice for the upper decks and practice for the final task of rigging the boat!!!
So I will continue to plug along.

My boat will be coming out of the water shortly and once I winterize her and wrap her up....my time will be to VICTORY!!!!

See you soon!
Chris

20240725_153115.jpg

20240829_133727.jpg

20240829_133732.jpg

20240902_160854.jpg

20240902_160859.jpg

20240902_160904.jpg

20240902_160907.jpg

20240902_163422.jpg

20240902_163435.jpg

20240902_163455.jpg

20240902_163504.jpg

20240902_163508.jpg

20240902_163514.jpg

20241001_153036.jpg

20241001_153046.jpg

20241002_164257.jpg

20241002_164334.jpg

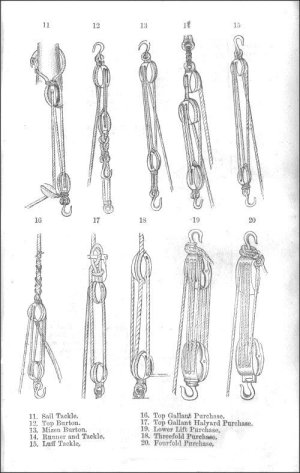
Boy's Manual Of Seamanship And Gunnery - Purchases.jpg
 
After posting the last message, I happened to hit on a video build of another ship. In the video (I'll have to re-search to see what I was looking at!) the builder used wire instead of string to rig the blocks for the cannon tackles.

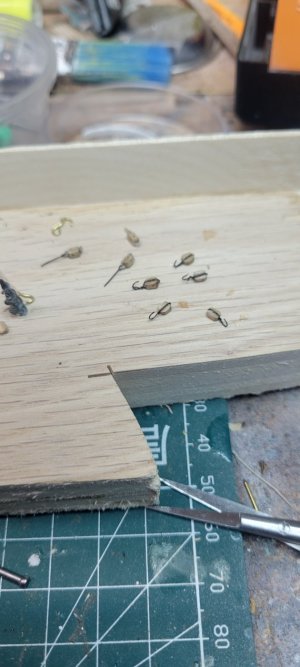
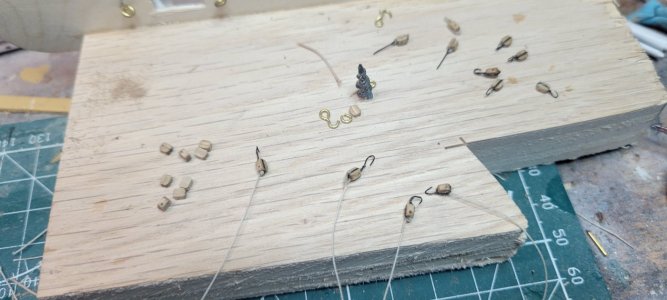
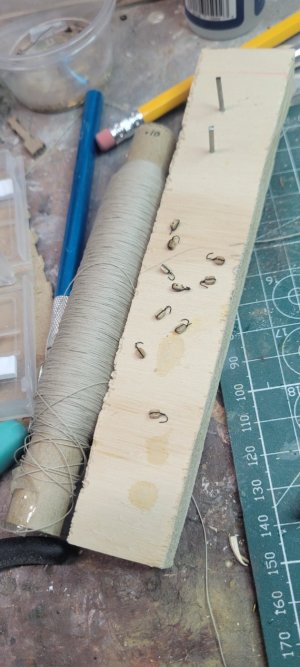
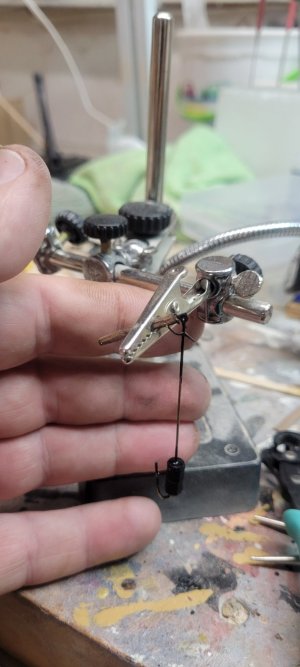
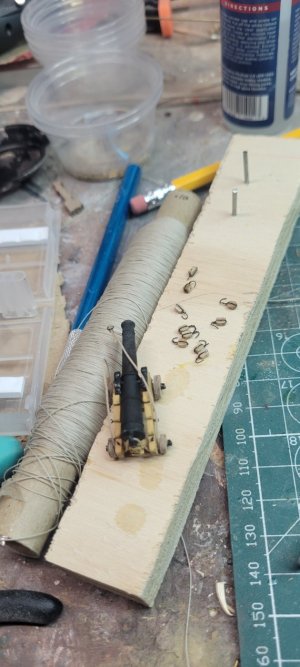
I was using small gauge wire to create hooks, but was having a devil of a time making the blocks.
Instead of trying to use string, I used wire! It was infinitely easier!
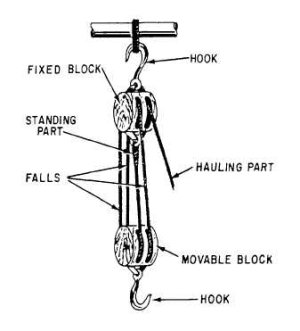
I've attached a picture with the nomenclature of a block and tackle.....

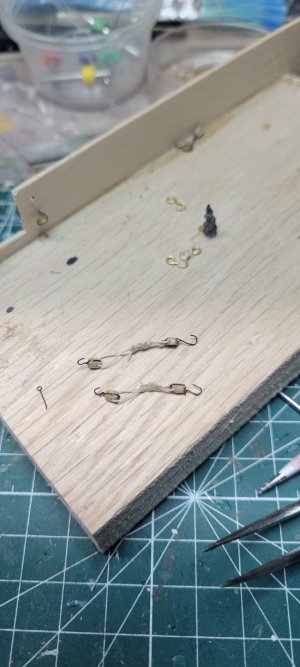
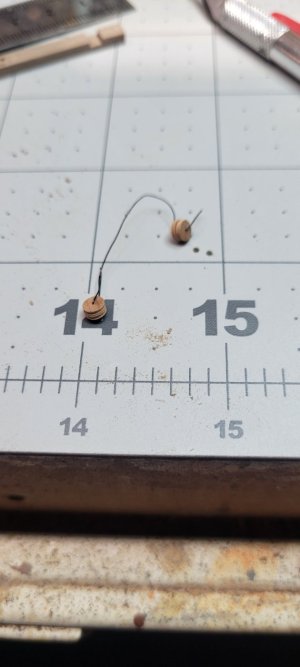
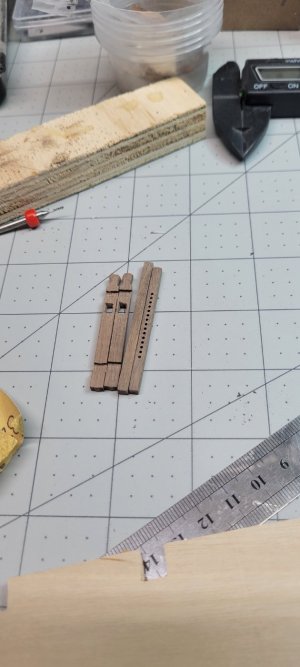
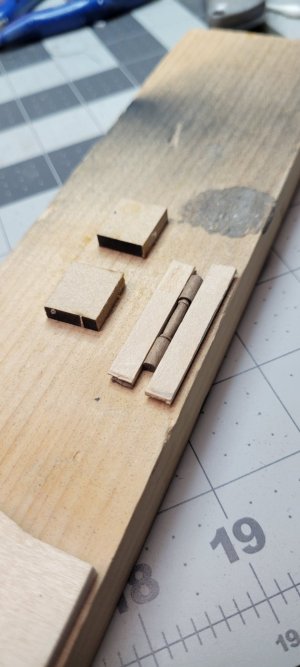
I just twisted the wire around the moveable block and added CA glue to each side. Once it dried, I clipped the excess wire and bent the remainder into a hook around a small finishing nail.

For the fixed block, while adding the wire, I also added the string that will create the falls for the final block & tackle.
Again, added CA glue to the sides of the block and a bit to the falls after I tied a knot in them.
I cut the excess wire and bent a hook for that block.
I then threaded the falls between the two blocks. I am still working on getting the lengths right so they fit nicely on the cannon and bulkhead walls.

For these cannons, I haven't bothered creating the nice inspection style loops of rope for the hauling end. I went with the pics I've seen of the ship now, where the hauling end is wrapped around the falls.

That is a bit harder and I think I need to create a secure jig for that.

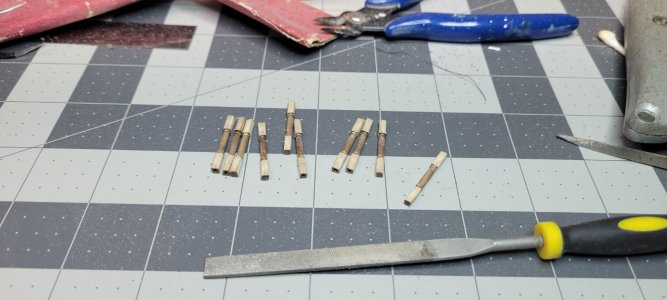
Overall, this went pretty fast and I was able to finish the last three cannons on one side and create all the moveable blocks for the other side in a few hours.

Thanks
Chris

20241009_133043.jpg

20241009_134741.jpg

20241009_151835.jpg

20241009_152211.jpg

20241009_152228.jpg

20241009_154732.jpg

20241009_154751.jpg

Block and Tackle.jpg
 
Very good work.
I'm building this ship as well. I initially used some of the plans from this kit, but eventually switched completely to anatomical drawings.
I too appreciate your kind words....but my build compared to yours is well....like racing a Ford Pinto in the Daytona 500!!!!

But I'm having fun and summer is over so I'm getting back into it!
 
I've had a few hours each day, so I read up on my manuals double check my saved video logs to get an idea of what I'm facing next.

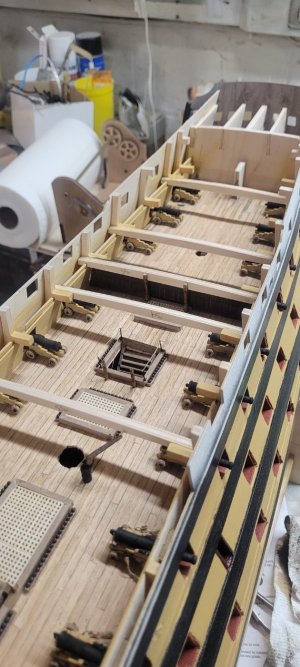
I have finally finished all the cannons on the upper deck. Now I only rigged the 10 that will show through the quarter deck and even then, I didn't add the tackles directly behind each cannon. As I have been reading (and watching) ahead, it is sadly apparent that very little will be seen by admirers. Especially if the various life boats are stacked on the open quarter deck!

That being said, it is VERY GOOD practice for work that will be visible on the next deck.

I have to say, some of the builders who actually rigged all 30 cannons, that is some dedication!

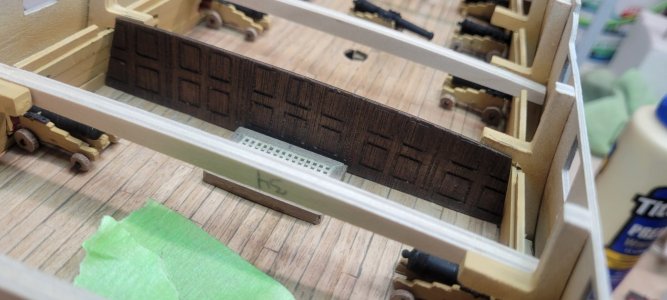
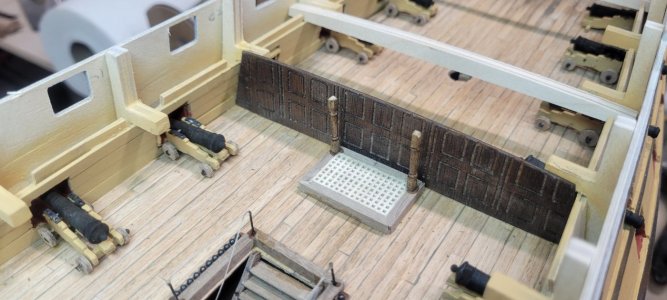
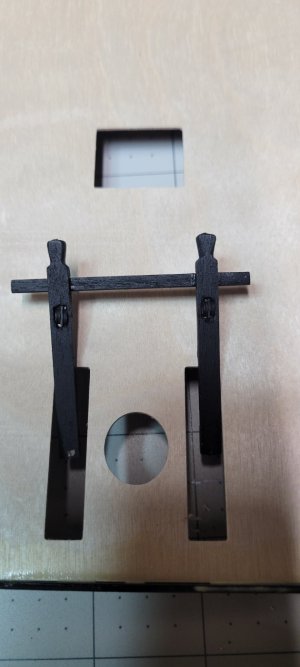
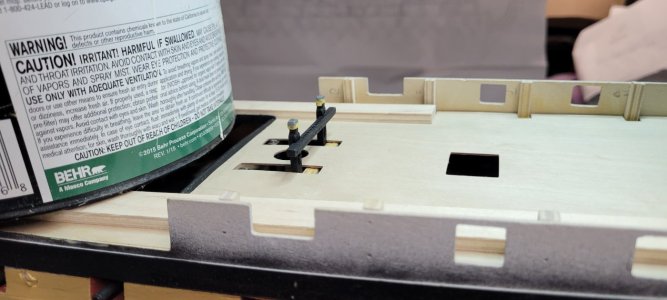
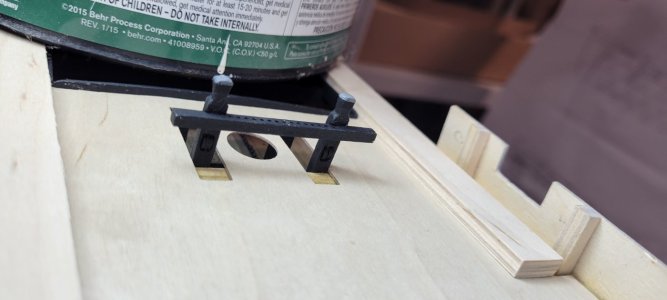
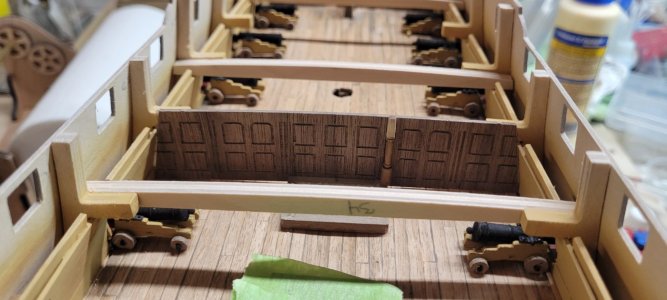
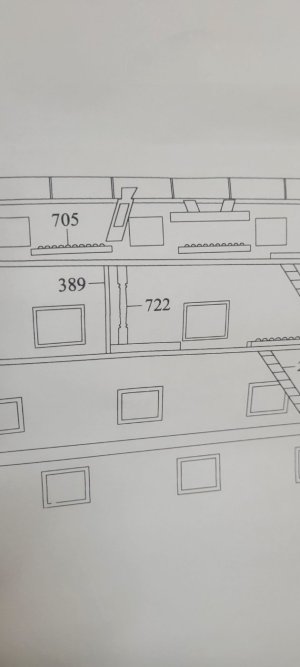
The next step was adding the screen to the Admiral's quarters. Part #389. You'll have to do some real eyeball gymnastics to see this, but hey, I added so many photo etch enhancements to my Titanic model that will NEVER be seen!!!! So why stop now?
20241013_184041.jpg
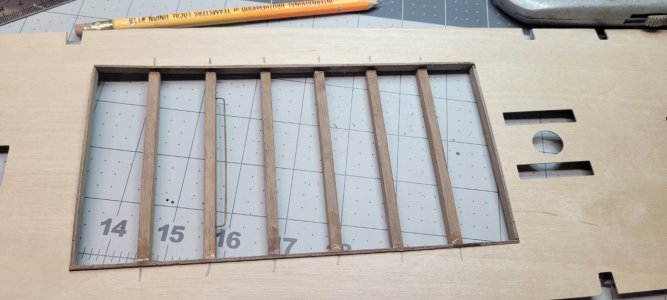
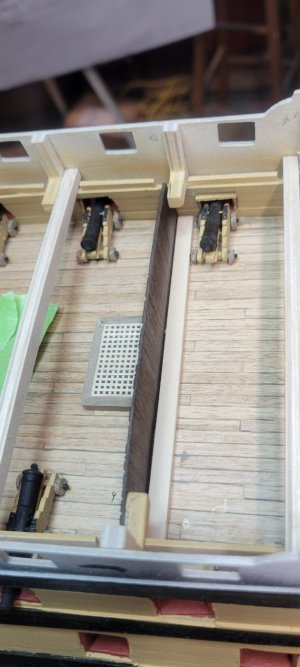
I had to remove about 1-2mm off each side so that it fits and I had to straighten out the base to fit the deck. I placed the camber beam just behind the screen to get the right height and then sanded down the top so that it will fit.

Once done, I added a strip of wood for the back of the screen to hold it in place. That and the camber beam supports should hold it very tight.
20241015_105356.jpg

20241013_184047.jpg20241015_105344.jpg

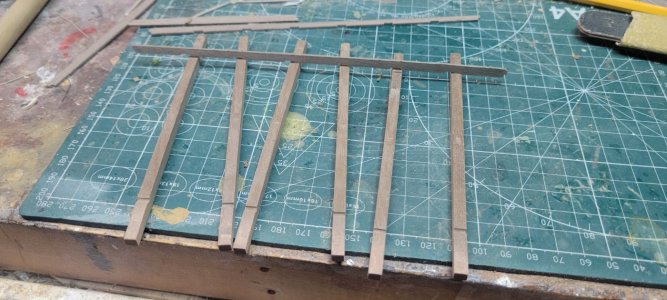
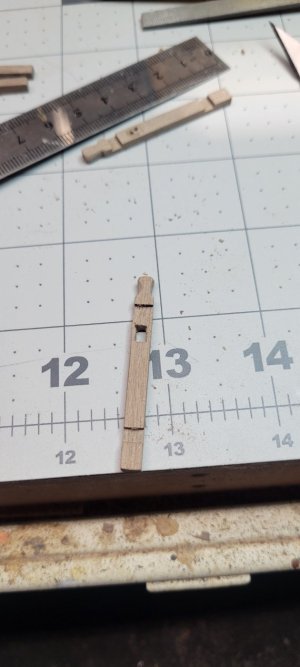
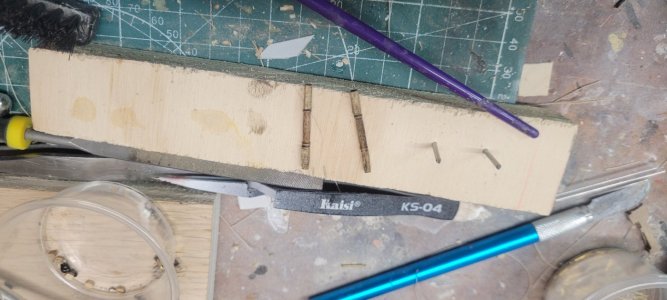
After I had to square off support columns. I have seen others create jigs to help with this. I ended up shaving one side and then slowly working the other 4 sides. The hard part was that I was able to use an exacto knife to shave away, but it was very scary trying to even it out towards by fingers.

I definitely need to create something for the rest of them!
20241015_105430.jpg

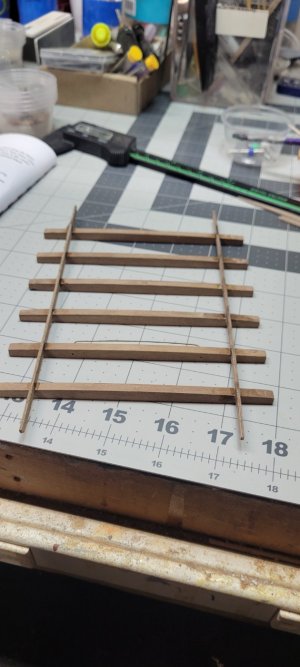
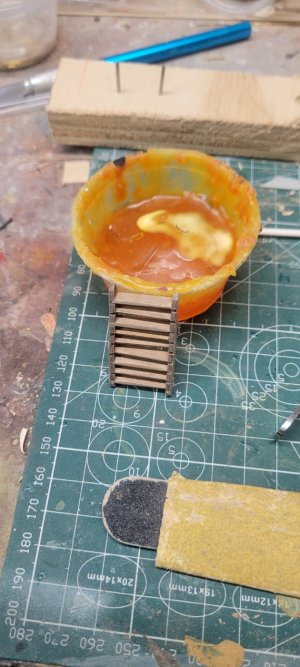
In addition, the manual wants me to create another set of stairs....if you go back, you can see what a terrible job I did on the first three. Well....terrible is just too kind! You can see the 'fun house' stairs in some of these pics!

Well I tried to go slower. I sanded the treads a bit to help fit into the side rails. I was able to get 4 or 5 treads in but things started going south so I clamped it off and let it dry. A bit later I added the remaining treads. I can see now after the fact that one of the things I'll need to do is make sure the treads are the same 'depth' in the side rails. But this one is much straighter.....sort of.

20241015_105437.jpg20241015_113431.jpg

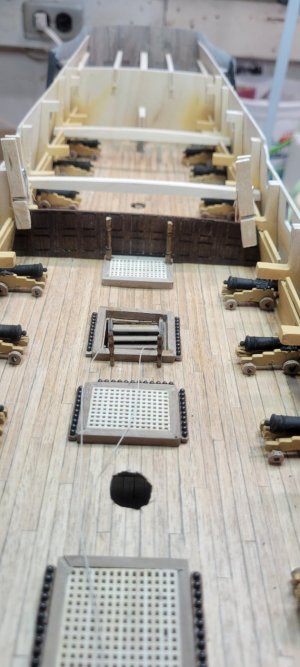
I had a bit of confusion when installing the pillars in front of the screen. I thought they were flush against the screen, but the plans show they are out a bit...which I did.

Yeah, there's one of those crazy stairs!!!!
20241015_115205.jpg20241015_115212.jpg
20241015_144145.jpg


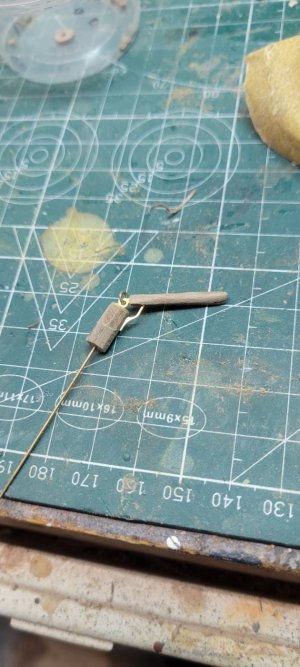
I also had to build the elm tree pump and the steam trunk assembly.

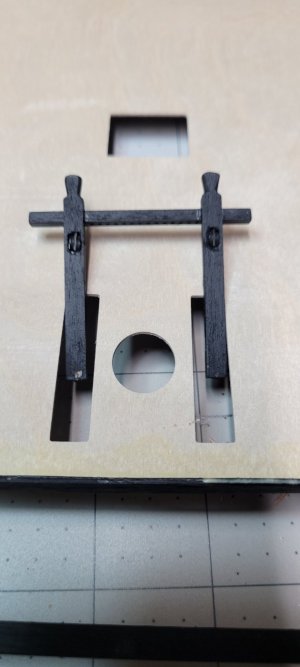
For the elm tree pump, I added a few pieces of walnut to the photo etch handle to make it look like real wood. As if anyone will see it!!!
My end result is way out of scale, but I like it!
20241015_132642.jpg20241015_134022.jpg20241015_144131.jpg

Not sure what the steam trunk is...but I just taped it together and added white glue to the inside. I'll sand it when I go to put it wherever it goes!

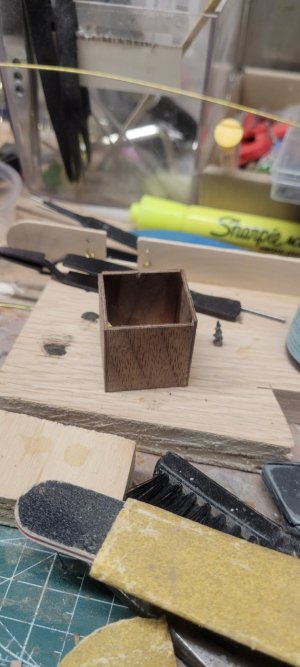
20241015_134030.jpg20241015_144151.jpg

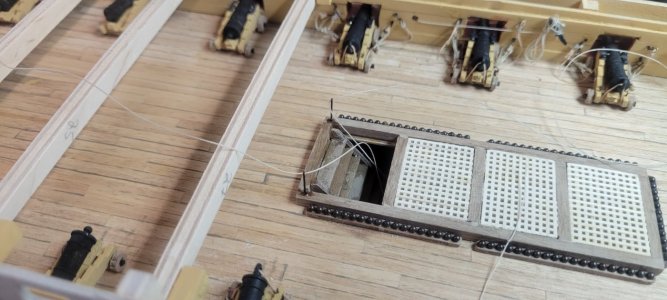
Finally, I added to the stanchions for the hatch coamings. I blackened them and then drilled out the holes a but to make sure the life lines would fit.
I added too much CA glue to keep the stanchions in place...going to have to watch that up topside!!!

I was a bit nervous putting the final rigging for the life lines together, but they actually went very well! I threaded 2 stanchions to each line and tied a knot in end in case I couldn't finish the work. Drilled holes for the stanchions and then tied them off and added a bit of CA glue.

They look very nice!

20241015_135450.jpg20241015_143305.jpg20241015_141342.jpg20241015_143312.jpg20241015_143312.jpg
20241015_144138.jpg
20241015_144141.jpg

This one has to wait for a set of columns that will act as stanchions.
20241015_143315.jpg

Pretty exciting stuff!!!
20241013_184055.jpg

20241015_113442.jpg

20241015_113845.jpg
 
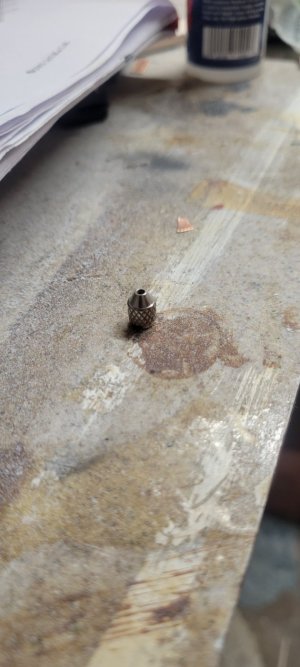
Look at what I found! Almost a year later and there is was just laying on the floor!
Well now I have 2 extra airbrush needle chucks!!!!!
20241016_133049.jpg

I started fitting the camber beams and for some reason, some of the beams are on the opposite side of what is shown in Caldercraft's plans. Some are right, some aren't. Not sure what I did to screw up, but hopefully it doesn't affect the future!

Before gluing them, I did another double check to be sure the masts would fit with the quarterdeck installed. The fore mast was very tight and at first I thought the main was crooked, but I think it is supposed to have a bit of a rake to it? I used a large round file to clean out the holes again and everything seems to fit ok. Worse case, I can always sand down the bases of the masts before installing.

I glued the camber beams down. It's strange there are a few that aren't there, again I suppose there will be a reason for not having them in the way.

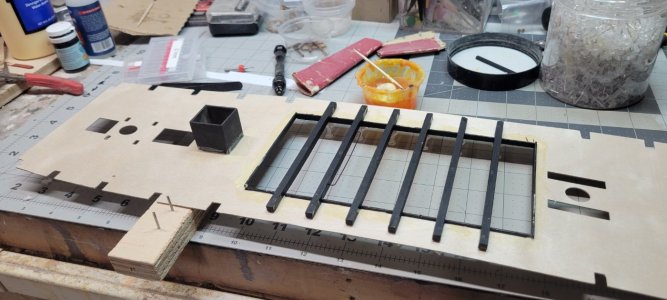
I then spent a lot of time reading and re-reading the instructions for the next step of installing the quarterdeck. I had to build the skid beams. They needed to be sanded smooth and they were a bit hard to put together....they don't 'snap' into place so I ended up gluing one side and then waiting a bit to get the other side done. Don't forget you have to add a piece of .7mm wire to one of the beams....got me what it is for! Only time will tell!

I also have to add brace bits. I believe in real life these braces have sheaves in them. I think 3 on each side. I have 4mm wooden sheaves, so I cut holes to allow for at least 2 to be installed. I used the same heights that the manual required for a hole to double as a sheave.

I was very happy with the result and the fact I didn't break the braces. The sheaves seem to fit nicely. I think I will add a piece of styrene in-between if I can. I'll have to see. Instead of installing them now, I'll paint everything and install the sheaves after.

Added the first coat of black paint to all and I'll do a second coat and fiddle with the sheaves next!

I also had to trim many of the beam slots on the quarter deck and I had to remove about 1mm or so from one side to make it easier to install this deck.
Hopefully I can work on that this weekend!!!
20241016_152608.jpg

I edited the post to point this picture out. I thought I mentioned earlier that my location for the camber beams to hold the quarterdeck are not on the same side as the plans. I am still not sure if that is true or if it will matter.

Case in point. I was wondering why the plans required that the pillars in front of the Admirals screen were offset a bit instead of laying directly against the screen.
When I installed that bulkhead camber beam it seemed to be a perfect fit....I doubt you'll be able to see any of that once the Q-deck is installed.

20241016_152618.jpg

20241016_152625.jpg

20241017_141155.jpg

20241017_151722.jpg

20241017_151728.jpg

20241017_151751.jpg

20241017_153201.jpg

20241017_153208.jpg

20241017_155312.jpg

20241017_155317.jpg

20241017_155323.jpg
 
Last edited:
Even though I am following a lot of Caldercraft HMS Victory and similar manufacturers, it has become very difficult to track the builders who are ahead of me or have finished. The system for tracking what I am following isn't very intuitive.....or I am just not getting it!

I also post a build blog here on Ship of Scale and Model Ship World. Both sites are perfect for me.

Now, I just down load pictures from other builds that I can look at when needed!
 
Last edited:
Look at what I found! Almost a year later and there is was just laying on the floor!
Well now I have 2 extra airbrush needle chucks!!!!!
View attachment 478095

I started fitting the camber beams and for some reason, some of the beams are on the opposite side of what is shown in Caldercraft's plans. Some are right, some aren't. Not sure what I did to screw up, but hopefully it doesn't affect the future!

Before gluing them, I did another double check to be sure the masts would fit with the quarterdeck installed. The fore mast was very tight and at first I thought the main was crooked, but I think it is supposed to have a bit of a rake to it? I used a large round file to clean out the holes again and everything seems to fit ok. Worse case, I can always sand down the bases of the masts before installing.

I glued the camber beams down. It's strange there are a few that aren't there, again I suppose there will be a reason for not having them in the way.

I then spent a lot of time reading and re-reading the instructions for the next step of installing the quarterdeck. I had to build the skid beams. They needed to be sanded smooth and they were a bit hard to put together....they don't 'snap' into place so I ended up gluing one side and then waiting a bit to get the other side done. Don't forget you have to add a piece of .7mm wire to one of the beams....got me what it is for! Only time will tell!

I also have to add brace bits. I believe in real life these braces have sheaves in them. I think 3 on each side. I have 4mm wooden sheaves, so I cut holes to allow for at least 2 to be installed. I used the same heights that the manual required for a hole to double as a sheave.

I was very happy with the result and the fact I didn't break the braces. The sheaves seem to fit nicely. I think I will add a piece of styrene in-between if I can. I'll have to see. Instead of installing them now, I'll paint everything and install the sheaves after.

Added the first coat of black paint to all and I'll do a second coat and fiddle with the sheaves next!

I also had to trim many of the beam slots on the quarter deck and I had to remove about 1mm or so from one side to make it easier to install this deck.
Hopefully I can work on that this weekend!!!

View attachment 478096

View attachment 478097

View attachment 478098

View attachment 478099

View attachment 478100

View attachment 478101

View attachment 478102

View attachment 478103

View attachment 478104

View attachment 478105

View attachment 478106

View attachment 478107
Looking very good. Going to be an impressive Victory. Cheers Grant
 
Looking very good. Going to be an impressive Victory. Cheers Grant
Always appreciate your encouragement Grant!

Today I had to finish off the pillars that will support the skid beam assembly. I've seen other builders create jigs for this and I kept thinking, what can I build with limited access to metal or plastic?

On a lark, I fitted a piece of the hull planking and the walnut deck and it seem to be the right height to allow me to remove enough material to make the pillar ends square.

Using my 1/4" file, I was able to make fairly quick work of squaring off the 10 pillars. By the last side, there was a bit of wiggle in the piece and I had to hold it and when done, I had to go back over the sides to be sure they were reasonably square. Once done, I dipped in my walnut stain and they seem pretty good. Once I install the quarter deck, I'll trim them and glue them in place.

I also added the sheaves to the bitt bracing and I sanded a small piece of styrene I had to create a buffer between the 2 sheaves. I didn't bother drilling a hole to hold the sheaves in the brace. The sheaves came with .1mm holes and I have a pack of 30 .1mm drill bits but they are way too fragile for this type of work.

They seemed to squeeze in nicely and I painted them, making sure to blow out any excess that might accumulate in the nooks and crannies.
I still have to get my head around installing both of the braces. I believe I've seen some video builds where they added pins to the bitts and pre-drilled the holes to hold the piece in place. I also remember someone using thicker toothpick size pieces of wood to help secure them. My concern is making sure they remain perfectly perpendicular and the fact that I have to install them BEFORE I install the quarterdeck. The small one should be a problem because it doesn't go up into the next deck.

Finally, I know the plans say NOT to secure the skid beam to the quarterdeck, but I did. It just seems like a lot of bending and when I prefit it, I don't think I'll have a problem with the way I've done it.

Might actually get some time tonight to see if I'm right!!!! But I think sorting out the bit bracing will take some time!

20241018_125132.jpg

20241018_125135.jpg

20241018_125753.jpg

20241018_133919.jpg

20241018_140619.jpg

20241018_140700.jpg

20241018_140705.jpg
 
Figured out a process for installing the bits and braces from the upper deck to the quarterdeck.
I didn't take pictures while doing it as it was a bit complicated and I messed up once.

I have the plans on an easel board and they run bow to stern (left to right), but my boat is on my work table in the opposite direction....to keep the bow from whacking things on the bench.

There is the set of braces that is visible on the quarter deck and the set that runs between the 2 decks. First I had them reversed.

I took brad nails I had which are .7mm thick and drilled holes in the bottom of the bits. Since they are very pointy, they easily indented the deck for reference. I was able to drill precise holes to fit them.

I had glued the skid beams and the steam stunk assembly under the quarterdeck and that did not cause any issues during assembly.

However, it took some thinking to get the lower brace installed on the bit. At first I tried to install the quarterdeck and then slide the bits through the hole and use my tweezers to try and get it together, that was not going to work. Ultimately, I just slid the bracing through the holes while the deck was not installed and then slid it into place and added the lower bracing. Then it was fairly easy to then put it all together. Then I could add CA glue to base of bits and finalize it.

HOWEVER....somewhere I made a mistake in earlier construction. My thoughts that some of the camber beams seem to be on the wrong side is apparent.
The bits for the main mast should be on either end of the slots provided. There is a camber beam in the way and I just don't know why or what I did. I've reviewed other builder logs and most of my beams are correct, but some are on the opposite side.

Again, finding specific pictures of this area from other builders is tough. I do have a nice blog from Robert29 on Model Ship World. I see that the base of the main mast has sleeve, paunch and a holding are for pikes. It doesn't look like it will be an issue....close, but not a catastrophe!

I did paint the tips of the bits grey....It looks like the real ones are capped....perhaps at one time with lead or copper?

20241018_225345.jpg

20241018_225350.jpg

20241018_225729.jpg
 
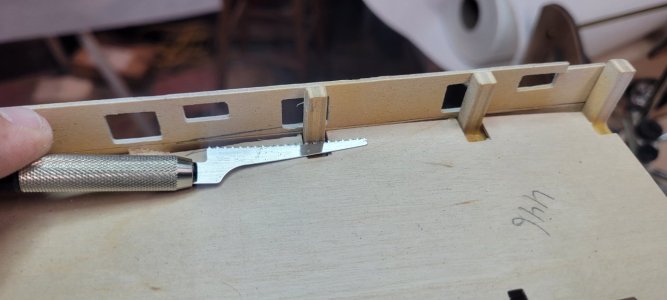
Taking advantage of my granddaughter's nap time, I went down and cut off the stubs for bulkheads 1-5 and 10-13.
I have one of those mini japanese saws and it worked very well. A little sanding and I'll be right ok.

One of the gun ports did come a bit loose on one end because I was leaning on it and they are only connected by the long base. But nothing to worry about.

Cutting down the pillars for under the skin beam is straightforward, but you really take away almost all of the squared off ends when you're done. I almost wonder if it was really worth it to go to the trouble to square them when only about 2mm is going to remain on either end.....
The first two I did, I secured with CA glue and that was a mistake. The glue tends to quickly soak in and stain the walnut. After than I used white glue and a cotton q-tip to soak up any excess glue. The white glue dries pretty quick for setting purposes and dries pretty clear.
I did NOT attempt to drill holes in the pillars that act as stanchions for some of the life lines. On the forward most set, I just tied the lines around the pillars and they look just fine.

I have already removed the 4 pieces for the quarterdeck screen. I have sanded them using a small file and these little sanding sticks to clean out all of the grooves. I will set them aside for when the decking is complete.

I did not install the beakhead bulkhead. I think it will be easier to attach some of the other pieces that need to be applied before.

Finally, I laid out the plan for decking the quarterdeck. I once again am using a PDF from Ulises Victoria and it is very easy to follow and understand. I have attached it.

I will begin laying out the deck over the next few days.

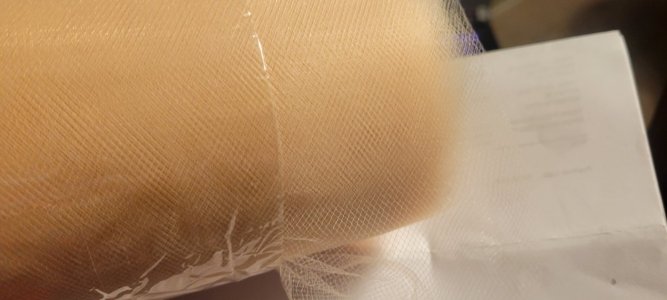
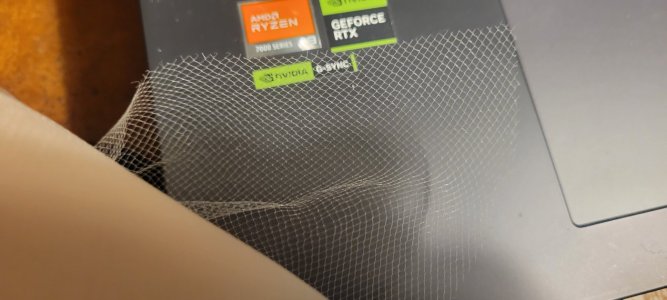
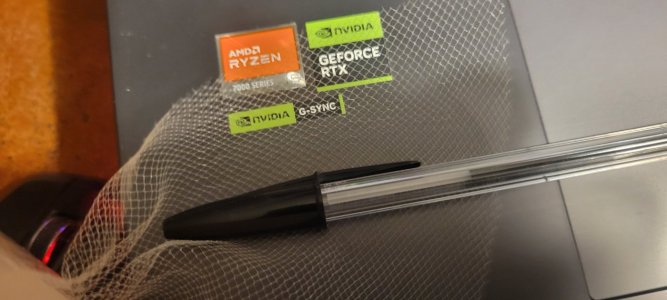
Finally, looking way ahead, I saw a lot of discussion about the right material for the hammock netting. I cannot find any type of cloth mosquito netting that could be stained to look tea colored. All the tulle I looked at is synthetic. I did find a place on Amazon that stocks some 20-30 different color tulles. For $9USD you get about 300' of it! I opted for antique gold, but there was an ivory that might work too. I'll try it when I get there.

Thanks
Chris


Oh! Per the planking manual, I again am opting for the plan that repeats every 5 planks. They suggest a length of 120mm.

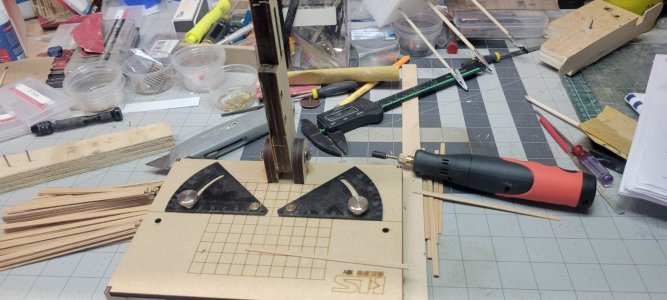
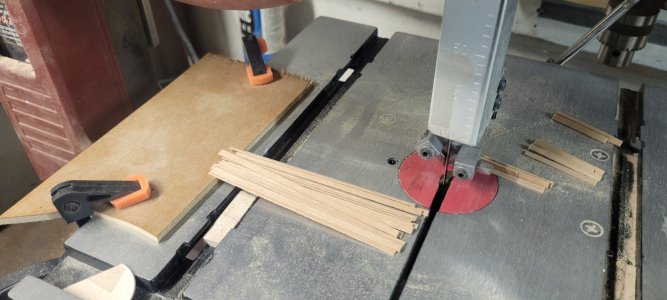
I started cutting them out with my little cutting machine, but it doesn't go out to 120mm so I was forced to lay a template piece next to each one. That was going to take all night!

So I went over to my little trusty band saw and jigged out 120mm and cut a few hundred in about a minute


20241019_140702.jpg

20241019_144414.jpg

20241019_144436.jpg

20241019_150658.jpg

20241019_150701.jpg

20241019_150706.jpg

20241019_150709.jpg

20241019_150713.jpg
Yeah I can see that my center line tails off a bit. I did correct it before starting the planking!


20241019_191819.jpg

20241019_191842.jpg

20241019_191857.jpg
 

Attachments

Last edited:
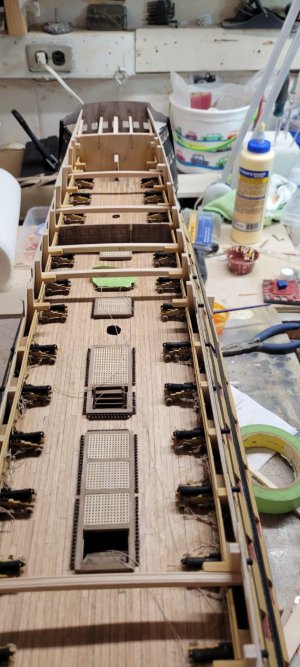
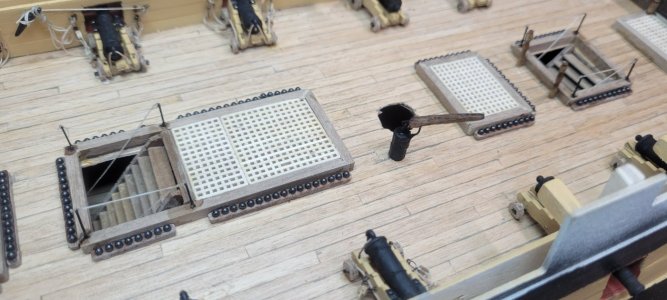
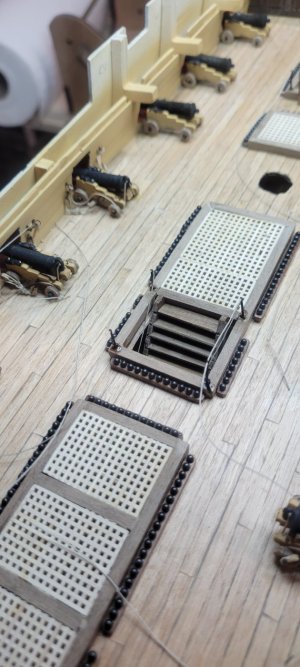
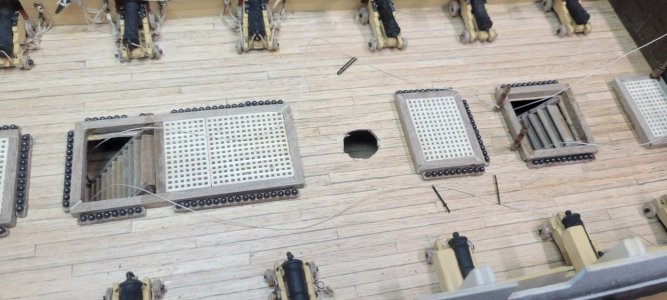
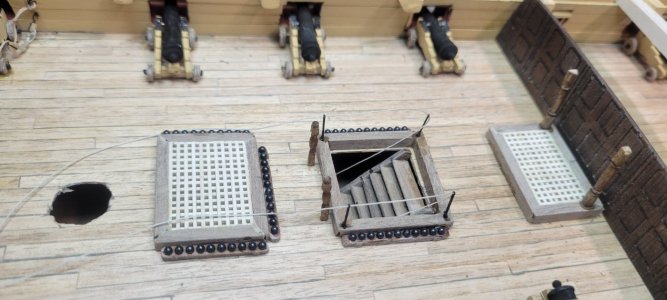
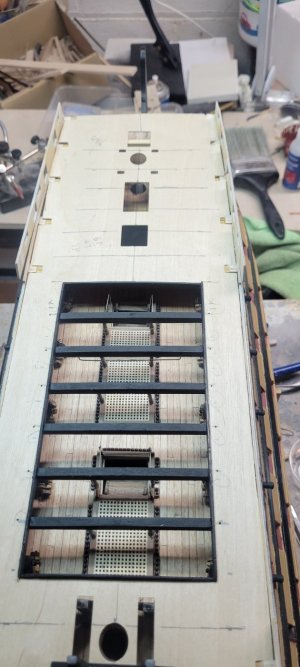
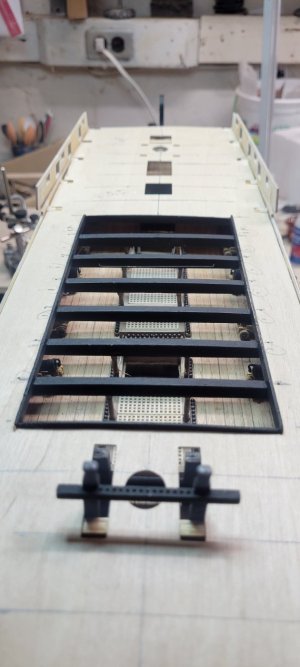
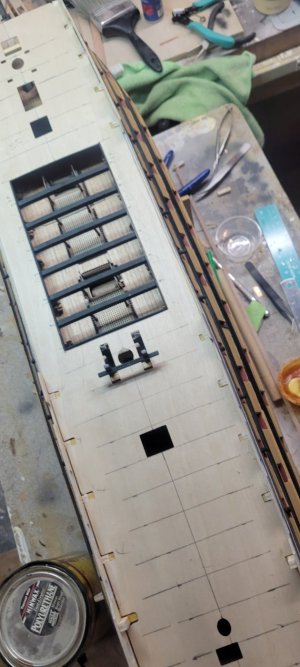
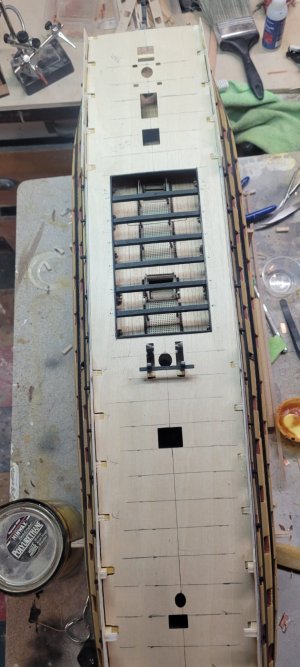
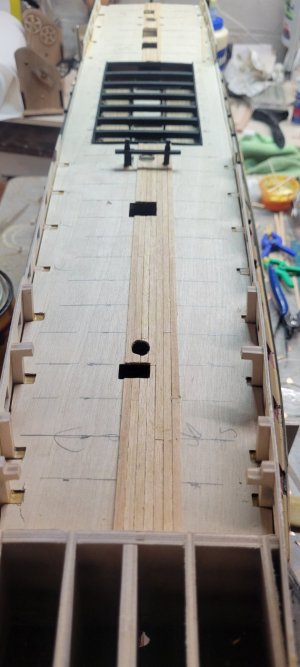
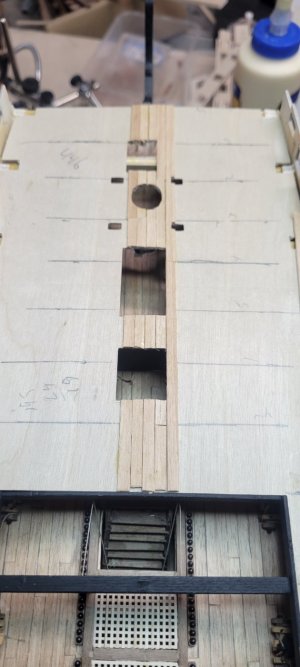
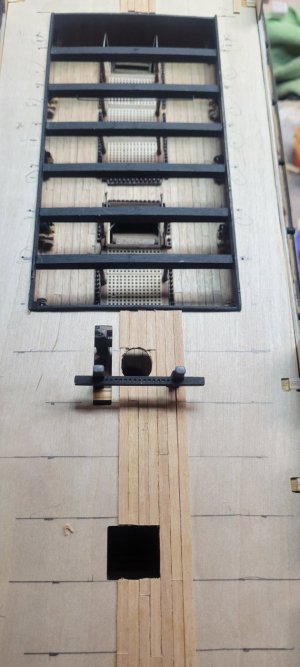
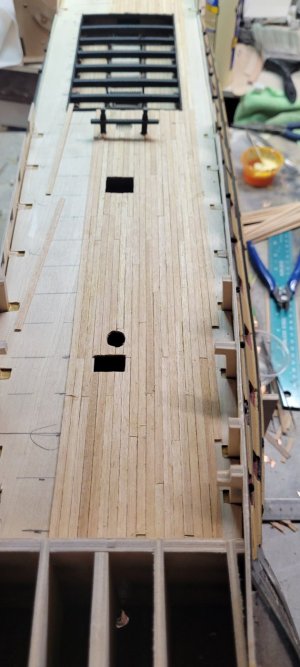
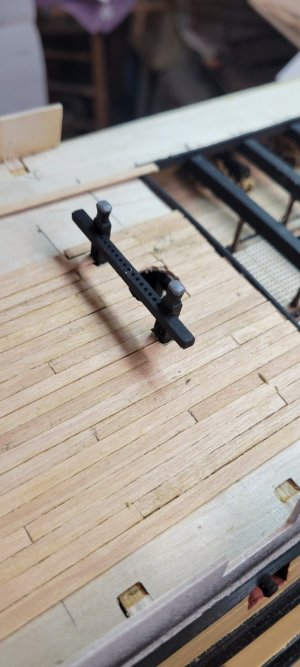
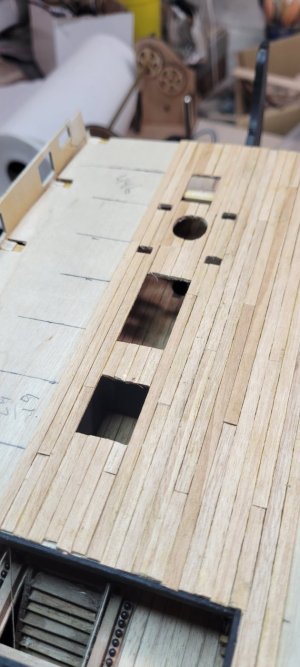
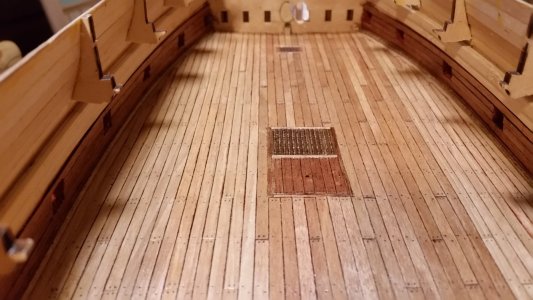
At this point, I actually enjoy doing the deck planking. It's pretty straight forward and the results are very tangible and for the most part they look good.

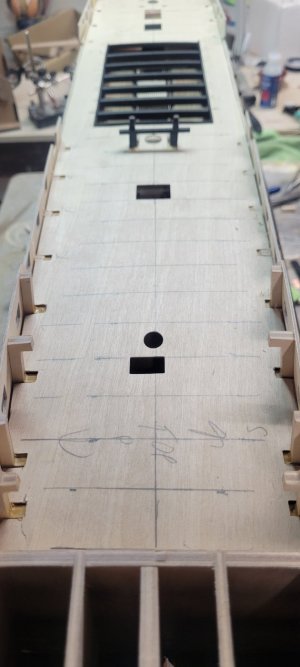
I did get lost a bit with the pattern on the port side. I may have moved too fast. At the fore end there are a lot of holes that need to be planked around. You also have to extend the planking over the access created by the skid beam assembly.

It might be hard to explain, but once I have 5 rows of planking done, it is easy to place the next row, I just count over 5 joints in the planks because that is the number of rows before a joint is in the same location. But with all the cutting and trimming on the fore deck, there isn't an easy ability to see natural planking breaks. I actually had to wait until the aft decking was 'fleshed out' more and then started laying planks aft to fore on the port side.

So far, cutting out access to the bitt holes, mast holes and access hatches has been straight forward.

I am coming up to the edges and will have to address how to terminate planking against the walls. I will take a look at the books I have and search for pics of live deck shots.

I'll post when I have completed the planking and decide whether I will add wood fill with a bit of stain to it as I did to the 2 lower decks.

20241019_232802.jpg

20241019_232807.jpg

20241019_232815.jpg

20241020_234836.jpg

20241020_234845.jpg

20241020_234848.jpg
 
Last edited:
Write numbers one through five in pencil on the false deck at joint locations so you don’t lose track of the pattern.
Hi Kurt

Yeah, I tried that! I think you can see in one of the first pics as I was laying out my planking that I have them numbered on the starboard side.
My problem was that there are 3 hatches, the mast hole and the 4 bitt holes. I would lay down the correct plank on the port side of my center line, but I would only do 1 or 2 so I didn't lose sight of what I had to cut out.

Then it was hard to see the 'real' breaks in the 4-plank layout as opposed to the breaks created by all the holes in the forward decking.

That's where I got lost. I think when it's all said and done, it won't be too apparent!

I hope.....
Chris
 
Write numbers one through five in pencil on the false deck so you don’t lose track of the pattern.
Hi Kurt

Yeah, I tried that! I think you can see in one of the first pics as I was laying out my planking that I have them numbered on the starboard side.
My problem was that there are 3 hatches, the mast hole and the 4 bitt holes. I would lay down the correct plank on the port side of my center line, but I would only do 1 or 2 so I didn't lose sight of what I had to cut out.

Then it was hard to see the 'real' breaks in the 4-plank layout as opposed to the breaks created by all the holes in the forward decking.

That's where I got lost. I think when it's all said and done, it won't be too apparent!

I hope.....
Chris
Hatches will throw off your plank pattern. You have to find a way to continue the pattern around the hatches and mast reinforcement areas, from one side to the other.

346 Deck Finished Looking Forward.jpg
 
Write numbers one through five in pencil on the false deck so you don’t lose track of the pattern.

Hatches will throw off your plank pattern. You have to find a way to continue the pattern around the hatches and mast reinforcement areas, from one side to the other.

View attachment 479306
The hatches most definitely did throw me off! I finished most of the full planks last night and on the port side it degenerated into a butt seam every 4 planks instead of the butt seam every 5 planks that I had intended. Actually, is some places it is worse that every 4....

There was nothing I can do to salvage that...in some cases it appears to be even worse. My only recourse is to completely remove the planking on the port side back to the center line and start again, which I just don't want to do. I doubt I have enough material anyways and there would be a delay securing new maple 1x4mm strips from anywhere in the US. Or anything close to maple, which would alter the look of the decking.

I do want to say that I just went through your whole La Couronne Build Log. If I remember, you said this was your first build, but it was obvious, that your skills were up to the task. A lot of great tips in that log that I have stored away! I like that you put the actual link of the build in your signature section along with a separate link for just the pictures. VERY helpful for us newbie builders!
 
Back
Top