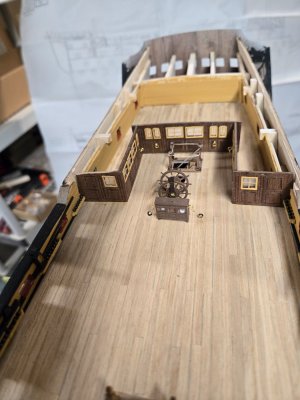
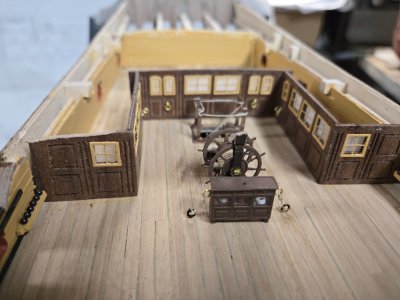
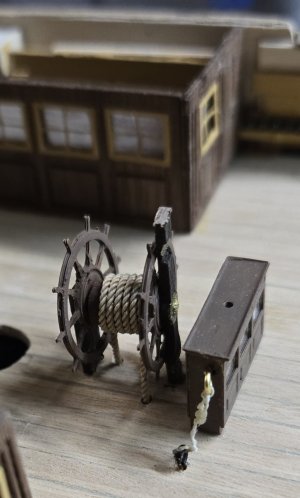
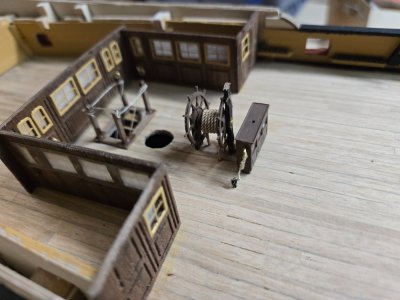
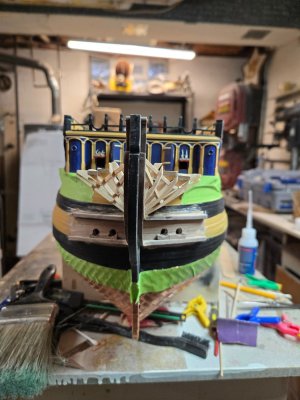
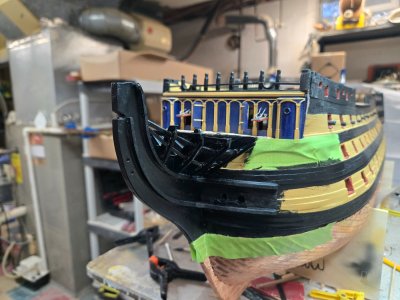
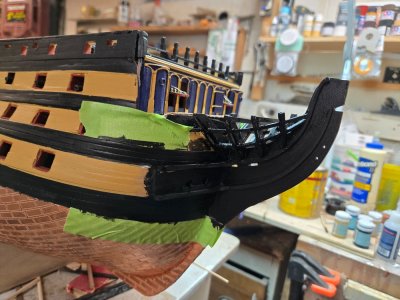
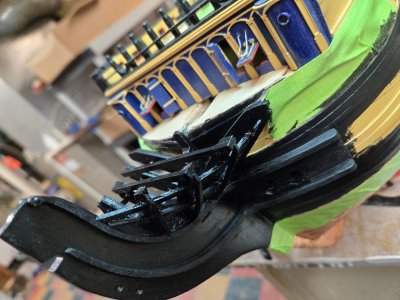
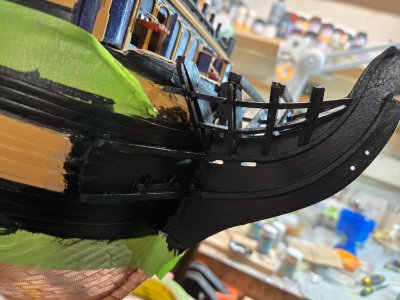
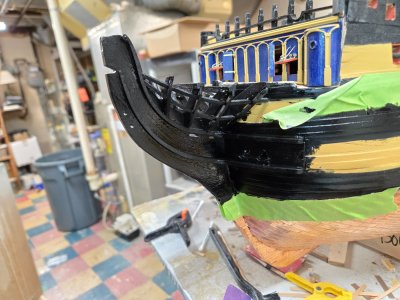
Hello everyone!
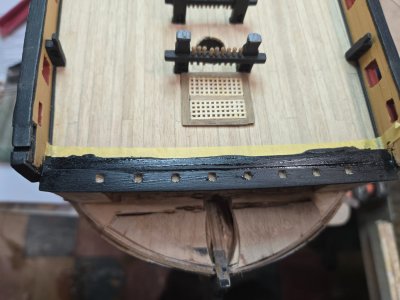
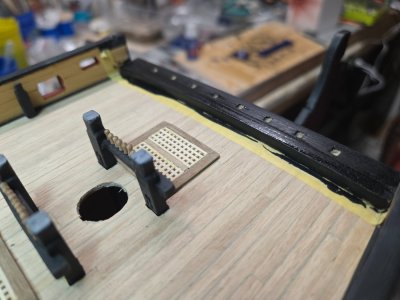
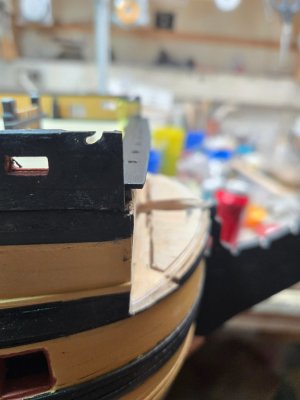
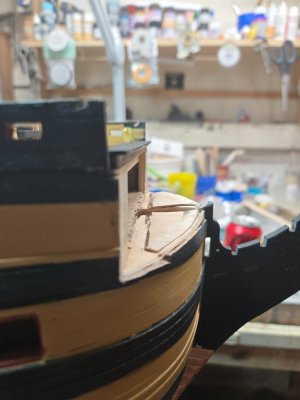
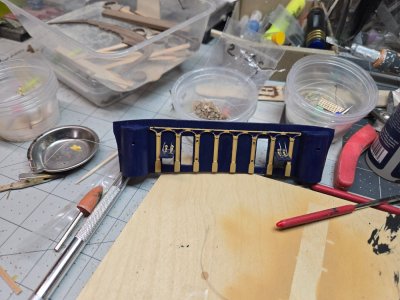
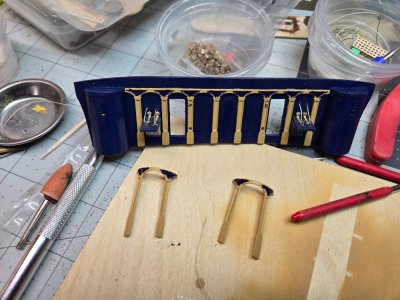
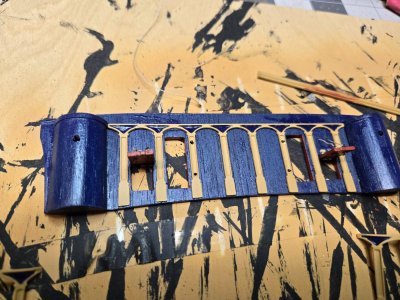
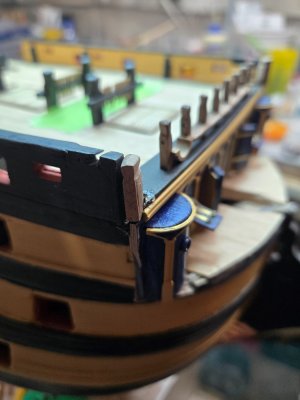
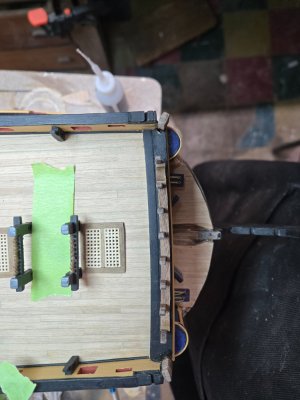
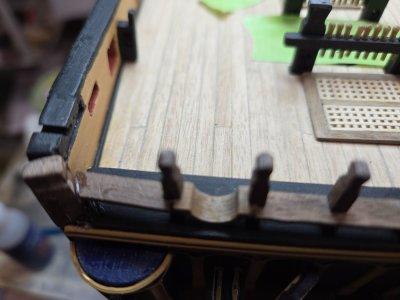
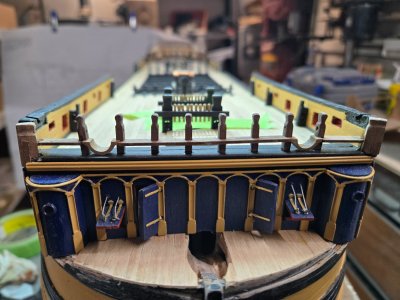
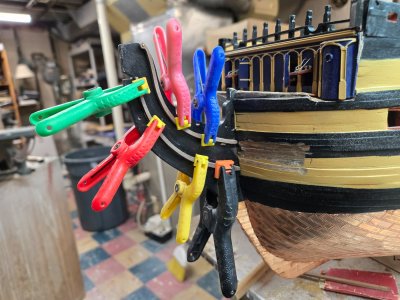
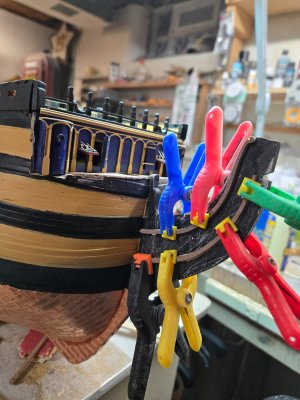
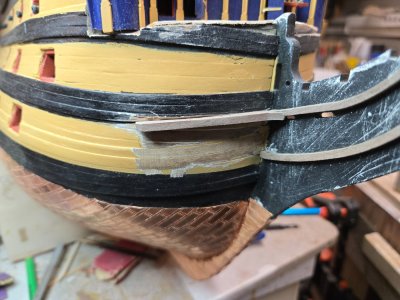
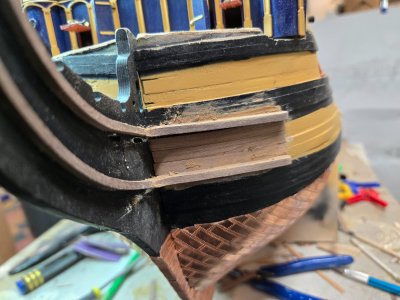
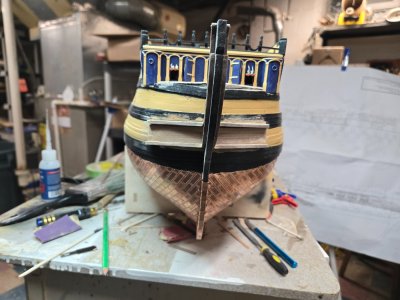
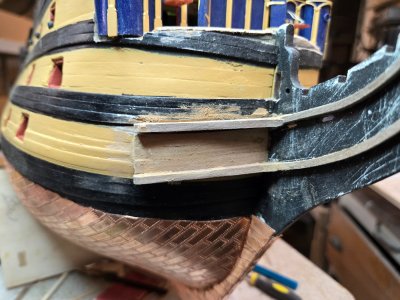
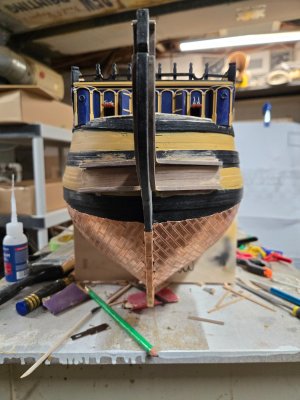
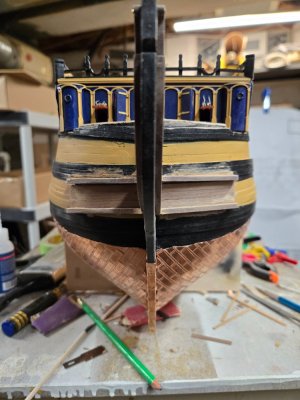
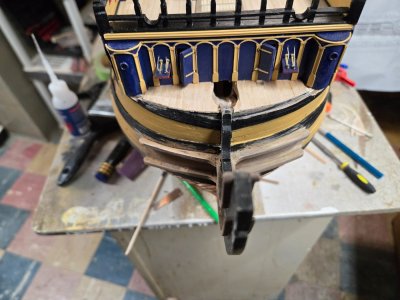
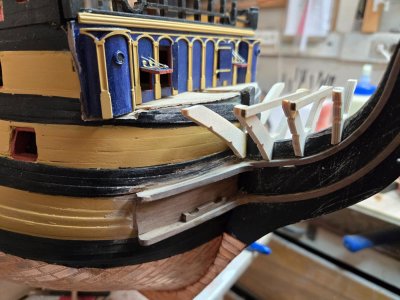
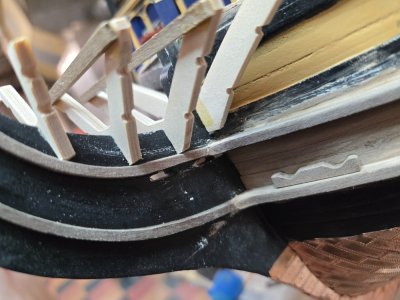
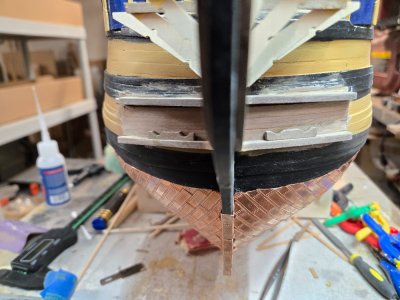
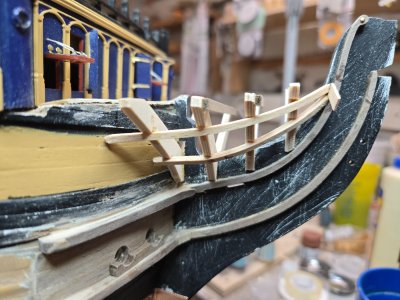
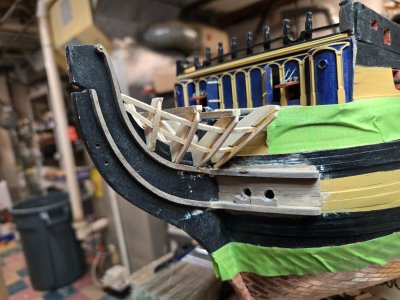
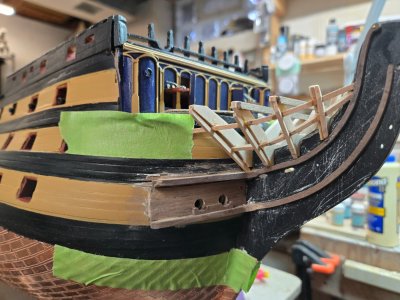
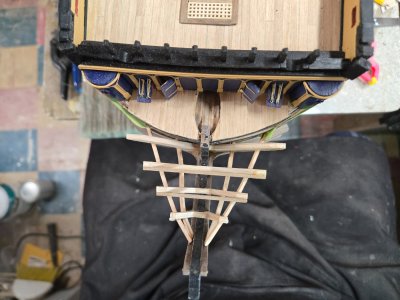
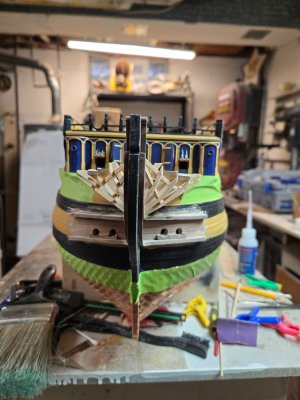
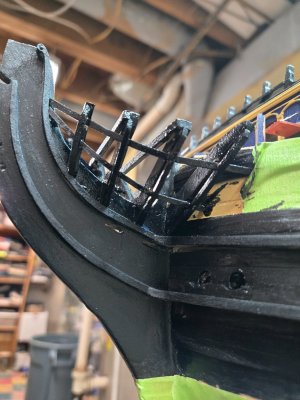
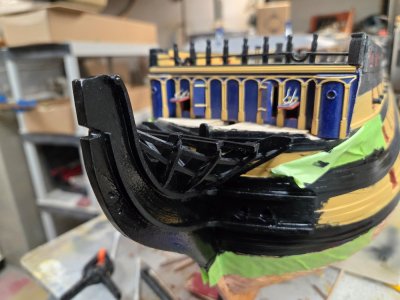
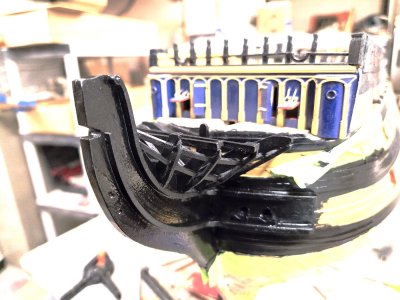
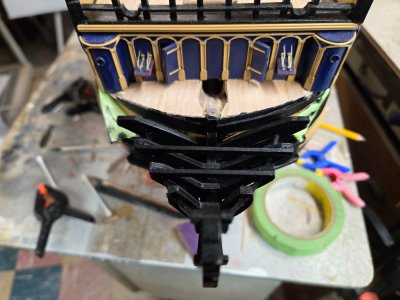
I have done a bit more and will add that below. However, last night I spent a lot of time searching builds for help on the bow.
I thought that having a list of what I use for this model might help new builders when they begin this journey. I am going to attach this to the first page too.
I use 3 books and they are a tremendous help. I looked for used versions. Longridge's took some time. The book has many pull out plans that help with any model's build and I wanted to be sure the book I bought had them intact. I included Google links.
Used Books
Anatomy of Nelson’s Ships – Longridge, Nepean
HMS Victory – McGowan
The 100 Gun Ship Victory – McKay
I use many videos, and many listed below have dedicated playlists that help keep their HMS Victory builds separate from their other work.
YouTube Video Blogs
Wooden Ships – Greg Wislon
Just A Good Place
This is a Spanish blog for Artesania Latina model
Johns Wooden Ships - John Aliprantis
Many blogs of wooden ship models including HMS Victory (NOT Caldercraft)
John Builds Iconic Military Models – John Mansell
Huge playlists for 2 different HMS Victory models
Olha Batchvarov – Olha
HUGE database of builds, how to’s and more including DeAgostini version
Paul Vickers – Paul Vickers
There are only 8-9 videos before he stopped posting. So good for a new starter only
I am a member of two model ship builder sites. Both are great and offer so many tips, hints, links, etc.
Ship of Scale
The site has an advanced search enabling you to input exact issues you want to research and the ability to 'watch' build logs and get notifications when the builder adds new content.
Paulv1958 – Paul Vickers
Hasn’t done much and incorporates the use of his YouTube blog
Traumadoc –
As of 11/8/24 he is finishing up stern and hammock rails. I believe he is a novice builder just like me, but has done remarkable work while juggling a full-time job and taking the time to log his work.
Peterg –
Major blog with high quality build, including lighting and custom features. As of 11/8/24 on quarterdeck w/ cannons
Serikoff – Sergey
Custom built HMS Victory using Mantua plans. Just started builders log in October, 2024 but has brought it up to date with what he has done.
He provides EXTENSIVE information concerning his build, how to’s and more.
Julian –
Occre model, but has similar build issues that will help
Y.T. –
Mamoli scale 1:90
Model Ship World
A great site, a lot of interaction between builders, a great search engine and the ability to monitor other builders as they add content.
Kiwiron – Ron
As of 7/24 completed quarterdeck, stern, bow and more
Robert29
Finished Caldercraft HMS Victory – one of the best builds I have seen and use extensively while doing mine.
Charter33
As of 5/24 he has finished quarterdeck and is working on outerhull trim and deadeye platforms. Very good build, meticulous
Heinz6672
Wood only (no paint) museum quality work, but stopped posting while doing rigging around 2020
Paulb – Paul
Last posts around 2023 with work on standing rigging. Very detailed work
There are many other blogs on both sites and searching will also pull many recommendations for help on various tasks needed during the build.
I didn't include links to topics such as laying hull planking, deck planking, rigging tips, making rope, etc. These are things each builder will have to do to get to know the process.
I am a NOVICE builder with just one model under my belt. A plastic large scale model of the Titanic. It took me a year to build and that was pretty quick given that I have a lot of time as I'm retired.
In addition to the above, I spend a lot of time searching specific issues when needed. When working on cannons, I would search keywords: cannons 1700 era ships, hms victory cannons, cannon rigging, cannon tackle. Once Google provided me with their search, I would save pictures for future reference.
Hope this helps and good luck!
Chris


