H.M.S. Victory by Caldercraft - Build Log

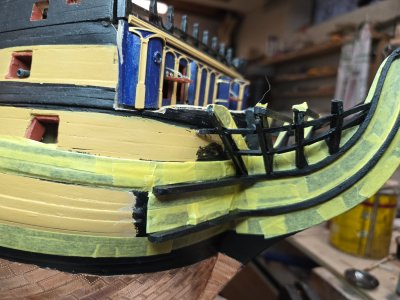
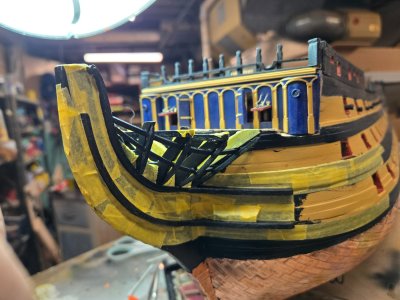
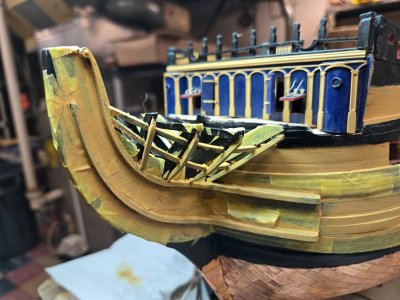
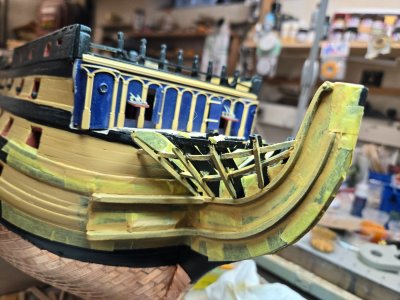
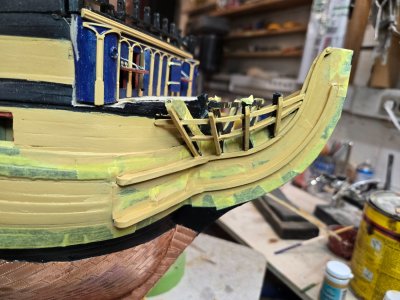
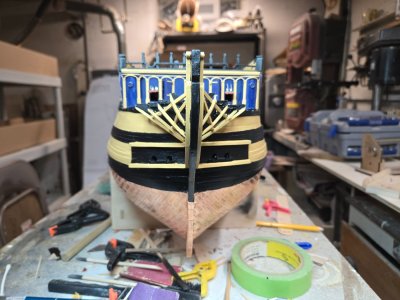
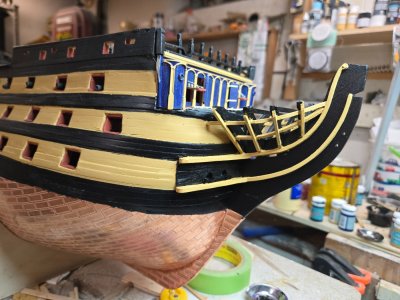
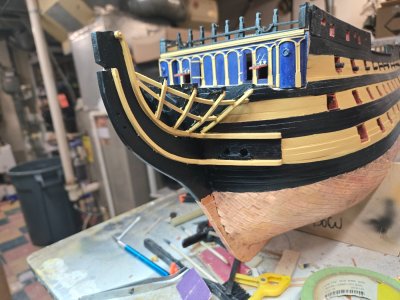
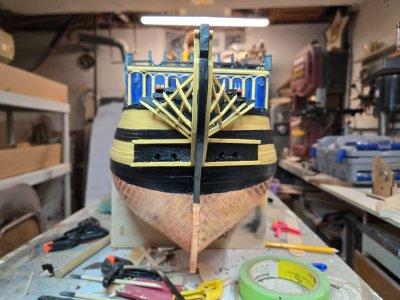
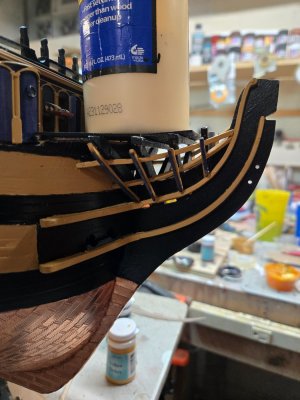
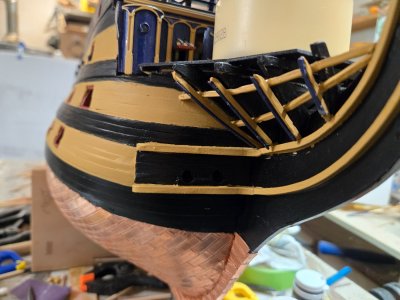
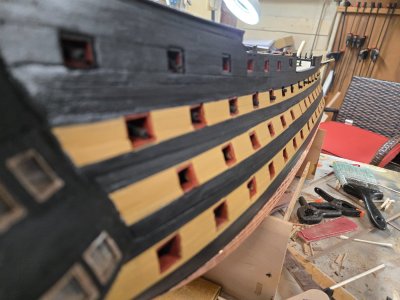
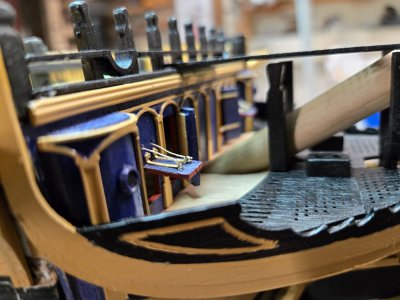
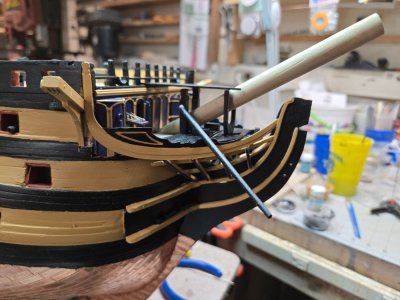
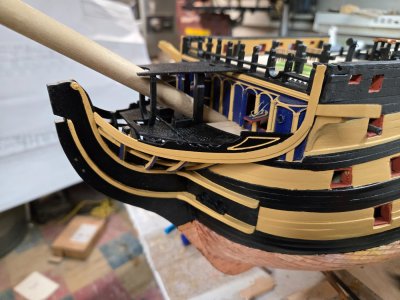
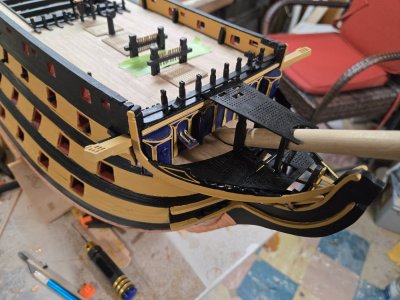
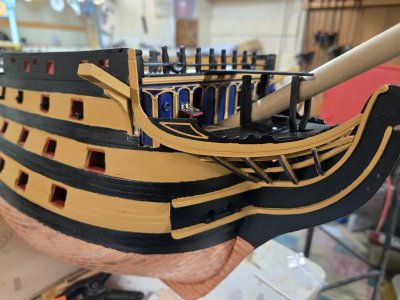
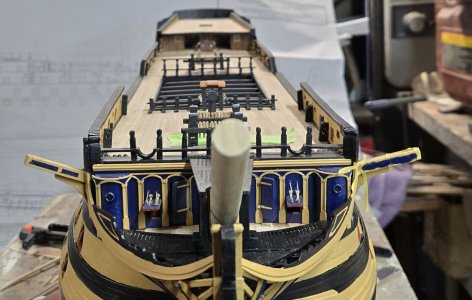
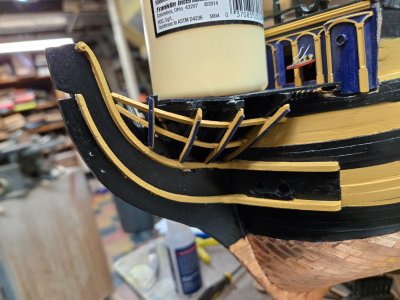
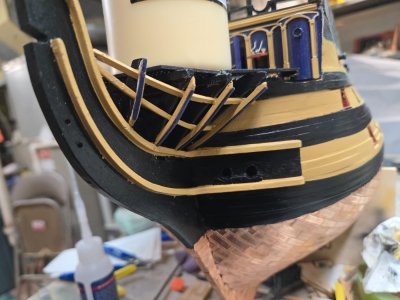
Letting it dry overnight, I began masking everything off to paint the yellow. It took HOURS to do this. After a few coats of yellow, I removed the tape and I was VERY unhappy with the results. It just looked blotchy and very shoddy. In addition I see that one of the hair brackets (#120) is off of horizontal. Not enough to break that piece, but enough that I will not take too many head on shots of the boat after this!!!!

I went to bed last night and decided that I was going to break off all the rails, sand them, repaint them, paint the interior bow black again, touch up as much as I could and re-install the rails after they dried. I had about 12' of the beech left in case I broke something. I also took some of that .5x3mm walnut and split it in half, sanded them down and painted them blue. My thought would be to install this over the outsides of the vertical rails when done.

20241109_123402.jpg

20241109_123408.jpg

20241109_130427.jpg

20241109_130432.jpg

20241109_163640.jpg

20241109_231929.jpg

20241109_231936.jpg

20241109_231942.jpg

20241109_232007.jpg
 
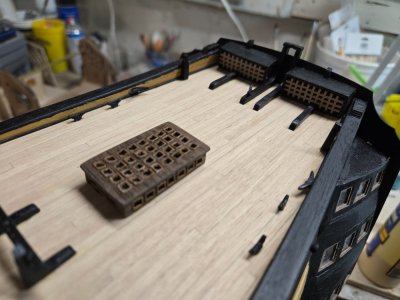
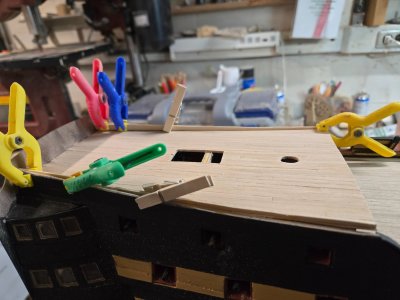
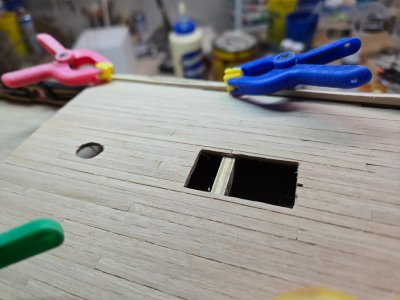
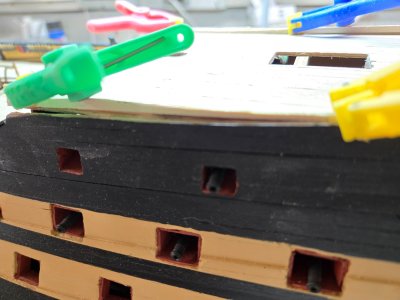
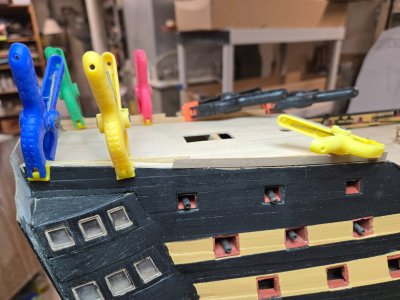
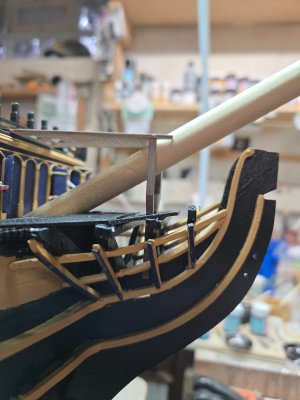
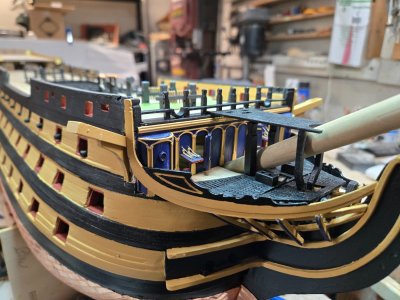
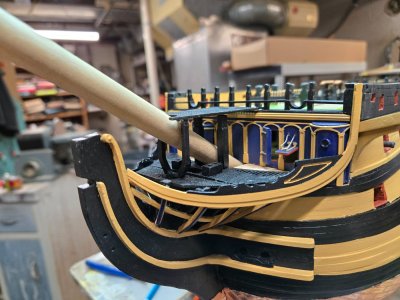
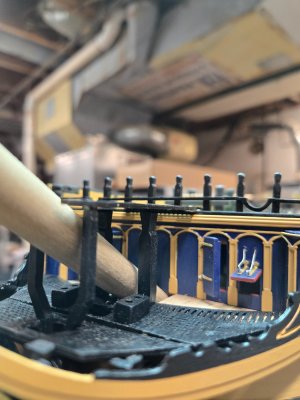
I took these pics after installing the two beakhead platforms and had weight on them to keep them down.

I am a bit (just a bit) happier now. It isn't perfect, but from afar, it looks pretty good. There is still a few spots to touch up and even out the lines, no problems and I see some spots in the under places....I sit pretty high up when I'm working so I don't get to see things from a low perspective.

The phone pics actually help as a way to critique my work after the fact.

Either way, mark the beginning the bows as done.

20241110_154948.jpg

20241110_154957.jpg

20241110_155004.jpg

20241110_155009.jpg
 
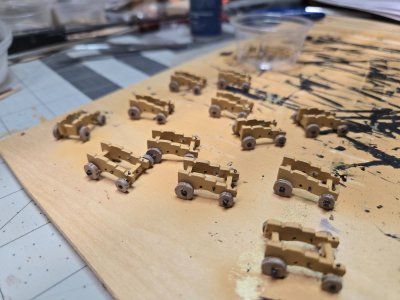
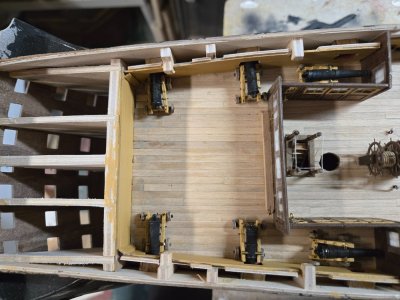
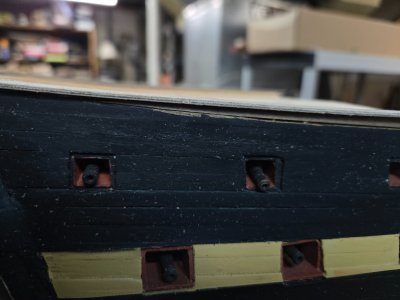
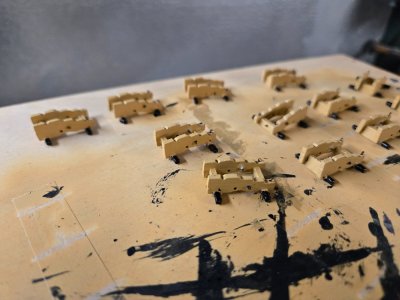
Meanwhile back at the cannon factory, we've been churning things out. I continued to put together the bases, add the eyelets to the carriages, add the stool bed and bed bolts for all. The cannons also require a quoin (#162), a small triangle piece of walnut that is used to elevate the back of the cannon....making the front go up or down depending on where you put it.

These little pieces fell apart no matter what I did. Because they are small and at an angle and follow the grain of the wood, they tended to split or disintegrate. I tried making my own and was semi successful.

I added the wheels but I had to drill the holes of each wheel larger to accept the axles. Even though I had sanded them with a drill chuck, the paint added some diameter. For the most part, once the holes were expanded, they fit pretty good and I like them much better than the first attempt on the lower deck.

I also triaged the cannons. I picked the 6 best to leave in the open. The other six were going under the poop deck. 2 of the cannons lost their custom breech rings, so they were going under and some the carriages looked worse than others.

One thing for builders and it is noted in the directions for the 30 cannons you built earlier. The trunnion or hole that the brass wire goes through is off center and is lower and the cannon needs to be installed that way...and yes, you guessed it, I forgot that and some of the cannons with their rings are upside down. Sigh.

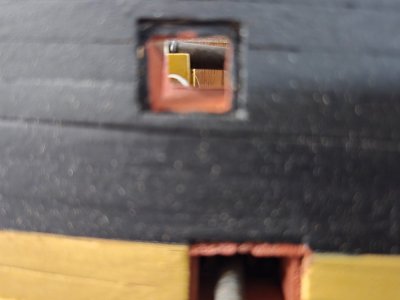
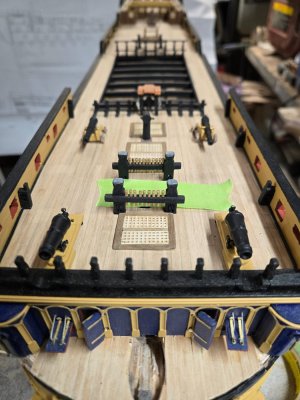
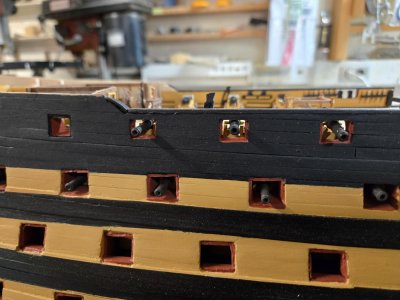
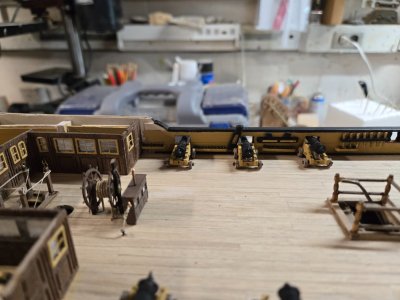
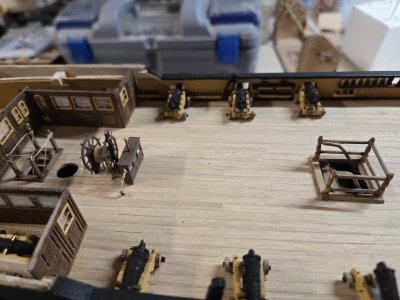
I took some pics of the cannons on the deck. I still have to add the PE trunnion brackets. I am not going to do that for the 6 under the poop deck. I have glued them in place and they are all set. You can even see the stowed ones through the gun port!!!

20241108_182848.jpg

20241109_133752.jpg

20241109_180958.jpg

20241109_181007.jpg

20241109_181144.jpg

20241109_182344.jpg

20241109_182347.jpg

20241109_182353.jpg

20241109_182404.jpg
 
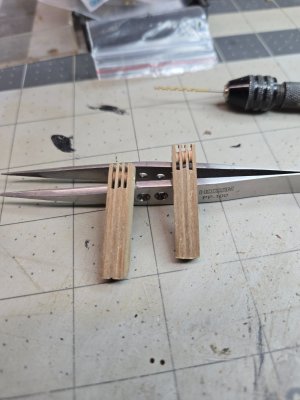
I worked on the catheads. I have 4mm wooden sheaves and was able to add them to the assembly. I wasn't sure of the orientation of the brackets for the catheads so I will provide more detail later.

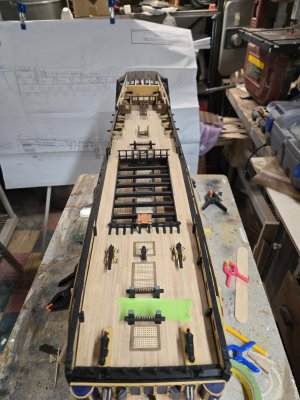
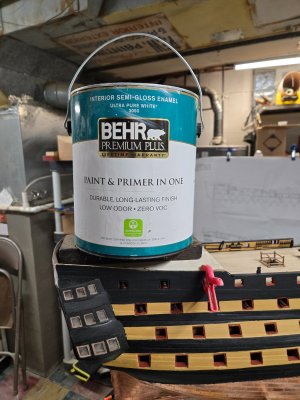
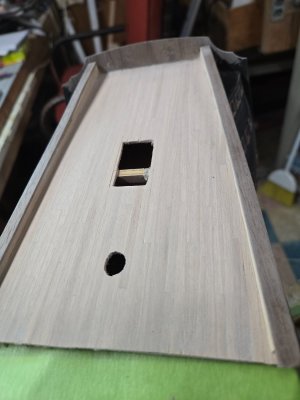
I also added the poop deck....hence the can of paint!

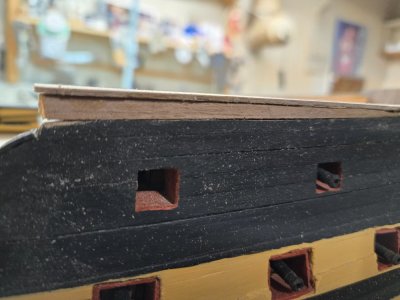
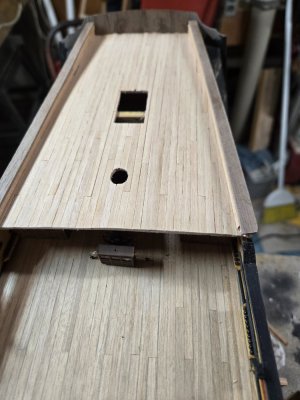
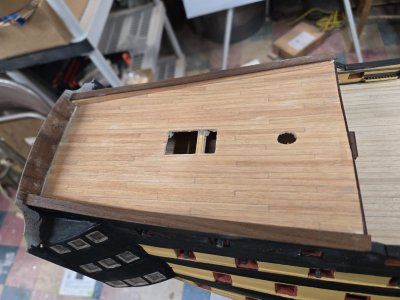
I am concerned though. There doesn't seem to be a lot of side walls to this deck. It really tapers to almost nothing. That would seem weird in reality, but I see that there are mattress hammocks on each side, so there is a level of safety.

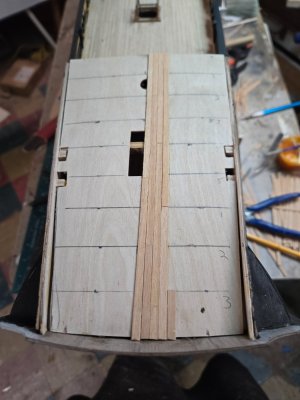
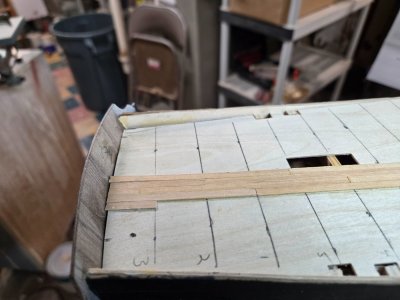
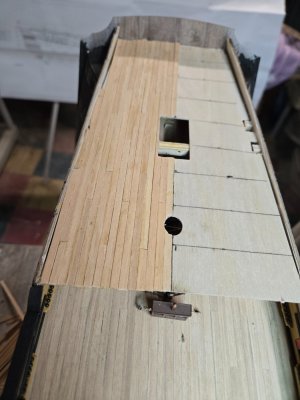
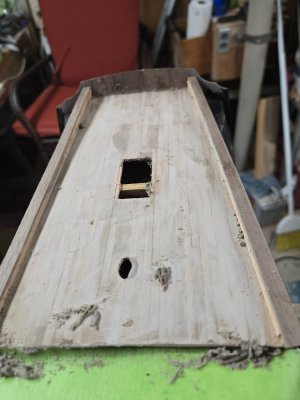
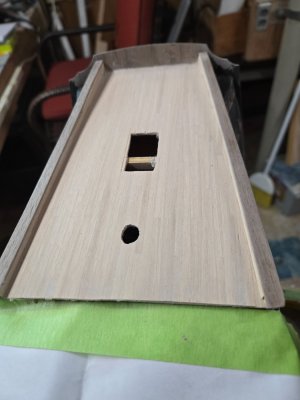
I planked one side and cut out what I needed to. I did it this way so that the pattern would remain. The last time, I lost my way and I didn't want to do that again.

20241110_115958.jpg

20241110_120002.jpg

20241110_143316.jpg

20241110_143322.jpg

20241110_154937.jpg
 
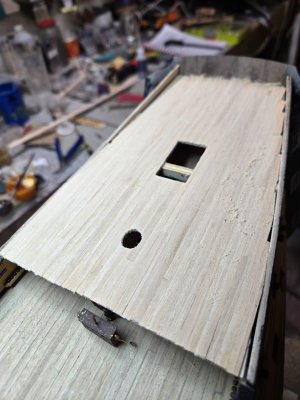
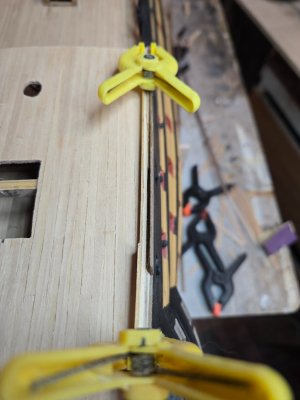
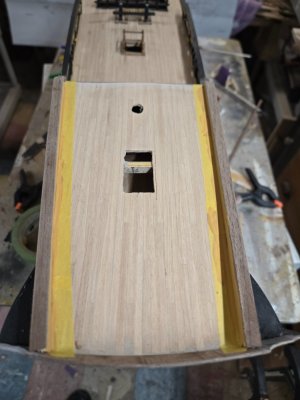
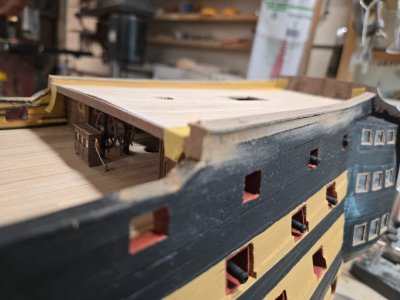
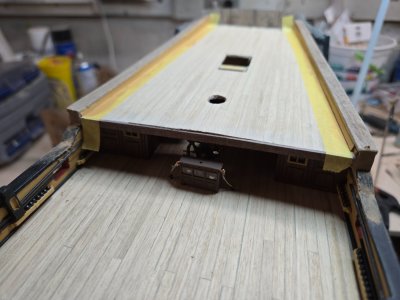
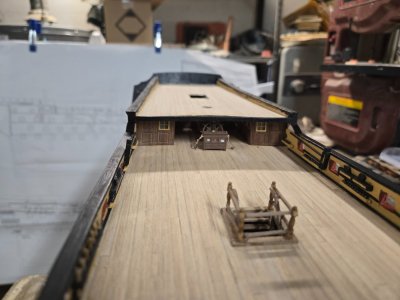
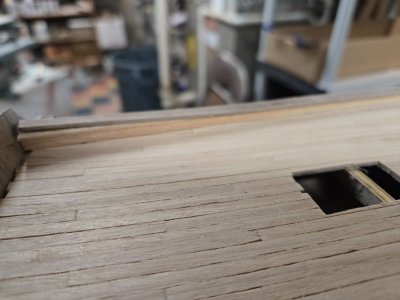
I finished the deck planking on the poop deck. As you can see, I was concerned about the side railing height of the poop deck. When I add the cap rail (#390), which is about 1mm or 72mm in scale which is only 2-3". That's not very high!

The side wall contains the outer planking and the gunport template from the original construction. The directions require adding a 1.5mm piece of scrap wood to interior bulkhead. I added the interior scrap, but increased the height at the stern and tapered it down to about 3-4mm at the edge of the poop deck.

Then I added a piece of filler in the middle and added more exterior planking. My hope was to create a bit of a wall for the cap.


20241111_114331.jpg20241111_123211.jpg20241111_133028.jpg20241111_133039.jpg

Once I added all the pieces and they dried, I had to cut away the excess and sand them flush for the cap.

20241111_162806.jpg20241111_162828.jpg

The cap fit very nicely and I added same capping to the front between the poop cap and curved capping on the quarterdeck. I added some walnut filler to smooth it all out.

20241112_192152.jpg20241112_192209.jpg

I also added a piece of walnut to the front of the poop deck to seal off the planking work. After sanding with some white glue, the spaces were filled in.

After painting and touching up, things seem to look of for the next phase of the build.

I took the chimney off the binnacle so I wouldn't whack it away while sanding!

20241112_192223.jpg20241113_140522.jpg

20241113_140548.jpg
 
I'm sorry, there were more poop deck pics. Once I was done with my side wall rebuild, I added some filler and stain to clean up the planking and once done, I added a first coat of matt finish.

20241112_104733.jpg

20241112_104738.jpg

20241112_104812.jpg

20241112_104821.jpg

20241112_110439.jpg

20241112_114206.jpg

20241112_114209.jpg

20241112_122104.jpg
 
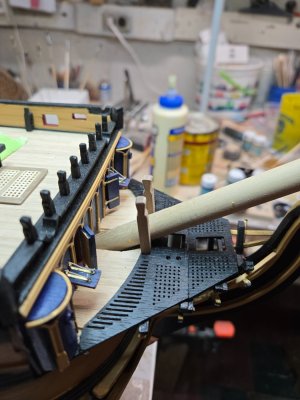
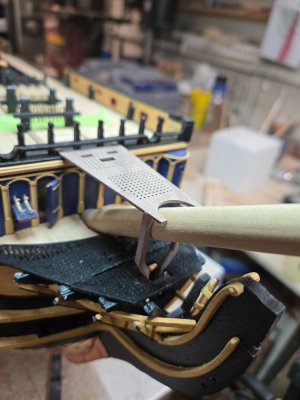
Next was adding the beakhead kevels, marine walk and the pillars.
I also added the 2 side rails. They required some higher detailed painting and masking to get them right.
When installing them, I had to make sure they matched the timberheads on the quarterdeck and then fit against the stem. There was a bit of trimming needed and I had to cut a bit of the hull away on the starboard side. I see that I am going to have to cut away more to get the brass trim pieces in place. That's a task for another day!

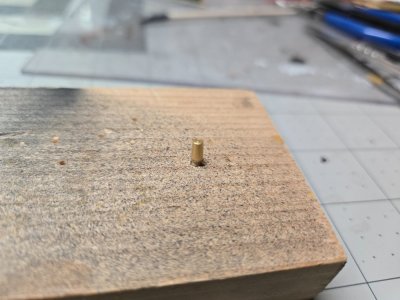
I had added a nail to the base of the kevels and used that to drill a hole in the platform. I fit a scrap piece of doweling in place to make sure there was room and installed these.

Figuring out the pillars for the marine walk took some mind juggling but I got them in place. They seem to be fairly horizontal and there is a space between the walk and the kevels below, so I think they are correct.

I also sanded both boomkins and just kind of hung it in place to see how it looked. I'll save those for later.

20241111_123129.jpg

20241111_130519.jpg

20241111_130530.jpg

20241112_173952.jpg

20241112_173956.jpg

20241112_174002.jpg

20241112_174013.jpg

20241112_174613.jpg
 
While doing the above, I also installed the catheads after painting them.

I needed to do a lot of sanding to the bases to get them to fit against the hull. I resorted to using the Dremel sanding barrel to get them right.

i used CA glue but the next day the port one fell off. I re-sanded the area and used white glue to hold it. After it set in place, I added CA glue to reinforce it.

Once they dried, I masked off the area for blue. The base piece of the cathead also has to have a blue stripe too, but I will wait till the brass trim is on.

The last shot shows the my work to that point. I have (did) touch up the starboard cathead and take the masking off the port side.

They are relatively even and just might hold the weight of a model anchor!!!! Just might....

20241112_192245.jpg

20241112_192253.jpg

20241112_192256.jpg

20241113_140509bbb.jpg
 
Well done
Are you going to simulate tree nails on the decks?
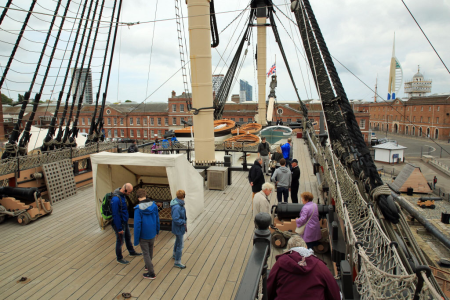
It may not be necessary to simulate trenails on the deck. This photo is taken at the same scale distance as the photo of the model above, and you can see only the randomly placed lighter colored trenails. However, the plank seams are quite visible. The trenails added to the model might be out of scale, and change the overall appearance of the deck.
1731599400272.png
 
It may not be necessary to simulate trenails on the deck. This photo is taken at the same scale distance as the photo of the model above, and you can see only the randomly placed lighter colored trenails. However, the plank seams are quite visible. The trenails added to the model might be out of scale, and change the overall appearance of the deck.
View attachment 484128
Looking at your pic (was this on a websight somewhere?), I figure the caulking seams are about 1-1.5" wide...about 3-4cm. That would translate into about a .05mm width to scale if I've done my math right and guessed right?

For builders that use black string to simulate caulking, that might just work with a thin string. I just don't see how I could drill that many holes with a .05mm bit, they would break after 1 or 2 holes.
I would be careful NOT to use a modeling technique which makes the seams TOO pronounced. Take the size of your model into account. When making model features with dimensions so small (such as 0.05mm), even using the properly scaled materials could result in that feature either being too subtle to see or too pronounced on the model. As such, it may be better to do a test piece before applying it to the model, especially on steps which are impractical to correct if they go wrong.
 
Last edited:
I would be careful NOT to use a modeling technique which makes the seams TOO pronounced. Take the size of your model into account. When making model features with dimensions so small (such as 0.05mm), even using the properly scaled materials could result in that feature either being too subtle to see or too pronounced on the model. As such, it may be better to do a test piece before applying it to the model, especially on steps which are impractical to correct if they go wrong.
I agree, I just left the planking as is and added a bit of color between them when I added some filler with stain. That seemed to create enough depth to simulate caulking on the model. For me, I think that is enough. But they say...your model, your choice!!!!

You've been a great help Kurt and your expertise and knowledge have aided me many times!!!!
 
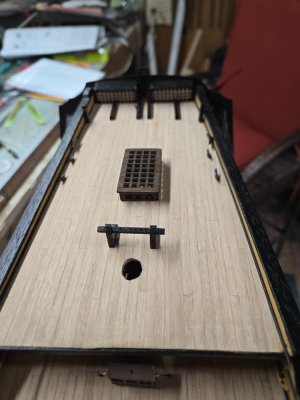
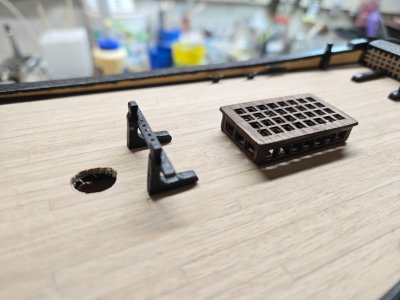
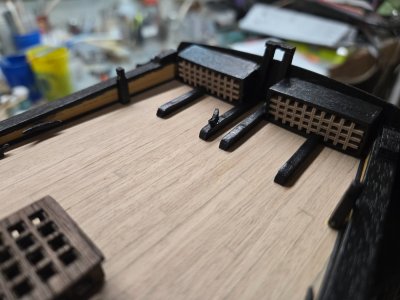
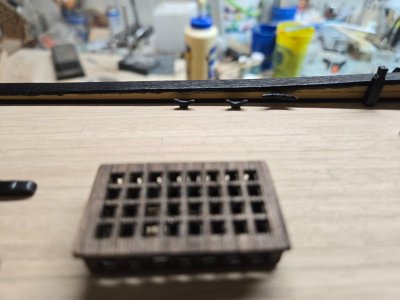
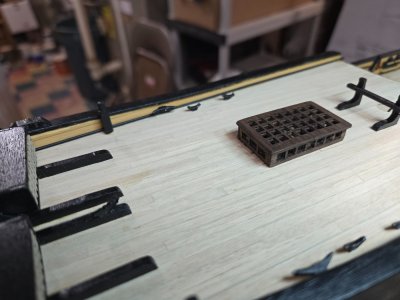
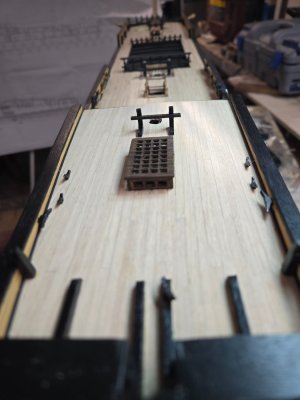
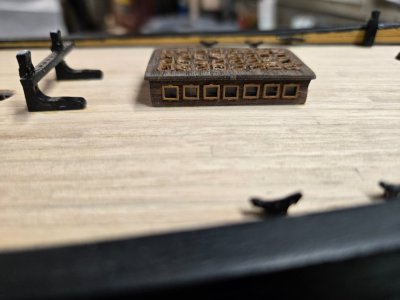
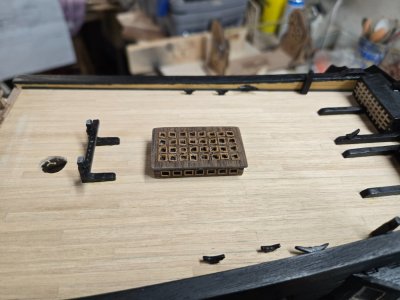
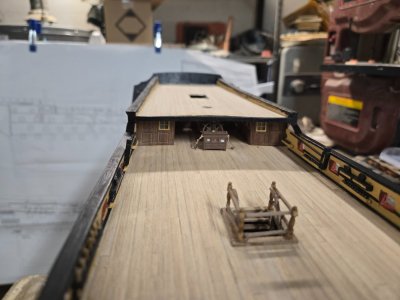
Worked on the various poop deck assemblies. There were two major ones, the skylight and the flag locker.

The flag locker.
They aren't too hard to assemble, but you have to follow the instructions carefully. The parts list has a full scale drawing of the shelving. I cut them out and laid them on their respective place as I followed the blue prints.

The cabinet goes to together ok, it may be easier to lay the bottom on some masking tape, glue the edges on to and then tape up, glue the top, add the top piece and wrap the tape all the way around....a method carpenters use when building boxes.

Once it's dry, the shelving will just slide in with a tight fit, no need to glue the shelving prior to installation or in the cabinet. The directions only provide where the 2 outside pieces go and you'll have to suss out where the rest go. Also....remember they are reversed for the other locker.

I painted the cabinet before installing the shelving and I just gave the face of the shelving a good sanding to bring out the natural color. Some builders have painted it white. That would work too, just be careful not to over load your paint brush, there isn't a lot of room to get rid of excess paint.

The plans call for two inner transom knees and then two outside that really only show the base and the tips on top of the locker.
I couldn't tell if the lockers are supposed to sit flush against the stern. They don't naturally unless you sand them...a lot.

I thought I saw a live picture where the two outside knees actually go behind the lockers, so they don't fit flush with the stern. But I can't find it right now.
Either way, mine don't sit flush. The only issue I have is that the tops of the outside knees were way too delicate to cut from the sprue. They crumbled.

I made 3 or 4 copies before getting 2 that were close.

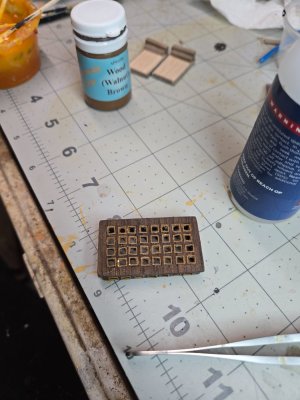
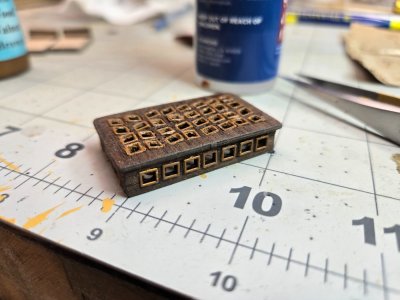
The skylight
This just sucked. Right down the line.

The structure itself went together fine. Once it was glues, I dipped in dark walnut stain to give it a darker, richer texture.

I had spend a good amount of time, sanding this and cleaning out the recesses for all the windows.

I added metal etching to all the window frames and then painted them. I have a good airbrush setup, but haven't used it much on this build. That paints are a bit thick and tend to gum up the brush, no matter what I use to thin it. So far, as long as I've been careful and adding 2-3 coats, the end results have been ok.

That DID NOT happen with these frames. They were just bad. I finally airbrushed the larger fames for the long side walls, and they came out perfect. I left them on the sprue and even have cutting them loose and filing away the nubs, they fit in good.

The tops look bad. Plain and simple. At some point I am going to take the skylight off, pry the frames off and soak in turpentine stripper and redo them.....

I added the 2 kevels and all the cleats and the bracing.
20241113_140522.jpg

20241113_234751.jpg

20241113_234757.jpg

20241113_234802.jpg

20241113_234809.jpg

20241113_234833.jpg

20241113_234843.jpg

20241114_150352.jpg

20241114_150404.jpg

20241114_221325.jpg

20241114_221328.jpg

20241114_221333.jpg
 
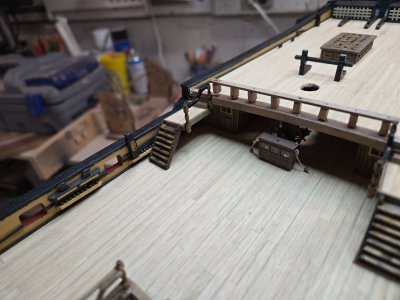
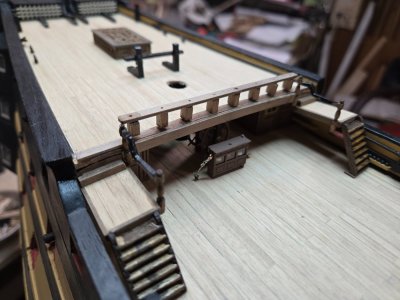
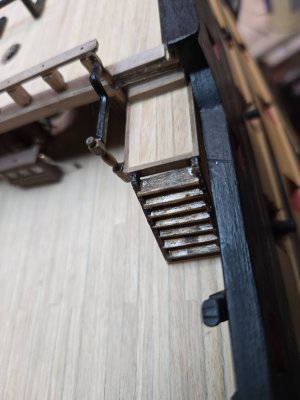
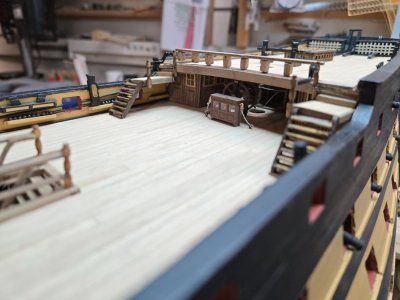
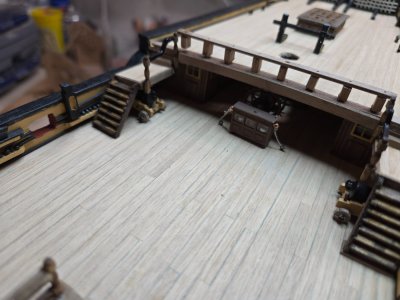
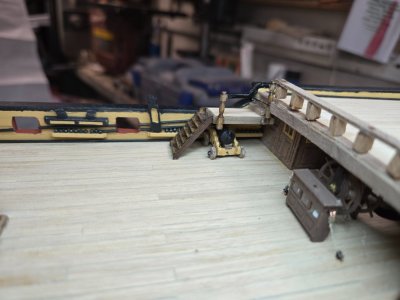
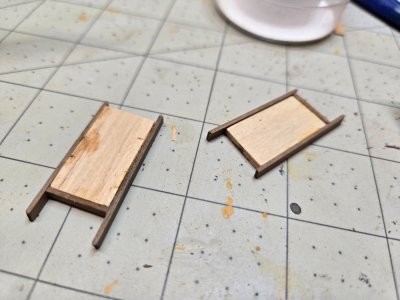
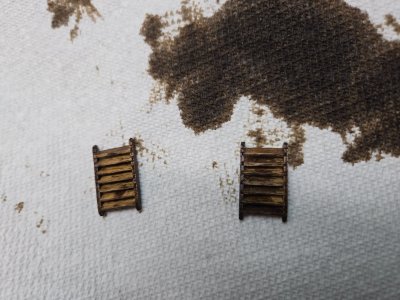
I worked on the 2 stairs from the poop deck. I opted, again to use planking for the stair treads. They are the correct thickness for the stair rails and my attempts at using the walnut and sanding the edges down to fit just didn't fair well.

The downfall of that, is that once I add watered down white glue to set them up tight, they won't take stain. So they don't look natural.

For the platforms, I added decking to give them some depth. My first attempt to add the platforms under the poop deck were bad. The poop deck has a camber to it and the platforms didn't lay straight. I tried a few times before getting them good. The port side platform sits a bit too high (due to my error in installing the poop deck) so when I added the stairs, I had to add a piece of walnut on the bottom.

I also tried to bend/create the wooden rails but failed. Since doing the ones you see, I have reviewed other logs and see that it may be better to cut and glue pieces closer to what the plan calls for. I may try that too. For now, they rails are ok. I painted them because the CA glue I used was overwhelming.
The pics show the poop barricade in various stages of build. I was able to cut the 3x4mm walnut into blocks for the poop deck plank shear. I did that, but that night, I couldn't get them to glue in place. I tried using CA glue and either I was using too much or the bases of the little blocks were too slippery and they wouldn't adhere. That happens once it awhile and is usually when I've used too much glue. I couldn't get any clamps on these.

The next morning, I was able to get some small clamps to work once I removed their flat bases.

20241114_132916.jpg

20241114_221345.jpg

20241114_221401.jpg

20241114_221443.jpg

20241114_221455.jpg

20241114_221535.jpg

20241114_221547.jpg

20241114_132925.jpg
 
Last edited:
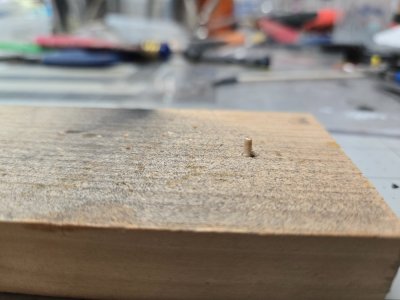
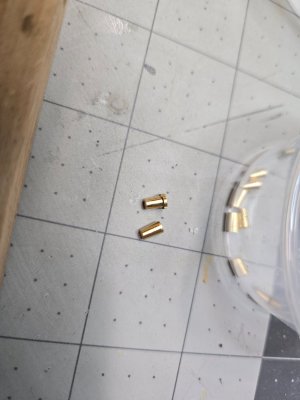
Took at stab at the fire pails. I put a piece of a toothpick in some wood and shoved a brass barrel onto it. I then took some PE sprue and wrapped it around the 'base' to create a rim on the pail. I used tweezers to squeeze it closed and put a bit of CA glue to hold it. Even if the ring doesn't surround it perfectly, if I place that behind, it should be ok from the front.

I have to add the 2 rings to hold the pail handle. I also bought waterslide decal paper. I have some copies of the King's logo and will mess around with getting the scale right and see if I can create little decals. No big deal if I can't.

I've done like 6 or 7. It's a boring task, so I plan on doing a few every few days while waiting for other things.

20241115_141149.jpg

20241115_141219.jpg

20241115_141240.jpg
 
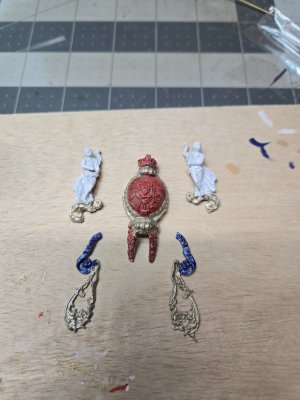
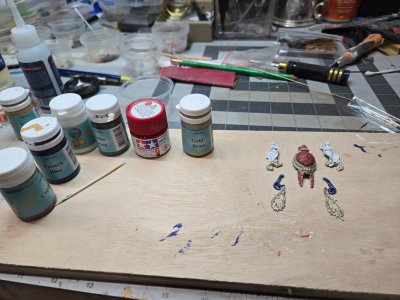
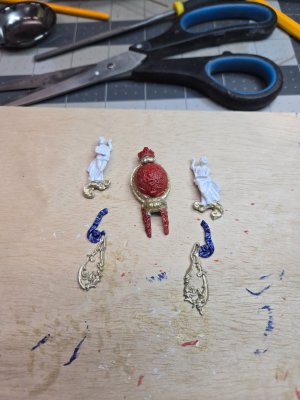
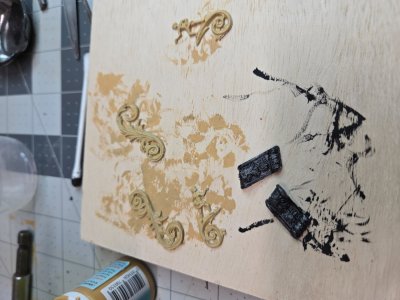
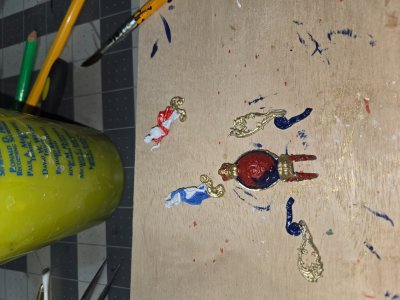
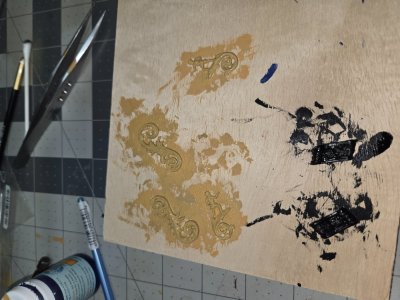
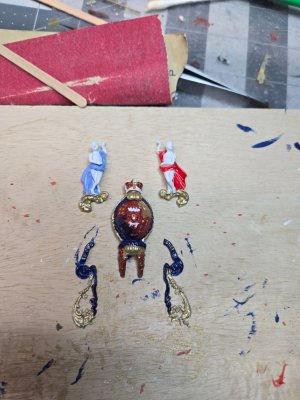
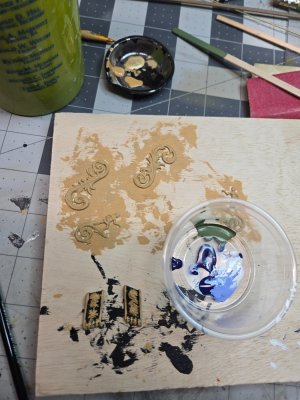
Started messing around with painting some of the cast metal items. I have a few small 3-0 paint brushes and can make some smaller but cutting hairs I need to.

I honestly just started doing this to see just how hard it was going to be. It is very hard and my shakey hands aren't going to let me do them justice.

I don't have a good red paint and I don't think the red ochre I have is red enough. The Tamiya red I have was thinned for airbrushing so I have to add multi-layers.

Also, I noticed the starboard cherub's cape is not as blue as the rest of the front. I mixed some of the blue and white to create the lighter blue, the problem is when doing a 2nd coat, the color isn't going to be the same.

The engraving detail on the pieces are average at best, so trying to be perfect isn't going to happen as the relief supplies isn't really there.

My plan is to add little bits of paint in layers and see if I can get enough detail to make it look nice.

20241115_151812.jpg

20241115_151816.jpg

20241115_161837.jpg

20241115_161842.jpg

20241116_122659.jpg

20241116_122702.jpg

20241116_183852.jpg

20241116_183903.jpg
 
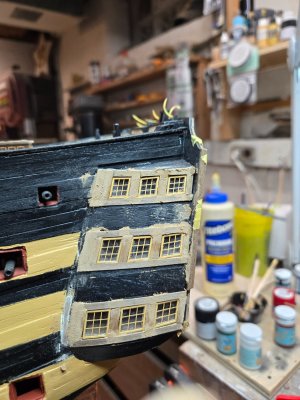
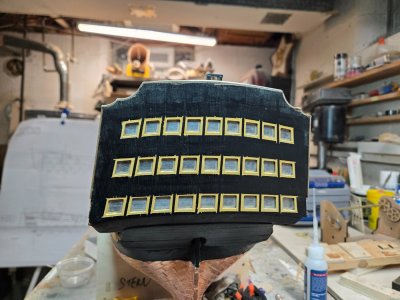
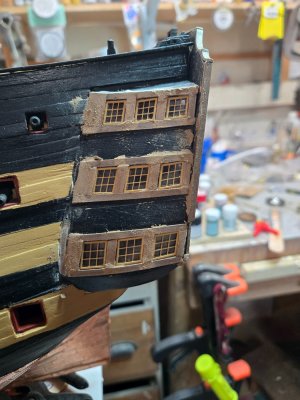
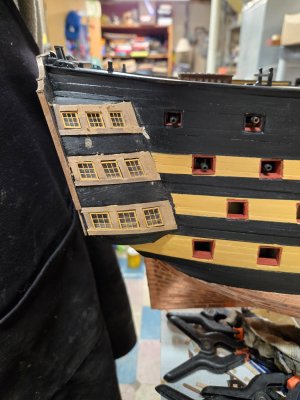
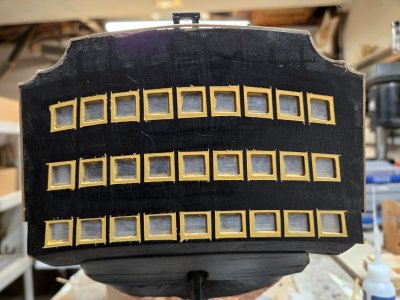
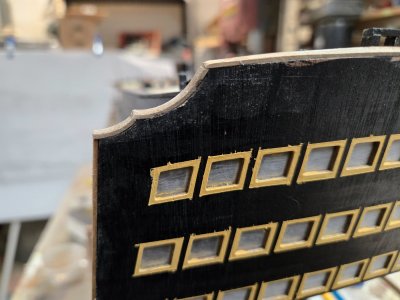
In between, I worked on the stern and side galleries.

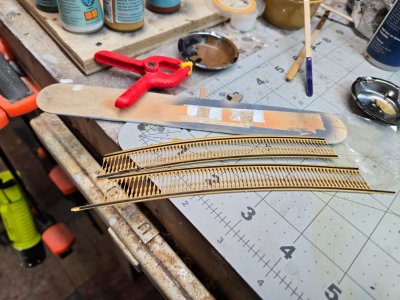
I liked the idea of added .5mm strips to the side galleries to add depth to the window frames. I did this and and I will see how they fair once sanded.

I had airbrushed all the window frames and balusters. This was after painting them with metal etching paint.

For the balusters, I added 1mm wide styrene strips for the black striping.
I am not sure if I got the sequence of installation for the stern gallery right.
  1. I had glued the first stern piece back in the beginning (#374)
  2. I added glazing to the rear of #375 and then glued that to the front of #374
    1. The directions state that the merge of the 2 stern pieces will create the recess for the window frames, but it also says that glazing has to be glued to the inner piece, which in my mind negates this recess.
  3. Add the window frames
  4. Add the balusters
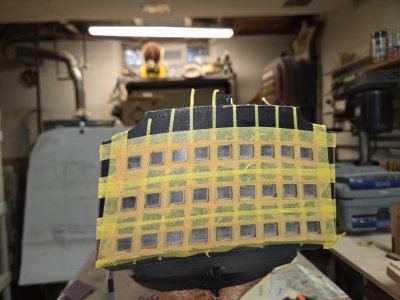
After I added the glazing, I glued the outer facia or stern piece to the inner one. Once dry, I painted it all black and once that dried, I taped off everything so that I could paint around the window openings with yellow. Once the windows are installed, I will be able to touch it all up. This also creates the black striping in between window panes.

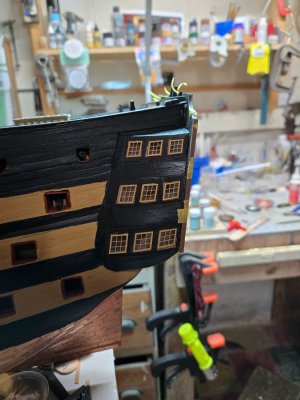
For the side galleries, I liked the suggestion of other builders and used some of the .5x3 and .5x4 walnut stock to flesh out the window frames. It seems like the side balusters will sit a bit high off the sides, but will create their own depth that way. I'll get a better feel tomorrow once all the wood putty is dried and sanded.

20241116_130325.jpg

20241116_130332.jpg

20241116_134927.jpg

20241116_165932.jpg

20241116_175422.jpg

20241116_175430.jpg

20241116_175436.jpg

20241116_183923.jpg

20241116_183930.jpg
 
Back
Top