• Win a Free Custom Engraved Brass Coin!!!
    As a way to introduce our brass coins to the community, we will raffle off a free coin during the month of August. Follow link ABOVE for instructions for entering.

HMS Alert [1777] 1:48 POF by serikoff. (Two hulls: skeleton and fully rigged)

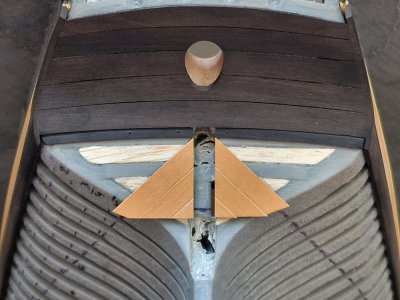
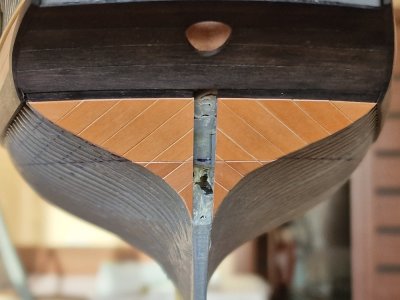
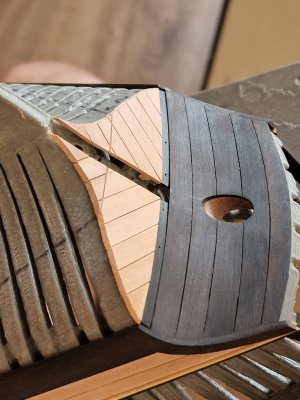
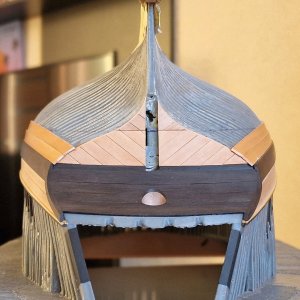
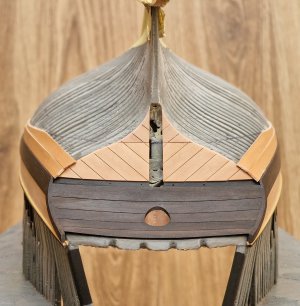
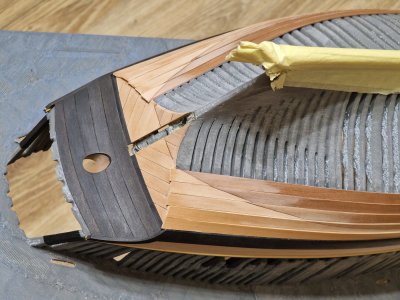
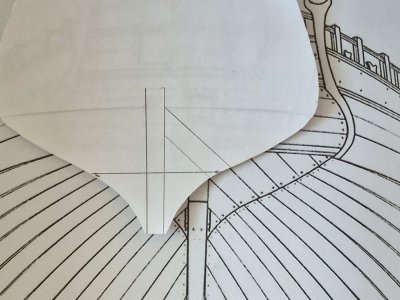
Today I was finally doing what I had been waiting for - diagonal planking under the stern. And in order.

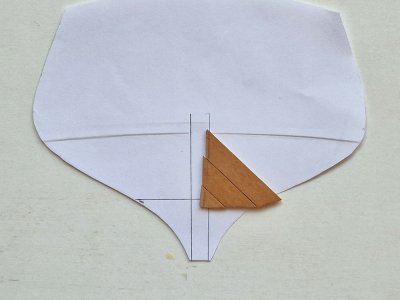
First, according to the drawings, I outlined the angle of inclination of the boards.
Alert 1242.jpg

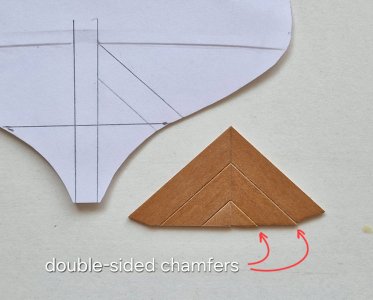
Then glued together 3 boards...

Alert 1243.jpg

... before gluing, I made small chamfers on both sides so that there was a gap between the boards. And he did the second one right away, so that when they closed they were exactly symmetrical.
Alert 1244.jpg

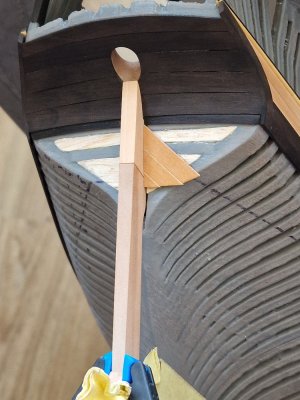
Then I glued one workpiece to the body, but so that the glue did not get on the sternpost (it will be removable until the last for the convenience of grinding).
Alert 1245.jpg

Then he glued the opposite part.

Alert 1246.jpg

Well, then, one by one glued on both sides...
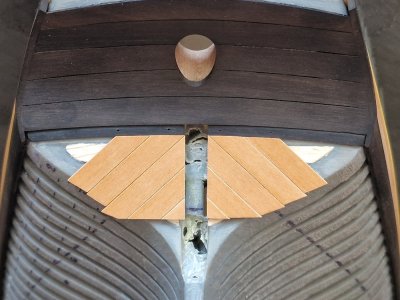
Alert 1247.jpg

I chose reiki from ready-made (cut and covered with oil) to use only uniform colors and without stripes and color transitions.
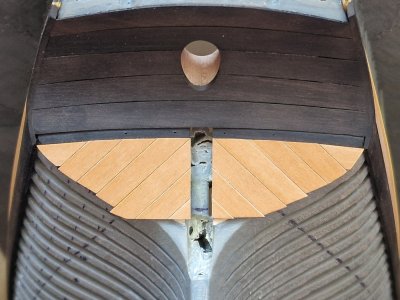
Alert 1248.jpg

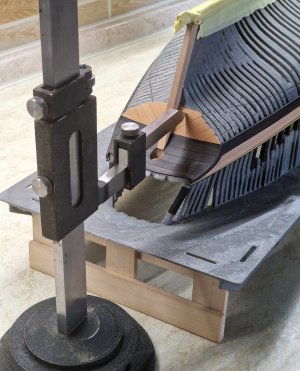
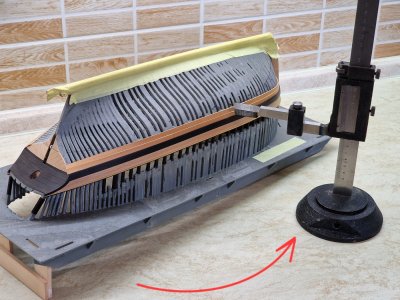
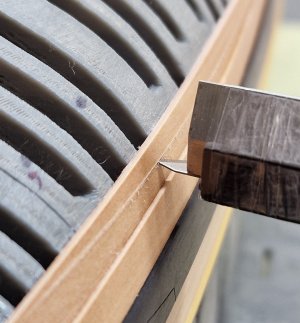
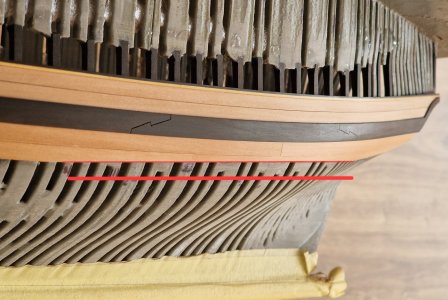
Then I scratched the waterlines with a sharp tip with a high-altitude meter.
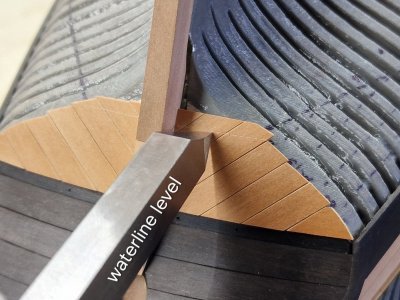
Alert 1249.jpg

Alert 1250.jpg

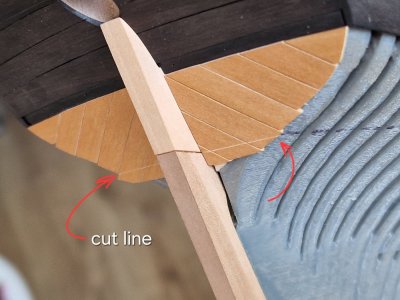
And along this line...

Alert 1251.jpg

... I cut off the excess and began to glue below the dark pear board.
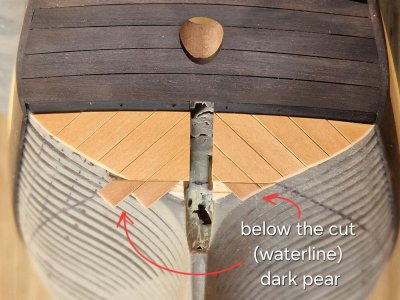
Alert 1252.jpg

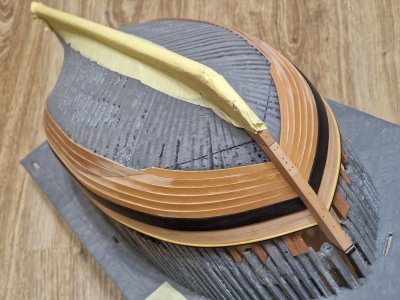
It ended up like this.

Alert 1253.jpg

Alert 1254.jpg

Then I filled the CA waterline gap with gel...
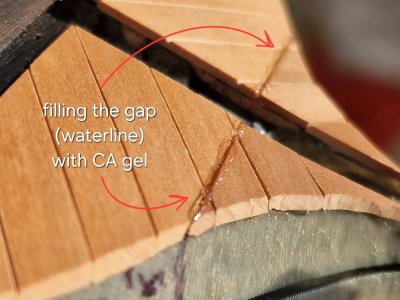
Alert 1255.jpg

... and after grinding I got the following result:
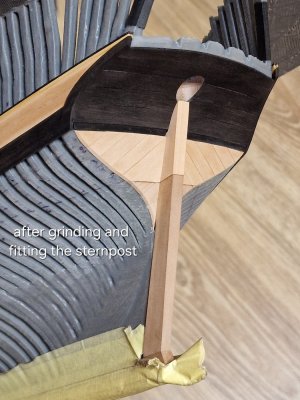
Alert 1256.jpg

There are gaps between the boards, which will appear when coated with oil and bitumen, and the waterline (since it does not actually separate the part, it is filled with glue and will be with a dark floor, without forming a gap between the fragments of as if one whole part).
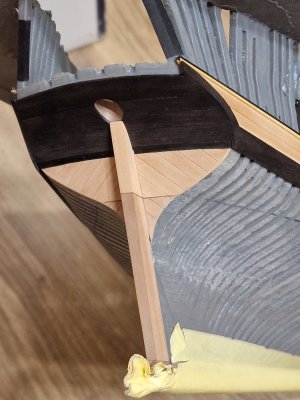
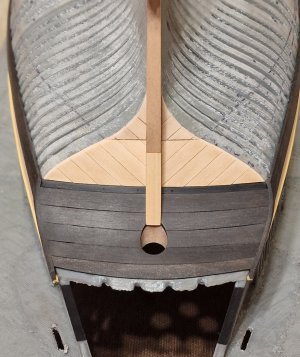
Alert 1257.jpg

Alert 1258.jpg

Well, by tradition - a photo of symmetry...
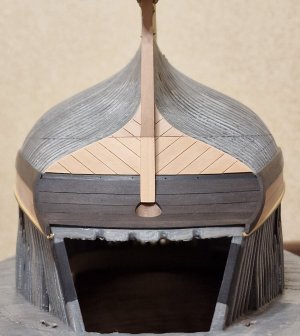
Alert 1259.jpg

Next in line is the lining of the sides to the waterline with a light pear... it will be a challenge! Since the boards do not go end to end, but overlap!!! Eh...
 
13. Planking overlapping.

As you know, the planking of boards on Alert on the sides is not butt-to-butt, but overlapping. And naturally, overlapping should be done from the bottom of the keel and up, but! This option does not suit me, since at the slightest miscalculation the board in a visible place will be either wider or narrower than the others... and I want to progress from barkhout to keel without losing the geometry of the lines...
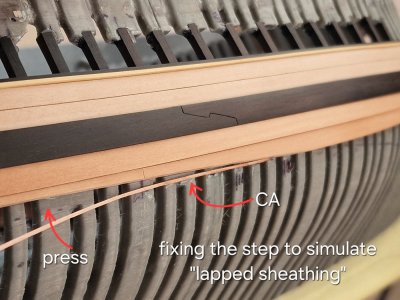
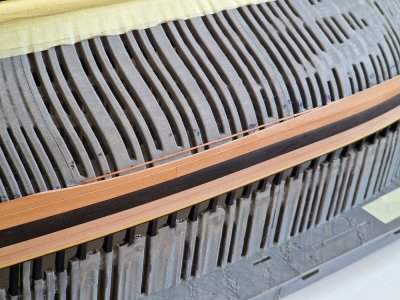
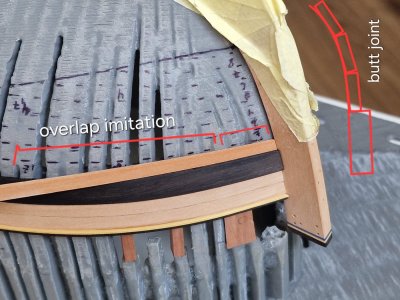
Therefore, I will do an imitation of overlap, using the direct docking method, but through a step. So in detail about this method.
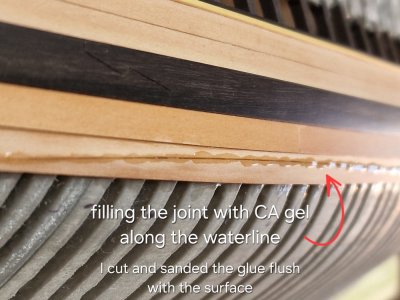
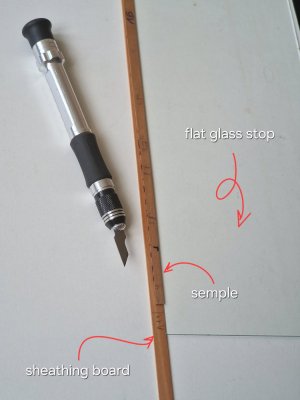
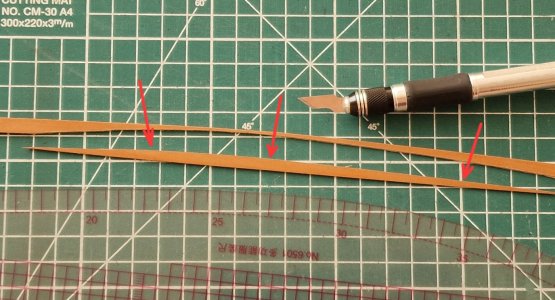
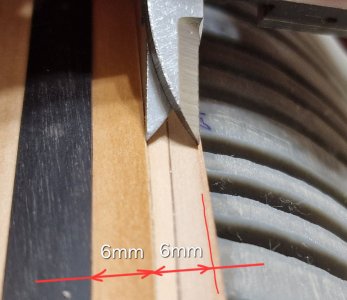
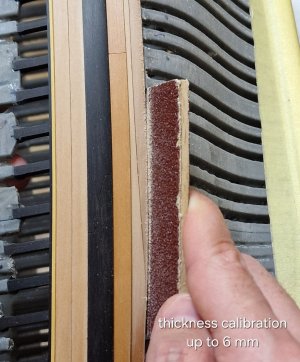
First, I create a template by which I will calibrate all the rails, since the boards on the ship narrowed from the middle (6mm) to 4 mm to the bow.

Alert 1260.jpg

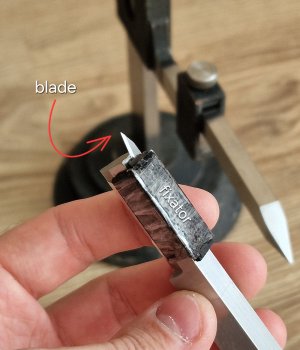
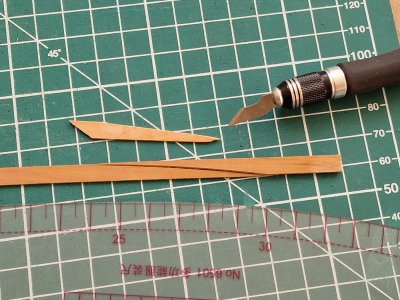
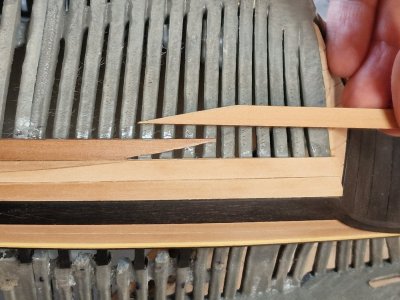
I thrust two slats (template and plating board) into the glass and holding it out of the template with an extra blade.

Alert 1261.jpg

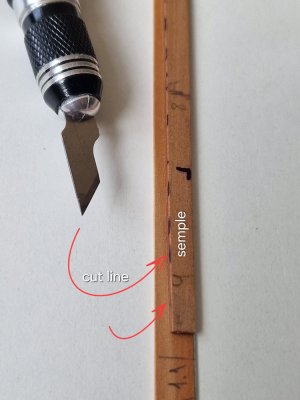
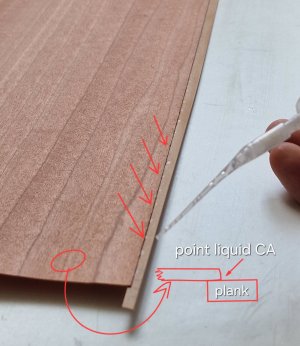
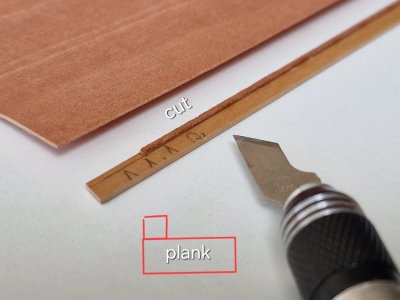
Then I stick a 1 mm strip of veneer (0.5 mm thick) dotted with liquid CA on the other side of the rack.

Alert 1262.jpg

Then I cut off everything unnecessary so that this 1 mm just remains.

Alert 1263.jpg

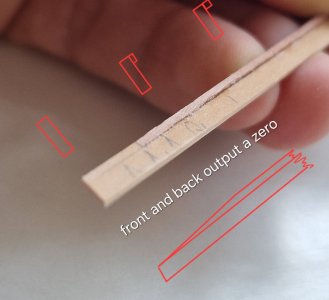
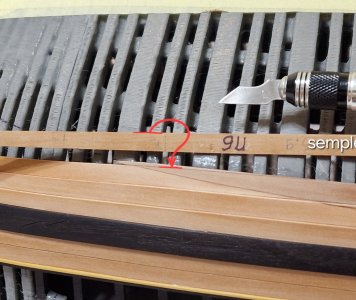
Front and rear, I grind this strip of veneer to zero so that on the bow and under the stern, the boards do not overlap (imitation), but end to end. It will be difficult now to understand, but then I will show all this in detail.

Alert 1264.jpg

Now I glue the front of the board and the next boards will butt together.

Alert 1265.jpg

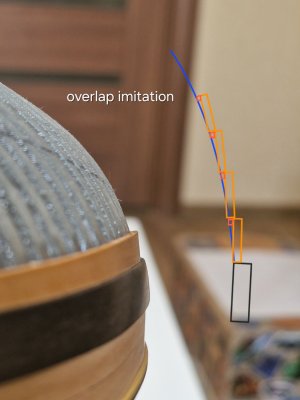
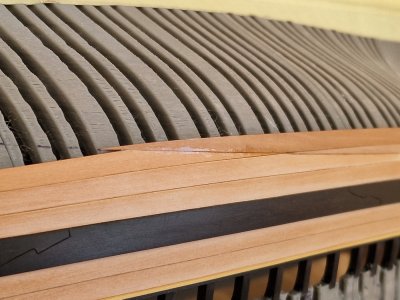
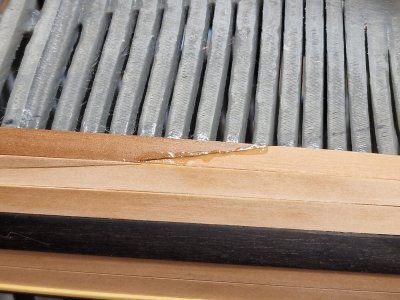
And the rest of the board will rise from behind a strip of veneer, forming a step, and this step will imitate the stitching of overlapping boards.

Alert 1266.jpg

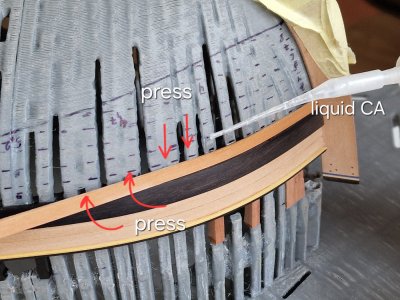
Glued as usual: I press the rack and capillary glue with liquid CA. At the end, from the inside along the gaps between the frames, all this will be poured with glue for reliable long-term fixation.

Alert 1267.jpg

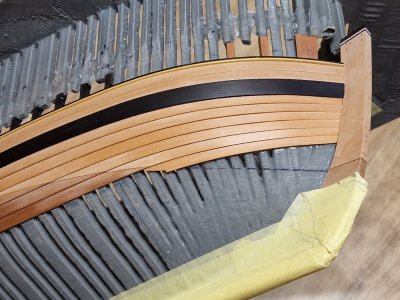
Here in the photo above, the scheme of this method is clearly visible. I think things are clearer now.

Well, the result...

Alert 1268.jpg

Due to a lack of material, I had to make rail joints, which I really do not like. I prefer to glue the entire length and then make imitation connections. But here one of two things will be real.

Alert 1269.jpg

Let me remind you that the joint goes along the middle of the double frames and along the line of their connection. (regardless of the inclination of the boards or the hull of the ship.)

Alert 1270.jpg

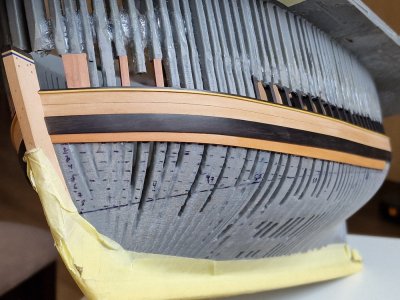
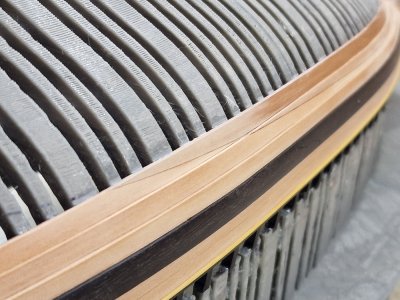
After grinding, the geometry of the boards will be as one.

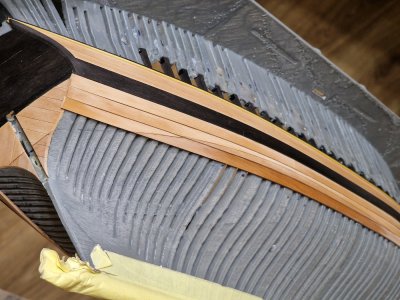
Well, a couple more angles...

Alert 1271.jpg

Alert 1272.jpg

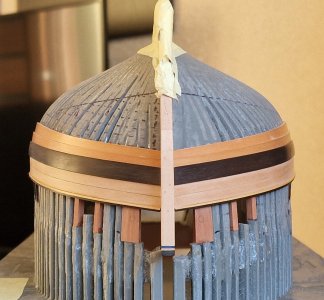
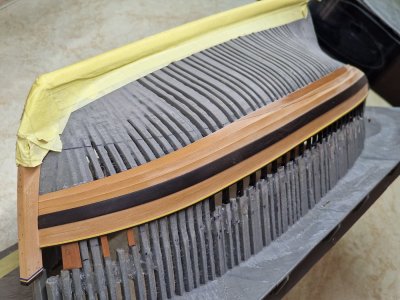
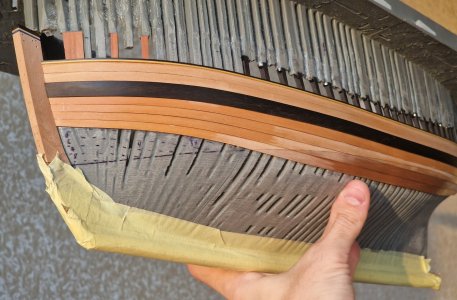
One skin belt ready... and 16 more to come... and the next one is the most difficult. He, like several others below him, will be prefabricated from two pear flowers... it will be the toughest challenge in this project...
 
Last edited:
@Corsair , @dockattner , as they say, everything ingenious is simple... I do not confess to the authorship of this method (definitely during this time someone thought of this), but at the same time, I did not see such a decision on the network. And now, I can say that this method works.

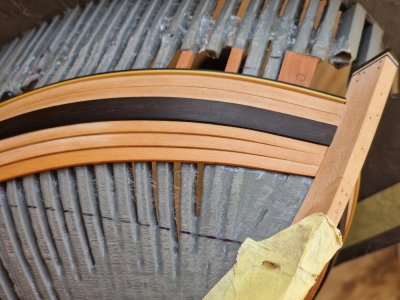
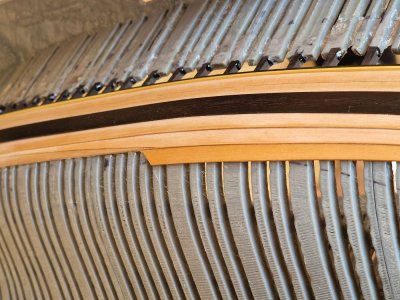
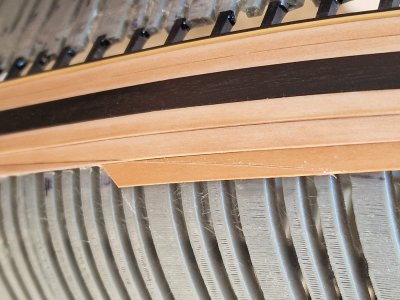
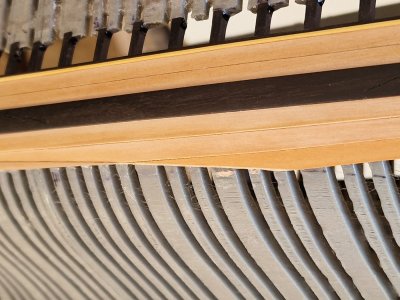
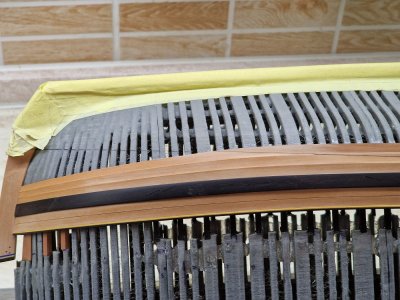
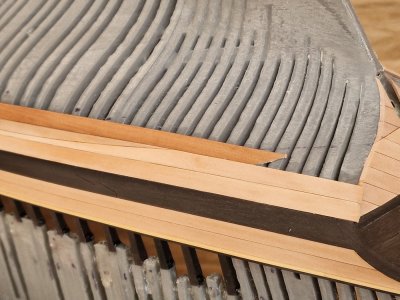
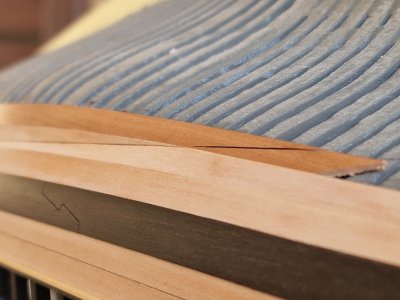
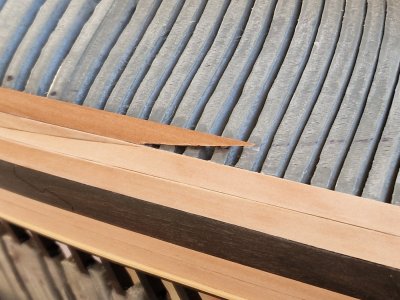
In addition to the previous post, here are the results of my overlapping skin method (imitation, which in fact is done end to end).

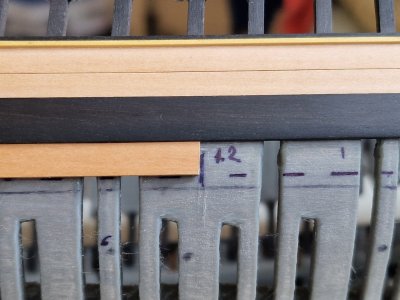
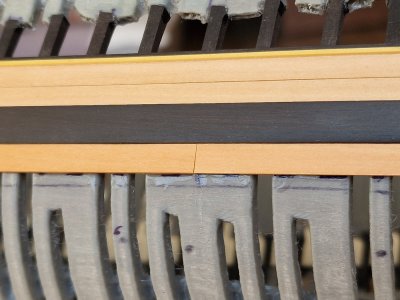
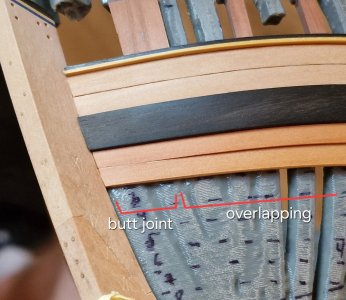
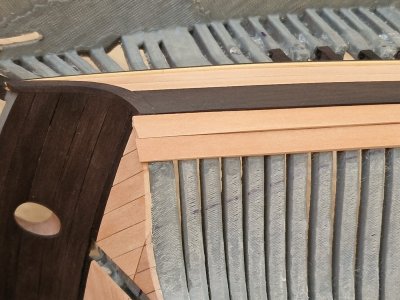
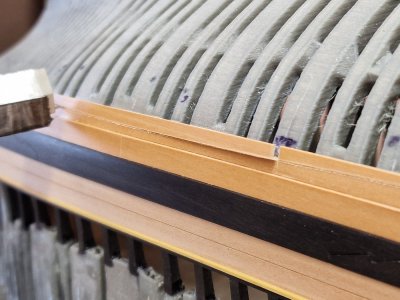
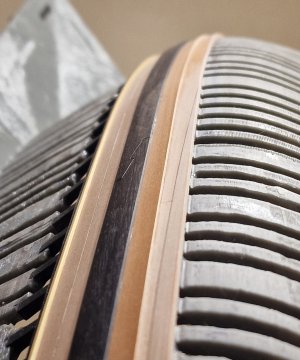
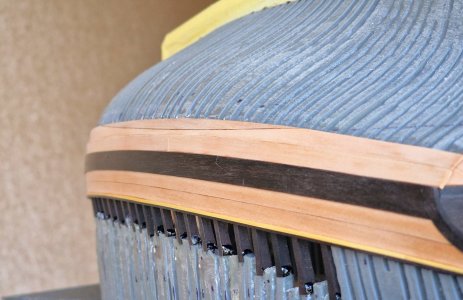
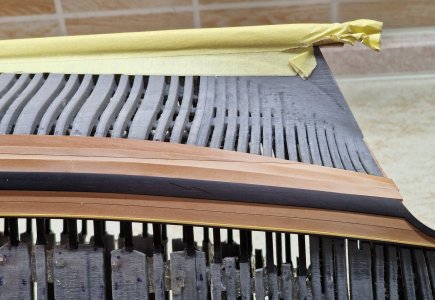
In the photo below, you can see that the boards at their ends go butt coupling ...

Alert 1273.jpg

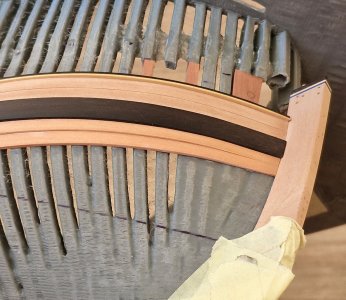
... and then kind of overlapping... but at the same time it is only imitation.

Alert 1274.jpg

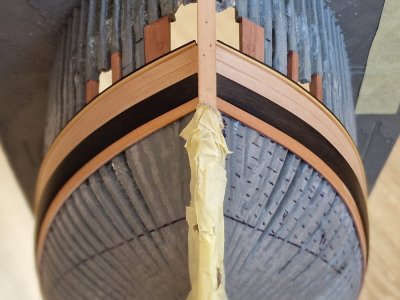
The situation is the same on the opposite side (under the stern).

Alert 1275.jpg

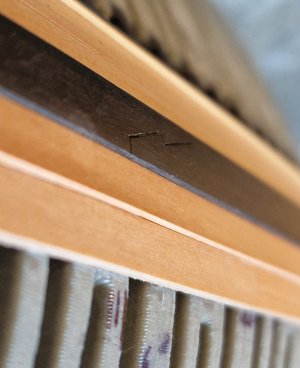
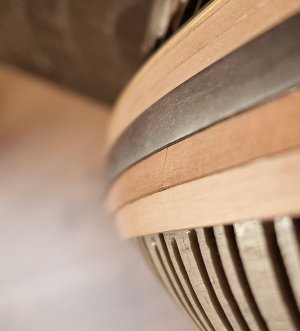
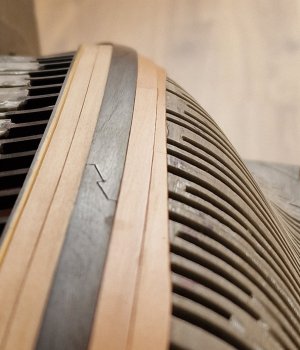
A couple of macro photos...

Alert 1276.jpg

Alert 1277.jpg

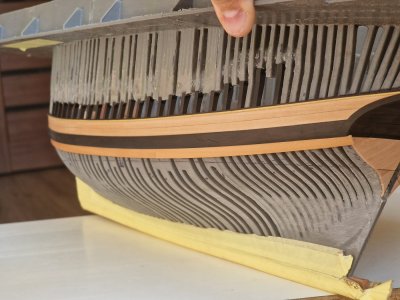
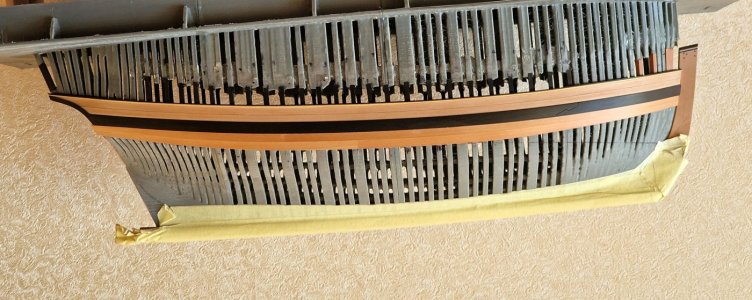
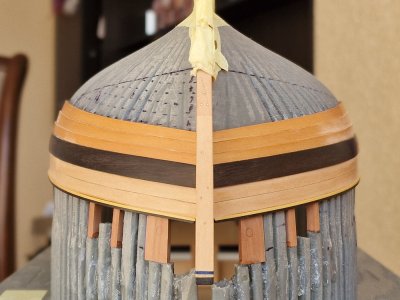
Well, the general view, in which the "steps" are clearly visible.

Alert 1278.jpg

Alert 1279.jpg

By the way, the front geometry is plus or minus mirror, but from the stern... unfortunately, I already see that the left and right parts are not the same, and now it will be necessary to do as much as possible due to the correction of the thickness of the rails so that visually everything seems mirrored...

Alert 1280.jpg

I finished two belts, and the second will already be cut off at the waterline (I haven't done that yet). And now I will sheathe the front of the case to the waterline with the same light pear... well, then... I'll tell you later ;) :p ...until I continue...
 
Back
Top