HMS Blandford 1:48 POF Modelship Dockyard [COMPLETED BUILD]

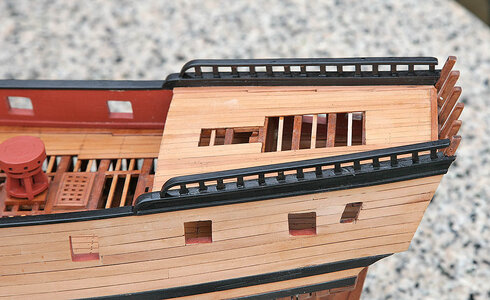
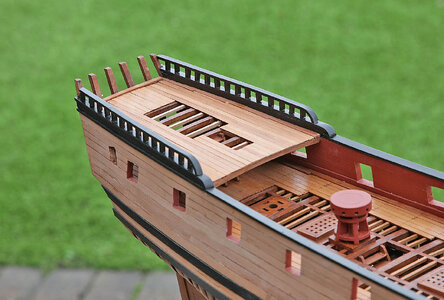
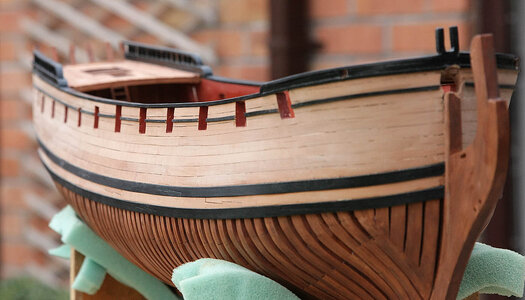
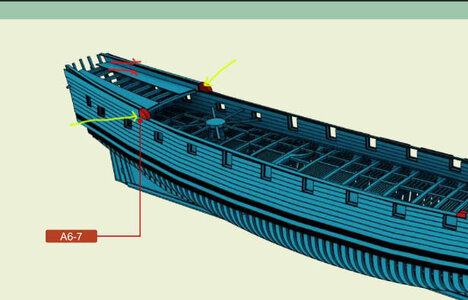
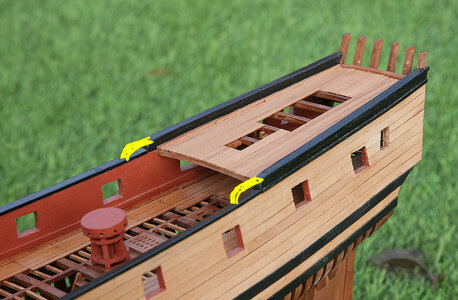
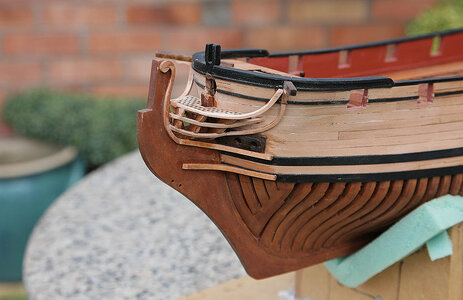
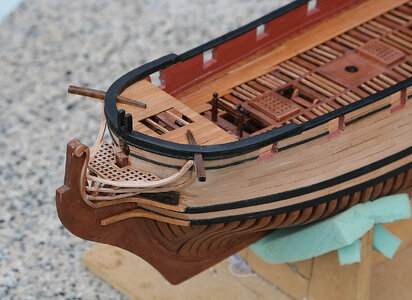
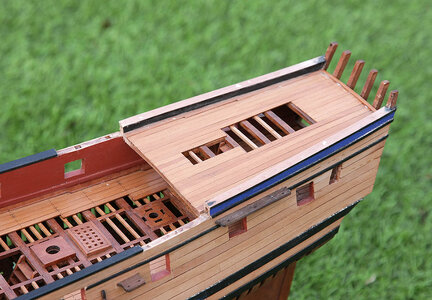
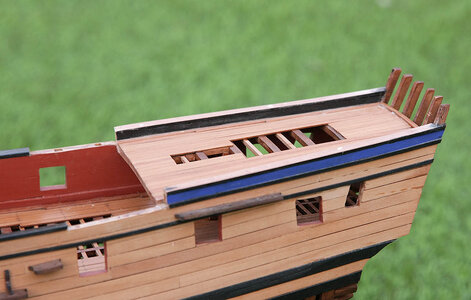
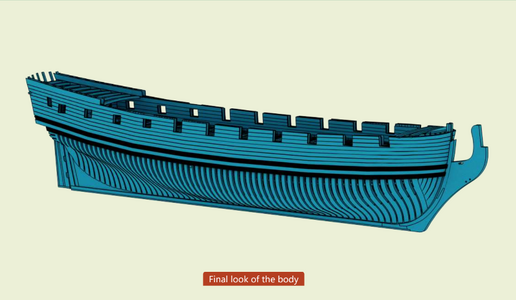
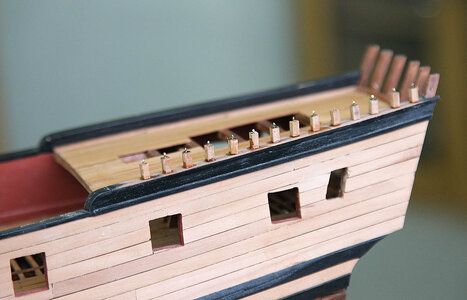
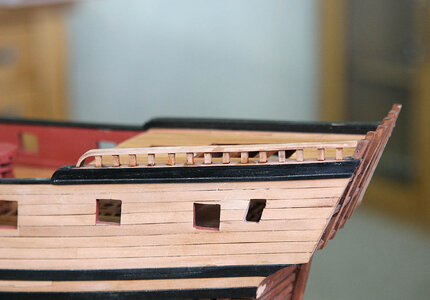
Hi everyone. Today’s update is my bash at raising the quarter deck walls. Yesterday I mentioned that the finished height of the quarter deck walls ended up being obviously too low and looked wrong. The issue arose because the instruction manual only shows a computerised image with no detail, measurements, diagram or guide, the height is determined by the number of planks added, I must have missed a tapered one which raised the rear section to the correct height. I’ve shown a picture of the image given and the number of planks seems to show exactly what I’d done so I don’t know where I went wrong. Not wanting to rip out this section and rebuild it I decided to just add open rails similar to how they are shown in the Anatomy book bringing them up to the correct height.

I cut the uprights from 2mm stock, pinned both ends, sanded off the paint from the fitted walls, measured, cut, then glued and pinned them into place. Using a length of 3mm strip I curved the end then placed it on top of the uprights applying a little glue and then lightly hammered it down onto the pins, I then sealed, sanded and painted it. Although it isn’t correct it’s now much nearer the way shown in the Anatomy book and looks much better than the simplified kit version so I’m rather pleased that I’d made the error, every cloud has a silver lining, so a satisfying day at the shipyard.
375.png

376.jpg

377.jpg

378.jpg

379.jpg

380.jpg
 
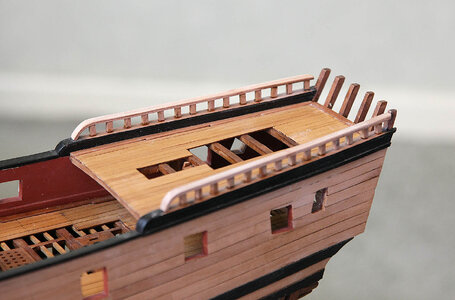
Hi everyone. Today’s update is my bash at raising the quarter deck walls. Yesterday I mentioned that the finished height of the quarter deck walls ended up being obviously too low and looked wrong. The issue arose because the instruction manual only shows a computerised image with no detail, measurements, diagram or guide, the height is determined by the number of planks added, I must have missed a tapered one which raised the rear section to the correct height. I’ve shown a picture of the image given and the number of planks seems to show exactly what I’d done so I don’t know where I went wrong. Not wanting to rip out this section and rebuild it I decided to just add open rails similar to how they are shown in the Anatomy book bringing them up to the correct height.

I cut the uprights from 2mm stock, pinned both ends, sanded off the paint from the fitted walls, measured, cut, then glued and pinned them into place. Using a length of 3mm strip I curved the end then placed it on top of the uprights applying a little glue and then lightly hammered it down onto the pins, I then sealed, sanded and painted it. Although it isn’t correct it’s now much nearer the way shown in the Anatomy book and looks much better than the simplified kit version so I’m rather pleased that I’d made the error, every cloud has a silver lining, so a satisfying day at the shipyard.

View attachment 415670

View attachment 415671

View attachment 415672

View attachment 415673

View attachment 415674

View attachment 415675
Love it Ken. That looks great. A very good solution
 
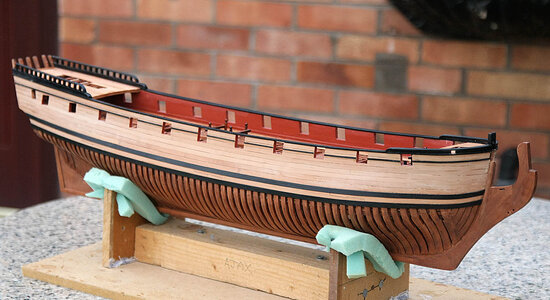
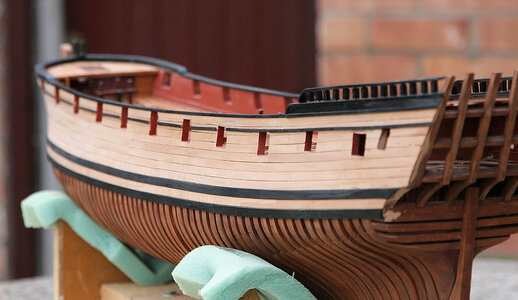
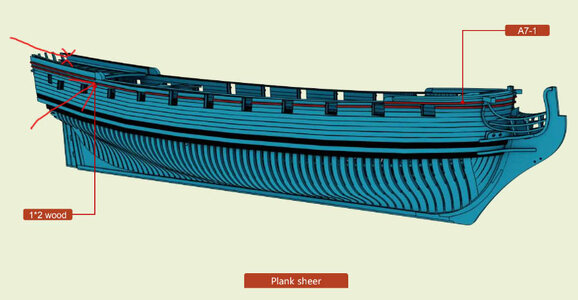
Hi, Following on from yesterdays success I have now fitted the trim along the side of the hull, I think it may be called the plank sheer. This was made up from 1 x 2mm strip supplied with the kit. I didn’t think that I’d be able to paint it neatly when it was on the hull so I prepared and painted it prior to gluing it on. I fixed it using cyno but first taped a piece of planking to the hull as a guide so that I could get it right first time.

After further observation I realise that I’ve built the quarter deck about an inch too short, fortunately I never intended it to be a perfect replica, it looks ok, the only person that will know is the captain so if you don’t tell, I won’t.

381.jpg

382.jpg

383.jpg
 
Hello and welcome. I hope you all got what you wanted for Christmas, I did, but more of that later.

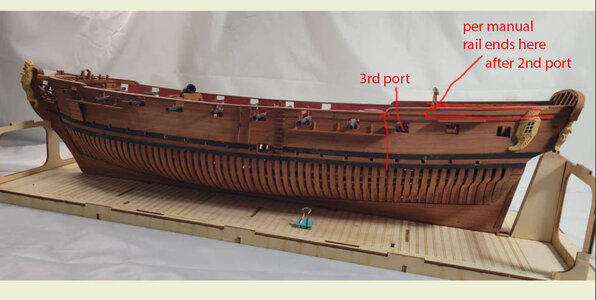
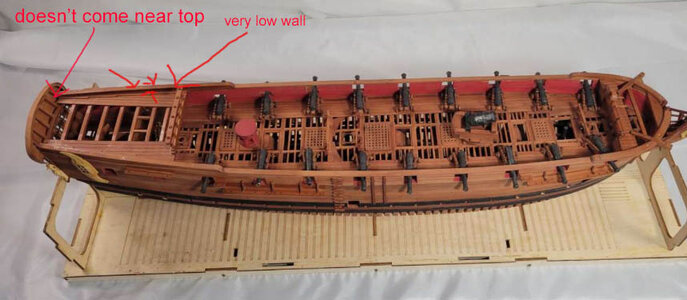
I’m now going to have a rant about the build. You will recall that I had issues with the height of the quarter deck walls and thought that I’d made the deck too short, I couldn’t understand why as I’d followed the manual to the letter, now I know. The instructions are very wrong regards this part of the build. The good news is that I’ve built the deck the correct size so no issues there.

The computer generated images in the manual show the quarter deck walls finishing just beyond the second port from the stern and using the stated number of planks it shows the wall as high as the stern. As part of the manual it shows photos of the built model as a visual guide to assist, this visual guide differs from the computer version in that the wall extends to just beyond the third port and not the second, it also shows that its height is now how mine ended up, nowhere near the top of the stern and therefore much too low.

I think that this is quite an error, and the model wasn’t built from the plans or there was a lack of feedback. If you follow the manual you can’t help but make this error, it’s then too late, remember there are no drawings or measurement to give you clues and to correct it you’ll need a redo. I think under the circumstances my addition to the quarter deck is acceptable.

Look at the images.

391.jpg

392.jpg

393.jpg

394.jpg

390.jpg
 
Last edited:
Hello, again welcome and a thank you for your likes.

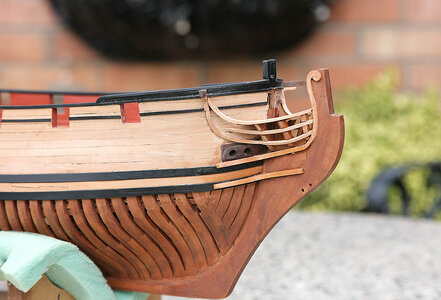
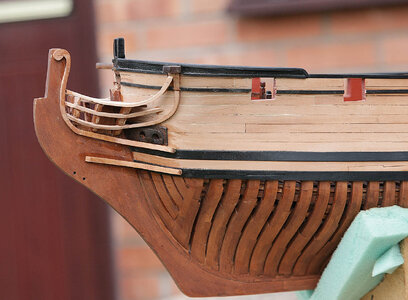
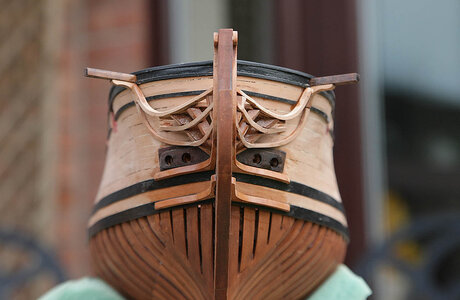
After yesterdays rant I can now report on a positive side to this build, the head. This I’ve always found to be one of the more difficult areas to construct and have always struggled, but I found that on this kit the whole part had been well thought through, the parts were accurate and for a change fairly well illustrated. Again some parts were wrongly numbered but were eventually identified. The rail supports were each a lamination of three pieces of different sizes to form a slight angle for the rails to slot into.

First I fitted the hawse holes, then the rails on the prow, I fitted the grating, then the rails themselves, it took a little time getting everything to line up symmetrically but everything ended up ok in the end.


385.jpg

386.jpg

387.jpg

388.jpg

389.jpg


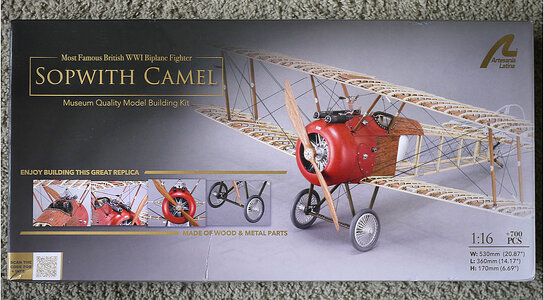
What Santa left under the Christmas tree

P1050889.JPG
 
Last edited:
I am afraid, with such popularity of the planes, we will have to revise the name of the forum like Wings Of Scale :p

Enjoy your present and I will be happy to follow your build.
Hi Jim. Yes I’ll do a log when I get around to starting the build, a few weeks away yet. You can call the forum anything but it’s good to know that you don’t need to go anywhere else to share your modelling interests, I’ve found that this forum embraces all aspects of modelling and all levels of ability, long may it continue. Ken.
 
Hello Ken,
its great feedback for the kit manufacturer to point out errors in the design. They can attend to issues with future production of the kits.

Model looks amazing, great stuff. :)
Hi Brian. Thanks. This was not a big issue for me, I have yet to build a model that didn’t have problems. This kit is quite a complex build, it must have close to two thousand pieces so it was inevitable that occasional problems would arise. It still remains the best quality kit in wood, design and fit that I’ve had to date. This is a very small company, I doubt that they had much of a development budget so they have done well in getting kits like this to the market which is to our advantage. I would add that they do care about their products and respond quickly to any queries. I’m keeping my eye on their development of Le Fleuron, it looks tasty. Ken
 
Hi Brian. Thanks. This was not a big issue for me, I have yet to build a model that didn’t have problems. This kit is quite a complex build, it must have close to two thousand pieces so it was inevitable that occasional problems would arise. It still remains the best quality kit in wood, design and fit that I’ve had to date. This is a very small company, I doubt that they had much of a development budget so they have done well in getting kits like this to the market which is to our advantage. I would add that they do care about their products and respond quickly to any queries. I’m keeping my eye on their development of Le Fleuron, it looks tasty. Ken
Blandford is actually a set of materials designed in 2014, but due to personal reasons, it has not been put on the shelves. However, its design and processing, based on our current capabilities, have become somewhat outdated
Next spring, we will launch a newly designed 1:48 POF Enterprise. That will be the best practice set before making Le Fleuron
1703760321760.jpeg
The pilot model will be completed within 2 months
 
Hello, Again welcome and thanks for your continued interest.

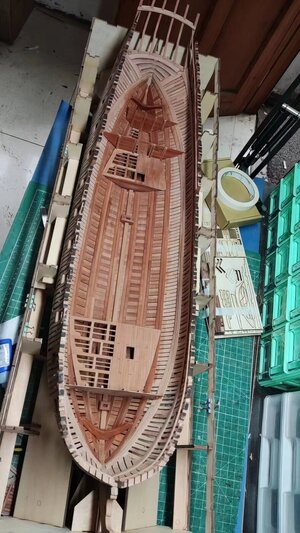
Today I’m telling you about the beginning of a redo, two steps back but going forward in the right direction. You know of my issue regarding the quarter deck walls and my attempt at a compromise. That compromise was ok and would have done but as many of you will understand it’s not that it’s wrong that causes a problem, it’s knowing that it’s wrong and every time that you see the model you just know that you should have made more of an effort to properly correct it. I was fitting the channels when on the spur of the moment I just ripped out my recently fitted rails which forced me to re build that section properly and not just to ponder on it. The picture shows the start of the process, wish me luck.

395.jpg

396.jpg
 
Last edited:
Back
Top