Prototype HMS Blandford Cross Section Prototype by Mike 41 [COMPLETED BUILD]

Status
Not open for further replies.
Hi Mike,
I was only able to make one grate for the lower deck with the supplies I had so will be making them for the rest from scratch. You had said in your log some time ago that you may do a tutorial and gratings that would be BE awesome.
 
Hi Mike,
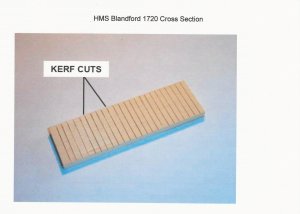
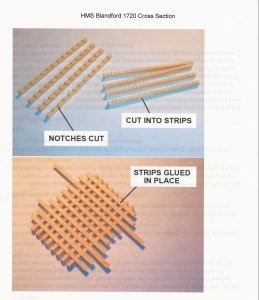
I use a jig on the table saw, cross cutting kerfs half way through the grating material, cut it into strips then assemble the grating a little oversize and trim to fit the opening and add the coming
I prefer boxwood the little tabs don’t break as easily as most other woods.Grating 1.jpgGrating 2.jpgIMG_6460.JPG
 
Hi Mike,
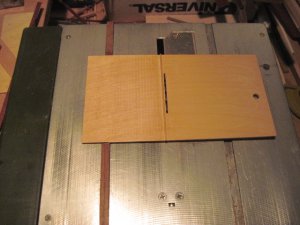
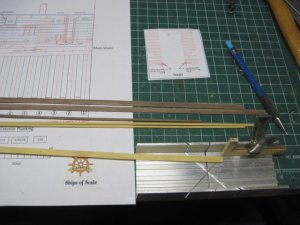
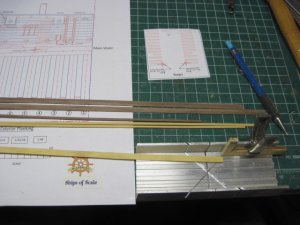
To make the jig I use a 1/8” thick piece of Baltic Burch plywood, cut a slot halfway through and glue a strip 1/16” x with of saw kerf in the slot, cut a piece of wood to fit in the miter gauge slot in the table saw and place it in the slot, set the jig aligned with the blade and move it towards the miter slot the distance of the open space of the grating usually two scale inches (3/32” for 1:32 scale) mark the slot at that location and glue the miter board on the bottom of the jig there. I use clamps to hold the jig in place with the blade lowered below the jig turn on the saw and raise the blade through the jig about 1/8” above the jig. Using a piece of scrape the same thickness of the grating lower the blade to slightly below the center of the test piece and cut a kerf turn the test piece over and cut another kerf repeat until you reach the center. The jig is ready to go.
Make the first cut holding the grating board next to the wood fence and cut the slot, move the board over the fence and make the next cut repeat to end of grating board.
When I make grating I make enough for two or three builds, the next time I make some I will take progress photos for a tutorial and post it under the section for jigs and stuff.
By using the photos this should get you started, good luck.
Mike
 
Hi Mike,
I am using a Proxxon bench saw that has a table about 10”x11”, I use it for most of my modeling stuff. I have a full size table saw to cut up large boards. I really like Proxxon products. It came with a carbide tipped blade that I have used for several years.
Mike
 
Hi Mike,
Thanks for the info. I have the Micro Mark Tilt arbor saw. I wasn't sure if you were using a full size saw or what. I think I can do this now. I didn't get a chance to get to my workshop today as this was group day at the VA for me. I also have group on Friday so it may be Sat. before I get to work. Thanks for the tutorial I will put it to good use.
 
Hi Mike,
There are several ways to make grating, this is the easiest way for me.
Mike
 
Rails:
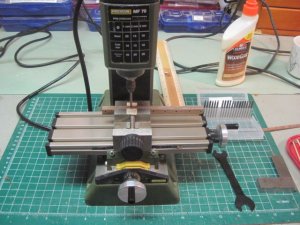
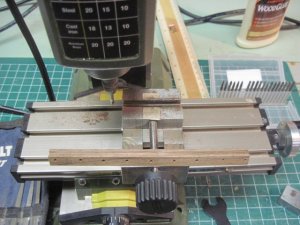
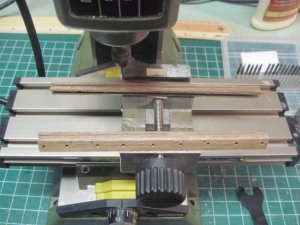
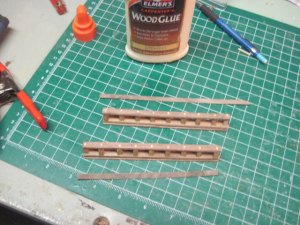
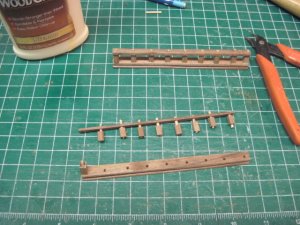
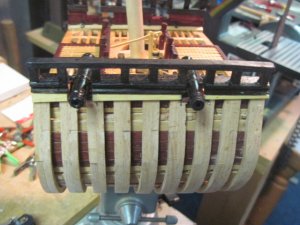
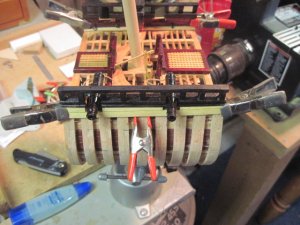
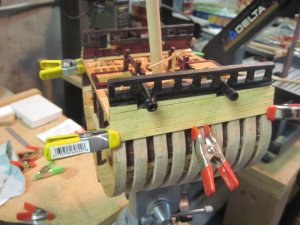
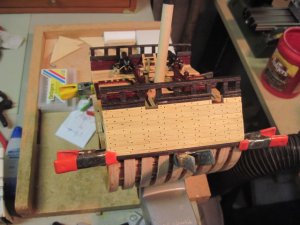
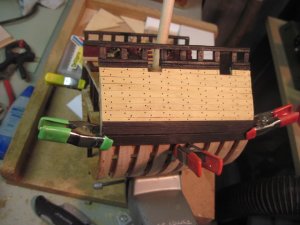
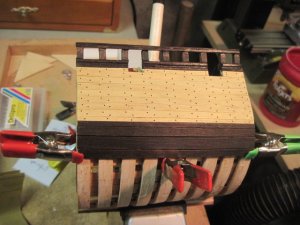
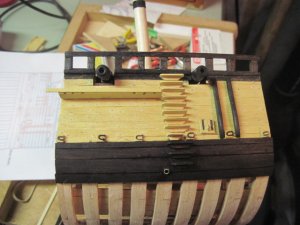
The Waist and Planksheer rails are installed next. The sides of the ship have a tumblehome of about 15 degrees, to keep the rails parallel to the water line you will need to cut the sides at the matching angle, if you have a small table saw with a tilting arbor it is easy to rip the sides, if not you can use a plane or sander to obtain the correct angle. Photos 6427 – 6433 shows the assembly. The outside of the waist rail has a molded surface, I used a round nose cutter in my mill to make the cut, if you do not have a milling machine you can use a small gouge to make the cut. Photos 6427 – 6429 show the cut being made. The rails are assembled as separate units on the bench. Photos 6434 – 6538 shows the rails installed. I used ebony stain on the rails to match the black and yellow color scheme of the Blandford.
IMG_6427.JPGIMG_6428.JPGIMG_6427.JPGIMG_6428.JPGIMG_6429.JPGIMG_6430.JPGIMG_6431.JPGIMG_6433.JPGIMG_6432.JPG
 
Exterior Planking:
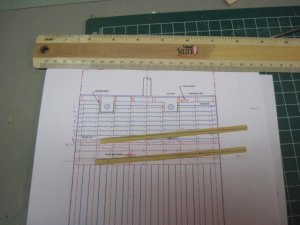
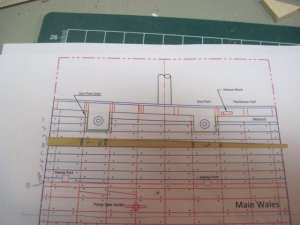
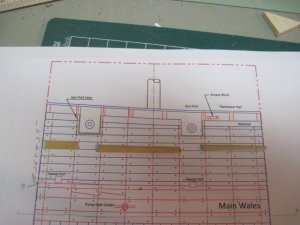
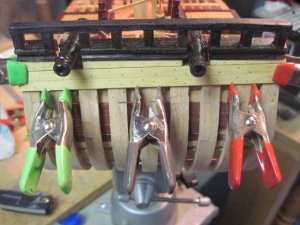
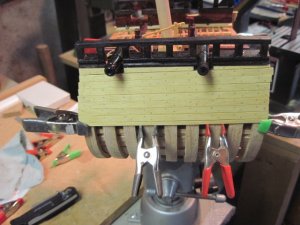
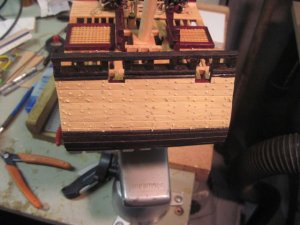
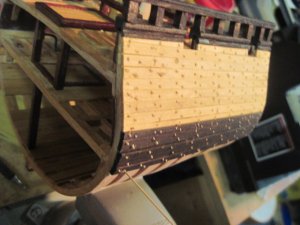
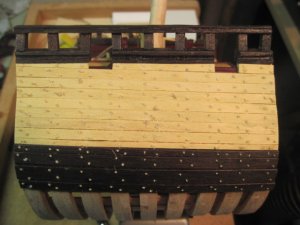
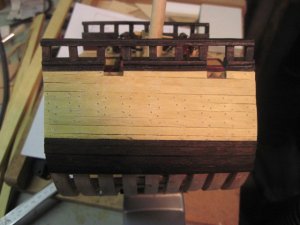
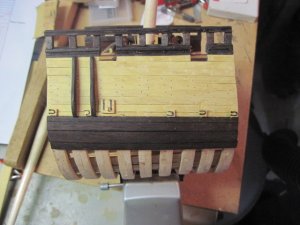
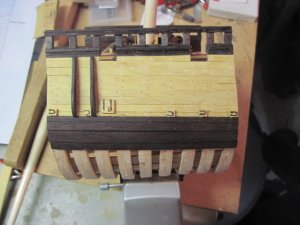
I am using yellow hart for the planking. Starting at the waist rail the first plank needs to be trimmed as shown on the drawing photos 6440 -6442. The rest of the planks do not require any trimming down to the last one above the wales it is about half as wide as the other planks. The installation is shown on photos 6443 – 6449IMG_6440.JPGIMG_6441.JPGIMG_6442.JPGIMG_6443.JPGIMG_6444.JPGIMG_6445.JPGIMG_6446.JPGIMG_6447.JPGIMG_6446.JPGIMG_6447.JPGIMG_6449.JPG
 
Wales:
The wales are made from walnut stained black. Photo 6459 shows the wales placed face up on masking tape to keep most on the stain off the glue surface, you will get a little around the edges, but it is easy to scrape and sand off leaving a clean surface. Photos 6450 – 6456 shows the installation.IMG_6459.JPGIMG_6459.JPGIMG_6450.JPGIMG_6451.JPGIMG_6452.JPG
 
Treenails:
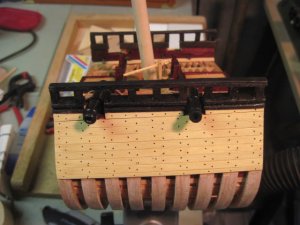
After the wales are installed install the treenails per the pattern shown on the drawings. There are separate drawings for the starboard and port exterior to help with the placement of items. Photos 6453 – 6456 show the installation of the treenails.IMG_6453.JPGIMG_6454.JPGIMG_6455.JPGIMG_6456.JPG
 
Last edited:
Hi Mike,
I have not been successful with the gratings yetI'm Looking forward to your tutorial in jigs and so on. I did order ebony pen blank for my cannons.
 
Hi Mike,
What kind of problem are you having with the gratings?
 
Fenders Sweep Port & Ballast Port Covers:
After the fenders are cut out they will need to be fitted to hull with a little sanding. I installed them first to have a place to work from.
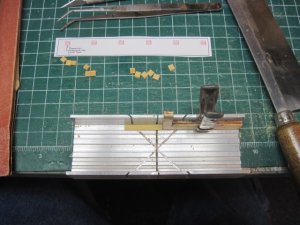
The sweep port covers were too small for power tools, I used a miter box to cut the strip to length as shown in photo 6457. The hinges were made by wrapping a piece of black string around a nail and gluing them to the covers (low tech).
The ballast port covers are made in a comparable manner see photo 6452.IMG_6462.JPG
IMG_6457.JPG
 
Last edited by a moderator:
Steps:
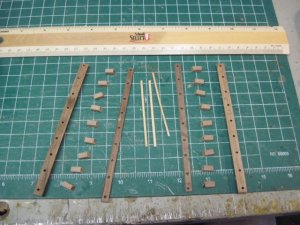
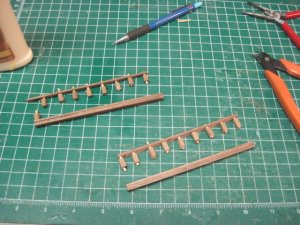
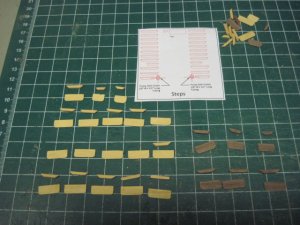
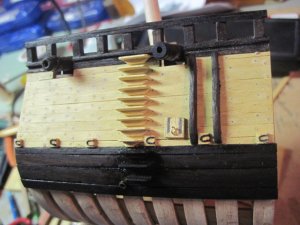
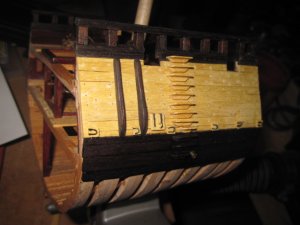
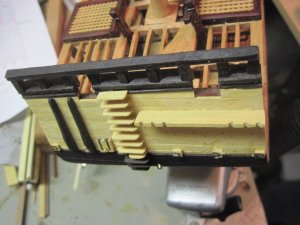
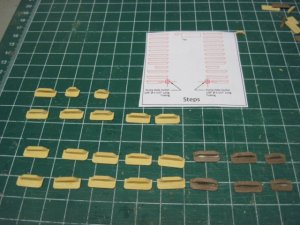
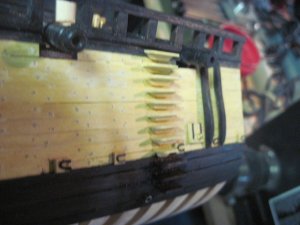
The steps run from the bottom of the Waistrail to the middle of the third wale from the top, the first nine steps need to match the color of the planking and the last three the wales. Photo 6459 shows the materials used and photos 6461 – 6463 shows the assembled steps. Photos 6465 – 6468 shows the steps installed, the back of the steps need to be beveled to match the hull and level with the waterline.IMG_6459.JPGIMG_6459.JPGIMG_6461.JPGIMG_6462.JPGIMG_6463.JPG
 
Main Channels:
The channels are made from yellow heart to match the planking, see photos 6477 and 6478IMG_6477.JPGIMG_6478.JPG
 
Status
Not open for further replies.
Back
Top