
-

SUBSCRIBE TO SHIPS IN SCALE TODAY!
The beloved Ships in Scale Magazine is back and charting a new course for 2026!
Discover new skills, new techniques, and new inspirations in every issue.
NOTE THAT OUR NEXT ISSUE WILL BE July/August 2026 -

Win a Free Custom Engraved Brass Coin!!!
As a way to introduce our brass coins to the community, we will raffle off a free coin during the month of August. Follow link ABOVE for instructions for entering.
You are using an out of date browser. It may not display this or other websites correctly.
You should upgrade or use an alternative browser.
You should upgrade or use an alternative browser.
HMS GRANADO (1742) - midship section - POF by CAF in 1:48 - by Uwe


Nice rendition! It makes me wonder, with some cannon and mortars being cast with iron, what did they see for rust and oxidation at sea.I made for me a very big step and painted some elements red - usually I like it more to have everything, even the wales, in the original timber color - but with this section model I tried it first time - and I am still not sure, if I like it.......
Maybe it is also because usually I build in pear, Elsbeere or cherry but now this section model is boxwood, which has a much lighter brown colour, slightly going into yellow. So some contrast is maybe not so bad ...... but take a look .....
and I am trying to show also the striptease, which was necessary to make the morter Ready for action with dismantling the roof and pit elements
View attachment 289958
the two roof elements received their eyebolts for lifting
View attachment 289959
with the help of tackles and a yrad-arm the elements were dismantled
View attachment 289960
View attachment 289961
covers of the side elements were layed on side - I guess here were the tackles for the mortar stowed
View attachment 289962
It is getting already growdy on the deck
View attachment 289963
the pit bulkhead frame was also lifted away
View attachment 289965
View attachment 289964
now also the small girders and the two inner bukhead walls away - after installation of the tackles (still missing) the mortar could be turned
BTW: the last photo is showing more or less the real colours (the other photos are much lighter (and colder) because of the articial lights in the workshop) - so the red is not so pinky
View attachment 289966
Imagine how crowdy it was on the deck, you should add here in addition the four "normal" guns, somewhere were also the oars stowed, spare anchor etc etc.
Maybe they dismantled these pit elements and stowed them on the tender ships, which were delivering the powder and the amunition......

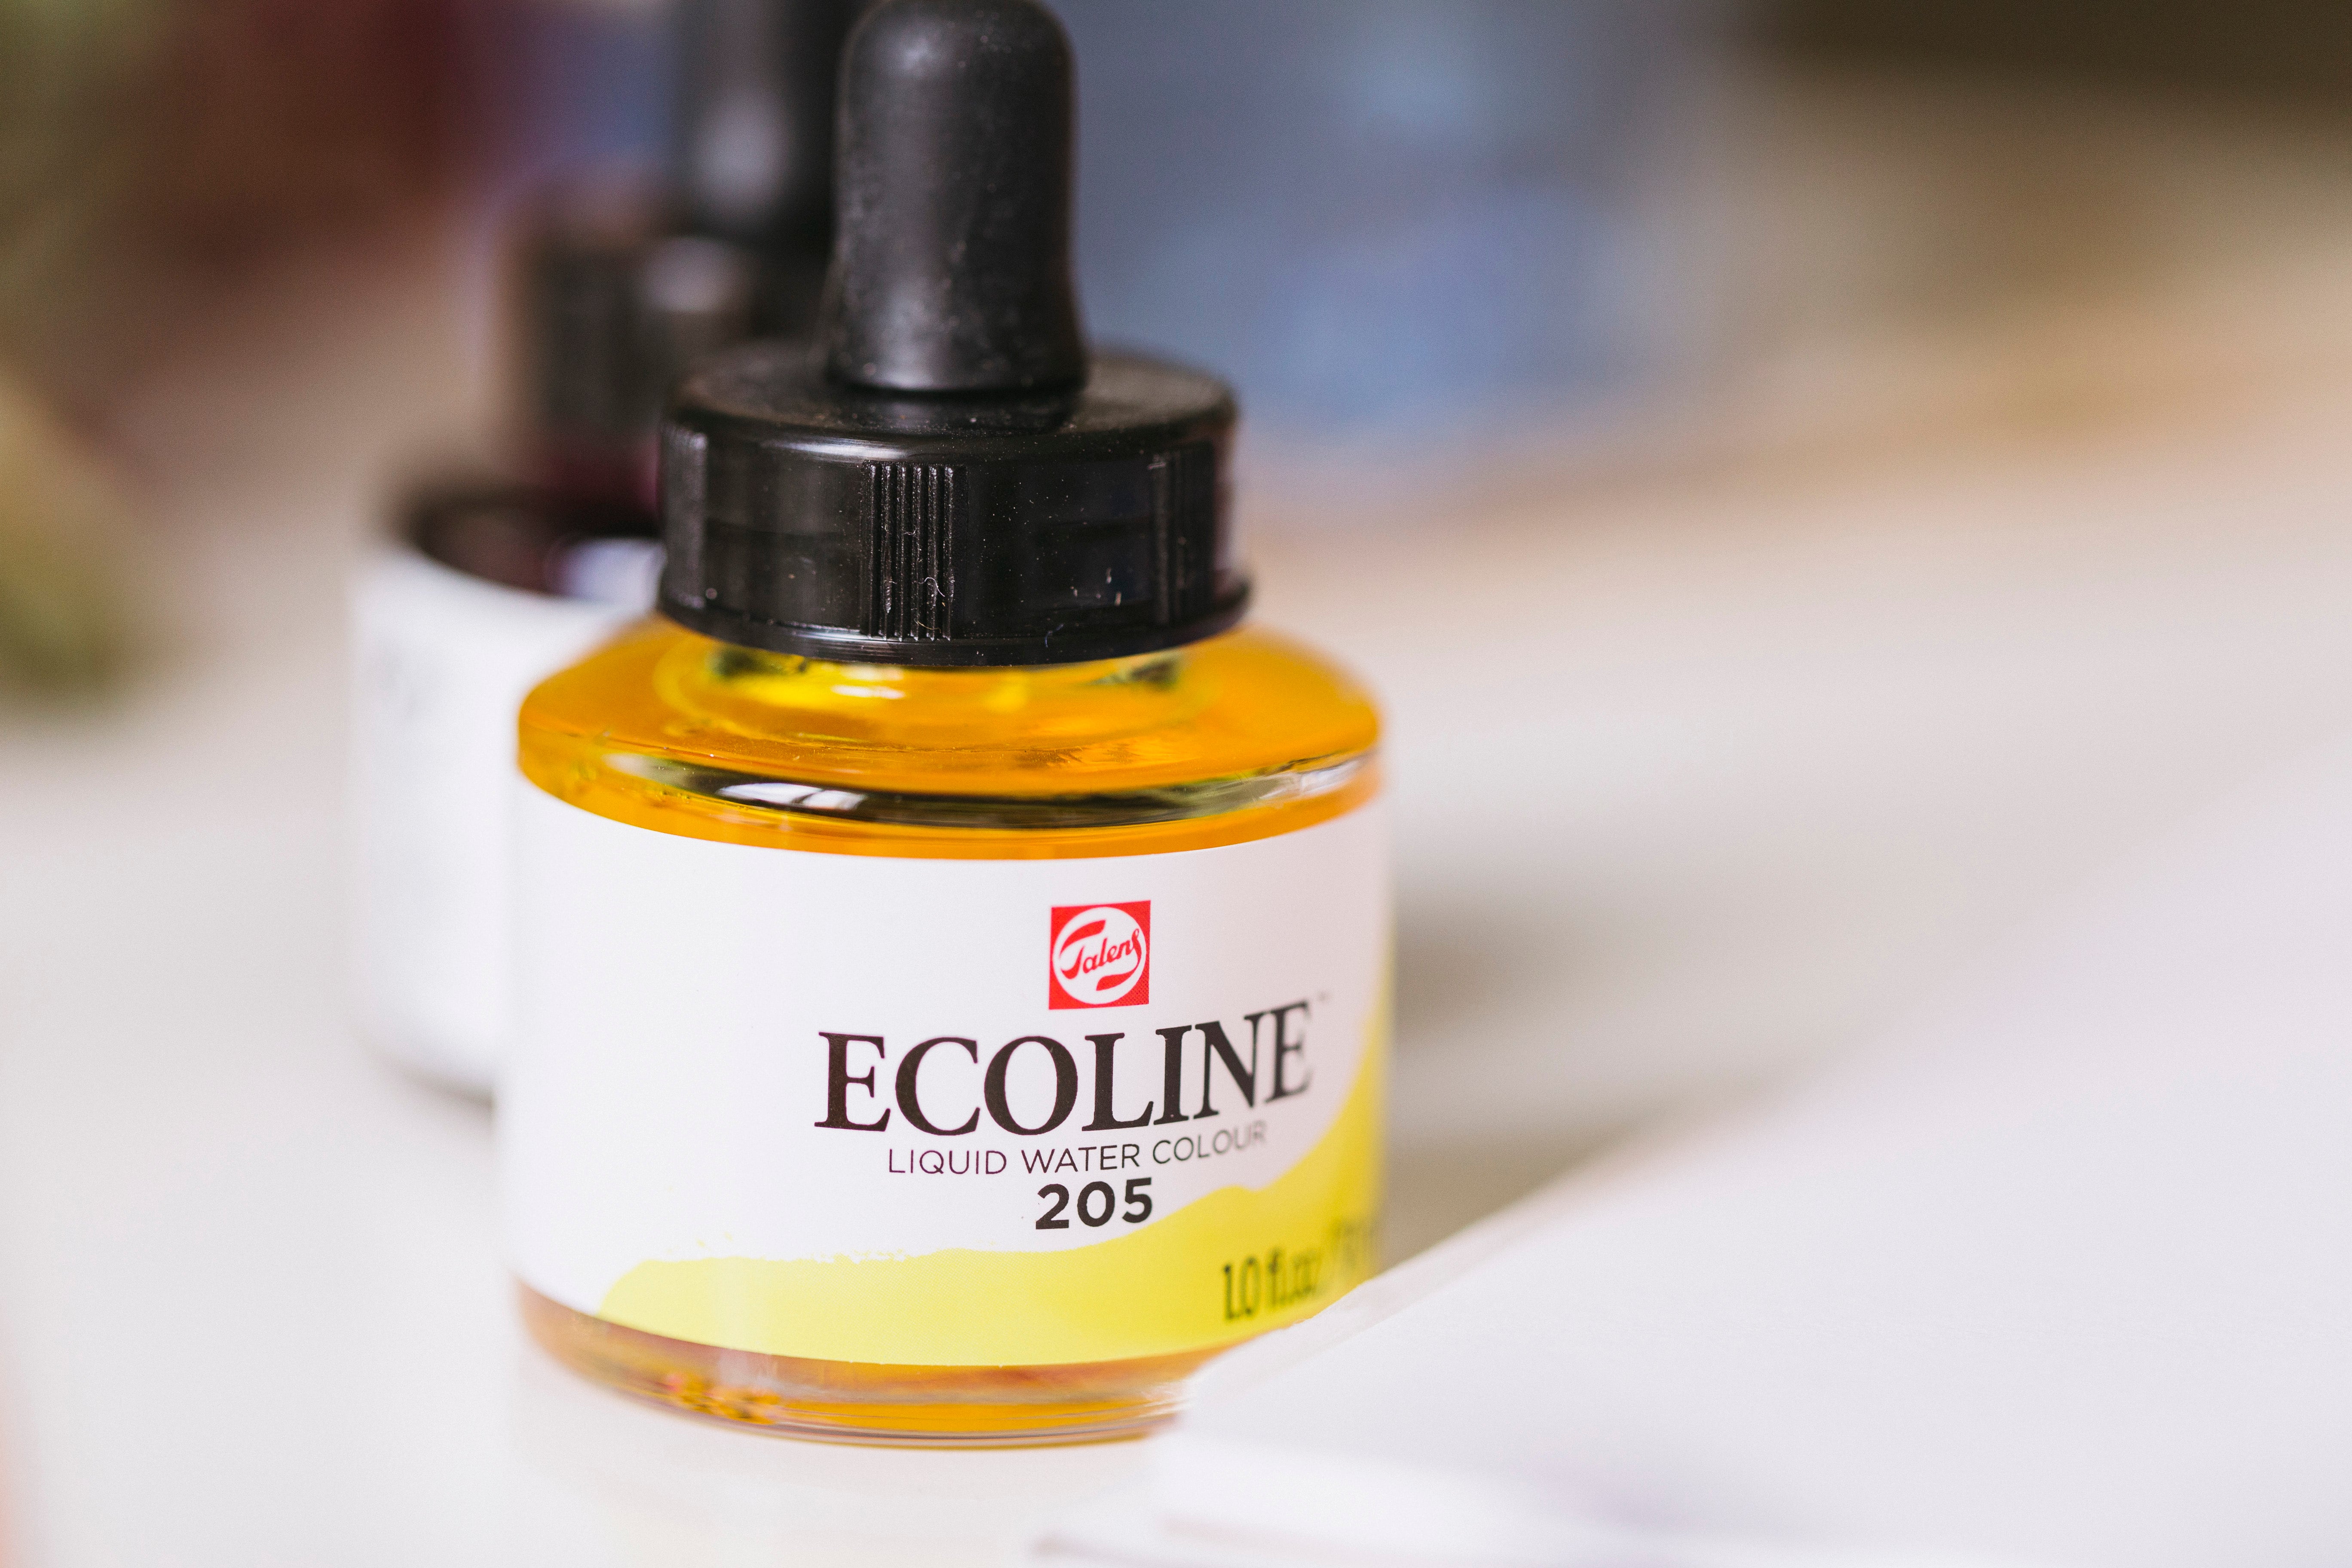
Based on the interest I checked the Talens Ecoline web-page - they have together 60 different colours available
the bottles:


 www.royaltalens.com
and the brush pens


 www.royaltalens.com
Until now, I did not try the bottle with "white" No. 100 which could be interesting for immitation of the "white stuff" painting of the underwater hull - with a little bit gray it could look good - @Maarten did you made already a test here?
the bottles:
Ecoline liquid watercolour | Official website
Ecoline liquid watercolour, also known as Ecoline ink, have been known for their brilliant colours since 1930. Discover the 60 bright, vibrant colours.
and the brush pens
Ecoline brush pens | Official website
Create beautiful flowing and vibrant lines with the Ecoline Brush Pen. The Brush Pen is known for its flexible tip and 60 brilliant colours.
Until now, I did not try the bottle with "white" No. 100 which could be interesting for immitation of the "white stuff" painting of the underwater hull - with a little bit gray it could look good - @Maarten did you made already a test here?
For later on I have to decide how to present the section model.
With closed or semi-opened mortar pit

- or completely open and dismantled elements so that the mortar is ready for action, but than maybe also with the necessary tackling of the mortar


it is time to finish all the missing deckplanking

After that the outer hull planking is the next main task .... to be continued .....


With closed or semi-opened mortar pit
- or completely open and dismantled elements so that the mortar is ready for action, but than maybe also with the necessary tackling of the mortar
it is time to finish all the missing deckplanking
After that the outer hull planking is the next main task .... to be continued .....
Last edited:
Hello Uwe, I do like the cover on but opened. I don’t know if you can loosely fit the cover so when you feel like it you can take it off and adjust the mortar? Best of all worldsFor later on I have to decide how to present the section model.
With closed or semi-opened mortar pit
View attachment 290744
- or completely open and dismantled elements so that the mortar is ready for action, but than maybe also with the necessary tackling of the mortar
View attachment 290745
View attachment 290746
View attachment 290747
View attachment 290748
View attachment 290749
View attachment 290750
it is time to finish all the missing deckplanking
View attachment 290753
After that the outer hull planking is the next main task .... to be continued .....
View attachment 290751
View attachment 290752
")

As for me, with the mortar ready to fire it looks much more impressive.
Kurt Konrath
Kurt Konrath
I think half open, tops moved and pit parts on one side out to show how it works.
I would hate to be the one sailor coming up the stairs next to the pit when someone has opened hatch to quickly.

I would hate to be the one sailor coming up the stairs next to the pit when someone has opened hatch to quickly.
Hi Uwe. You asked it to Maarten, but I have used it on the inside of the bulwark and stanchions. You need several layer to get to get an opaque layer.Until now, I did not try the bottle with "white" No. 100 which could be interesting for immitation of the "white stuff" painting of the underwater hull - with a little bit gray it could look good - @Maarten did you made already a test here?
-> White Ecoline 100 <- last pictures of the post. You continue to see the wood structure and it gives a silk-matt appearance.
Regardfs, Peter

Hi Uwe!
You, like me, were supposed to build the whole Granado. Then one mortar could be exposed and the other semi-enclosed.
View attachment 290891
Radek
This is more than a good idea, Radek.

Hi Uwe,Based on the interest I checked the Talens Ecoline web-page - they have together 60 different colours available
the bottles:
View attachment 290731 View attachment 290732
View attachment 290733
Ecoline liquid watercolour | Official website
Ecoline liquid watercolour, also known as Ecoline ink, have been known for their brilliant colours since 1930. Discover the 60 bright, vibrant colours.
and the brush pens
View attachment 290734 View attachment 290735
View attachment 290736
Ecoline brush pens | Official website
Create beautiful flowing and vibrant lines with the Ecoline Brush Pen. The Brush Pen is known for its flexible tip and 60 brilliant colours.
Until now, I did not try the bottle with "white" No. 100 which could be interesting for immitation of the "white stuff" painting of the underwater hull - with a little bit gray it could look good - @Maarten did you made already a test here?
See Peter already answered your question and I came to the same conclusion as him. You can also add some yellow and some grey to get a nice off white tint.
Keep in mind Ecoline are not pigmented and in time under sunlight the colors can fade, but results sofar are excellent.
Schminke aero color are pigmented inkts but give a more opaque result with less wood grain visible.
I still have different aero colors on the shelf here. I'll experiment a bit with that too. Especially if it holds the color better. Thanxs for sharing!Schminke aero color are pigmented inkts but give a more opaque result with less wood grain visible.
Regards, Peter
Last edited:
Many Thanks to all your comments and suggestions -
later on the section will be arranged close to the full hull model - where I am able to show the pit in different situations
It is good, that also on the section model this can be changed with assembling and disassembling the pit elements - no glue necessary
It is time now for the outer hull planking - all planks are preshaped and laser cut
on the wooden sheets usually the outer planks are grouped by four planks, the thickness vary between 1mm (close to the keel) and up to wales with 3mm

so I put the first 3 groups together and checked the orientation

afterwards, when it was clear for me I marked the main axis of the double frames and started to make the treenailing of the planks in the normal way


here you can see the first four planks with treenails dryfitted on the framing

and once more check of the next group ........

.... to be continued ......
and many thanks for your interest in my building log -> much appreciated !!!
later on the section will be arranged close to the full hull model - where I am able to show the pit in different situations
It is good, that also on the section model this can be changed with assembling and disassembling the pit elements - no glue necessary
It is time now for the outer hull planking - all planks are preshaped and laser cut
on the wooden sheets usually the outer planks are grouped by four planks, the thickness vary between 1mm (close to the keel) and up to wales with 3mm
so I put the first 3 groups together and checked the orientation
afterwards, when it was clear for me I marked the main axis of the double frames and started to make the treenailing of the planks in the normal way
here you can see the first four planks with treenails dryfitted on the framing
and once more check of the next group ........
.... to be continued ......
and many thanks for your interest in my building log -> much appreciated !!!
Some more preparation works of the outer planking
I marked the appr. location of the "packages" on the frames, also with the thickness of the planking strips -

and here the projection with the planks - on the first three "packages" the treenails are already prepared

Due to the fact, that some sanding works will be necessary I decided to protect the inner hull with some masking tape

The first plank is installed


as usual on this model the sides of the planks are painted black with Ecoline brushpen - together with the wood glue it is my imitation of caulking

It is a dirty job with the blackened glue, but after scratching and sanding it will look good - btw: the planks are fitting very well,. It is only necessary to take care about the correct order, so checking twice before final fixing

many thanks for you interest .... to be continued .....
I marked the appr. location of the "packages" on the frames, also with the thickness of the planking strips -
and here the projection with the planks - on the first three "packages" the treenails are already prepared
Due to the fact, that some sanding works will be necessary I decided to protect the inner hull with some masking tape
The first plank is installed
as usual on this model the sides of the planks are painted black with Ecoline brushpen - together with the wood glue it is my imitation of caulking
It is a dirty job with the blackened glue, but after scratching and sanding it will look good - btw: the planks are fitting very well,. It is only necessary to take care about the correct order, so checking twice before final fixing
many thanks for you interest .... to be continued .....
Absolutely clean and accurate, a real Uwe. Hosch's hald drauf. (Schwäbisch)
Uwek,
You pass the ecoline pen all along the plank border PLUS you glue the plank with blackened glue using liquid ecoline from the flasks or blackened with graphite ?
The ecoline ink, when passed along the plank border, does not enter by capilarity creating like small hairs/filaments (forgot the English word) ?
Or you seal the wood pores before using the ecoline pen on the plank border ?
Sorry for all these questions
Thanks
Daniel
Hallo Daniel,Uwek,
You pass the ecoline pen all along the plank border PLUS you glue the plank with blackened glue using liquid ecoline from the flasks or blackened with graphite ?
The ecoline ink, when passed along the plank border, does not enter by capilarity creating like small hairs/filaments (forgot the English word) ?
Or you seal the wood pores before using the ecoline pen on the plank border ?
Sorry for all these questions
Thanks
Daniel
many thanks for your interest and your questions - highly appreciated
The glue is not blackened. I am using waterbased wood glue, which partly take over the water based ecoline paint, so the glue is getting black by the ecoline paint.
There is no need close any pores before, definitely not with this very hard bockwood timber.
Also usually with other timbers I have here no problem with "bleeding" into the timber, especially not with planks, which are usually have the long side (plank border) parallel to the grain of the wood. Only sometimes on the butt joint, but only f.e. at relatively light woods.
In the past I used for caulking very thin black paper (Origami) but the ecoline method is much faster .....
First time I used Ecoline paints on my Le Coureur, so here it is the second time I am using it with relatively success.
Let us see how the planking of the HMS Granado will look like when the hull is finished........
