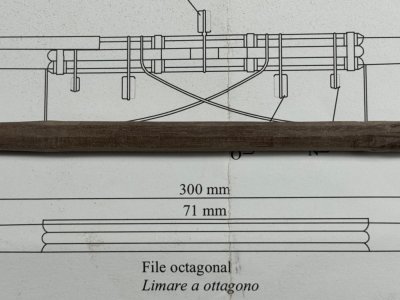
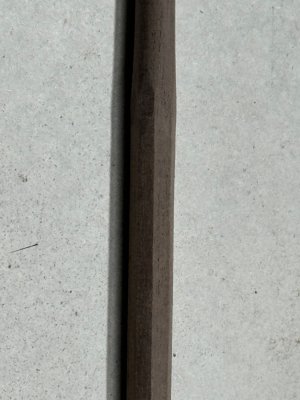
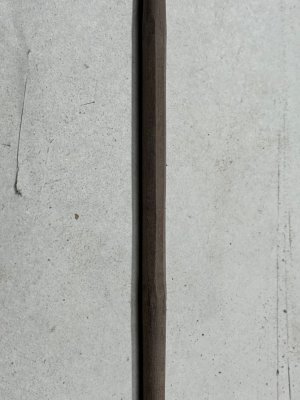
Clever attempt with the battens! I like it!
-

Win a Free Custom Engraved Brass Coin!!!
As a way to introduce our brass coins to the community, we will raffle off a free coin during the month of August. Follow link ABOVE for instructions for entering.
-

PRE-ORDER SHIPS IN SCALE TODAY!
The beloved Ships in Scale Magazine is back and charting a new course for 2026!
Discover new skills, new techniques, and new inspirations in every issue.
NOTE THAT OUR FIRST ISSUE WILL BE JAN/FEB 2026
You are using an out of date browser. It may not display this or other websites correctly.
You should upgrade or use an alternative browser.
You should upgrade or use an alternative browser.
HMS Vanguard 1787 1:72 a Victory Models kit
- Thread starter Chestcutter
- Start date
- Watchers 62
-
- Tags
- amati vanguard victory models
Looks really great, are you going to put sails on her?
Hi Red thanks for looking in.Looks really great, are you going to put sails on her?
At this stage I am planning to put some sails on, but not all.
I bought a sewing machine and need to get some lessons on how to use it but that will be a few months away.
Love your work! Regarding sails and sewing, at 1:72 sewing to scale is tough to say the least. Even finding cloth with a thread count that is to scale is nigh impossible although there are some Egyptian cotton cloths that are pretty high compared to the burlap like material we often see. Have you considered silkspan? There is a good You Tube video by Tom Lauria on making these as well as a cheap (US$5) book on sail making at Seawatch books by David Antscherl that you may find useful.
Allan
Last edited:
Thanks Allan, I will definitely watch this video. Also I will take onboard your suggestions of sail material at scale.
The sail making is still some time off as making the yards is not a quick process and then I still have all the rigging to do.
I hope to continue to build a worthy example of the Vanguard, and document it all in this log.
The sail making is still some time off as making the yards is not a quick process and then I still have all the rigging to do.
I hope to continue to build a worthy example of the Vanguard, and document it all in this log.
Still making the many yards and booms 25 in all.
Currently doing the Foreyard which is 8mm wide in the long axis of an octagon (d)
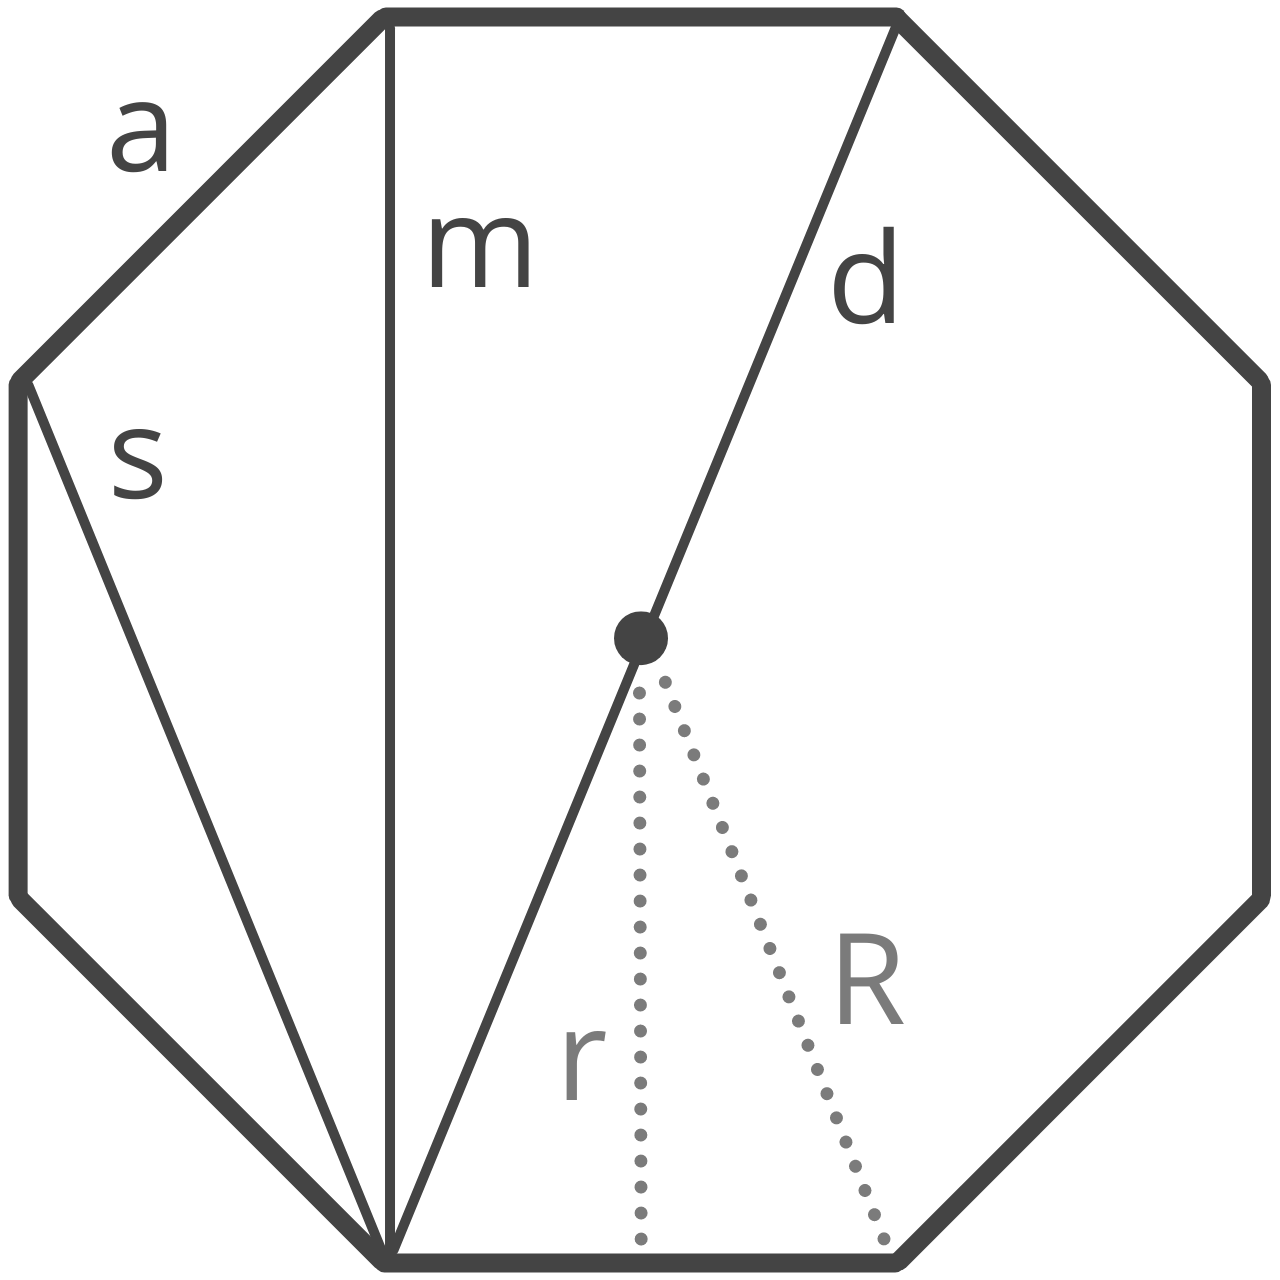
If d = 8 then the face side width a = 3.06 from formula a = d/(2.61)
The depth of material to remove if using an 8mm dowel is the difference between R and r
4- 3.7= 0.3mm.
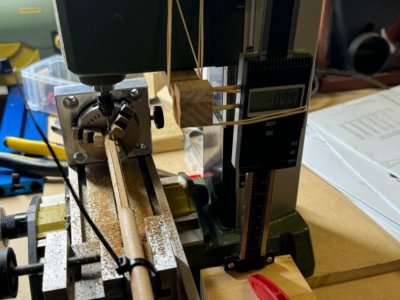
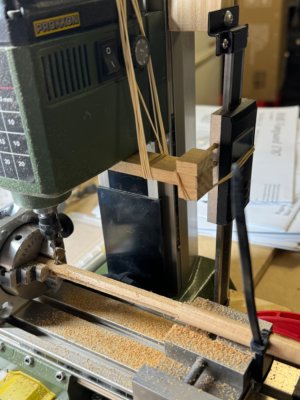
My MF70 mill has too much play in the z-axis, which I now realise was partly because I wasn’t securing the thumb screw on the side after setting the z-depth of the cut.
I prefer to use a 10mm dowel and set the cut depth to 0.98mm and to improve my accuracy I secured a digital vertical vernier ruler (poor man’s DRO). The other changes I have learnt is to secure the work piece in more than one location to reduce flexing and sideways movement whilst milling the flat.
Much happier with this approach.
Currently doing the Foreyard which is 8mm wide in the long axis of an octagon (d)

If d = 8 then the face side width a = 3.06 from formula a = d/(2.61)
The depth of material to remove if using an 8mm dowel is the difference between R and r
4- 3.7= 0.3mm.
My MF70 mill has too much play in the z-axis, which I now realise was partly because I wasn’t securing the thumb screw on the side after setting the z-depth of the cut.
I prefer to use a 10mm dowel and set the cut depth to 0.98mm and to improve my accuracy I secured a digital vertical vernier ruler (poor man’s DRO). The other changes I have learnt is to secure the work piece in more than one location to reduce flexing and sideways movement whilst milling the flat.
Much happier with this approach.


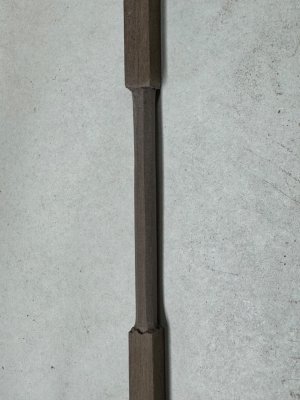
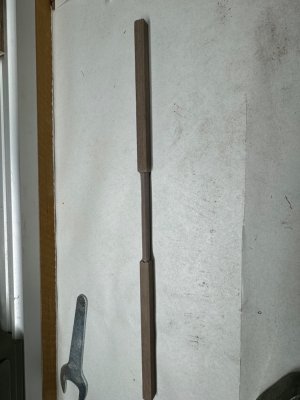
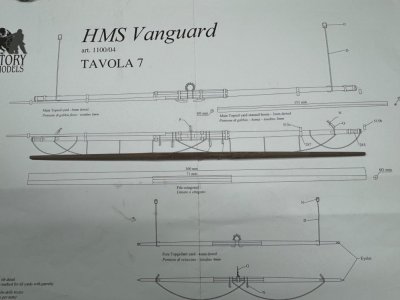
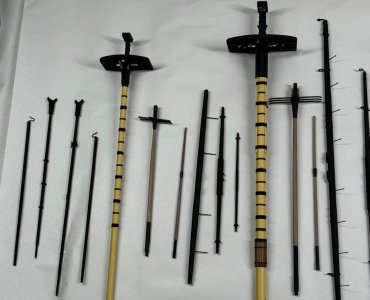
Minor update. I have final completed all the construction of the yards, booms and other parts that required the lathe. The lathe I have is the Proxxon DB250, and it is a great little machine. The job of tapering these 25 dowels would have been very difficult without a lathe and very time consuming.
I have commenced painting them black, but keeping the booms natural wood with a mahogany stain. Pictures to follow.
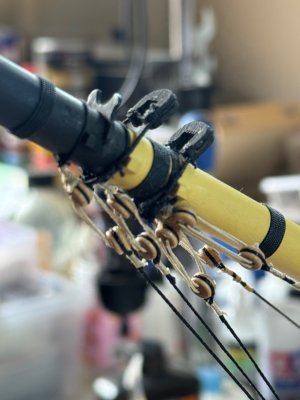
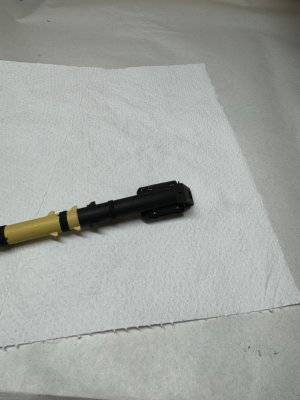
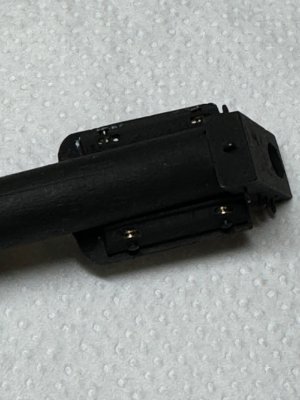
I have also added the bees blocks now and am grateful for AllanKP69 for his advice. Some photos of these to help others, as I have not seen many of these on other build logs.
Next will be rigging all the blocks to the yards, then the rigging will commence in earnest with the standing rigging first and a lot of line serving.
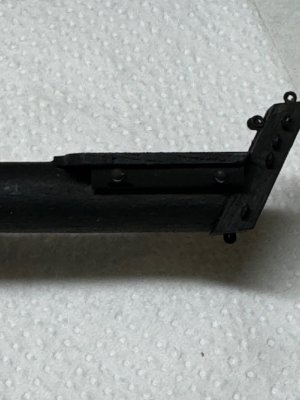
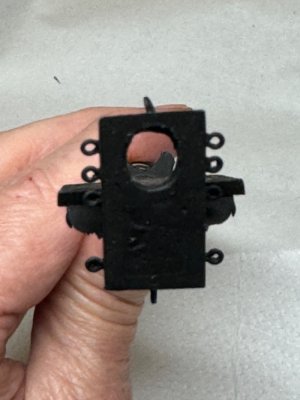
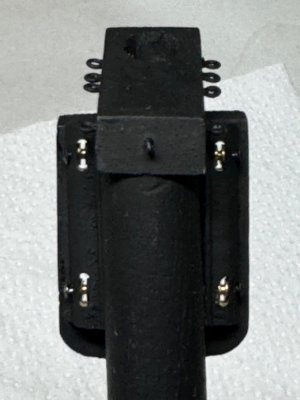


Very convincing, Michael! I agree with Allan, the details being included here are turning this into a fine ship model. You’re also getting a nice finish with the painting.
Thank you Paul for your kind observations. The opinion of skilled artisans such as yourself is nourishing to my confidence.Very convincing, Michael! I agree with Allan, the details being included here are turning this into a fine ship model. You’re also getting a nice finish with the painting.
I think I can improve on the photographs that I present, but only using an iPhone with not much staging.
Thanks for looking in.
Michael
DittoThe entire assembly looks great. It is super to see the attention you have given to the details!
Allan
Good morning Micheal. Way to go. So many details and wonderfully pulled off. Cheers GrantMinor update. I have final completed all the construction of the yards, booms and other parts that required the lathe. The lathe I have is the Proxxon DB250, and it is a great little machine. The job of tapering these 25 dowels would have been very difficult without a lathe and very time consuming.
I have commenced painting them black, but keeping the booms natural wood with a mahogany stain. Pictures to follow.
I have also added the bees blocks now and am grateful for AllanKP69 for his advice. Some photos of these to help others, as I have not seen many of these on other build logs.
Next will be rigging all the blocks to the yards, then the rigging will commence in earnest with the standing rigging first and a lot of line serving.
View attachment 472535View attachment 472536View attachment 472537View attachment 472538View attachment 472539
Thanks Grant for your kind words. I am energized by them and by your good work to push on to the black art of rigging.Good morning Micheal. Way to go. So many details and wonderfully pulled off. Cheers Grant
Stay tuned.
Michael
Here are all the masts, yards, booms and stunsails laid out before any blocks or foot ropes are attached. There are 40 pieces in total.
It’s just as well I did this stocktake, because I realized I had created the foreyard twice, and omitted to make the stern stunsail booms. Getting the lathe back for more action.
Photos as promised.
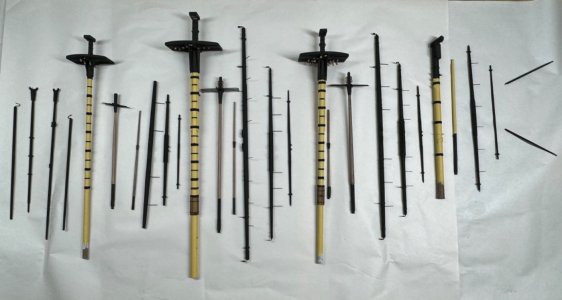
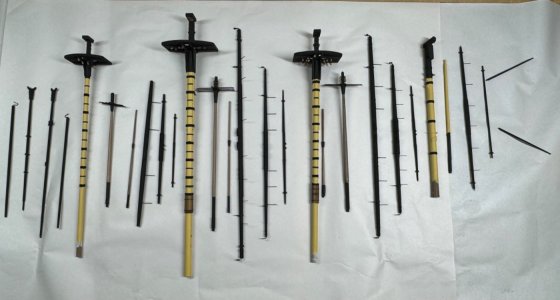
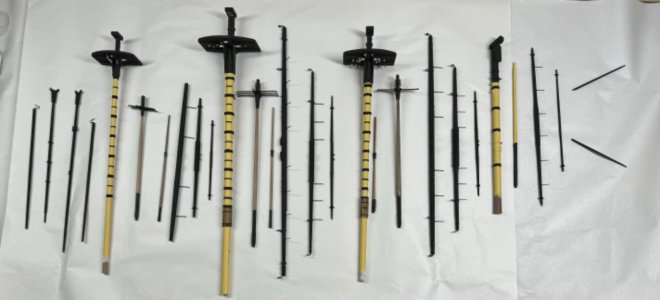
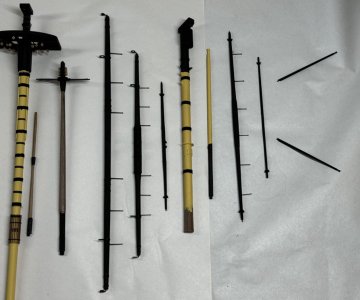
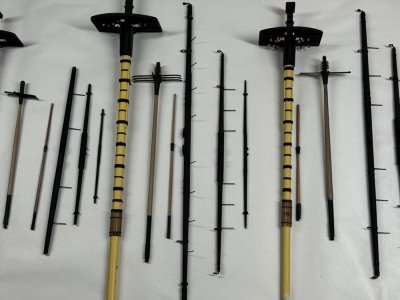
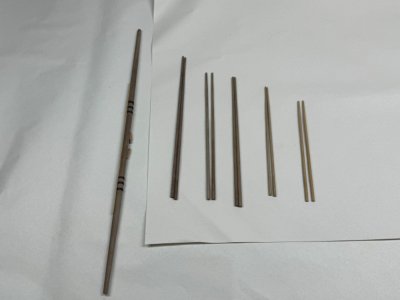
It’s just as well I did this stocktake, because I realized I had created the foreyard twice, and omitted to make the stern stunsail booms. Getting the lathe back for more action.
Photos as promised.


I have delayed serving any rope until now, trying to gain as much understanding as I can on how to do it and what parts need to be served.
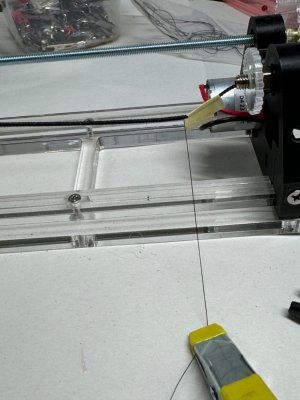
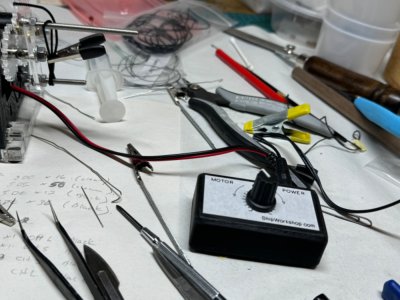
I purchased a Domanoff SM4 serving machine with speed controller and motor.
To know the length of the shrouds I needed to insert the mast, and decided to secure the bowsprit and foremast first. I secured the top and ensured it was horizontal.
The Burton pendants go onto the mast before the shrouds. Two Burton pendants and 9 pairs of shrouds for the foremast.
The plans say to use 1.0mm thread for the pendants and 1.3mm thread for the fore shrouds. I have 1.3mm threads from Ropes of scale, but not 1.0mm thread, I use the kit supplied thread for the pendants and served them first and made them 70mm long.
How I serve the shrouds:
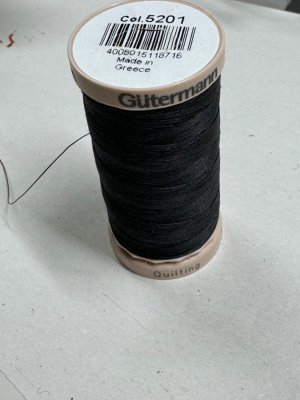
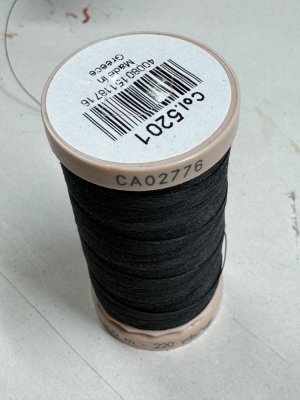
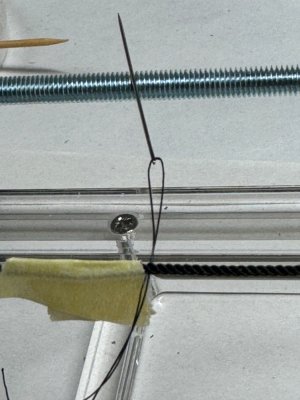
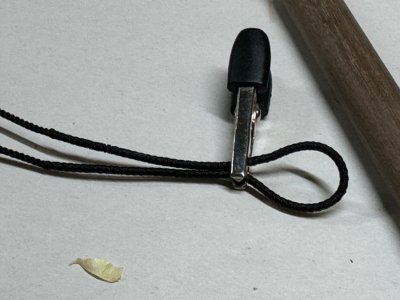
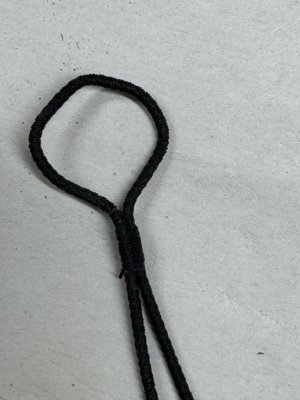
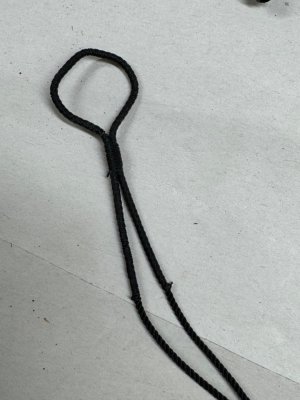
To serve the rope I am using Gutterman black quilting thread, I cannot find a dimension for this thread, but it’s thin and I include a photo if anyone wants to try the same. I cut the rope to about 720mm, double it up and mark out the middle 120mm, to serve. I insert the rope into the serving machine with the gear plates placed about 150mm apart. The rope is secured with fixing set screw and alligator clips.
I thread the serving line through a needle and pass it through the rope at the left edge and tie off.
I start the serving by manually winding first to get the serving started and then engage the motor at a very low speed.
Keeping the tension and a slight trailing angle on the serving line gives better results in my hands so far, but still learning.
I then tie off the end the same as the start and secure with a drop of CA.
I then place some diluted PVA on the served area to secure it.
I the rap the secured portion around a 12mm dowel and remount it in the machine to serve the mast eye.
Reasonably happy with the results thus far.
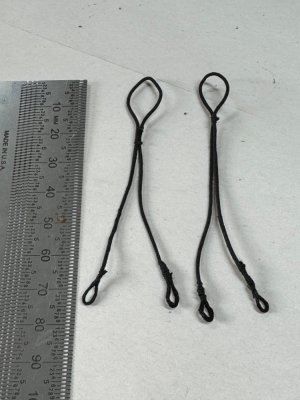
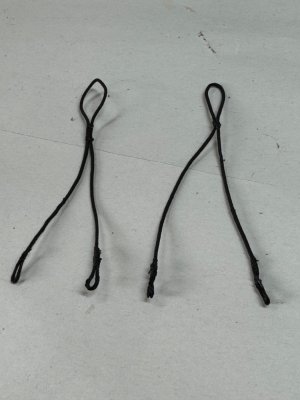
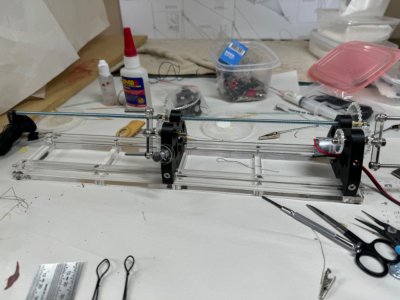
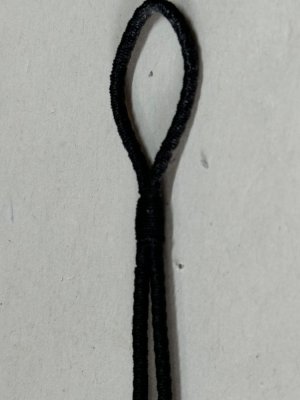
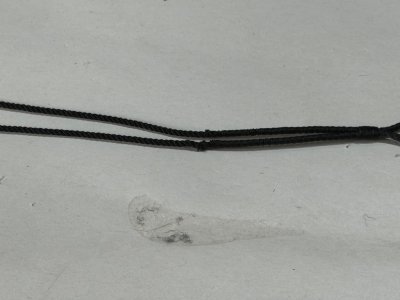
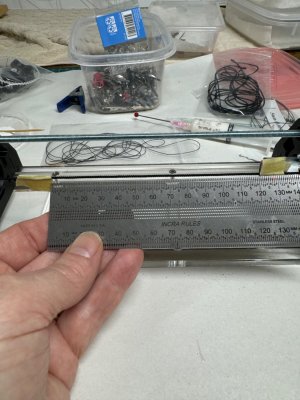
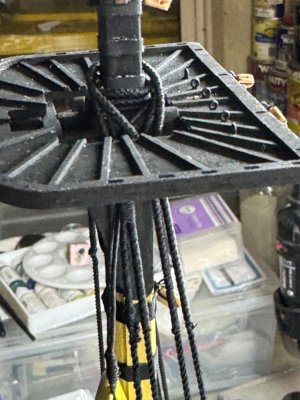
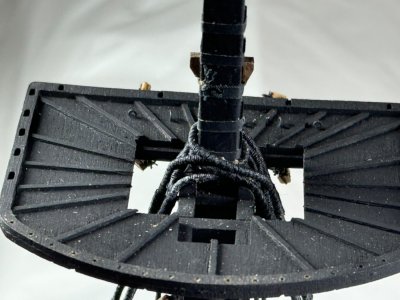


Beauty! It looks solid with the tying of the ropes.
Thank you for your kind remarks. I am a big fan of your wonderful Vanguard and your modifications and extra details are superb.Beauty! It looks solid with the tying of the ropes.
I hope you post your progress when you commence your masts and rigging, I am certain I will learn something.
Michael
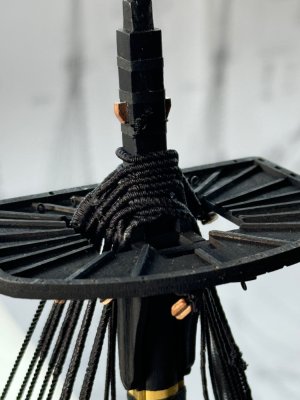
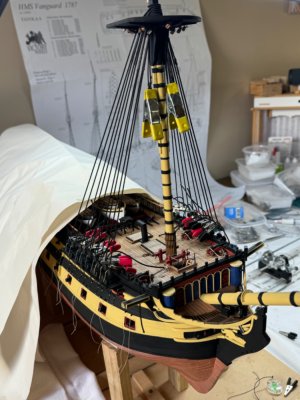
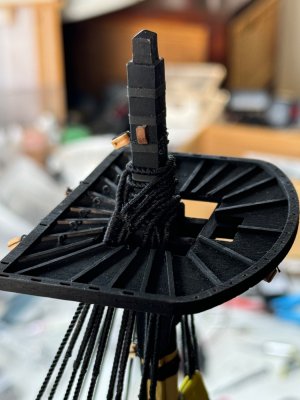
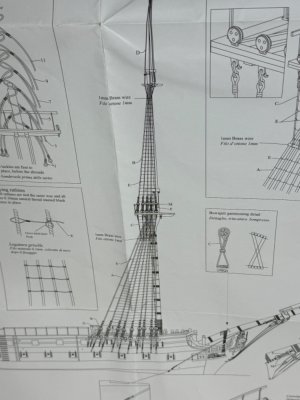
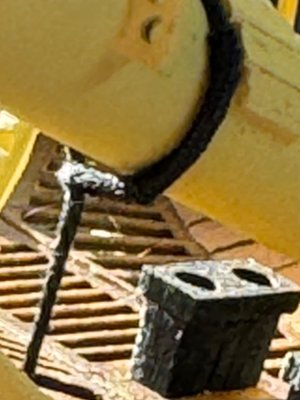
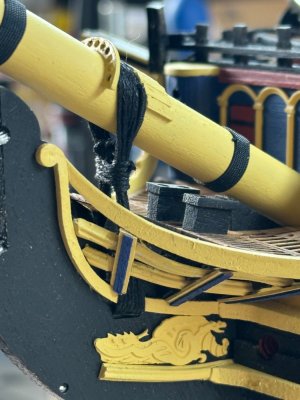
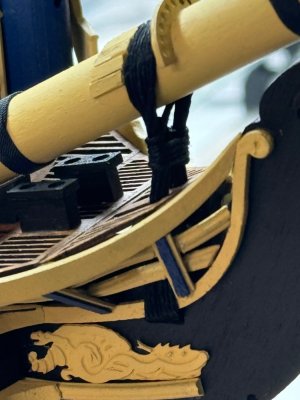
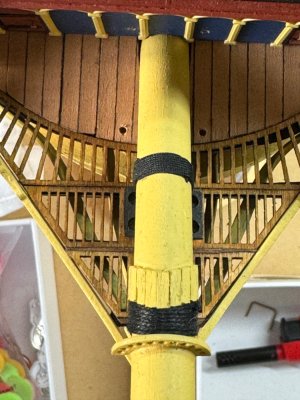 Well the shrouds have been created in earnest, and I am getting quicker and learning what not to do.
I have been using a lighter to burn off the fuzz from the serving thread, but learnt the polyester melts easily, so only a very quick flame is required.
I have also found that estimating the length of thread needed to make the rigging is difficult. I don’t want to waste the thread supplied but have found that underestimating the length required can also be wasteful. It would be nice if the plans or instructions had rough lengths for the various rigging parts. It would also be helpful if the threaded was labeled as to its size. Sometimes it’s hard to tell.
The foremast shrouds are optimized at 700mm length.
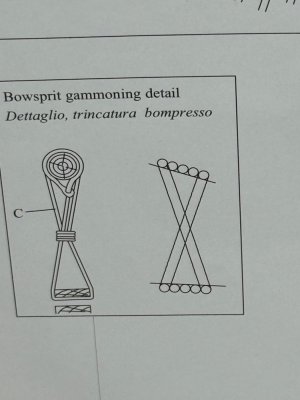
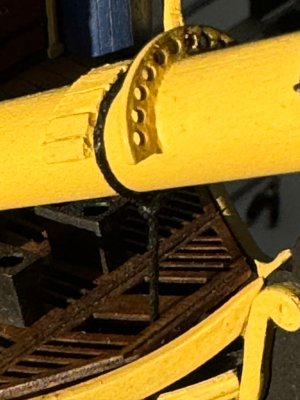
I have also applied the gammoming of the bowsprit. This is one of my favourite details in the boat. I have been confused by the diagram but decided to just start and see how it goes. I created an eye splice at one end of a 700mm of 0.75mm black thread only to find it wasn’t long enough. The amount needed is 1000mm. Wrapping around the bowsprit first against the arced cleats and passing to the starboard side first through the head rails then through the stem slot at the front edge, to the port side, up through head timbers and around again. The rope on the bowsprit layers from back to front, while through the slot it layers from front to back, creating the twist shown in the diagrams.
The gammoning waiste is then tied off with 4 seizing loops.
Thanks for looking in.
Michael
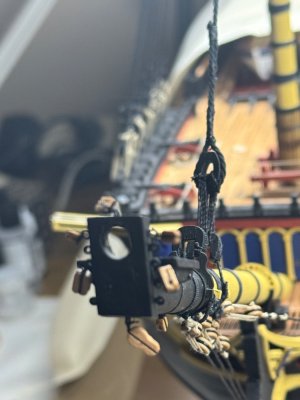
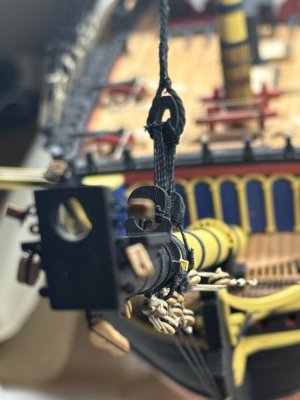
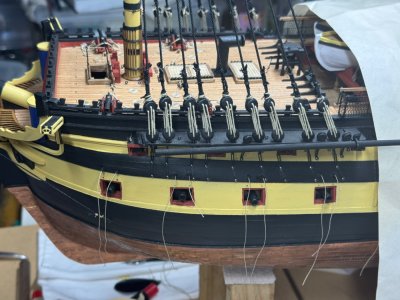
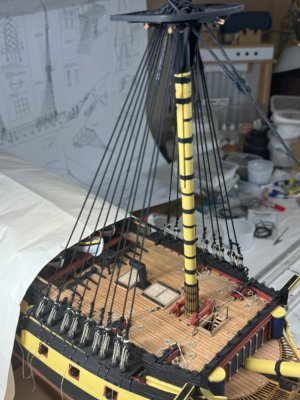
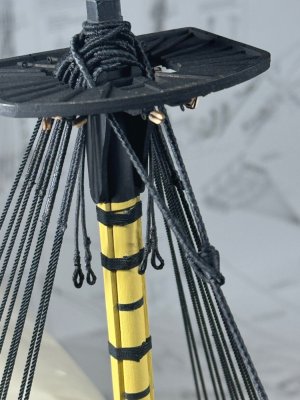
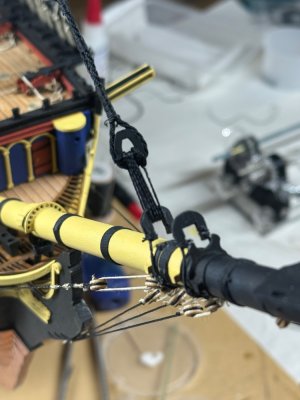
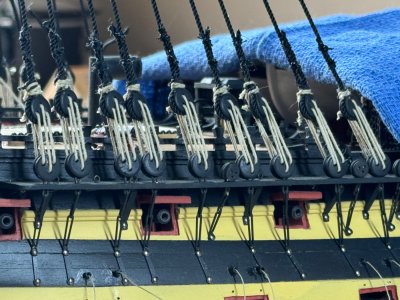
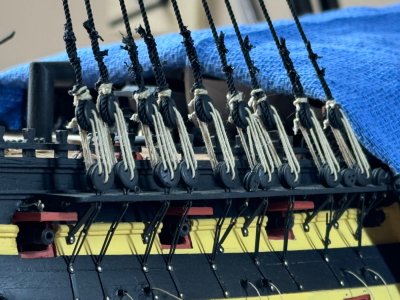
Rigging update:
All the foreshrouds are in and deadeyes are lashed. I am using rope from ropes of scale for the shrouds and they are beautiful, but when you cut them they unravel. I have been using a flame or solder iron to more accurately apply heat. One shroud threatened to unravel beyond a point of salvage, and I only managed to catch it in time. If this had gone bad it would have needed all the shrouds to be removed and start over as it was one of the first pairs.
I have inserted the bobstays and the bowsprit shrouds, and the blocks on the bowsprit cap.
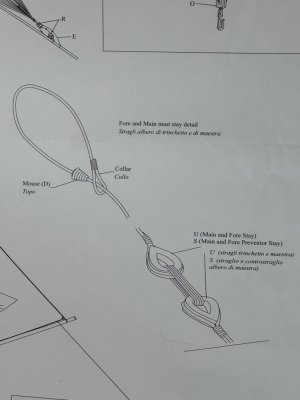
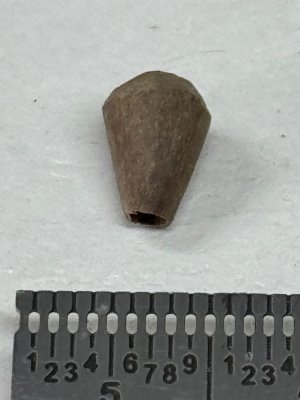
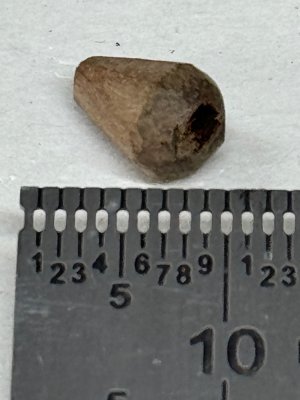
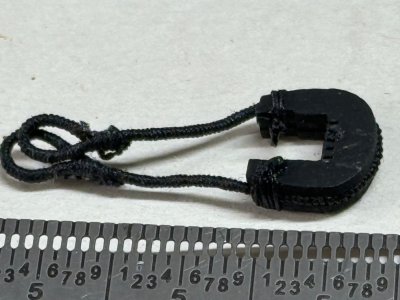
The plans show the fore and main Stays and the fore and main Peventer Stays have a mouse that fits into an eye splice, all of which is served rope. The serving of the mouse is usually a two way darn which looks very nice, but at 1:72 scale too difficult for me. I elected to make the mouse from a 6mm dowel, and using @aew suggestions drilled the channel, 2mm, then used a pencil sharpener followed by freehand sanding to give a nice mouse.
Serving over the mouse is quite challenging and I found turning the crank manually after the mouse was covered in dilute PVA, worked best.
I also decided to use open heart collars for the bowsprit side and closed hearts for the stays. The hearts are from Vanguard models, they are beautifully detailed. Fore stay now complete, three more to do.
Thanks for visiting.
