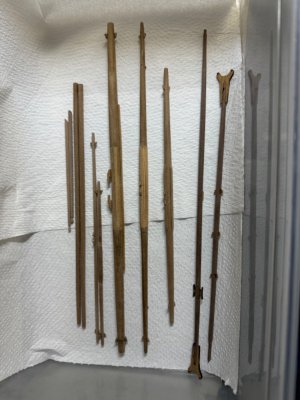
HMS Vanguard 1787 1:72 a Victory Models kit

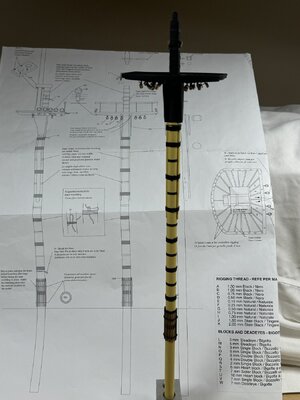
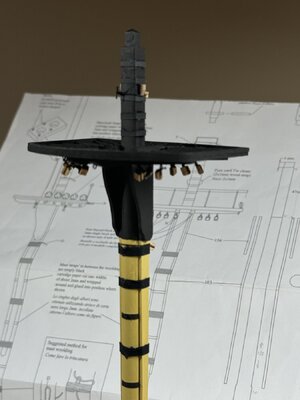
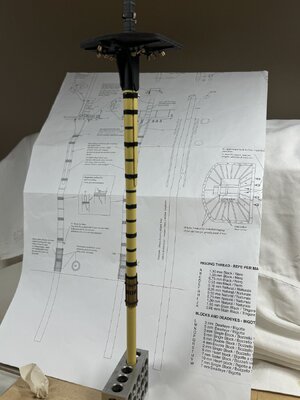
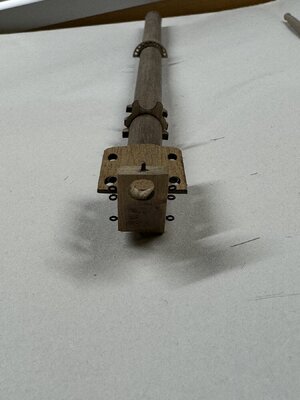
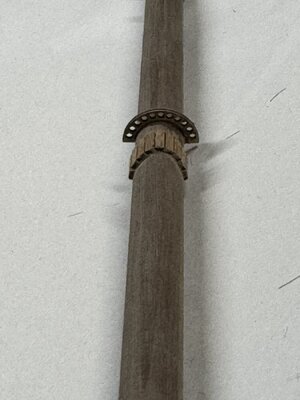
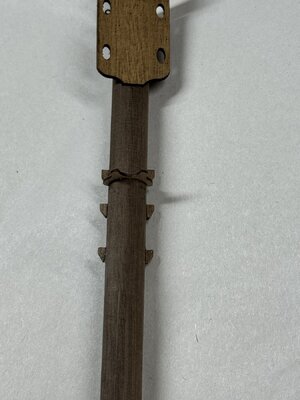
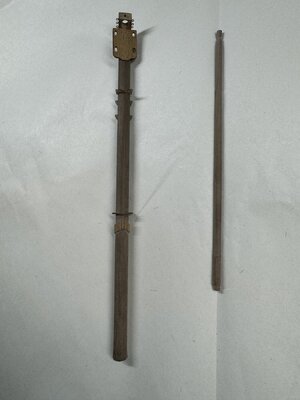
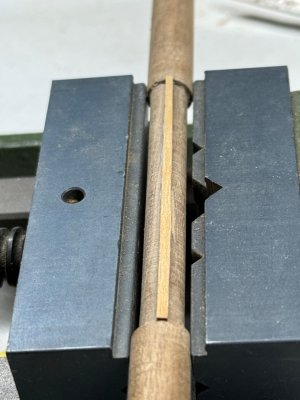
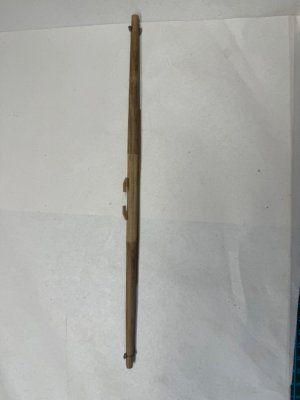
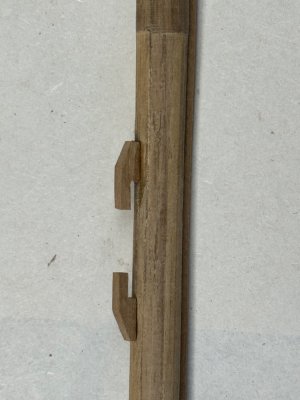
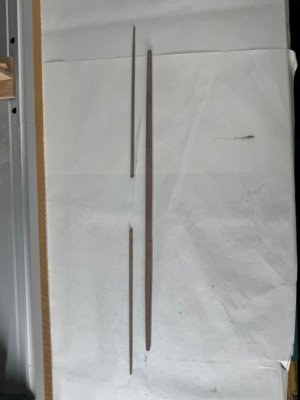
View attachment 460472View attachment 460473View attachment 460474View attachment 460475View attachment 460476View attachment 460477Making the top mast and top gallant for the main mast.
Some thoughts and reflections.
The lower ends have hex and square sections which initially I did first with the micro-mill but when the time came to use the lathe to taper the mast it was harder to secure the mast evenly in the chuck. I ended up breaking two at the point where the topgallant has an expanded area (false cheeks). So I recommend doing the tapering in the lathe first then squaring and hexing the lower bits.

Also creating square holes to accept the fids is challenging to not spilt the wood or oversize the hole. It is especially hard for the 1mm square hole for the upper fid in the topgallant.

I found a technique by AEW (Arthur) to grind down a nail to square and use it to create the hole. So I drilled through with a 0.7mm bit first and the gently introduced the nail from both sides to get a nice 1.15mm square hole.

Also made the sheave blocks for the top masts, using 2.5 and 4 mm sheaves. Made new caps from spare wood from the edges of the kit sheets. To fit the topgallant through I will need to cut the round section and reform it after.

Starting the foremast now.

Thanks for visiting.
Very impressive, very difficult work and a lot of patience.
I love it
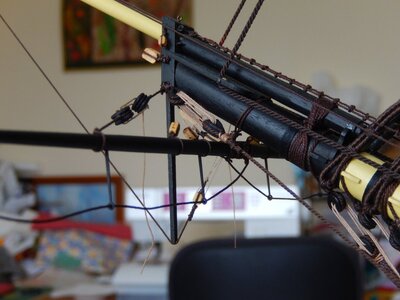
 
View attachment 460472View attachment 460473View attachment 460474View attachment 460475View attachment 460476View attachment 460477Making the top mast and top gallant for the main mast.
Some thoughts and reflections.
The lower ends have hex and square sections which initially I did first with the micro-mill but when the time came to use the lathe to taper the mast it was harder to secure the mast evenly in the chuck. I ended up breaking two at the point where the topgallant has an expanded area (false cheeks). So I recommend doing the tapering in the lathe first then squaring and hexing the lower bits.

Also creating square holes to accept the fids is challenging to not spilt the wood or oversize the hole. It is especially hard for the 1mm square hole for the upper fid in the topgallant.

I found a technique by AEW (Arthur) to grind down a nail to square and use it to create the hole. So I drilled through with a 0.7mm bit first and the gently introduced the nail from both sides to get a nice 1.15mm square hole.
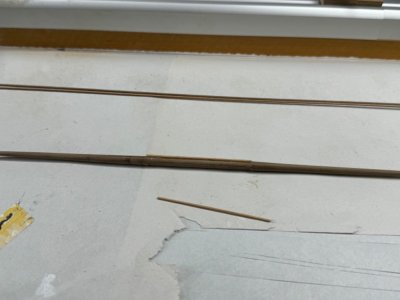
Also made the sheave blocks for the top masts, using 2.5 and 4 mm sheaves. Made new caps from spare wood from the edges of the kit sheets. To fit the topgallant through I will need to cut the round section and reform it after.
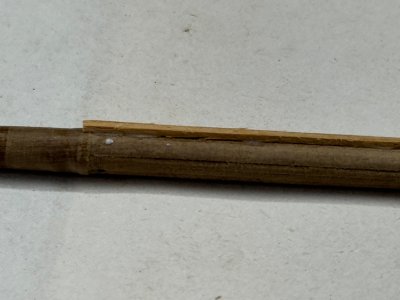
Starting the foremast now.

Thanks for visiting.
Good afternoon Micheal. Detail, detail and more detail. Awesome. Cheers Grant
 
Hi Chestcutter

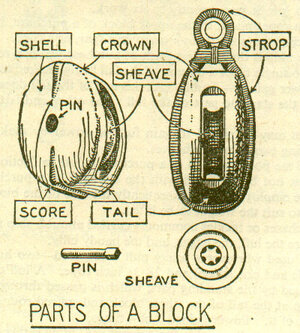
It is a little hard to tell from the photos so I may be completely wrong, but are the blocks under the top upside down? It looks like the lines would be running over the tail piece instead of over the sheave and under the crown. I cannot tell from your photos but I know that there are kit plans that show the blocks rigged incorrectly. Example below of what one kit plans incorrectly show and the way the blocks would actually be rigged.
Allan

Blocks incorrectly rigged AA.JPGblock parts 1.jpg
 
Hi Chestcutter

It is a little hard to tell from the photos so I may be completely wrong, but are the blocks under the top upside down? It looks like the lines would be running over the tail piece instead of over the sheave and under the crown. I cannot tell from your photos but I know that there are kit plans that show the blocks rigged incorrectly. Example below of what one kit plans incorrectly show and the way the blocks would actually be rigged.

Allan

View attachment 461319View attachment 461320
Hi Allan

Thank you for pointing out some problems with the rigging blocks on the foretop. You are correct that the diagram on the plans is the same as you show and is incorrect. Unfortunately the quality of the blocks is quite poor in my opinion, as many of the holes are not well positioned. Many of the blocks you can’t tell which end is crown or tail. I did consider getting some aftermarket blocks, but the minister of finance issued some restrictions.

So at this point I try to select a better shaped block but often that is not possible.
Thanks for checking in on my build progress.
 
but the minister of finance issued some restrictions.
Sounds like a long lost cousin of your minister of finance lives here in my house as well. There are aftermarket blocks that are really good, but I would bet you can make blocks that are better than what the kit provided on your own with scrap wood or a few dollars worth of maple from a local lumber yard. To finish them off you can use an old coffee can or similar small can with a plastic lid and make a block tumbler to spin with a small hand electric drill. Just a thought.
Allan
 
Last edited:
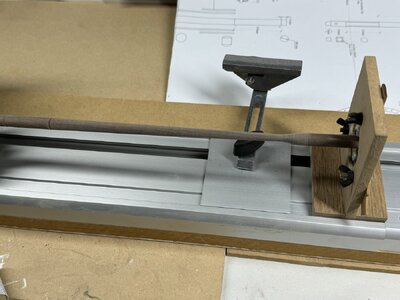
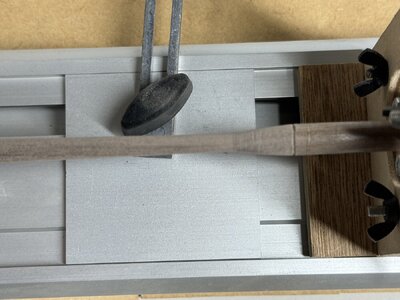
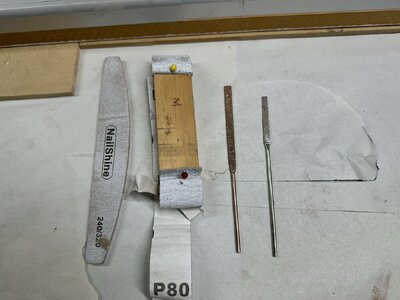
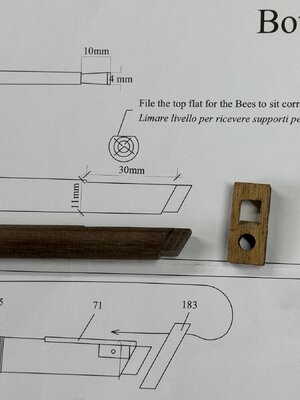
Wanted to share my method for shaping the foe-topmast. I do the tapering of the round sections including the flared hound on the mini - lathe, then attend to the squared and hexagonal sections. I have found the chisels to be difficult to master so use sandpaper and files of varying grit.

I made my own Centre rest to support the work.

IMG_4994.jpegIMG_4995.jpeg

IMG_4996.jpeg
 
Great work on making the top mast, including leaving the wood for the hounds.

I just noticed the kit plans above neglect to show the wooden rings on the top and bottom of the wooldings to keep them from slipping. Will you be adding these on your own? At 1:72 an easy method is to cut strips from card stock painted the color of wood. Wrapping a spiral of a soaked strip of wood around a form the diameter of the mast and letting it dry or hitting with a hot air gun works as well if wood rings are preferred.

Allan
 
Last edited:
Hi
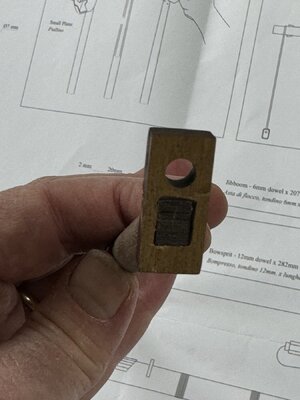
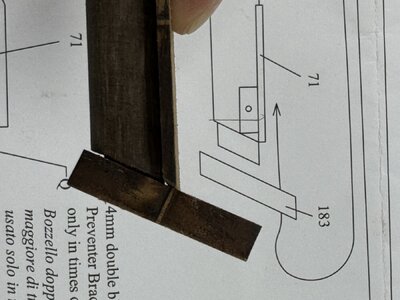
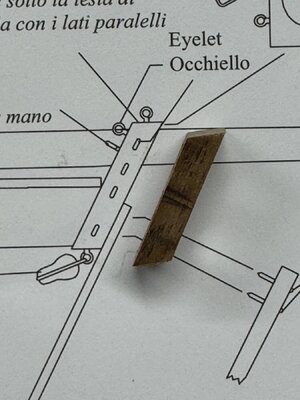
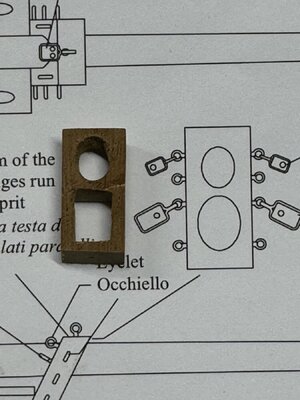
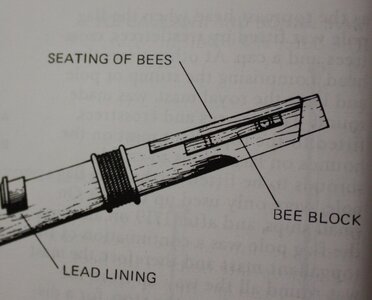
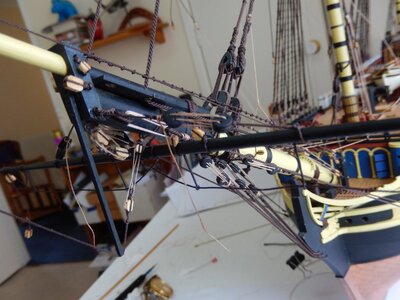
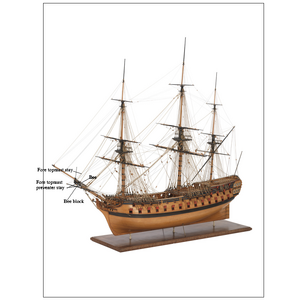
Continues to be VERY neatly done work. The shape of the bees looks perfect for the era and is seated on the sprit really nicely. Maybe not shown in the photos, but the plans in the photos above don't show the bee blocks that seat under the bees and which carry the sheaves for the fore topmast stay and preventer stay to pass around. From Lees' Masting and Rigging, page 8 for the period 1773-1815 below.
Thanks
Allan
IMG_6759.JPG
 
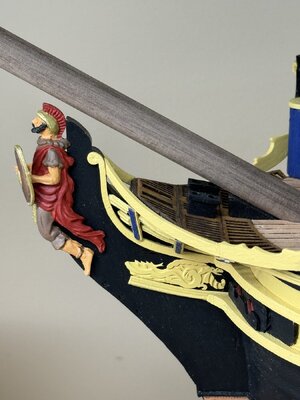
Decided to build the bowsprit for a bit of variety.
Here again I modified the cap to accept a squared end. This helped keeping everything level.
Painting now and the to fit the wordings and blocks.
Also dry fitted to hull along with figurehead. All fits well.

View attachment 463589View attachment 463590View attachment 463591View attachment 463592View attachment 463593View attachment 463594View attachment 463595View attachment 463596View attachment 463597View attachment 463598

View attachment 463599
Nicely done. You made that look easy :).
 
Hi
Continues to be VERY neatly done work. The shape of the bees looks perfect for the era and is seated on the sprit really nicely. Maybe not shown in the photos, but the plans in the photos above don't show the bee blocks that seat under the bees and which carry the sheaves for the fore topmast stay and preventer stay to pass around. From Lees' Masting and Rigging, page 8 for the period 1773-1815 below.
Thanks
Allan
View attachment 463606

Thanks for your interest in my build and your always helpful advice. I noticed on only one diagram a square area under the bees with a circle perhaps depicting a sheave spindle. I wasn’t sure what this was and it did not appear in any other drawings. Looking at other builds I could not see a sheave block below the the bees, and most have a sheave in the opening, of which there are four in the block.

These photos are from RMC build of Vanguard on MSW.

IMG_0575.jpegIMG_0574.jpeg

I was planning to mount sheaves in these openings. Is that not correct? Happy to hear or see other options.
Thanks
Michael
 
Last edited:
Decided to build the bowsprit for a bit of variety.
Here again I modified the cap to accept a squared end. This helped keeping everything level.
Painting now and then to fit the woldings and blocks.
Also dry fitted to hull along with figurehead. All fits well.

View attachment 463589View attachment 463590View attachment 463591View attachment 463592View attachment 463593View attachment 463594View attachment 463595View attachment 463596View attachment 463597View attachment 463598

View attachment 463599
Thanks for the likes and Grant for the googled eyed like.
 
Hi Michael,
Hopefully someone will have more clear photos showing the bee and the bee blocks on each side of the sprit. Curiously there are two sheaves only, one port and one starboard in the bee block (based on Lees Masting and Rigging and Antscherl The Fully Framed Model, Volume IV, page27. There are no sheaves in the bee itself just elongated holes for your time period and as you show on your model, but the sheaves are in the bee blocks under the bees. I would not use another kit build as evidence on how this was actually done without confirming it with contemporary based sources. The best I can find with a very quick search is the photo below of HMS Thunderer (74) 1760. A higher resolution copy should show it more clearly, but that would have to come from RMG which holds this model and many photos of her. If you download the low res photo from RMG and enlarge it, you can see that the stays go down quite a way, more than just through the bees on top of the sprit. Of a maybe a little interest the term bees comes from the original shape of the piece on the sprit which looked like mirror images of a capital letter B up against each other. https://www.rmg.co.uk/collections/o...F6*MTcyMzE2MzQ4Ni4xLjEuMTcyMzE2MzUyMC4wLjAuMA..
Allan
Bees1.PNG
 
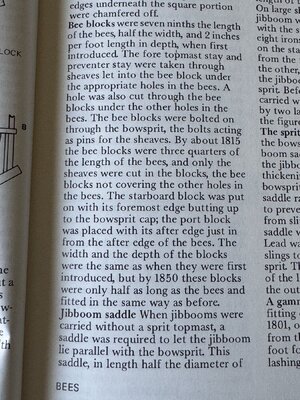
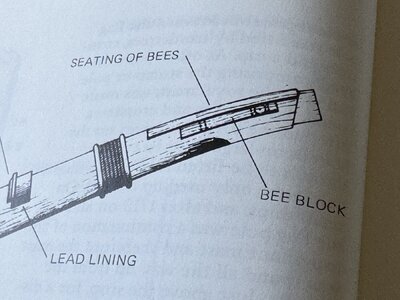
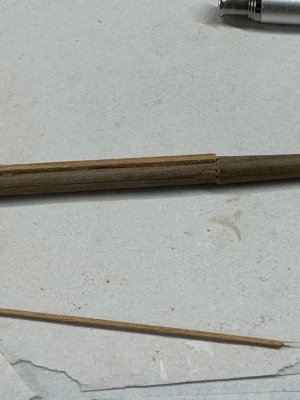
After Allan pointed out the need for the bee blocks, I did some research. It was quite difficult to get much information from the internet and even harder to get images of such blocks.

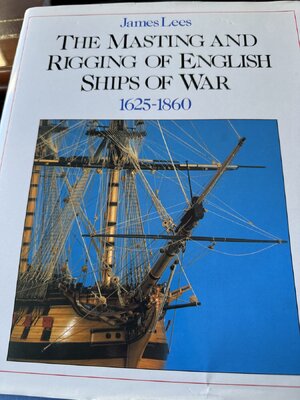
I went to my trusty book collection and found in J Lees Masting and rigging of English ships of war 1625-1860

So I am happy to share this gem of information. Some pictures and descriptions of the bees block from Lees’s book.

Thanks Allan for your knowledgeable post.

IMG_5029.jpegIMG_5028.jpegIMG_5027.jpeg
 
Thanks Allan for your knowledgeable post.
Glad to be of at least a little help. Happily I have accumulated a nice collection of books over the years, the biggest boon being when NRG sold off their library for prices that were so cheap I could not resist. Lately I have been having more fun researching than making saw dust which keeps the mind sharp, if not the fingers nimble.
Allan
 
After Allan pointed out the need for the bee blocks, I did some research. It was quite difficult to get much information from the internet and even harder to get images of such blocks.

I went to my trusty book collection and found in J Lees Masting and rigging of English ships of war 1625-1860

So I am happy to share this gem of information. Some pictures and descriptions of the bees block from Lees’s book.

Thanks Allan for your knowledgeable post.

View attachment 464130View attachment 464131View attachment 464132
For everybody interested in this book - which should be in every modelers library - take a look at the book review we have here in SOS:

 
Have started to make the many yards and booms for the masts and bowsprit.
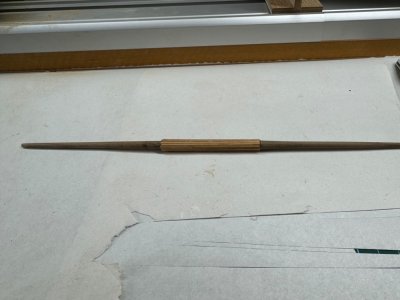
Including Mizzen Crossjack yard, Topsail yard and Topgallant yard
The Driver Gaff and driver boom
For the Bowsprit: Spritsail yard and Spritsail Topsail yard.
Also made the front boomkins and the stunsail booms fore the channels.

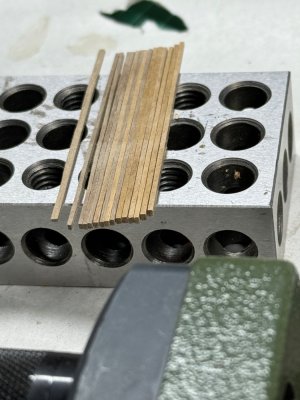
The mizzen cross jack and Spritsail yard both have a sixteen sided (hexadecimal or hexadecahedron) centre piece. I found this very challenging to reproduce with any definition on a small dowel.
I tried several different methods including milling the flats with a 22.5deg fixed guide, or hollow out centre to 0.5mm depth and fill with 16 battens and also just flat filing. I finished settling for the battens, but still the definition change between the flats is hard to see and will be even less visible when painted black.

My Proxxon DB250 lathe is proving to be a worthy purchase and performs these tasks very well especially with the centre rest that I fabricated.

I am starting now on the foreyard and it like the main yard has an octagonal centre. This has been done with the mill and the definition is clearer to see.

Thanks for looking in.

IMG_5039.jpegIMG_5040.jpegIMG_5041.jpegIMG_5042.jpegIMG_5044.jpegIMG_5045.jpegIMG_5048.jpegIMG_5049.jpegIMG_5050.jpegIMG_5052.jpegIMG_5054.jpegIMG_5053.jpeg
 
Last edited:
Back
Top