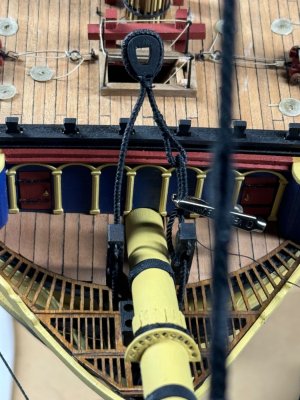
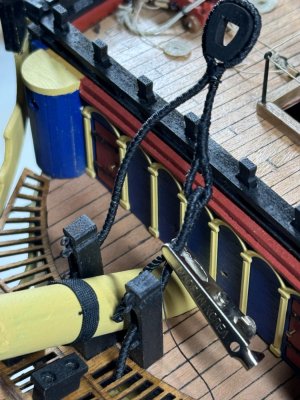
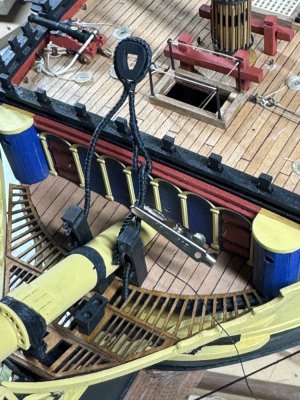
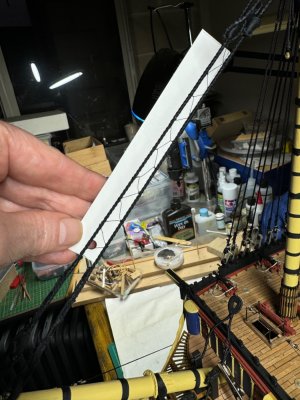
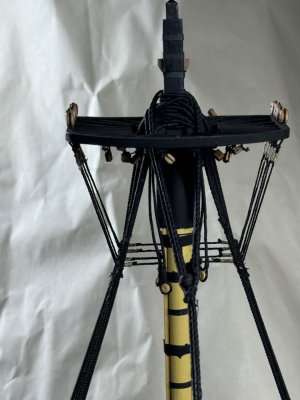
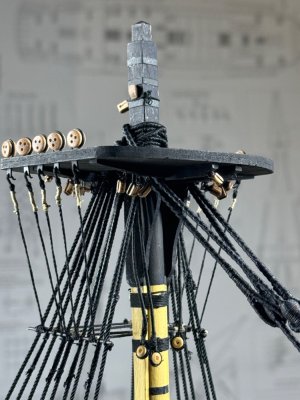
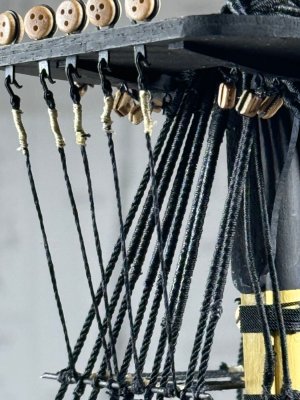
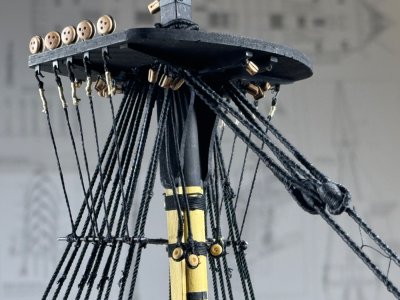
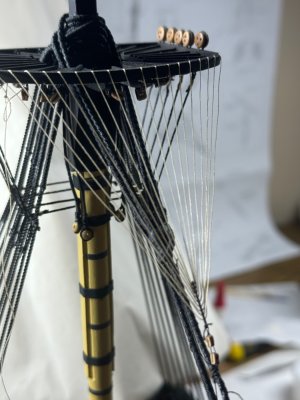
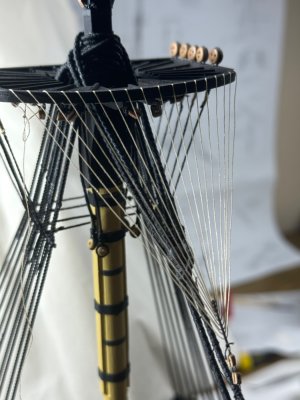
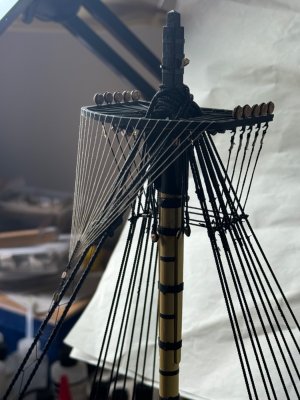
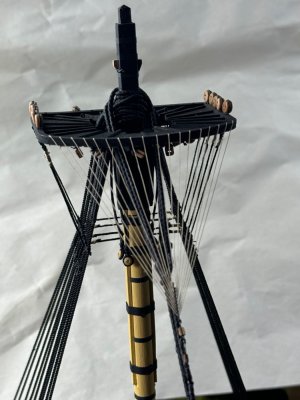
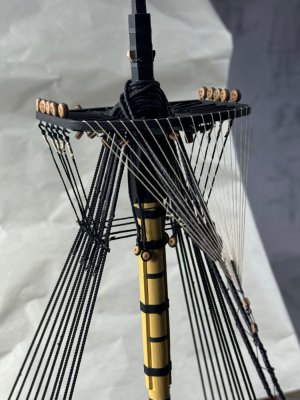
HMS Vanguard 1787 1:72 a Victory Models kit

Really nice work my friend. I think the mouse turned out great!

It looks like you chose polyester ropes. I like that choice, but they do tend to unravel violently (all poly ropes do this, not just Ben's). There is a way to mitigate this if you are interested: wrap the rope around something like an empty soup can and then bake it in your oven at 300 - 325 degrees for about five minutes, it sets the rope in a way that slows down the unraveling. Hope this helps.
Thanks Paul for your encouragement.

The ropes for the shrouds are 1.3mm black rope. I am not critical of Ben’s product, in fact I love them. I noted that he has on the webpage that the polyester is already heat treated, to reduce the spring back tendency. The cable laid rope is not pre-heated. Both are recommended to heat seal the ends. I do heat the ends, but once on the ship it is harder to wield a flame without unwanted bits burning.

Do you suggest heating them further in the oven? Is the wrapping around a round object necessary or can it just be done coiled up flat on a tray for example?

Does the cotton rope behave differently?

Thanks
Michael
Yes, I now see that Ben heat treats his poly ropes... I guess if it is unraveling, however, that the heat treatment was ineffective because on my poly ropes (I made my own) the heat treatment made the unraveling almost negligible.

I never heat sealed the cut ends with an open flame or special cutting tool (whether I was on the ship or off the ship) - I always (and only) used CA.

To answer your questions: I certainly would do an experiment on a length of rope to see if some additional baking would help. And, yes, in my experience you must wrap the rope about something and secure the ends with tape. When I just baked the rope laying loose it went crazy. Finally, none of this applies to cotton ropes - it really doesn't unravel but can be a bit frizzy (which may not be a problem for you or other builders).

Hope this helps!
 
View attachment 475161View attachment 475162View attachment 475163View attachment 475164View attachment 475165View attachment 475166View attachment 475167View attachment 475168View attachment 475169View attachment 475170View attachment 475171View attachment 475172


Rigging update:
All the foreshrouds are in and deadeyes are lashed. I am using rope from ropes of scale for the shrouds and they are beautiful, but when you cut them they unravel. I have been using a flame or solder iron to more accurately apply heat. One shroud threatened to unravel beyond a point of salvage, and I only managed to catch it in time. If this had gone bad it would have needed all the shrouds to be removed and start over as it was one of the first pairs.

I have inserted the bobstays and the bowsprit shrouds, and the blocks on the bowsprit cap.

The plans show the fore and main Stays and the fore and main Peventer Stays have a mouse that fits into an eye splice, all of which is served rope. The serving of the mouse is usually a two way darn which looks very nice, but at 1:72 scale too difficult for me. I elected to make the mouse from a 6mm dowel, and using @aew suggestions drilled the channel, 2mm, then used a pencil sharpener followed by freehand sanding to give a nice mouse.

Serving over the mouse is quite challenging and I found turning the crank manually after the mouse was covered in dilute PVA, worked best.

I also decided to use open heart collars for the bowsprit side and closed hearts for the stays. The hearts are from Vanguard models, they are beautifully detailed. Fore stay now complete, three more to do.

Thanks for visiting.

View attachment 475173
Good morning. Very accurate rigging. Cheers Grant
 
Does the cotton rope behave differently?
Good morning. I have used cotton ropes from Drydock models. I prefer cotton ropes probably because I can't bake ROTF. Seriously tho - These don't unravel however do "fluff" a tiny bit. You just have to be careful how much you handle them. In my opinion, from viewing photos, good quality polyester gives a more defined rope and looks really good on the model. I look at Peters (@Ptèr ) Xebec and his rope work is off the charts good. In saying that I think the cotton looks more realistic. A personal choice however anything is better than rope supplied by most kit manufactures. Cheers Grant
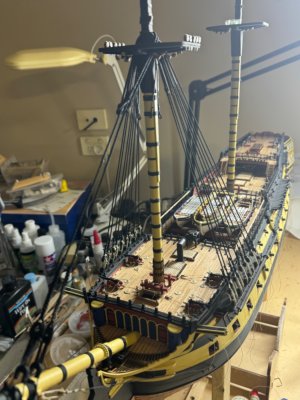
 
Good morning. Very accurate rigging. Cheers Grant
Thank you Grant.
Rigging requires very different skills than the woodcraft of hull and other parts. However I am enjoying the variety of challenges that building an English ship of war brings, including handling wild rope.
Thanks for sharing your thoughts on cotton vs polyester. I may try the cotton.
Michael
 
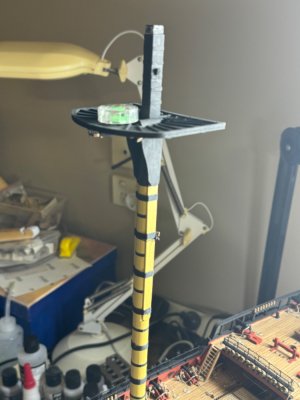
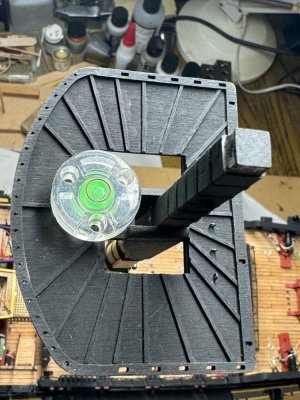
Completed foremast preventer stay. Stepped the main mast and checked the top is level.
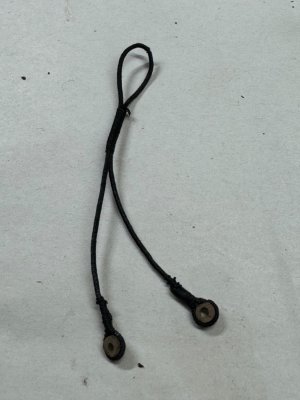
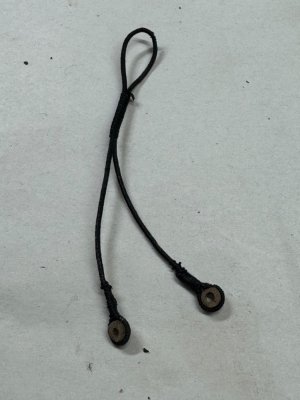
The Burton pendants for the main mast I decided to add wooden thimbles. I hope you like them…. I do.

I try to cover the model between work sessions as it is in my garage and prone to dust and dirt. It is getting harder to cover it now with masts in. It will be even harder when the top masts go in too.

As always, thanks for visiting.

Michael

IMG_5260.jpegIMG_5259.jpegIMG_5258.jpegIMG_5257.jpegIMG_5256.jpeg
 
Our models are very similar, I'll be following your review closely. It's really fascinating!
Hello Sergey. I welcome your interest in my build log.

Yes the Vanguard has many similar features to the Victory that you are building.

I read with interest and sadness what you have experienced with your Ukraine based shipmodelers forum.

I hope you find comfort and joy from attending here, and know that you are welcome as politics and religion are not relevant, all are welcomed and valued. Especially Australians.
Thanks for the support. Yes, I really like this forum. There are many great works here, lots to see and learn from.
 
Completed foremast preventer stay. Stepped the main mast and checked the top is level.
The Burton pendants for the main mast I decided to add wooden thimbles. I hope you like them…. I do.

I try to cover the model between work sessions as it is in my garage and prone to dust and dirt. It is getting harder to cover it now with masts in. It will be even harder when the top masts go in too.

As always, thanks for visiting.

Michael

View attachment 476061View attachment 476062View attachment 476063View attachment 476064View attachment 476065
Good morning.The wooden thimbles in the Burton pendants get my vote. Your mast tops are WOW. Cheers Grant
 
Well progress is slow. I have finished the shrouds for the main mast and am preparing for the main stay and main preventer stay.

I am following the rigging from Lennarth Peterssen and made a main stay collar that runs through the knightheads. It was difficult to thread through the stem grate and all the head beams, to assist I left a portion unserved and with a leading thread. The final eye splice had to be seized on the ship by hand. It looks less uniform but it’s the best I could achieve. The length of the line to make the collar was 230mm.

I will make a small collar to go around the foremast for the main preventer to lash to, and realise that it too will need to be seized in situ.

Also have done the snaking of the forestay and forepreventer stay.

IMG_5290.jpegIMG_5289.jpegIMG_5286.jpegIMG_5287.jpeg
 
Well progress is slow. I have finished the shrouds for the main mast and am preparing for the main stay and main preventer stay.

I am following the rigging from Lennarth Peterssen and made a main stay collar that runs through the knightheads. It was difficult to thread through the stem grate and all the head beams, to assist I left a portion unserved and with a leading thread. The final eye splice had to be seized on the ship by hand. It looks less uniform but it’s the best I could achieve. The length of the line to make the collar was 230mm.

I will make a small collar to go around the foremast for the main preventer to lash to, and realise that it too will need to be seized in situ.

Also have done the snaking of the forestay and forepreventer stay.

View attachment 478184View attachment 478185View attachment 478186View attachment 478187
Good morning. Spot on with the collar. I wonder how many meters of thread you will use on all the seizing for this Victory.....plenty I am sure. Well done with the snaking of the preventor and main forestays, looks really good. Cheers Grant
 
Good morning. Spot on with the collar. I wonder how many meters of thread you will use on all the seizing for this Victory.....plenty I am sure. Well done with the snaking of the preventor and main forestays, looks really good. Cheers Grant
Thanks Grant. Not sure how much thread will be used, but I do find it annoying that there is nothing in the plans or build instructions to give any rough idea of the lengths of the different parts of the rigging. So I am sharing in this log the lengths that I am using.

For the foreshrouds I used 700mm lengths for the double shrouds. For the main shrouds 800-900mm. Just starting to make cathrpins and started with 55mm but they are too long so going to try 48mm, have to make a whole new set.

Michael
 
Waiting for more cable laid rope that is worthy of putting on my Vanguard from Ropes of Scale before I can do main and preventer stays. It’s beautiful stuff that rope IMHO.
So tried to do futtock shrouds and catharpins for the foremast. Four catharpins and getting the lengths to match was challenging.
Also started to do the crowsfeet at the fore. For others doing Vanguard take note the diagram on Tavola 8 says the euphroe block which is etched brass part is 336, but the parts list says the fore euphroe is 335. I expected the main euphroe to be longer than the fore and if you count the holes the fore has 9 to match the 18 in the top, whereas the main has 10 to match the top of 20.
Anyway, the other trap is to not use enough thread, which is the 0.1mm natural thread. I started with what I thought was a generous length of 1500mm only to find you need about 1700mm. So after doing it for the third time with 1800mm I am not happy with the tension. I will redo it tomorrow.

IMG_5294.jpegIMG_5295.jpegIMG_5296.jpegIMG_5297.jpegIMG_5298.jpegIMG_5299.jpeg
 
Back
Top