HMS Vanguard 1787 1:72 a Victory Models kit

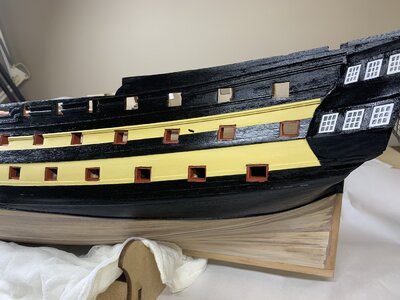
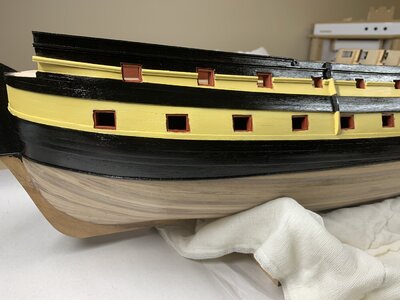
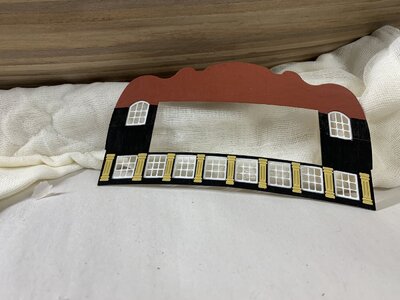
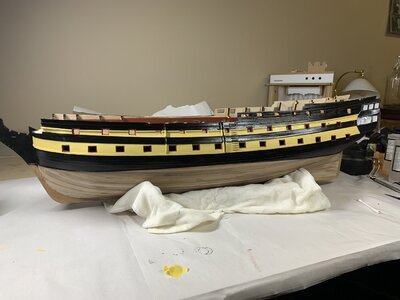
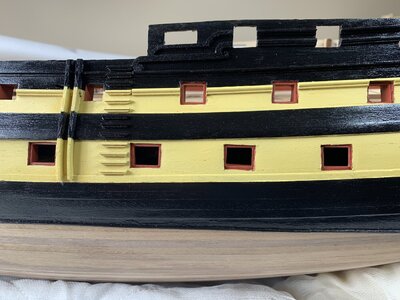
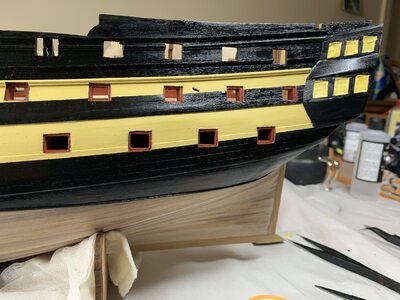
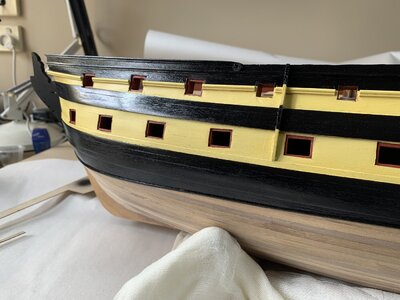
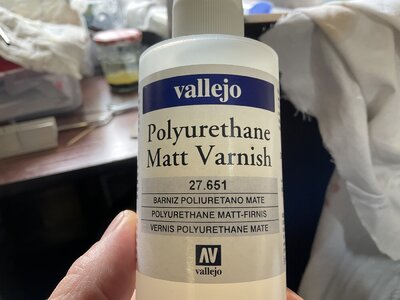
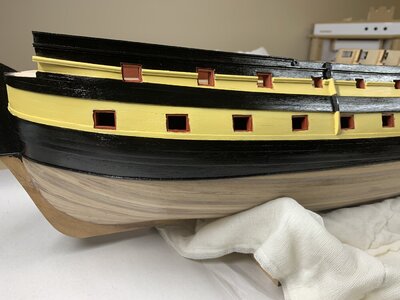
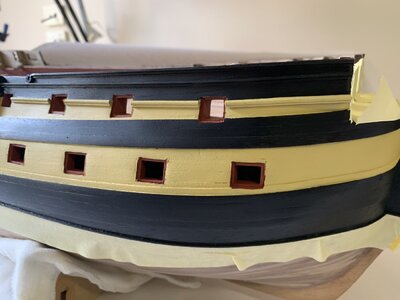
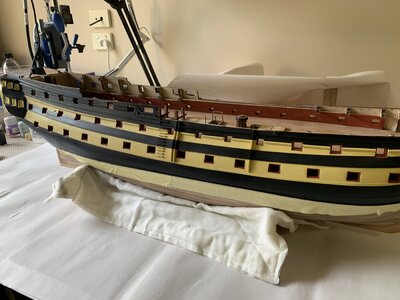
Both sides painted now. Gunport sills refreshed. A few areas need touching up then I will coat with poly varnish, using a Vallejo Matt which is said to be suitable for airbrush use. Have painted the stern fascia and installed windows, but haven’t glazed them yet.

Next job I will start coppering the hull.

720AC099-C650-42BD-A3B5-DB152B22E114.jpeg151B6B8E-E0EC-4C93-90E1-C83886F04507.jpegDAE87C51-A2CA-441B-A826-DD58B0B992D9.jpeg11455B11-15E9-4688-9037-3D7AFF4206E3.jpeg
 
Touchups done.

D7B8EFF2-A2C1-4B9D-841B-A5BA2A1FB79A.jpegF741072B-B14F-4830-9FB7-1DA9B661AB5F.jpeg20A28DAC-4DD9-46F1-AD16-FAEB7DECB6A6.jpeg

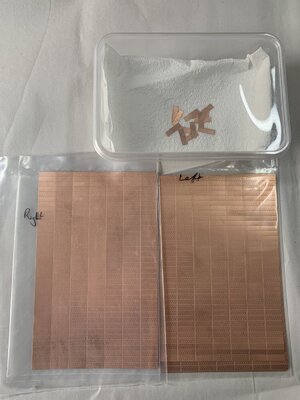
Copper plates are labeled left and right types.

They are 5mm(W)x17mm(L)x0.1mm(T)

The kit supplies 5 sheets of each Left and right, with 7 plates per row and 37 rows. 259 plates per sheet 1295 of each type and total of 2590 plates.

Many previous build logs suggest this will be a time consuming and possibly tedious process. Nevertheless I really like the appearance of a coppered hull and hope to make a worthy version in my Vanguard.

6AB61E4E-C578-4CF9-B586-7FCC711F8D4E.jpeg
 
Have used the polyurethane Matt varnish through the airbrush and very happy with the finish, sealed beautifully and nice even coat that takes the shine out of the black paint.

4049C90C-F7BE-4DB5-A1A6-7ABE15F418BE.jpeg

Before varnishing

41ED97FC-6E77-4574-8605-BEF6DB2F7846.jpeg

And After varnish

ABB347ED-8D54-4073-B35C-811A189CAEAA.jpeg05B55048-26B5-4187-956B-3CDD08AC5F8B.jpeg

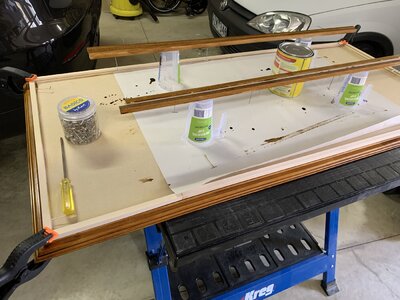
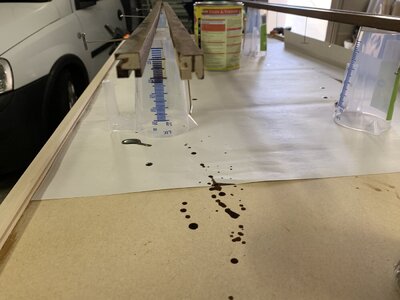
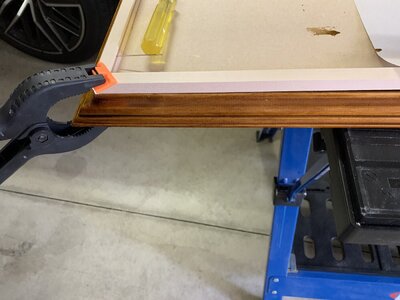
Also while waiting for paints to dry I am continuing the build of the display case. I purchased the pre-routed woodstrips and brass corners from Cornwall Model boats. I am staining the wood and have ordered custom cut acrylic sheets from local online supplier.

10ACC331-5ED3-40C5-9772-4146013F63E4.jpegA132C7A6-D3E4-4855-A5E2-C83E2CECB63D.jpegDEEA6F7A-2386-4495-948C-04D669DFD589.jpeg
 
Last edited:
Touchups done.

View attachment 366420View attachment 366421View attachment 366422

Copper plates are labeled left and right types.

They are 5mm(W)x17mm(L)x0.1mm(T)

The kit supplies 5 sheets of each Left and right, with 7 plates per row and 37 rows. 259 plates per sheet 1295 of each type and total of 2590 plates.

Many previous build logs suggest this will be a time consuming and possibly tedious process. Nevertheless I really like the appearance of a coppered hull and hope to make a worthy version in my Vanguard.

View attachment 366426
Good morning. Beautiful painting. I agree copper plating adds to these British ships of war. Whew, I’m not sure I would have the patience tho.
 
Good morning. Beautiful painting. I agree copper plating adds to these British ships of war. Whew, I’m not sure I would have the patience tho.
Hi Grant. Thanks for the likes. And thanks for looking in on my build thread.

I am learning so much with this build and many of the techniques are formed by reading other build logs on here and MSW.
 
Last edited:
Have used the polyurethane Matt varnish through the airbrush and very happy with the finish, sealed beautifully and nice even coat that takes the shine out of the black paint.

View attachment 366861

Before varnishing

View attachment 366858

And After varnish

View attachment 366859View attachment 366860

Also while waiting for paints to dry I am continuing the build of the display case. I purchased the pre-routed woodstrips and brass corners from Cornwall Model boats. I am staining the wood and have ordered custom cut acrylic sheets from local online supplier.

View attachment 366862View attachment 366863View attachment 366864
I have been quietly (secretly) bothered by the shiny black for a while now. So glad to see that muted! Good call!
 
Small update.

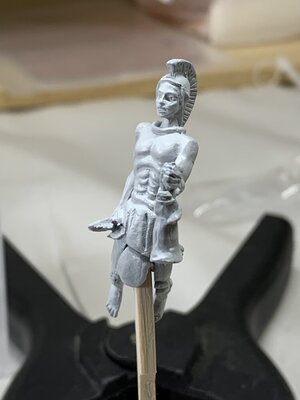
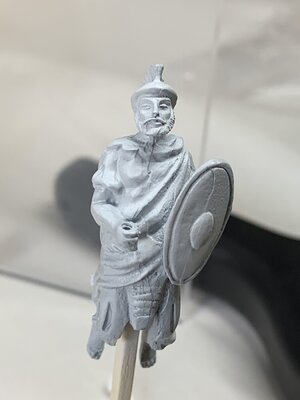
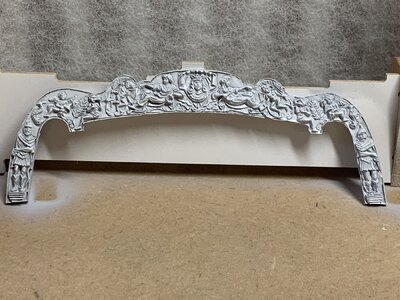
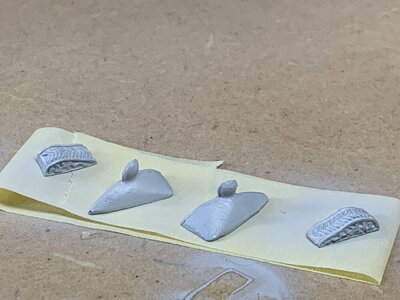
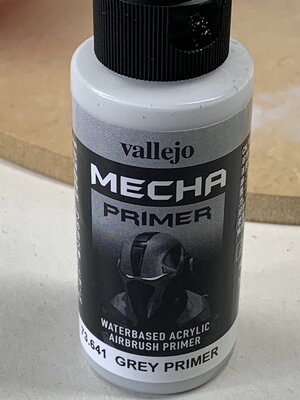
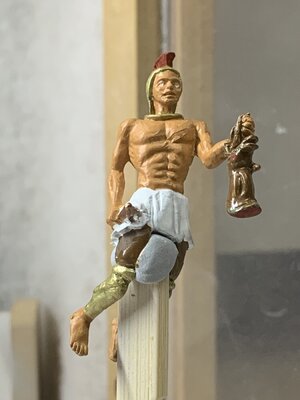
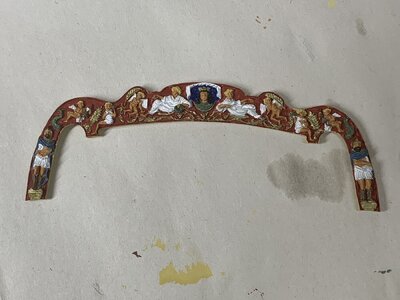
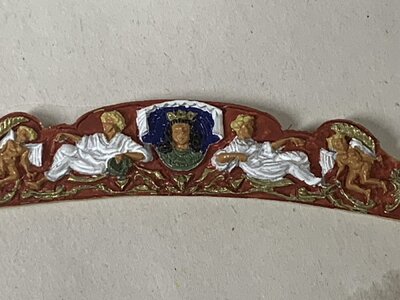
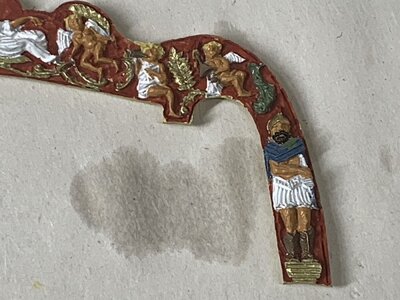
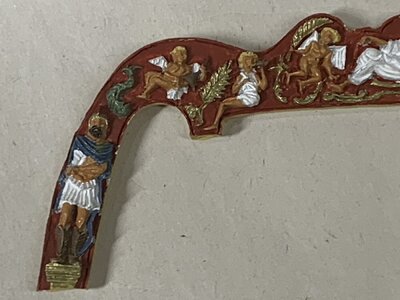
Preparing some of the white metal and resin cast parts for detailing and painting. I applied an acrylic airbrushable primer, two coats.

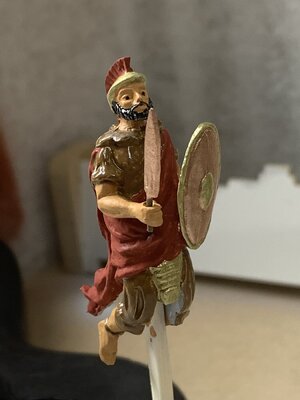
The hole in the Vanguard figurehead’s hand to hold the sword required drilling first, and some minor flashing needed filing.

032BC15C-A98F-4035-AE2C-01BD53E036F0.jpeg3695817B-9778-4FAF-AC9B-1FF1F8BD5554.jpeg7BFDC9C8-758A-4347-8684-3443E1F6F744.jpeg397459B3-13B6-4086-935C-5DDF52D048E0.jpegAAABEBF6-3FBB-464B-85A3-76D280B3F805.jpeg
 
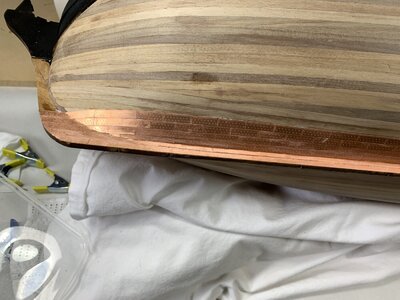
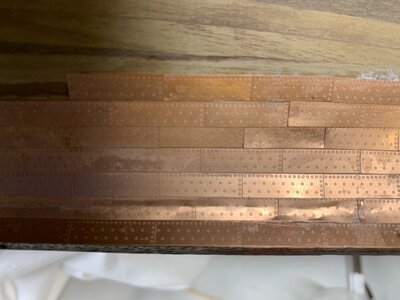
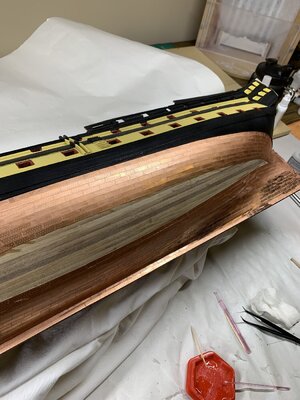
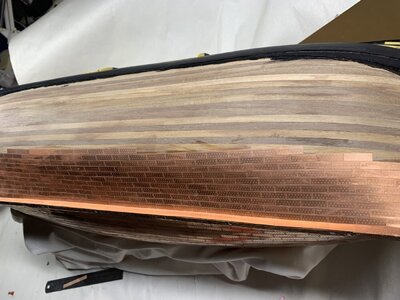
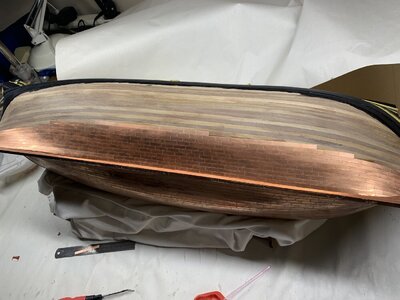
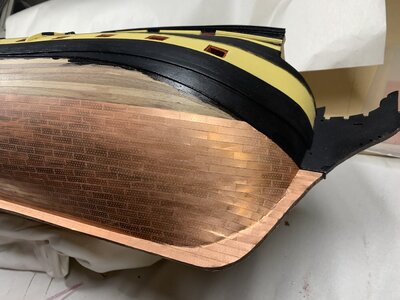
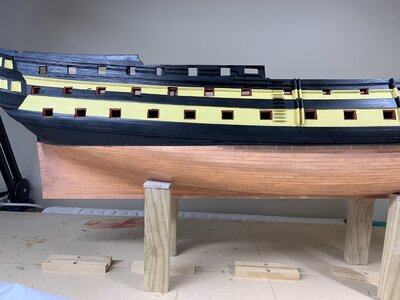
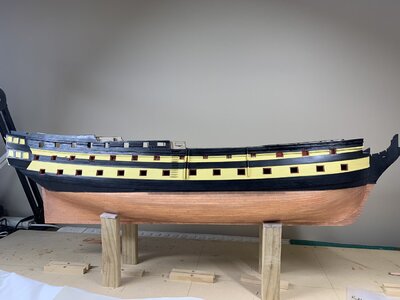
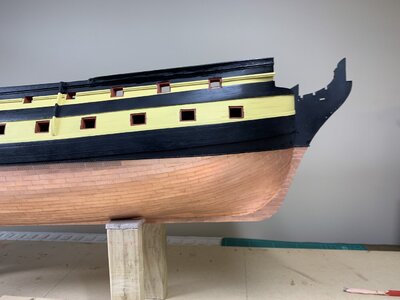
Have started to apply copper sheathing plates to the hull below the waterline.
This is the first ship that I have had which requires copper plates, so no experience with it.
I have read much online and in forums like SOS, about coppering.
The Vanguard kit I have has very detailed copper plates with port and starboard rivet patterns as mentioned in my earlier post #62. They are easy to separate into rows of seven or individually.

Other options include Copper tapes and plate tapes from Chinese suppliers ZHL.

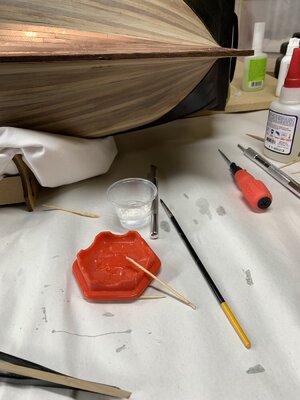
My experience so far leads me to offer the following suggestions to other modeler.

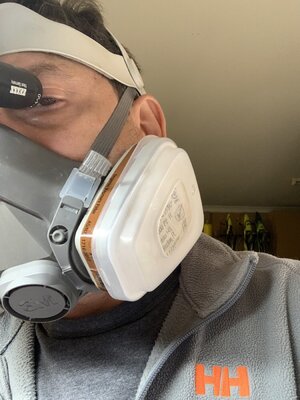
1: When using CA glue for such a prolonged period, wear protective breathing mask and eye protection and disposable nitrile gloves
2: Apply CA glue sparingly, small dabs in Centre of the plate.
3: Pre-moisten the hull in the area of plate to facilitate CA setting (Thanks to Adiefenbach from his Victory log)
4: Avoid the temptation to use more than two plates at once, best results seen with only one at a time.
5: Some small amount of overlapping is preferred to cutting odd shapes.
6: Use toothpicks or scrap wood and or small metal probes to position the plates and apply contact pressure
7: Use paper towel or rag to wipe away excess glue as you go.

Still not sure how to clean up the CA glue residue on the surface of the plates.

I welcome any comments positive or negative.
908BA433-DE44-4A7A-B1D9-694A96F20804.jpegA34B5234-EBB3-46F3-9C4C-FB584C35FF1E.jpeg0E5FC77A-730C-4463-B8A6-F652E5D05F88.jpeg337BC69E-7670-4AFD-B2E8-3D6F2D04A1E6.jpeg
 
Last edited:
Copper plating takes time. On port side I tried to clean up the copper with glue and some marks. That was a bad idea. I used Glue Debonder, acetone and brass brush. Now it looks very patchy and tarnished.
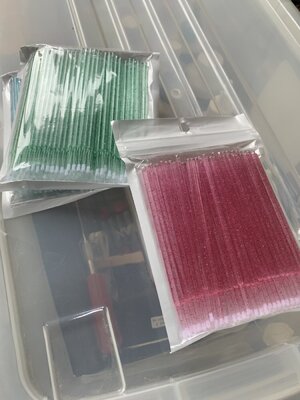
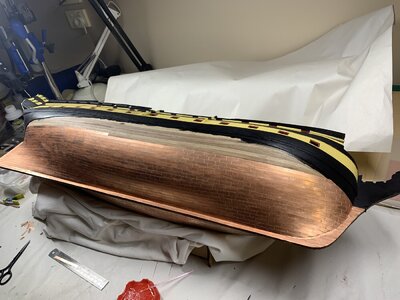
Started the starboard side. Using different plating strategy. Try to minimize cutting plates. Go from keel up, not meeting in the middle.8CAFFD89-B369-4587-9B99-0DE1A4AD5ED8.jpeg2F98C8A0-5C89-4F4A-917F-4D8224436383.jpeg07C37520-95C9-4610-B018-9621552BFD9E.jpeg1DE4F6F2-FC73-4ED2-B2ED-FE5F01A4036B.jpeg228DE8B9-8497-4736-A00E-335D91912EA2.jpegCE3E2C5D-412C-4118-ABE0-0299503F5448.jpeg More overlapping, especially at the Gore line which is about 11 rows from the keel. Also found some nice makeup brushes that are perfect for applying CA from a puddle of glue to the plates
I’m not going to clean this side.
While having the hull upside down, have noticed areas where paint wasn’t even around gunports and decorative strips, so touch ups needed.
 
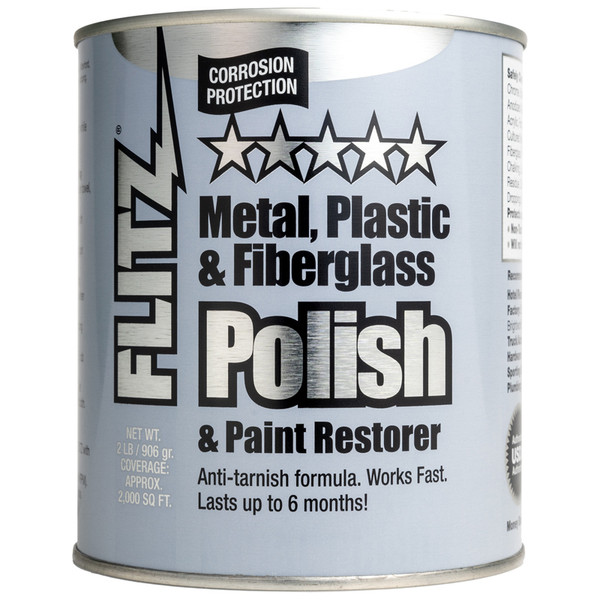
Beautiful copper plating! As far as cleaning up the copper plating I'm thinking a product called Flitz Multi-Purpose Polish and cleaner might work. It's non-abrasive and does a wonderful job polishing stainless steel and removing stains on fiberglass. You can purchase this on Amazon.
 
The copper hull looks marvelous. Congratulations!
Thanks doc. It was very time consuming. I’ve tried to share my experience and learnings so that if others reading my log follow they can avoid mistakes I’ve made and conduct their build with more instruction than the ones supplied to achieve better results.
 
Beautiful copper plating! As far as cleaning up the copper plating I'm thinking a product called Flitz Multi-Purpose Polish and cleaner might work. It's non-abrasive and does a wonderful job polishing stainless steel and removing stains on fiberglass. You can purchase this on Amazon.
Thanks Andre. I will explore your Flitz recommendation.
I am not confident I can recover the look of the port side, but I am not prepared to take off the plates and redo it. I look at flitzing it.
 
Nice job on the coppering Chestcutter. 0000 steel wool does a great job getting you an even finish across all the plates. If you want to seal the copper after to keep it looking like new I used Everbrite ProtectaClear on my Pegasus and Vanguard, it goes on really easily and evenly and so far is working great to prevent tarnishing.
 
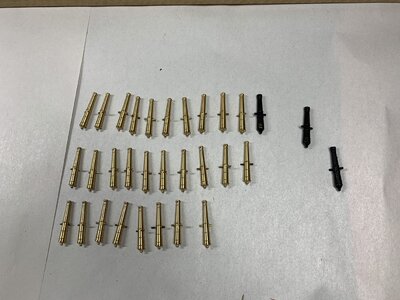
Starting to work on the guns for the gun deck. Not really happy with the carriages and guns supplied with the kit.
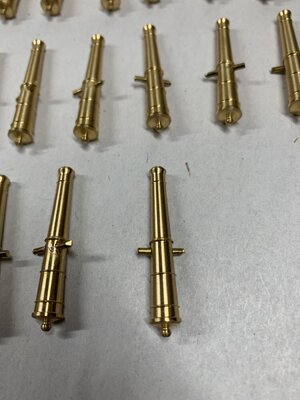
I bought some alternative guns from Caldercraft range. The barrels are brass and have been trying to make them black.
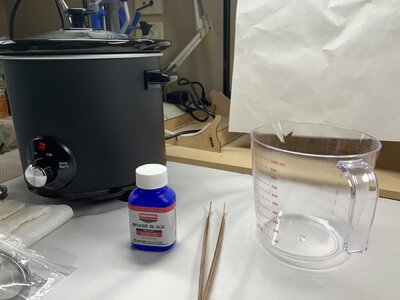
Used Birchwood Casey Brass black according to dvm27 from MSW pinned post.

it works well but not really black, more of a shiny gunmetal grey is the result.

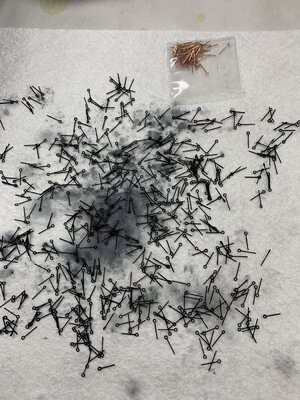
I am also trying to get black eyelets from the copper ones supplied, here left in Brass black for 20+ minutes, then rinsed.

This is the result. Hoping the black doesn’t rub off, I know it’s a selenium oxide coating.


A8382EDD-CA9B-4D51-A728-64FF15EBFB68.jpeg


What do others do to make these small shiny metal parts the correct colour, often Matt black?

BA1551F6-855B-483C-A8B8-E4B651B10021.jpeg
 
Hi Chestcutter,
I think the black looks great! What guns guns did you purchase? I would also like to replace the gun carriages that came with the Amati kit.
 
Back
Top