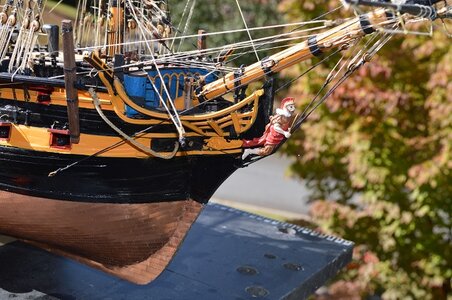
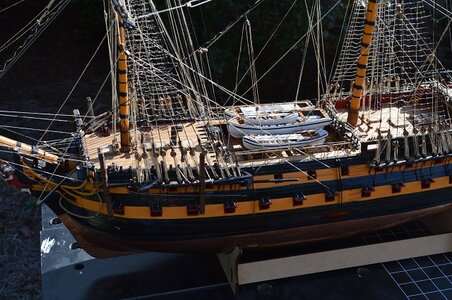
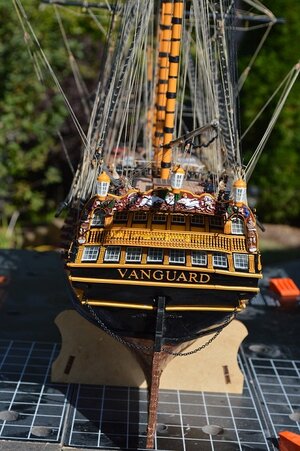
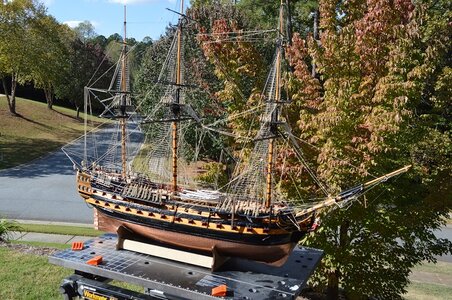
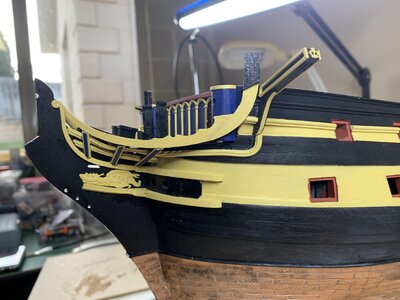
HMS Vanguard 1787 1:72 a Victory Models kit

Hi Chestcutter,
I think the black looks great! What guns guns did you purchase? I would also like to replace the gun carriages that came with the Amati kit.
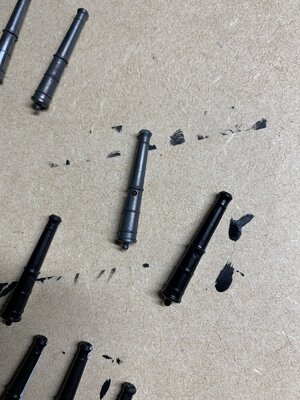
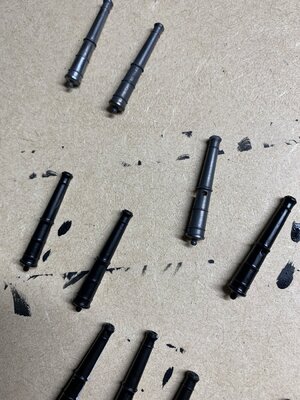
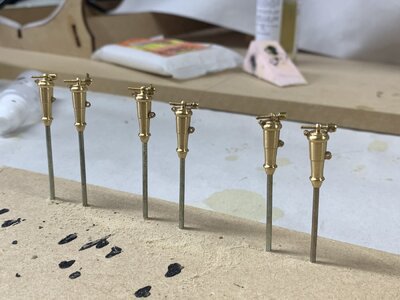
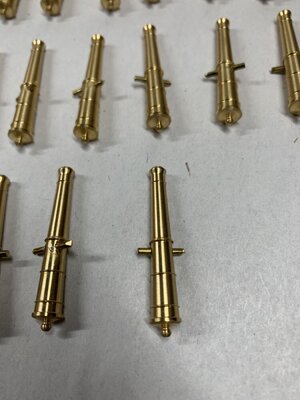
Hi Andre. To be clear the blackened barrels in the photo in post #78 are from the kit. The brass ones are purchased here, from CMB. They are the Caldercraft cannon kits, they have 2 per pack for £8.76 UK

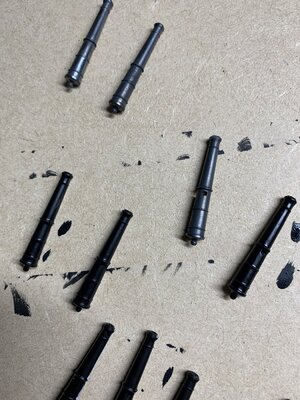
I did blacken the brass ones and the kit ones using the chemical techniques using Birchwood Casey Brass black. I am not entirely happy with the colour after removing the selenium oxide it leaves the metal a gun metal grey, not black. The photos below show the difference after I decided to paint them black. Still trying to get a good result.

E99FE7C9-CCD8-4AF4-B230-63DA97D20CDC.jpeg41B86184-0C16-4F06-8A17-5B4628C7D873.jpeg
 
Hi Chestcutter,
I see what you mean by the gun metal grey on the brass cannons. I do like the the black on the kit's guns. I don't know enough about using a chemical blacking method to blacken the cannons. Do you need to remove the oxide and/or can you seal the finish with a matte varnish to preserve the finish? I think that the painted finish looks great! As for the gun carriages, I looked at Caldercraft gun kits and could not find 1/72 scale 18 pound cannon kits. Model Monkey does offer accurate 1/72 scale 18 pound cannons and carriages for the Amati ship we are building. They are 3D printed, so I'm not sure if this is what I want to go with yet. They are highly detailed and I think they might look good after painting.
Hi Andre, thanks for your suggestion from Model Monkey. I had not been aware of them, but they do look nice. The total price to use them to replace the kits 18 and 9 pounders would be quite expensive and shipping to Australia even more eye watering. I think I will continue with the Caldercraft replacements for the 18 pounders and retain the kits 9 pounders but modify the carriages.

I look forward to seeing your next updates., they are always inspiring and beautiful to look at.
 
This ship build was my crown achievement! Amati has excellent products!
 
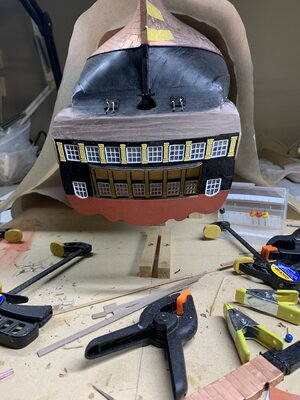
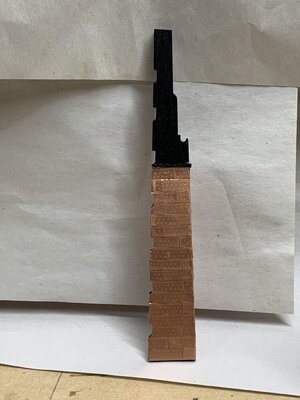
Currently working on the stern and the rudder

E4F80FFF-6A13-43DB-84FF-73899A21B186.jpeg9DCAB97D-D584-4153-9332-F0D3CE87FED1.jpeg

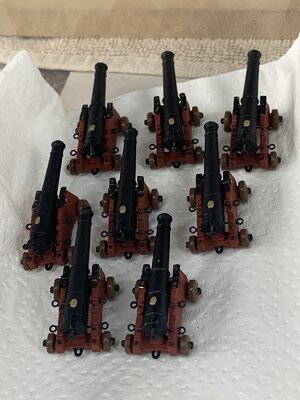
In between I am preparing the 18 and 9 pounders.

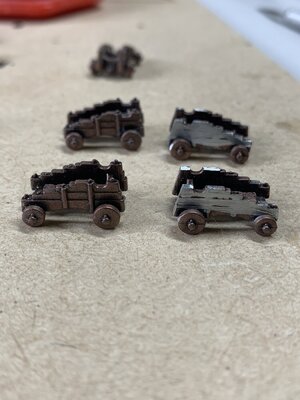
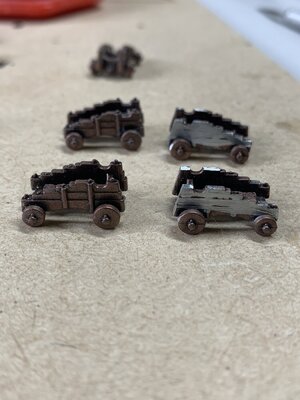
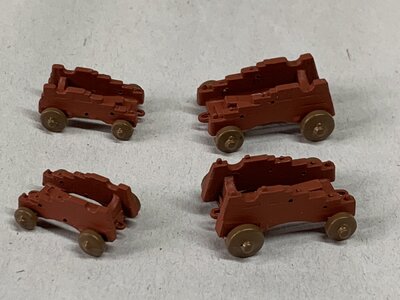
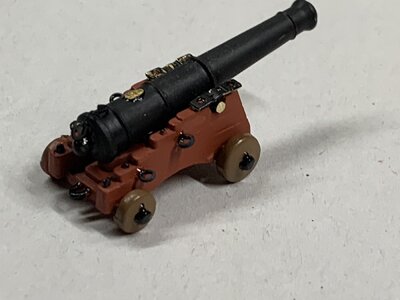
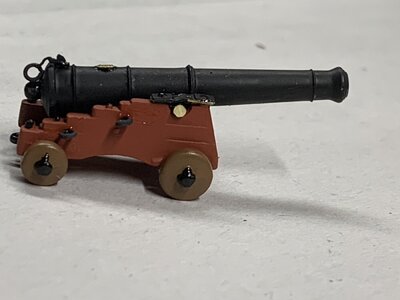
I started by deciding to replace the 18 pounders with Caldercraft cannons, but wasn’t happy with my build of the carts. So I kept the cannon barrels and will mount them on the carts from the kit. These are the steps taken to deliver the final version.

1: File the carts details off to be more accurate
2: Paint metal primer on carts
3: Drill holes in side of cart for eye pins , 4
4: Preprare barrel, with blackening and then paint black
5: Blacken brass rod for trunion and eye pins for cannon cart
6: Paint flint lock black
7: Paint cap squares black
8: Paint cart ochre red
9: Paint cart wheels brown
10: Paint wheels axle and latch pin black
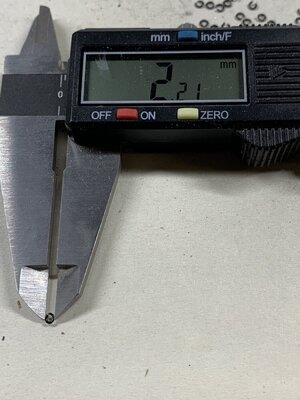
11: Get black breech rope rings 2mm
12: Assemble

8BAA6433-7D7C-423E-9A31-DED7C4E02A9B.jpegCE0A393E-DBEF-498E-BEF3-D19867DA84FF.jpegDB999C47-4180-4CFD-931C-B8C533C3C6DF.jpegD7C11F33-C55B-4D8B-9439-AEB009A87C6A.jpegDFDB0288-BDA1-46A4-A348-63F8B38FB014.jpeg4E03430C-DD76-4FCF-B256-8492A1E51E4A.jpeg7D42E297-062A-4609-86F8-F83B4FCA0196.jpeg

I know the KGR emblem is more rearward and not brass, but I want to be able to see this detail. Also will touch up caps and other brassy bits later.

3BF264F7-2810-40FD-AEB2-5CCBBDC9FDD9.jpeg
 
Last edited:
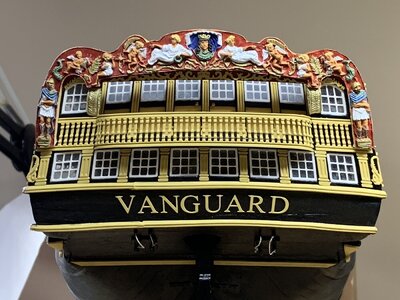
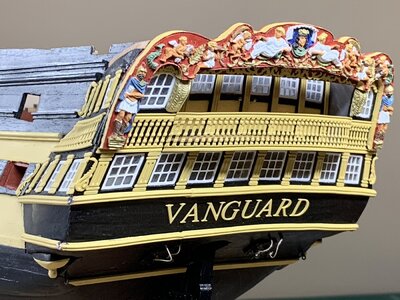
Making progress with the stern.
I have found this to be a rewarding and interesting part of the build. Getting the stern elements to all align with no gaps and in alignment around the corners has been challenging.
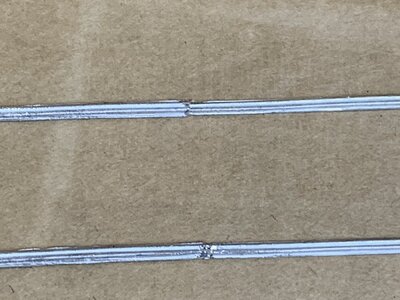
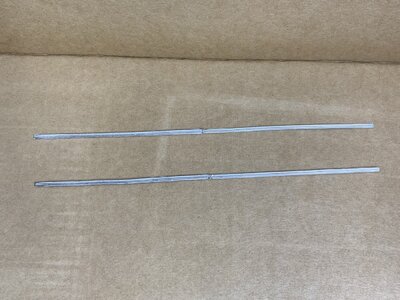
The white metal decorative strips need to be joined to get the required lengths. They respond well to a soldering iron and can be bonded.

IMG_3240.jpegIMG_3238.jpeg

Some more decorations to apply.
Needing to apply paint as I go which slows things down somewhat.

IMG_3251.jpegIMG_3250.jpegIMG_3248.jpeg

IMG_3239.jpeg
 
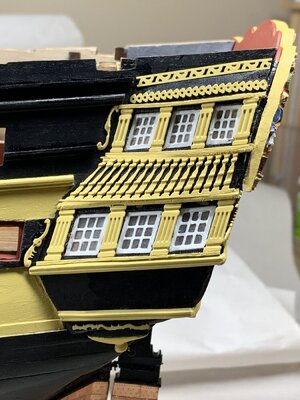
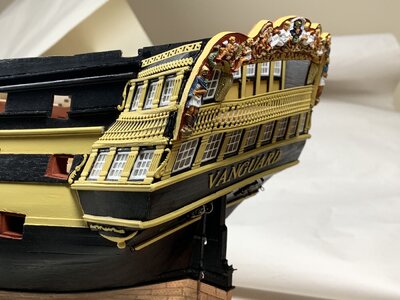
Now finished the stern side galleries and the stern balcony, except for some minor touch ups.

IMG_3261.jpegIMG_3260.jpeg
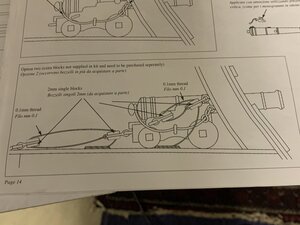
Planning to commence work on the bow but simultaneously working towards getting the guns rigged and fixed on the main gun deck. Planning a fully rigged gun with 6 2mm blocks for each.
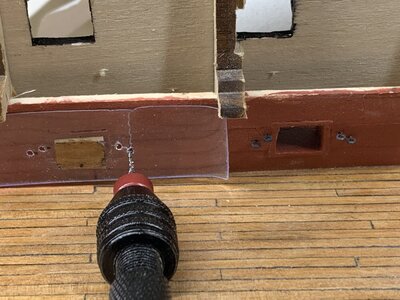
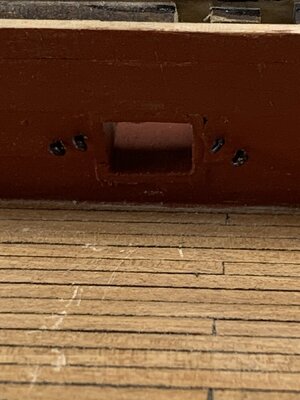
Created this jig to assist with setting the eyelets around the gun ports with some consistency. Having started the drilling I realize that the deck furniture makes access difficult, for future builders I would recommend delaying fitting the deck furniture until after the guns eyelets are fixed.

IMG_3259.jpegIMG_3254.jpeg
 
Starting to build the bow. Up till this point the instructions and printed instructions have been adequate, but I am starting to develop some frustration and disappointment with the lack of instructions or pictures of much of the details of the build. I rely heavily on other build logs and the Anatomy of Bellona book.

For example this is the only picture of the cathead

IMG_3269.jpeg

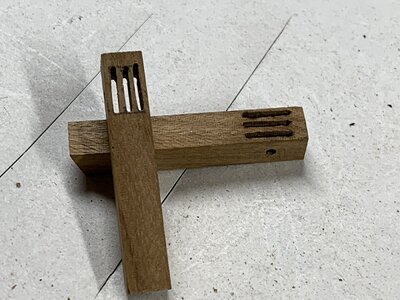
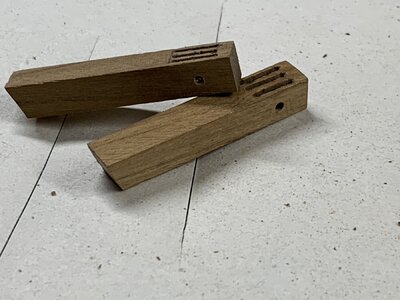
I have made a modified cathead with three slots and sheave for rigging lines.

IMG_3265.jpegIMG_3264.jpeg

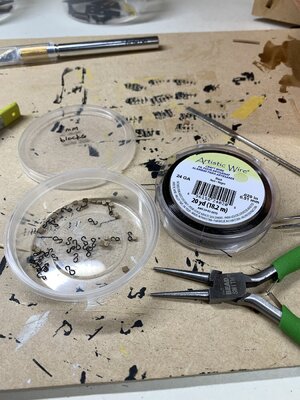
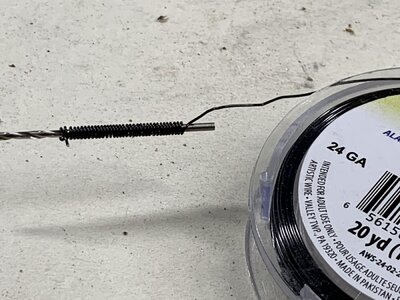
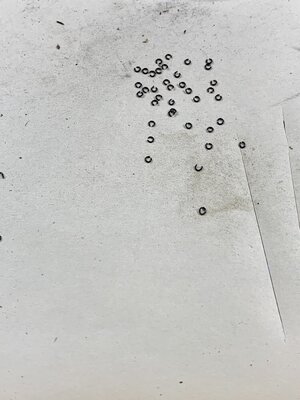
Also working on making the tackle to rig the guns as option 2. The kit supplies none of required parts. So procured 2mm blocks, and working on making my own black rings and hooks, using 24G beading wire and pliers. Wrapped wire around a drill bit and get 35 2mm rings per wrap. The wire is coated. I found blackening these small parts is too messy and the black dust is hazardous.

IMG_3270.jpegIMG_3263.jpegIMG_3266.jpegIMG_3268.jpegIMG_3267.jpeg
 
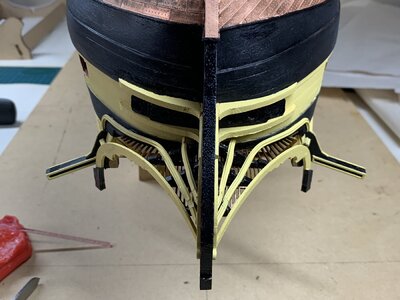
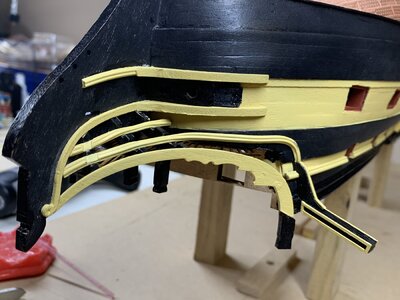
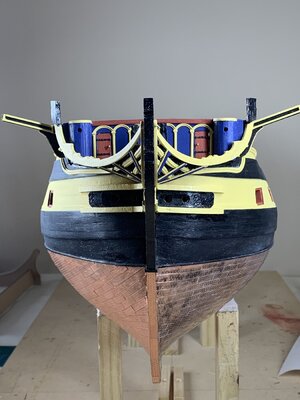
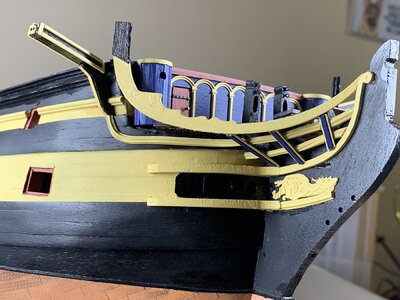
Working through bow construction. The sequence of part installation I followed to allow for getting good alignment and also for fine adjustments and work on the parts off the ship when required.
All parts painted before fitting.

1: Fit the trees (head rails). They required some wedging to get a snug fit and prevent any play in the angle, dry fit the grating to set the angle
2: Fit bow upper cheek rail to sit snug up against lower edge of trees, both sides to get symmetry
3: Fit upper bow cheeks to run parallel to wales line
4a: Mark out hawse holes with plate and drill holes with 2.5 mm drill, carefully
4b: Fit hawse plates. As thin ply they are difficult to bend and required some encouragement
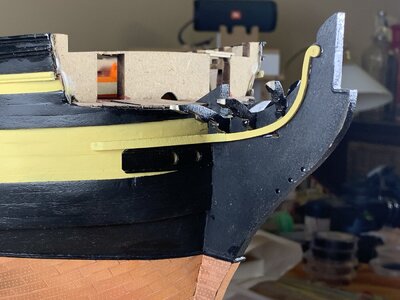
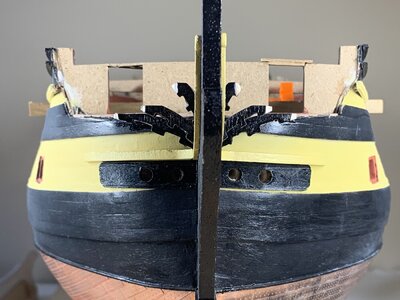
IMG_3285.jpegIMG_3284.jpeg

5: Fit lower cheek rail. I substituted the rail for similarly curved and lengthed piece of decorative strip
6: Fit the lower cheek up against hawse plates.
7: Sand the tips of the trees to align with outer edge of gratings
8: Prepare Catheads and support bracket and mark out where fixation occurs as the decorative rails need to be trimmed to allow the cat head to sit flush. Getting the forward angle of the cat head and symmetrical is challenging.

9: it necessary to know the final position of the cat head support to align the upper decorative strip that runs from the tip of the stem along the underside of the trees and onto the bow and curves up to the cat head.
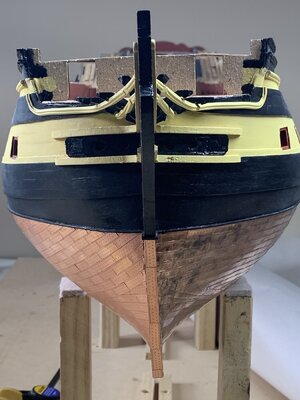
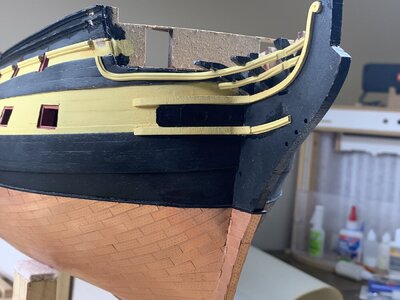
IMG_3293.jpegIMG_3292.jpeg
10: Attach lower decorative (shorter) metal strip. Note I filed down the strip in the area where a 1x3 walnut decorative strip is laid to enclose the metal strips.
The decorative strips were shaped and curved with finger pressure and inserted with the ship upside down, which made it much easier to access and tweak the bends.
11: Attach the gratings, largest first. I added some 1x1 walnut strips to get the grates to sit evenly on the trees.
Frontbulkhead and round houses are only dry fitted.
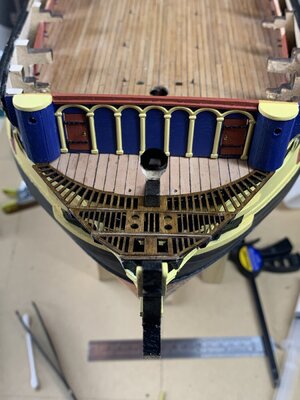
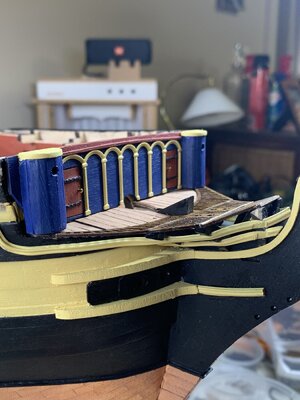
IMG_3294.jpegIMG_3295.jpeg
 
12: Fit catheads and supports and re-apply trimmed decorative strip. I did this with hull upside down. Catheads and knightshead all have brass wire drilled into base to strengthen the attachment to the hull
13: Hull right way up, fit the main bow rail

IMG_3296.jpegIMG_3297.jpeg

I added extra decorative strips to the Catheads and support to provide colour contrast.
From the photos I’m sure it is noticeable that the copper tile patterns are different from port and starboard. This happened as I was unhappy with the way the port side turned out, and did the starboard differently. I can’t bring myself to redo the port side, and my plan to display the ship‘s starboard side In preference.
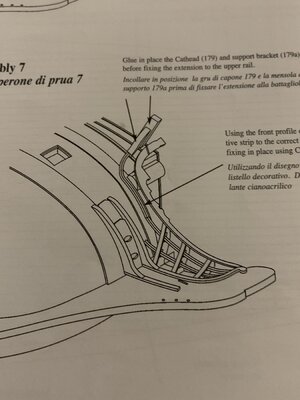
14: Hull inverted again apply the head rail assembly closing bands, which are 0.5 x 3 walnut painted yellow with 0.5 x 1.5 Tanganiyka strip painted blue centered on top.
15: Add Catheads crown decoration and prow decoration
16 Secure the seats of ease and knightheads. I secured three eyelets in each knighthead in anticipation of rigging attachments.

All that remains is to fit the bulkhead and boomkins.

IMG_3298.jpegIMG_3300.jpegIMG_3303.jpegIMG_3304.jpeg
Thanks for following my log.
 
Iam a total newbie too ship building to be honest, question : is that a filler with gauze between the ribs?
 
Iam a total newbie too ship building to be honest, question : is that a filler with gauze between the ribs?
Hi Bren

No the filler between the ribs (bulkheads) is balsa wood blocks. Using fillers helps provide stability and makes the fairing (filing) of the bulkheads easier to obtain the best curves and lines of the hull. It is particularly helpful at the stem and stern of the ship.
Balsa is light and easy to shape but not inexpensive, so I use it in the most critical areas.

PS I love your dog. Is it a German Shepherd.
 
Back
Top