Thanks Grant. I am encouraged by fellow SOS members interest.Good evening. Looking marvellous. Cheers Grant
-

Win a Free Custom Engraved Brass Coin!!!
As a way to introduce our brass coins to the community, we will raffle off a free coin during the month of August. Follow link ABOVE for instructions for entering.
-

PRE-ORDER SHIPS IN SCALE TODAY!
The beloved Ships in Scale Magazine is back and charting a new course for 2026!
Discover new skills, new techniques, and new inspirations in every issue.
NOTE THAT OUR FIRST ISSUE WILL BE JAN/FEB 2026
You are using an out of date browser. It may not display this or other websites correctly.
You should upgrade or use an alternative browser.
You should upgrade or use an alternative browser.
HMS Vanguard 1787 1:72 a Victory Models kit
- Thread starter Chestcutter
- Start date
- Watchers 62
-
- Tags
- amati vanguard victory models
Wow, I think it looks great
Thanks Red Bear.Wow, I think it looks great
Very nice and fine planking, great job.
Thank you Tobias.Very nice and fine planking, great job.
Took a break from sanding today.
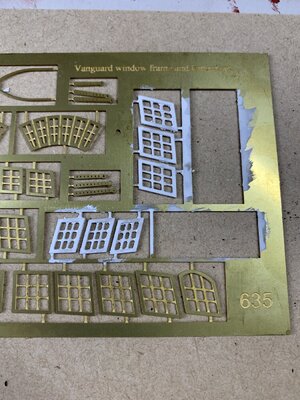
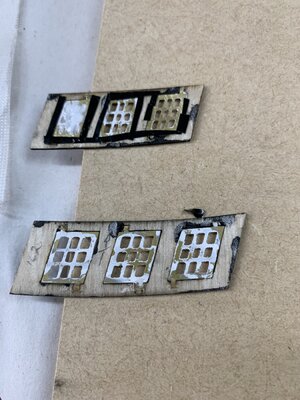
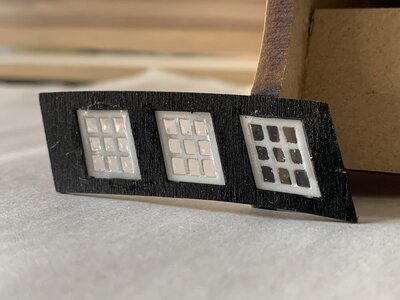
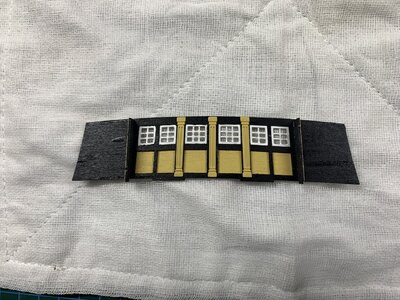
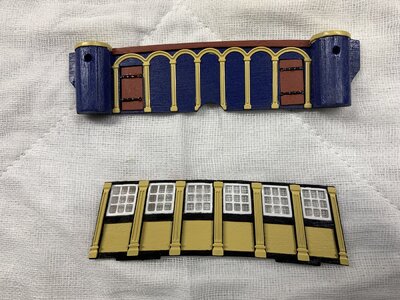
Did some painting and preparing the glazed elements of the quarter galleries.
Painted the etched windows on the sheet after using an etch primer.
Painted the panel elements black.
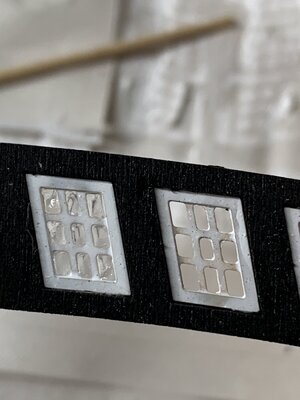
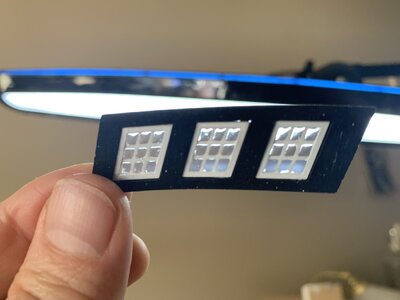
After all dried I cut the windows but intentionally left the tabs to aid fixing to the panels, having marked and cut out a recess for the etched tab. after the windows were secured with a dab of CA, then the gaps around the window blackened with electrical tape.
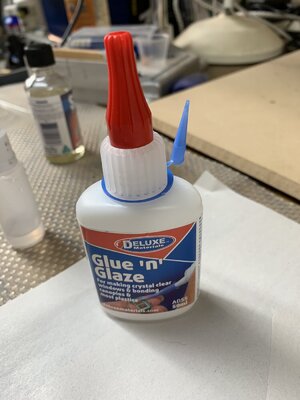
Finally I created the glazing effect with a product called glue n glaze, instead of using the acetate sheets, as they are notoriously difficult to glue without streaking. So far I think it looks good.
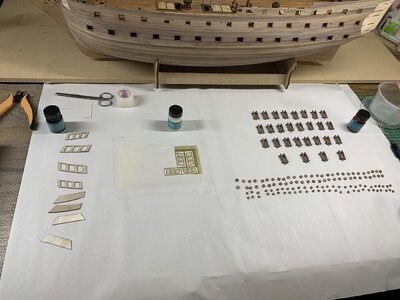
Also haven’t been happy with the cannon truck castings that come with the kit and bought some wooden kit ones from Cornwall Model Boats.
Painted them having assembled all 28 for the gun deck
.
Did some painting and preparing the glazed elements of the quarter galleries.
Painted the etched windows on the sheet after using an etch primer.
Painted the panel elements black.
After all dried I cut the windows but intentionally left the tabs to aid fixing to the panels, having marked and cut out a recess for the etched tab. after the windows were secured with a dab of CA, then the gaps around the window blackened with electrical tape.
Finally I created the glazing effect with a product called glue n glaze, instead of using the acetate sheets, as they are notoriously difficult to glue without streaking. So far I think it looks good.


Also haven’t been happy with the cannon truck castings that come with the kit and bought some wooden kit ones from Cornwall Model Boats.
Painted them having assembled all 28 for the gun deck
.

Last edited:
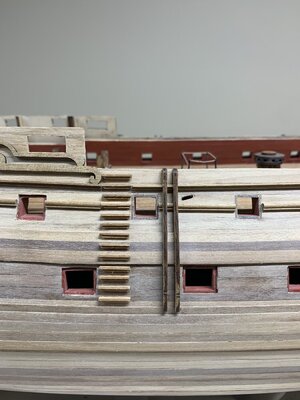
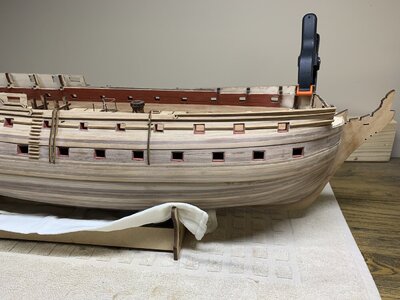
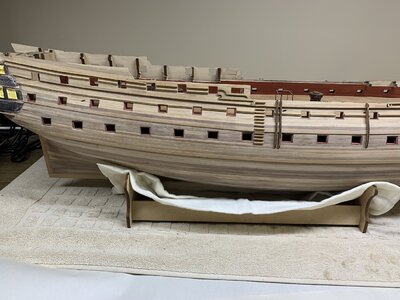
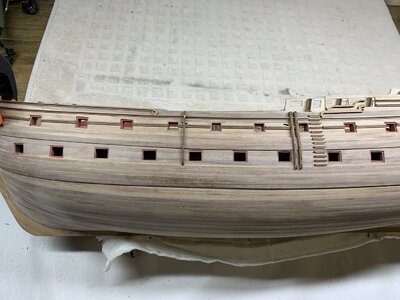
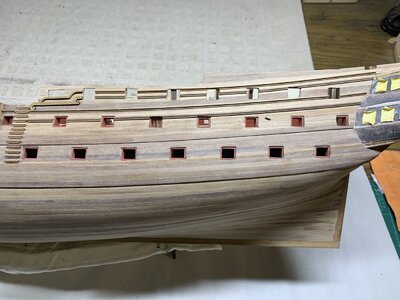
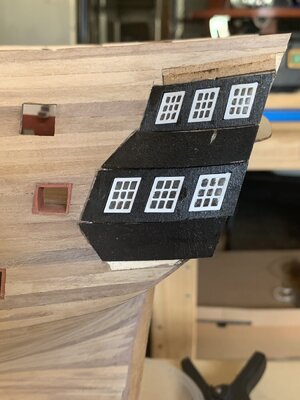
Since my last post I have attached the quarter galleries after painting the components first. The thin ply pieces didn’t fit together all that well and much of the error came from the horizontal fin parts not being horizontal. Also the fascia parts between the windows needed to curve a bit, which proved to be a bit challenging to fix and bend the fine ply pieces without breaking having been painted.
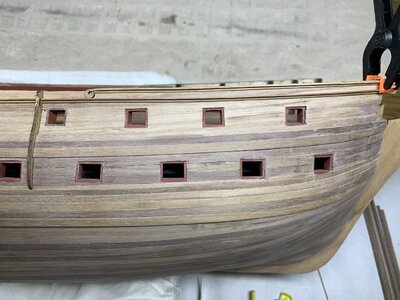
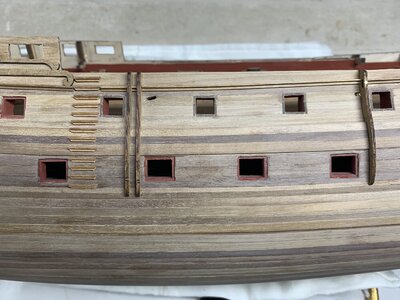
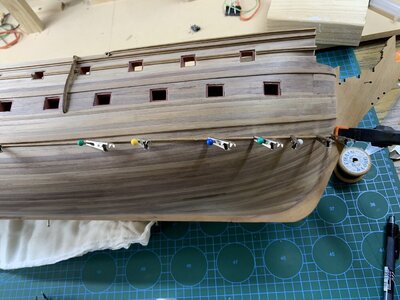
After this I moved on to fixing the main and minor wales and the strake. The challenge with these was fixing the walnut strips and clamping in place with no ability to penetrate the wood with pins or nails, and keeping them flat against the hull and tight against their Neighbour. I used clamps on the keel and sides with many rubber bands and smaller spring clamps to keep them tight.
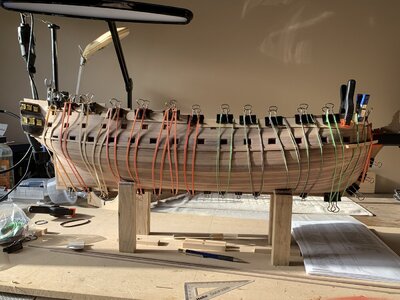
With the wales some of the strip needs to be cut to fit the gunports and this was best done with a sharp Xacto knife, of which I have 3 now. Can’t have too many knives, or clamps.
To my eye symmetry is a very important aspect of beauty and I really want the ship to be symmetrical. I find this very challenging to get the symmetry between port and starboard sides good enough. If you look closely you can see the minor wale on one side is about 1mm higher than the other. I’m not entirely happy, but don’t think I will change it.
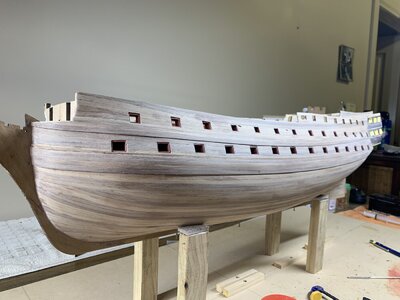
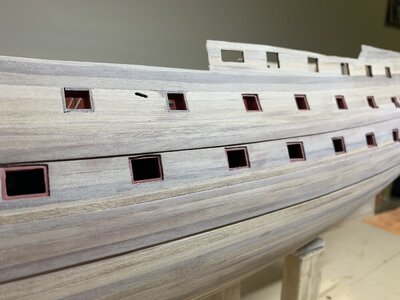
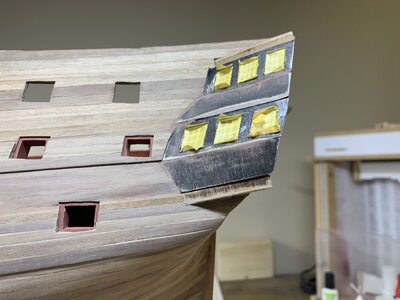
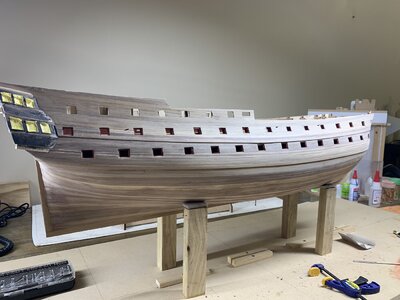
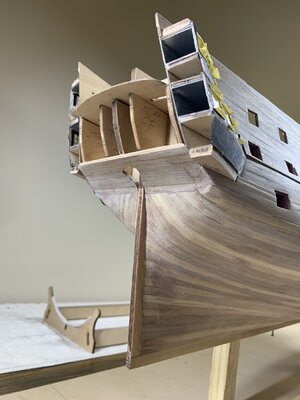
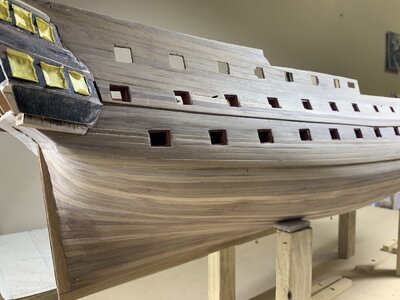
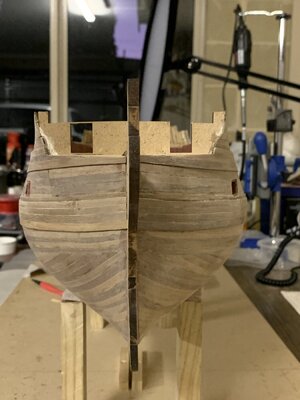
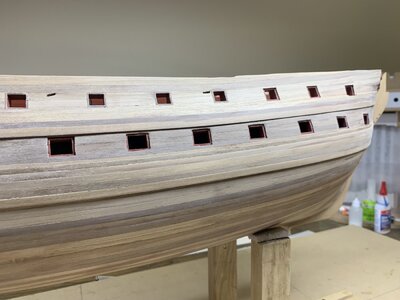

After this I moved on to fixing the main and minor wales and the strake. The challenge with these was fixing the walnut strips and clamping in place with no ability to penetrate the wood with pins or nails, and keeping them flat against the hull and tight against their Neighbour. I used clamps on the keel and sides with many rubber bands and smaller spring clamps to keep them tight.

With the wales some of the strip needs to be cut to fit the gunports and this was best done with a sharp Xacto knife, of which I have 3 now. Can’t have too many knives, or clamps.
To my eye symmetry is a very important aspect of beauty and I really want the ship to be symmetrical. I find this very challenging to get the symmetry between port and starboard sides good enough. If you look closely you can see the minor wale on one side is about 1mm higher than the other. I’m not entirely happy, but don’t think I will change it.


Last edited:
I have been trying to understand if the stern fascia remains flat or curves slightly to conform to the quarter galleries, and also how to shape the up and down finishing pattern piece of the galleries that is a 5mm MDF parts 27 and 28, not actually numbered on the plans.
I have shaped the patterns and extended the up pattern to fill the gap at the back.
The stern fascia will have a slight curve which is shown on all the plan drawings, but in looking at photos of other build logs of this ship, I have not seen or read of anyone curving the fascia.
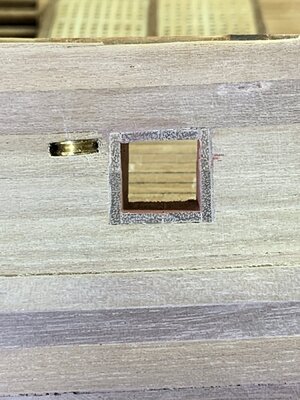
Also inserted one sheave block to see how it looks.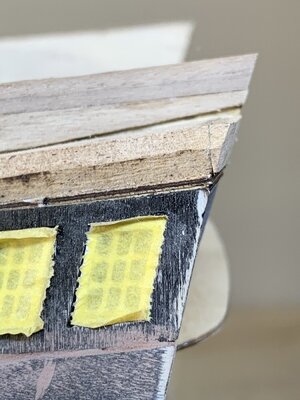
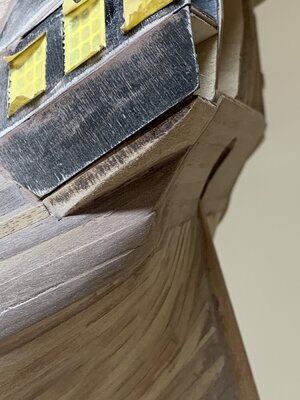
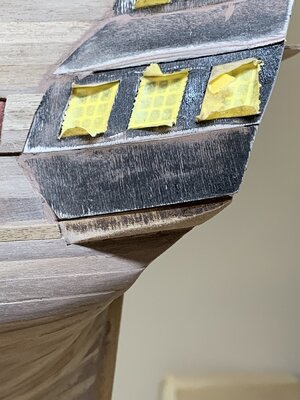
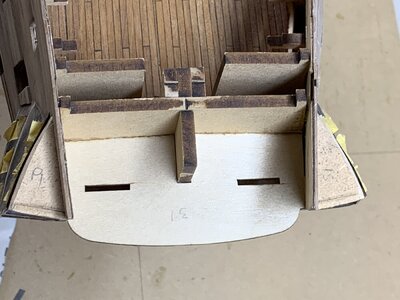
So here are some photos of my efforts so far.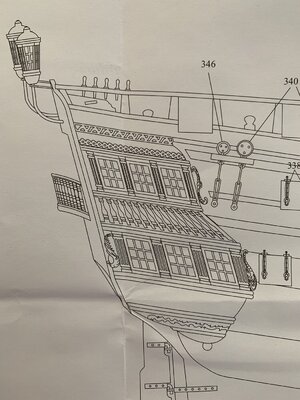
I have shaped the patterns and extended the up pattern to fill the gap at the back.
The stern fascia will have a slight curve which is shown on all the plan drawings, but in looking at photos of other build logs of this ship, I have not seen or read of anyone curving the fascia.
Also inserted one sheave block to see how it looks.


So here are some photos of my efforts so far.

Last edited:
Good morning. I really like the way Victory Models designed the stern and quarter galleries. It gives it the perfect shape and volume if one wants a look through effect. You are “owning” the build of these galleries. The stern on these British ships of war is so difficult to get right. Awesome work. Cheers Grant
Thanks Grant for your encouragement. I am enjoying. There is much of the detail that is not referenced in the instructions either pictorial or written. I find it enormously helpful to read other modelers logs and see their pictures.Good morning. I really like the way Victory Models designed the stern and quarter galleries. It gives it the perfect shape and volume if one wants a look through effect. You are “owning” the build of these galleries. The stern on these British ships of war is so difficult to get right. Awesome work. Cheers Grant
I hope my musings and trials might be helpful to those who follow.
Thanks for your kind words Greg. I have my eye drawn to all the defects, but from afar I am happy so far.Looks amazing , just beautiful work
Just read about the skid beams and its purpose, to help role barrels aboard. Probably rum, me thinks.
I’m going away for a couple of weeks so, no more work on Vanguard until March.
Last edited:
Hallo @ChestcutterStarting my build of HMS Vanguard.
I am impressed by the quality of other modelers on SOS, and hope I can come close to a similar outcome.
Posting my build images is a bit anxiety provoking, as I hate imperfection, but rarely make things perfect.
I welcome all comments and suggestions.
Thanks for your interestView attachment 330132View attachment 330131View attachment 330131View attachment 330131View attachment 330132View attachment 330133View attachment 330134View attachment 330135View attachment 330136View attachment 330137View attachment 330138View attachment 330139View attachment 330140View attachment 330141View attachment 330142View attachment 330143View attachment 330144View attachment 330145View attachment 330146View attachment 330147View attachment 330148View attachment 330149
we wish you all the BEST and a HAPPY BIRTHDAY

Thanks Uwek and SOS Members.
Happy Birthday
Returned from a short break.
Having finished the hull decorative strips my next step is painting the hull. I don’t have much experience with painting and am still trying to work out the best methods.
Painting has so many variables to consider, wood or photo etched or resin casts, which primer to use when, which paint acrylics or enamels, use a brush or spray. How many coats, sand in between, what grit to use?
Dark colors first or light first.
So I have been doing little paint jobs to test out different approaches.
Before spraying the hull I plan to apply a 1x1 mm batten to mark the waterline. I will use a line marking tool I got from Micromark Based on the plans the waterline is 86.5 mm from the base of the keel. I found trying to level the boat and use spirit levels too difficult as the gun deck is not flat. Also to hold the boat on its keel would have required me to build a purpose made jig, which I didn’t want to do. So I measured the distances for the bow and stern, made a mark, and set the hull in its cradle with the line marking tool at the correct height and once the two marks measured correctly with the tool simultaneously I concluded the hull was level bow to aft.
I marked a series of marks with the tool, placed pins on the low side which will be covered by copper sheathing and glued the battens on. Looking with my eye they appear level.
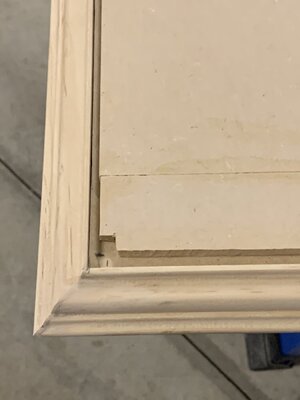
Also working on the display case for the Vanguard. I finished the base with decorative surround.
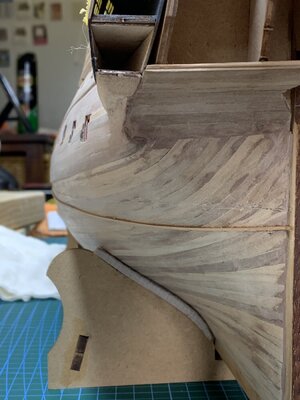
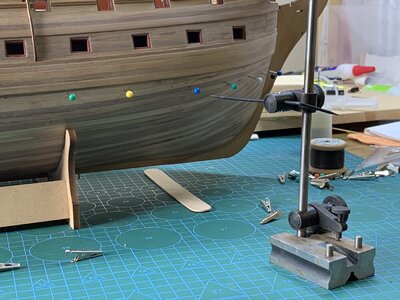
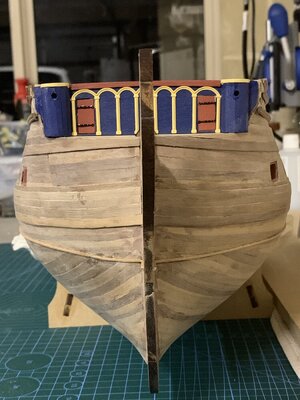
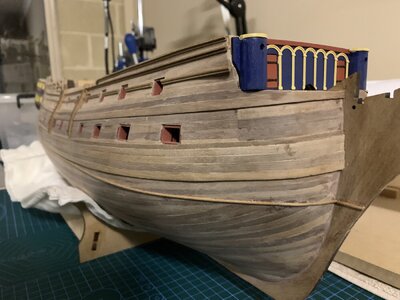


Last edited:
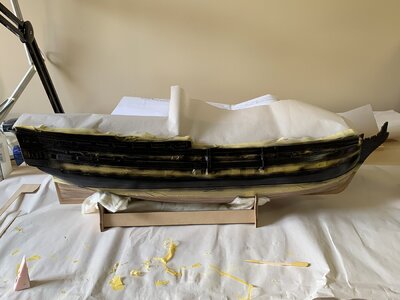
Painting started.
First reflection and learning.
Carefully apply good quality masking tape.
Using an airbrush gives a more even and thinner coat of paint, which does not obscure the wood grain and underlying details.
You can use enamel or acrylic. Both need to be thinned to get best results from airbrush application.
So far used 3 coats to get nice colour with rich tones and uniform coverage.
Airbrush cleanup is fiddly and time consuming.
Wear respirator mask when spraying if in a confined space with no air extraction.
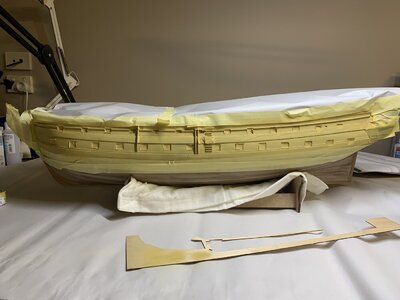
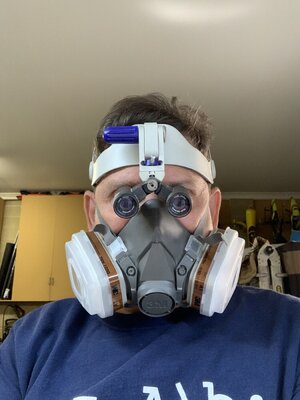


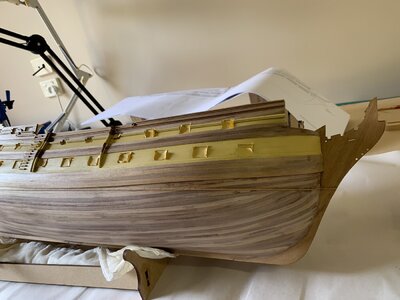
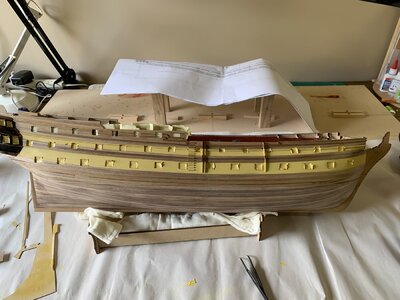
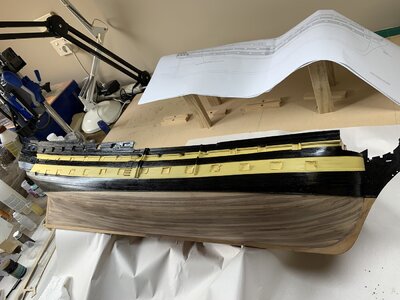
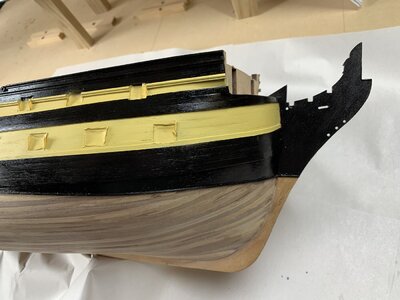
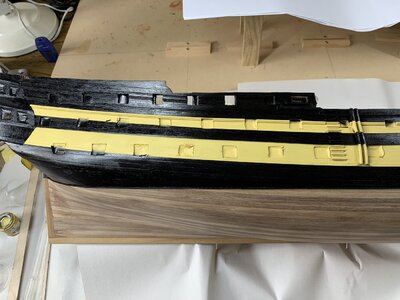
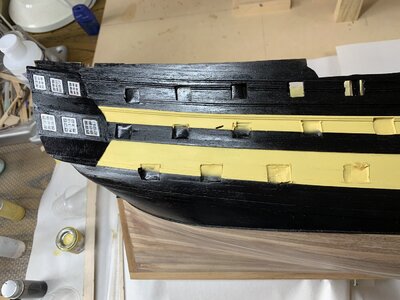
Continuing with the hull painting. Starboard done first.
I chose the painting scheme where the yellow bands follow the line of the wales, which is how the Vanguard appeared pre 1798.
Removed the masking tapes and was happy with result. Almost no bleed. The area around the steps and the skid rails need some touching up as it’s a busy area with many nooks and crannies.
The paint I used was Admiralty Dull Black but appears glossy in photos. I plan to coat with polyurethane matte varnish when all finished on both sides. This may reduce the glossy appearance.
Reflections: Tamiya masking tape is by far superior quality to all others I have used so far.
Airbrush is very good to use for painting large areas like the hull
Cleaning airbrush is fiddly but once you get a method going it’s not too bad.


