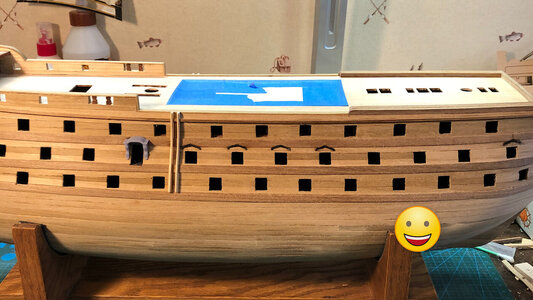
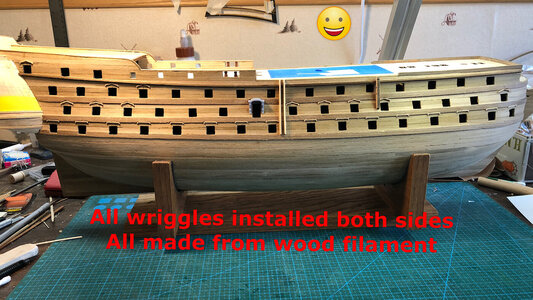
HMS Victory Build #776 1:98 scale

I just went thru all your build.
I love it.
And I am getting less afraid of working out the stern part of my build to that it can have a working wheel-tiller-rudder.
Very inspiring to discard what the builder does not like and do it over again.
Will follow your build with interest
 
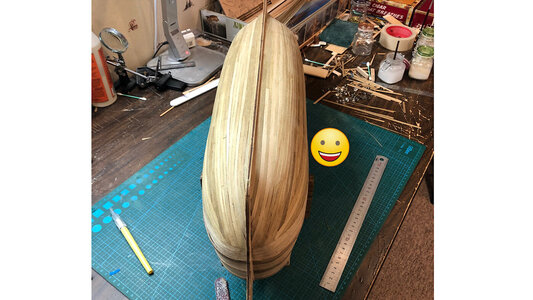
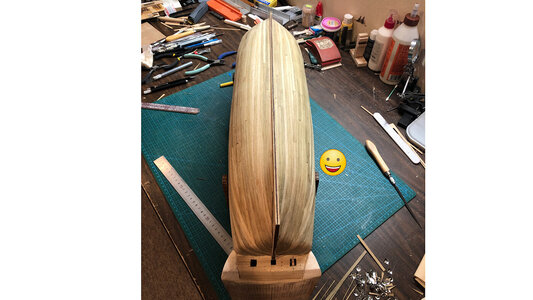
Thanks for your comments I really appreciate it. It’s been a lot of fun as the instructions are awful at best and creating as I go. Finished hull planking and now working keel planking
 
Worked on sanding hull planking yesterday. Took about 3 hours. Need to fill a few areas but it will be covered in copper plates so no concern. Also did more 3D test printing of parts before I try wood filament . Came out really good so next week on to wood filament. I’ll be also staining later this week the decks and hull. I’m also going to buy a cordless airbrush that I saw on YouTube
The brand name is “no-name” too funny but it’s fairly cheap and it’s all I need and the review was impressive.
5C63C2E9-6D97-4932-86A9-8B606524EBB9.jpeg5018B716-A3F8-4BF2-AE40-8D5B2B48D7A9.jpegDB079138-D819-48DC-9B3D-1066059495CE.jpeg
 
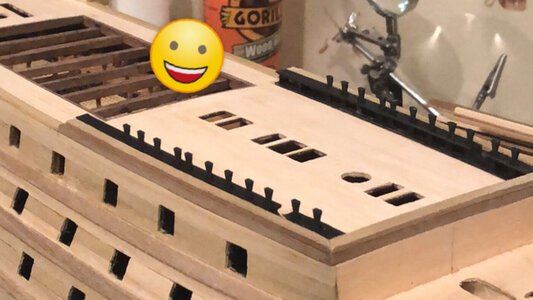
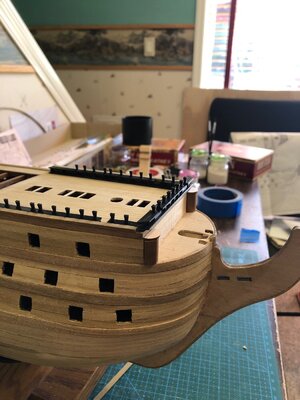
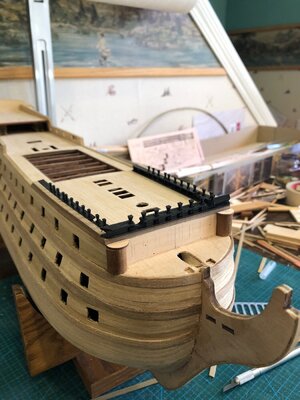
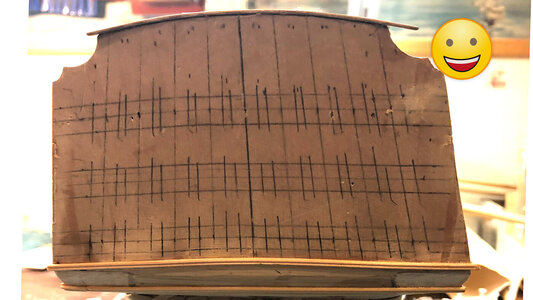
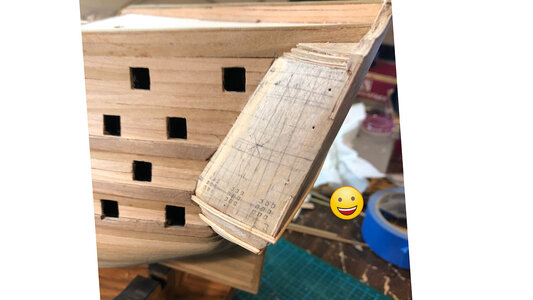
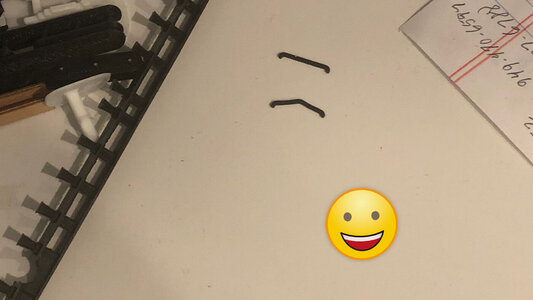
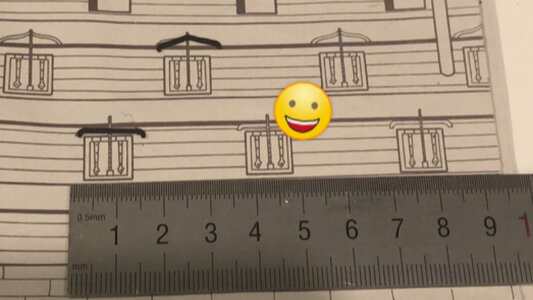
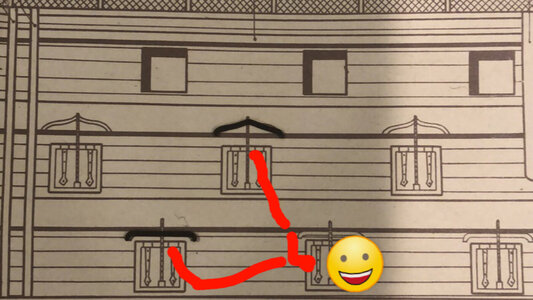
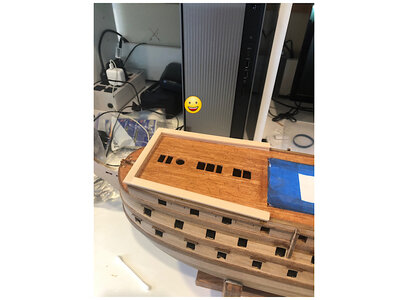
I need some advice I think the forecastle in front of the beakhead per these pictures is correct mounting. I’ve looked at a lot of pictures on internet but no closeups of this area. Any advice or recommendations would be greatly Appreciated.
From the John McKay book "The 100-gun ship Victory", the black things on the forecastle deck, extend down to the upperdeck, so if your pencil marks are aligned with those, the pencil marks are ok.
I am not sure about taking a picture of the book because of copyright issues.
But I will help you find a picture
 
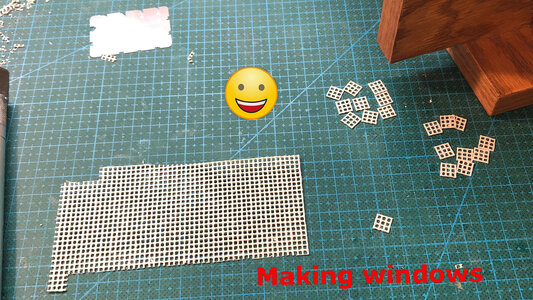
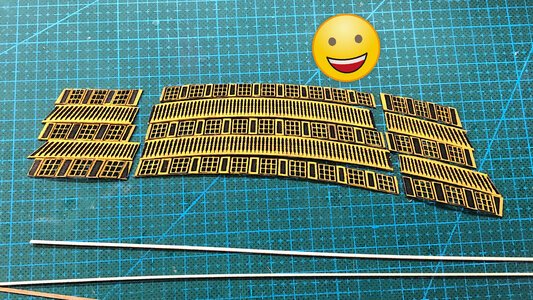
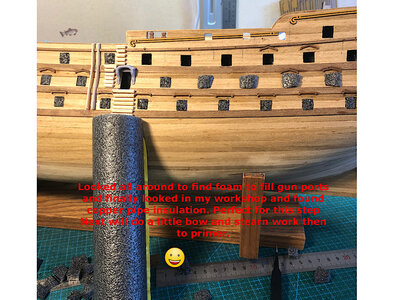
Well I’ve changed my mind on galleries at stearn and modified kit windows and painted them (whew long time to do but worth it). Had to order new scale wood from northeastern scale to be able to finish. Also tried to make water cover over gun ports. Took too long (1hr) and it didn’t look well so back to 3D printer and bingo two types took 10 mins in Acad and 2 minutes to print 2types. Now I can print multiples I think I need 38-40 of each type.
32F9E5B0-B1E1-4391-BA1F-F5B690D2F332.jpeg5C22D497-2322-4D66-9043-4E4EB0E46F75.jpeg5BF5198C-52D7-4554-9B4A-BBBDE5D266B3.jpeg129E56E9-5BBE-46CE-AF64-A312D02E88D9.jpeg
 
...I too have the victoty on my to do list. Have the Santisima trinidad , in construction, the Caf coureur ,started the keel, waiting for the alert, the two other ships are the HMB endeavour from Occre, and the Caldercraft Victory.
 
Thanks. It’s is fun especially when small parts that aren’t supplied with kit need to be created. Not happy with mantua kits at all but I will survive all the not to scale parts with making my own with my 3D printer. Start wood printing later today. Will post results after a few are printed.
 
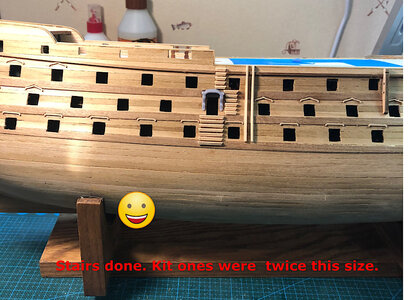
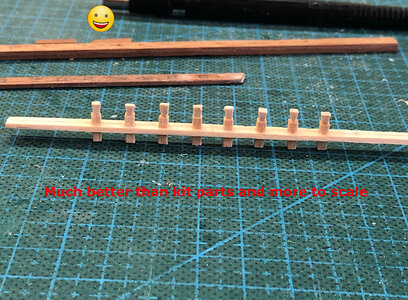
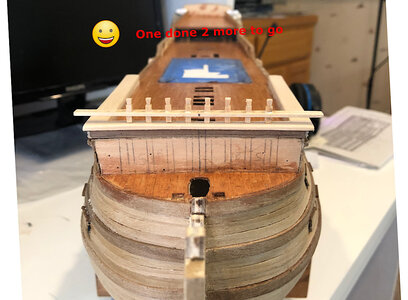
Well wood arrived today and made stairs on both sides. The kit wood was twice this size. Also stairs around entry are not per plans but per templates supplied with kit. Frustrating to have this happen at this stage but it’ll be ok. Nothing
in this world is perfect. It still looks ok and it’s for my family. Will continue with chainrails over the next few days and also work on stearn galleries, I ordered walnut wood filament and will try some cannon carriages to see how they look.
Here’s today’s pic.
00B707C0-5CCE-47FA-87C2-CA911A29BCB8.jpeg
 
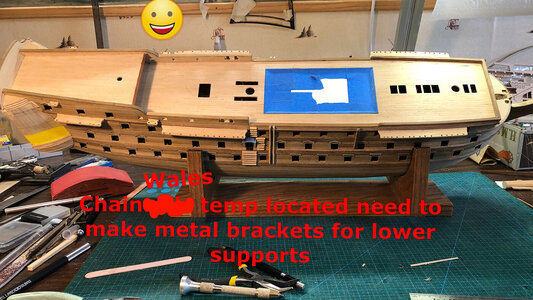
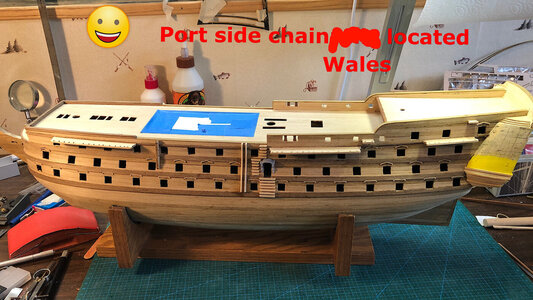
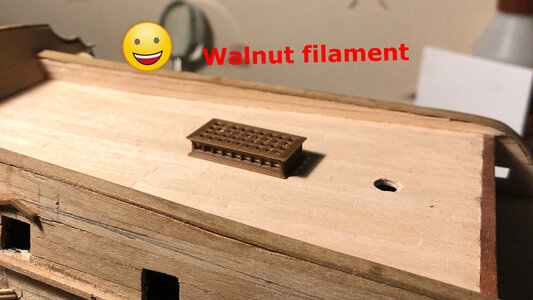
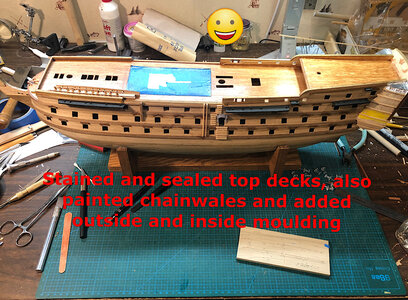
Chain wales completed and temp installed. Need to finish metal supports for them to attach to hull. Material supplied with kit too thin and way to wide. Ordered new material and it’ll be here next week. In the meantime I’m working on stearn galleries. Also tried making skylight on 3D printer. Came out great just need to clean it up a little bit. Welkwanut filament came in yesterday and reprinted the skylight hard to tell it wood filament.
8DB6AA05-93A4-41C2-B015-73711767A60E.jpeg69958052-BD1D-42B1-BFA0-214F4E3AC08D.jpeg937C5B91-D890-42EA-8978-C701BE2B9D30.jpeg
 
Regarding Caldercraft's HMS Victory, in manual 1 of 3, from the bottom of page 4 through the end of page 5, we are instructed how to install the various gunport patterns: the top (270), middle (271), lower (272), and raised forecastle (276). Before these are installed, we are to temporarily pin part number 446--the quarterdeck in place. The top gunport patterns are to be 1mm above the quarterdeck (446). Here's my question: what about the deck beams (23-25, 27, & 33-37) associated with the quarterdeck? Should not the beams also be temporarily installed for an accurate benchmark for the top gunport pattern (270) to end up being 1mm above the quarterdeck? This leads to another question...

The side view on plan sheet 1 is the only place where the beams are shown installed in the ship (a sectional view showing the beams relative to their bulkhead would have been great). The quarterdeck (446) lays on top of several small "platforms" (I don't know what they are called). What is the relationship between these "platforms" and the deck beams? Pardon my ignorance, but it's been 43 years since I have built a ship of this magnitude.
 
A.L.,
I am building mantua model not cauldercrafts so I have no idea of what your talking about
Thanks,
DickT
 
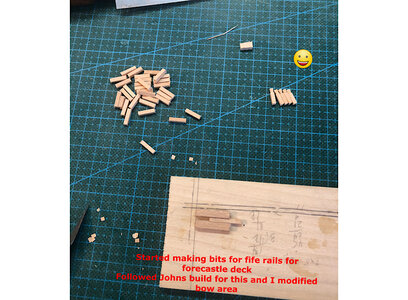
We’ll latest update to my model build. I really pay a lot of attention to Johns build. He has so many great ideas. He
even takes time to answer many of my questions with a response within a day or two. Again John if your reading this I really appreciate all of you return emails to me to help me out with my build.
7A7FAA36-0C41-422A-A105-FDA1728B4E10.jpeg4004BC05-AFFF-49A9-941A-4593B07F5688.jpegEA286C65-E3C7-4D82-B129-D7CA9B075DC0.jpeg297E3A96-190D-4A95-8F48-D47BA87F96DE.jpegC810FDCB-ECB7-4CE8-85A7-CD9E7375D596.jpeg62FD59BD-7DC1-4F36-BC5F-3A624D353374.jpeg62FD59BD-7DC1-4F36-BC5F-3A624D353374.jpeg
 
Back
Top