HMS Victory-Mamoli 1:90 Bruce Ives Build log

I found a bit of time today to work on the model. Small pieces and discovering a lot more items in the instructions that I haven’t done. One step at a time. And I didn’t drop anything!!

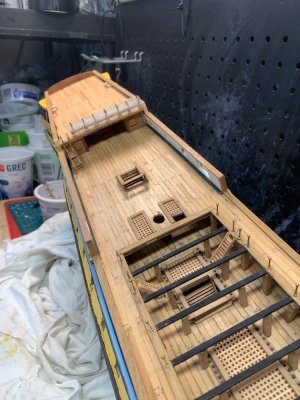
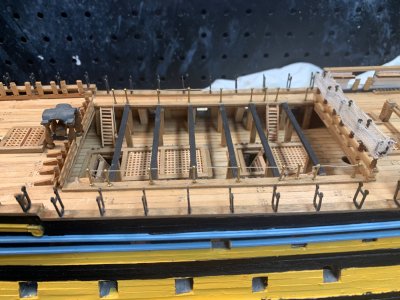
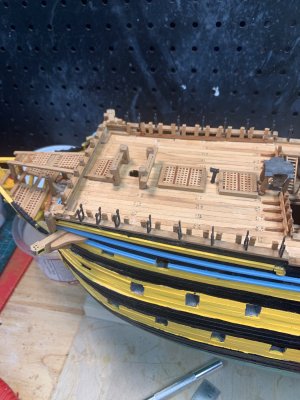
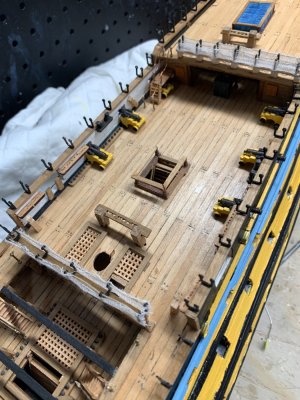
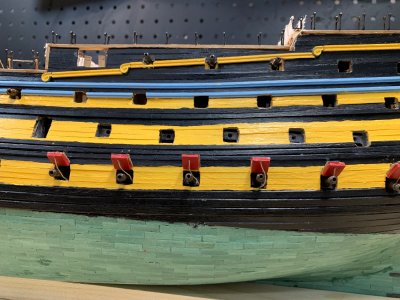
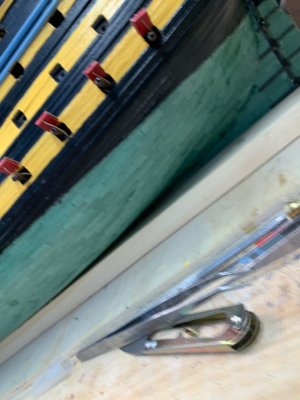
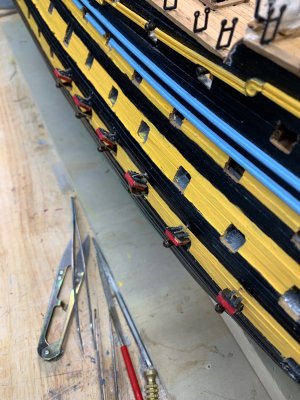
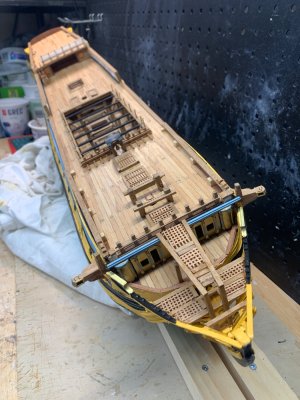
I attached the rudder and glued on more deck details. Doesn’t look too bad. As you can see I decided to glue grenades onto the lower deck. I have not glued on the decorative pieces yet but I will soon. I am now going to have to be much more careful handling the hull because I am likely to break something.

It also looks like I should have cut off the frame bits that protrude above the deck at the bow and stern. I did that where the instructions told me to but these were not mentioned.

As in life, it is a balancing act between going very slowly and trying to achieve something close to perfection and going fast enough to make finishing a possibility.

I hope everyone is having a happy holiday season.
IMG_1401.jpegIMG_1396.jpegIMG_1398.jpeg
 
I found a bit of time today to work on the model. Small pieces and discovering a lot more items in the instructions that I haven’t done. One step at a time. And I didn’t drop anything!!

I attached the rudder and glued on more deck details. Doesn’t look too bad. As you can see I decided to glue grenades onto the lower deck. I have not glued on the decorative pieces yet but I will soon. I am now going to have to be much more careful handling the hull because I am likely to break something.

It also looks like I should have cut off the frame bits that protrude above the deck at the bow and stern. I did that where the instructions told me to but these were not mentioned.

As in life, it is a balancing act between going very slowly and trying to achieve something close to perfection and going fast enough to make finishing a possibility.

I hope everyone is having a happy holiday season.
View attachment 492070View attachment 492071View attachment 492072
Lovely progress Bruce
 
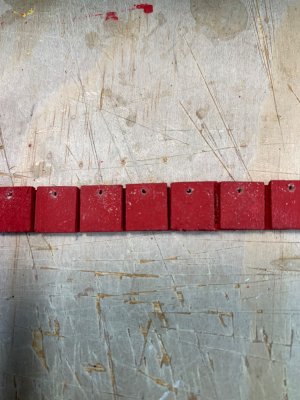
I have found that the holes I drill are very sloppy. I have a little hand drill which I use but in the process the wood tends to splinter and there is no way that I can match the number of holes which the instructions illustrate. You can see the results in the pictures above. I can't afford a small drill press and would have no room for it anyway. Any advice on this would be appreciated!
 
Just a note on the painting of the hull. I have chosen to leave the ‘copper’ plates green. The instructions provide a way to make it more realistic by using copper coloured paint which is probably not available anymore.

Regarding painting the planking, the instructions make it clear that the boundaries between the yellow and the black do not follow the line of the planking nor do they follow the line of the gun ports. For practical reasons I chose to follow the lines of the planking. I realize that this is not accurate. However, it is doable for me and I am trying to avoid the model looking too messy.
 
I am now on page 8 of the instructions!! The last day or so has been very rewarding with a lot of progress having been made. The results are not perfect but I am satisfied with how it looks.

In my haste in the beginning I put together a number of cannon to get a measure of how difficult things were going to be. Have I learned a lot since then! The instructions make it clear that the cannons need to be yellow ( and I agree ) and if course I didn’t paint them then. So I am going to try to paint them now. I would not have attempted this at the beginning but I think I can do it now. We will see.

I should add ( again ) that writing in this log and reading the responses has added greatly to the enjoyment I am having working on this model. Thank you SOS.
IMG_1428.jpegIMG_1429.jpeg
 
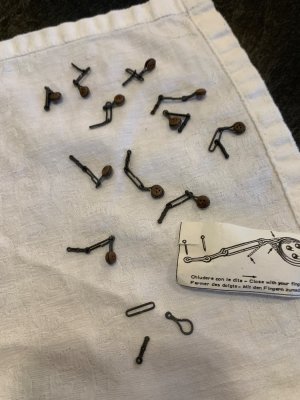
I have learned a lot about working with wood building this model and am getting used to how it behaves. Of course the model also has metal pieces too. And I have a lot to learn about working with it. “This piece should bend a bit” I say to myself. Snap. I have also learned a lot about using glue and how effective it can be!
 
I seem to have reached a crucial stage in the building process. Up to now I have been able to handle the hull as if it was a rugby ball. I could turn it so that any side was up. Now I am going to have to be much more careful because I can’t maneuver the hull as before. I built a simple cradle right at the beginning but it no longer will work since it allows the hull to move and it is not at all sturdy. So before I go much further I am going to have to come up with something that will be steady and strong.

Currently I am building gun port covers in bulk. They don’t look like much now but I hope I can tidy them up. To install them I will have to drill a lot of holes in the hull accurately. We will see how that goes!!

I painted the upper deck guns yellow and glued the on. It doesn’t look too bad.
IMG_1448.jpeg
IMG_1439.jpegIMG_1449.jpeg
 
Last edited:
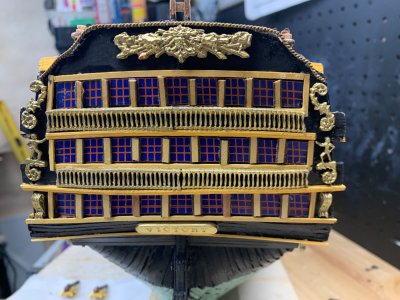
I put the decorations on the transom today to give me a sense of accomplishment. It doesn’t look exactly like the diagram in the instructions and I am sure it doesn’t look much like the real ship!! However it doesn’t look too bad. IMG_1469.jpeg
 
I have found that the holes I drill are very sloppy
Hi Bruce
Which holes are you talking about? If you are talking about the holes in the deck planking, at your scale, better to leave them off. 1" trennals would be smaller than a number 80 drill for a scale of 1"90. They should be barely visible at full size so why go the trouble of trying to make them at this scale when they should not be visible.

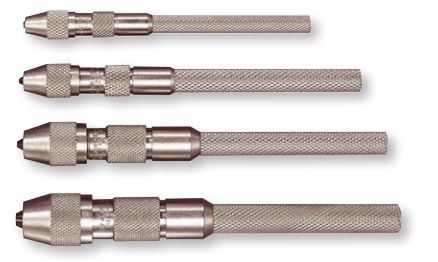
For drills, Foredom makes a great flex drill and there are other hand held electric hobby drills that work well. Worst case, a hand held pin vise is easy to control, just takes a little longer than powered machines. Starret are top quality and reasonably priced.
1736853656211.png
 
Hi Bruce
Which holes are you talking about? If you are talking about the holes in the deck planking, at your scale, better to leave them off. 1" trennals would be smaller than a number 80 drill for a scale of 1"90. They should be barely visible at full size so why go the trouble of trying to make them at this scale when they should not be visible.

For drills, Foredom makes a great flex drill and there are other hand held electric hobby drills that work well. Worst case, a hand held pin vise is easy to control, just takes a little longer than powered machines. Starret are top quality and reasonably priced.
View attachment 494995
Hi Allen

Thanks for the advice. Basically my problem arises from inexperience. I have two small hand drills which I have been learning how to use. And I have some bits that cover the sizes I need. I have discovered however that one set is of very poor quality and I have stopped fighting with it. The other set, which of course I wish I had been using first, is much better. And I have gained a lot of experience with the wood. So my holes seem to be getting better. But the ones I have already drilled are not at all neat and tidy. I have the most trouble when the holes are meant to be close together. The wood tends to splinter and crack.

I will look into what powered drills there are. I have a dremel tool but having some experience with it I am afraid of what damage I might do!
 
Last edited:
The tear out when holes are close together may just be open grained wood instead of good quality tight grained hard woods that are best for our hobby. Practice, practice, practice...... We all need it and eventually get there.
Allan
 
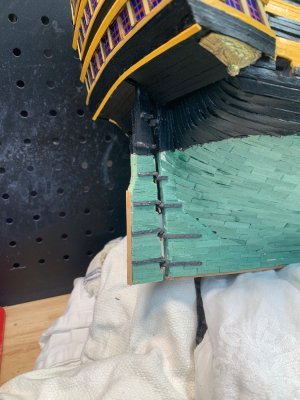
After staring and delaying I finally got up the nerve to start installing the gun port covers. And to my immense surprise I was able to get about half a dozen done before I decided to take a break. It is not perfect but it matches what the instructions illustrate. I touched on my biggest concern earlier - now I will have to be very careful not to break them off while I am doing something else. IMG_1477.jpegIMG_1476.jpegIMG_1475.jpeg
 
I have now read ahead in the instructions for the masts, spars and rigging. And it is quite intimidating - not so much by the intricacies of what needs to be done, but by sheer quantity of tasks. I have the gunport covers and ladders still to do but I can do that a bit at a time as I go along. The instructions are written in an understandable code which I can follow. But - and this is a big one - the instructions don’t provide sequential steps. This means two things: I am likely to paint myself into a corner, and I am likely to miss things. So I will begin and see what happens … full speed ahead.
 
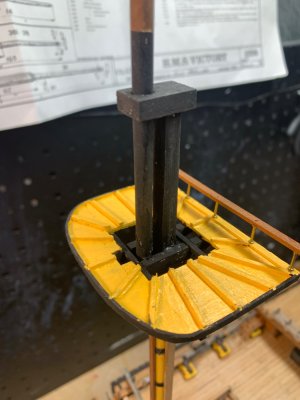
I have decided to start with the tops since it involves just cutting wooden bits and gluing. I have become familiar with this so it’s easy going. And I paint can cover the flaws…. I will post pictures as I go.
 
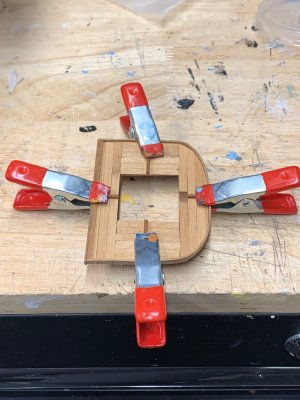
I have started the tops. It is more delicate work than I expected. I am gluing the radial reinforcing strips at the moment. The instructions illustrate 30 of them for the largest. I suppose how many I actually install will be a measure of how serious I am! Or a measure of how much 1 by 1 I have!!

Seriously I am having an amazing amount of fun working on this model. And my fine
motor skills are definitely being exercised. And that’s the whole idea.
IMG_1493.jpeg
 
Back
Top