Hohenzollernmodell 1660-1670 Scale 1/75 POF build by Stephan Kertész (Steef66)

@Tobias @Herman @dockattner @Jimsky @shota70 Thanks for the nice words. And of course all the others for the visit and the likes.

My finger is very well at the moment, little stiff but no pain any more.

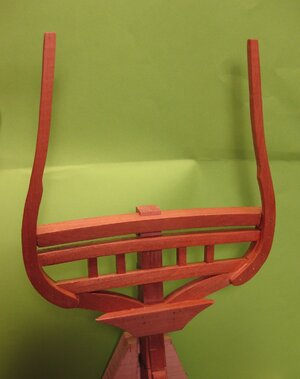
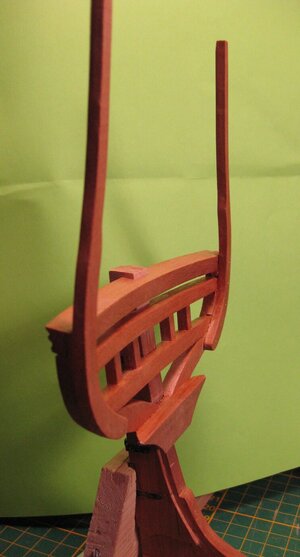
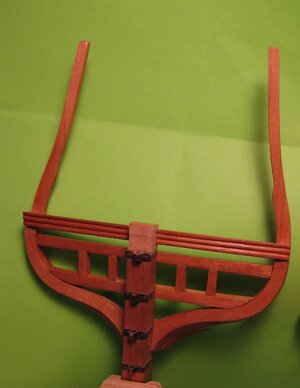
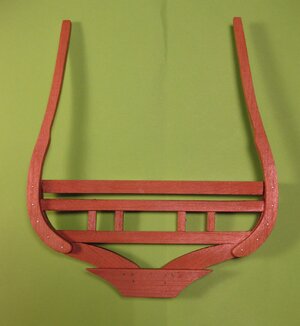
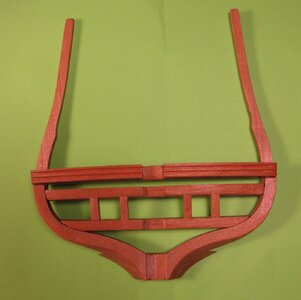
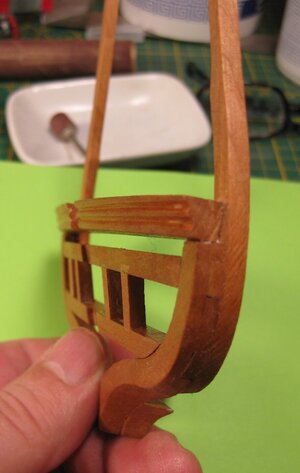
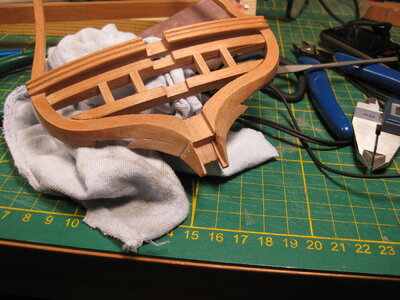
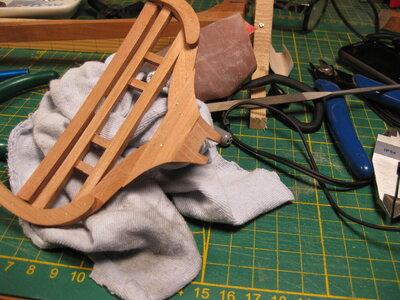
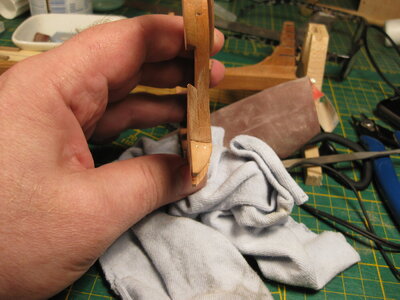
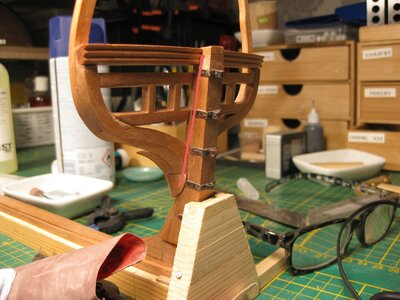
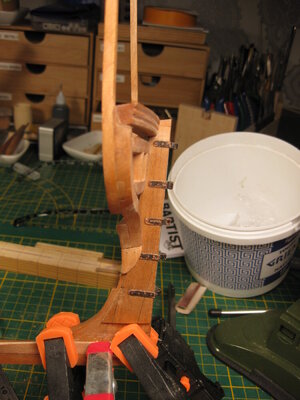
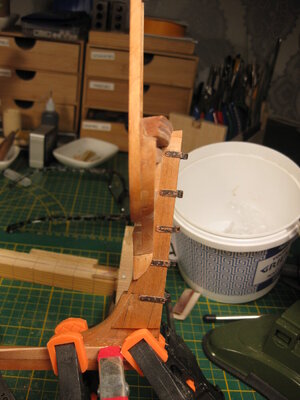
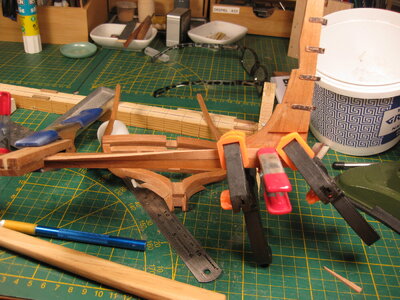
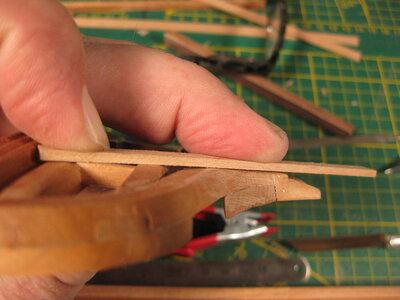
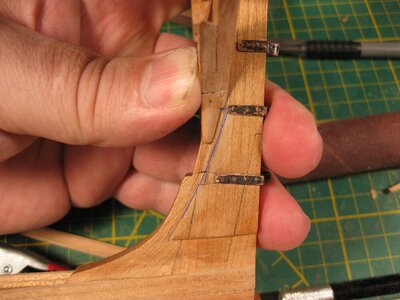
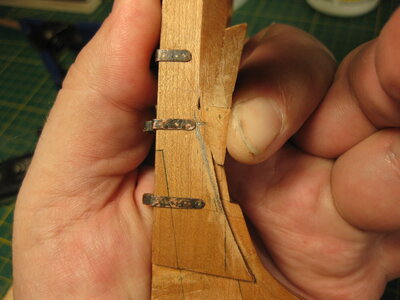
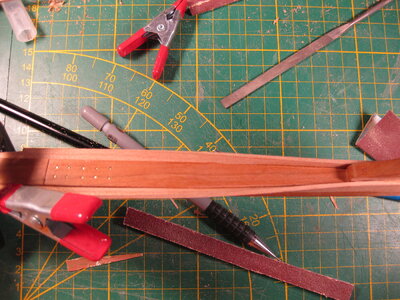
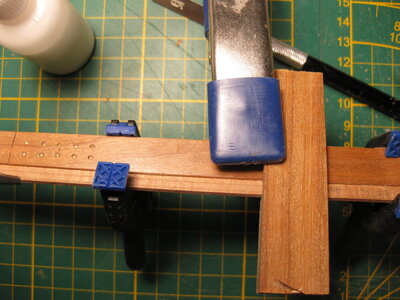
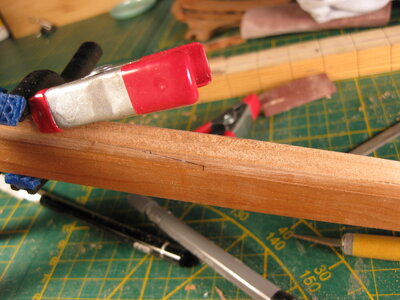
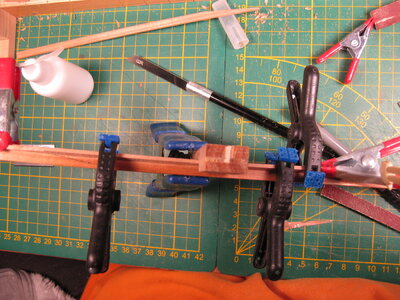
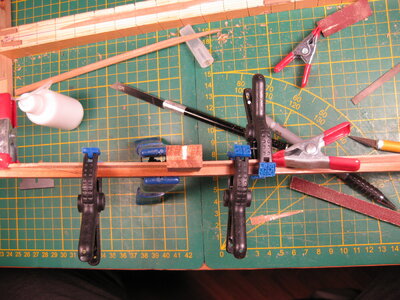
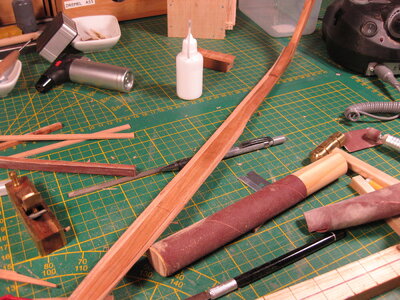
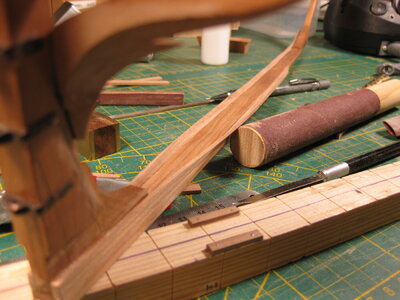
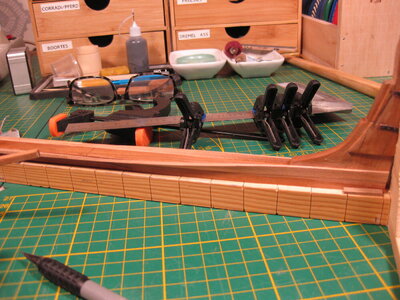
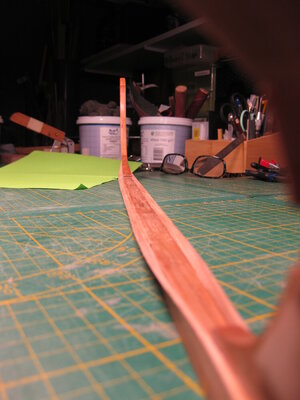
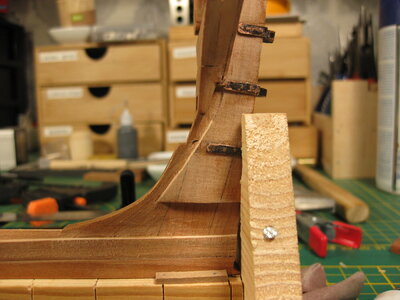
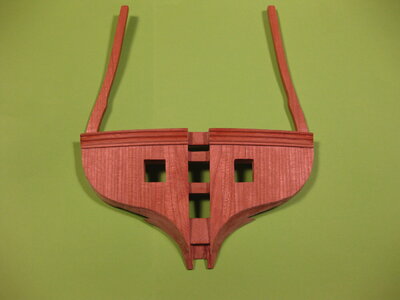
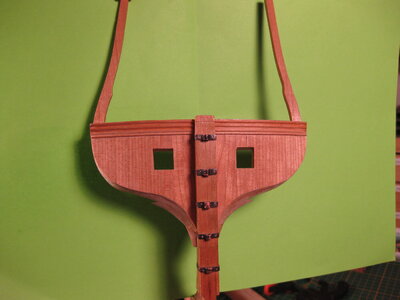
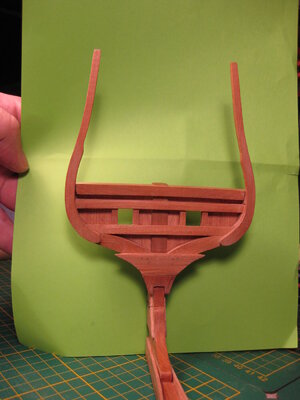
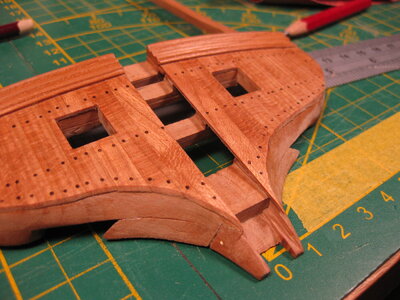
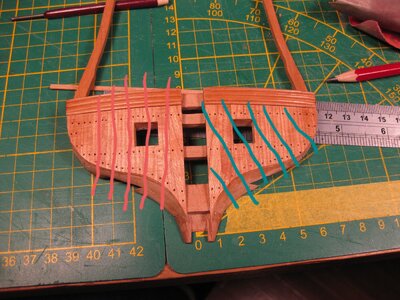
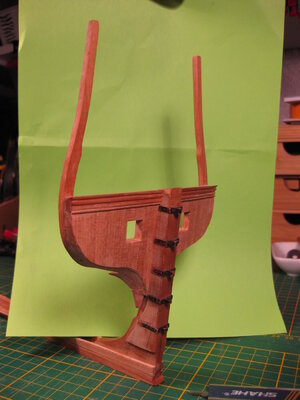
Today I did a RE-DO on the wing transom. The measurements where to wrong to get it in the right place. So I make a new one with just 2 mm. in width more.
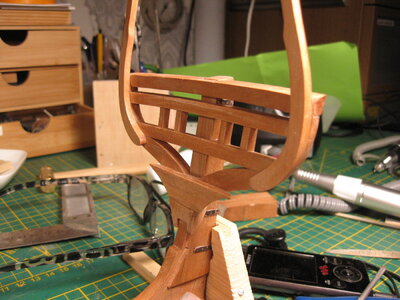
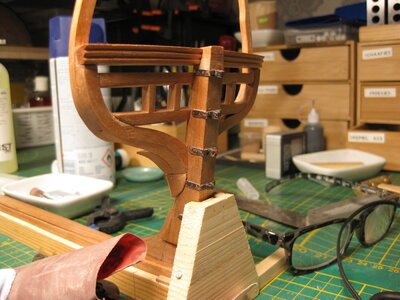
Also I cut out the stern timber. Everything you see is dry fit.

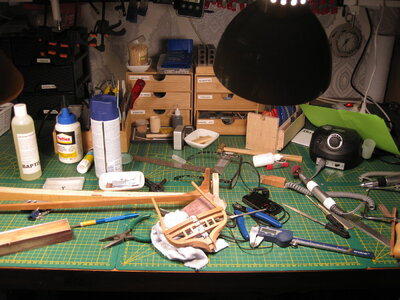
View attachment 363100View attachment 363101View attachment 363102

It is nice to see how big the shape of the stern and to see how big the model will be.
A good choice, Stephan, to make the re-do. And always nice to get a impression of the size. First it was only ‘drawing’. Now it’s ‘real’.
Regards, Peter
 
A good choice, Stephan, to make the re-do. And always nice to get a impression of the size. First it was only ‘drawing’. Now it’s ‘real’.
Regards, Peter
On paper and in mind is never the same in real, it's wood we working with. But no problem at all it is a Dutch ship. Lots of improving and adjusting and re-do's. That's fun. I'm curieus on Maarten's build of the fluit. He will discover this too.
 
On paper and in mind is never the same in real, it's wood we working with. But no problem at all it is a Dutch ship. Lots of improving and adjusting and re-do's. That's fun. I'm curieus on Maarten's build of the fluit. He will discover this too.
Looking forward to that, luckily I don t have drawings to work from. I have to start with the Fluyt somewhere in the coming months as I mentioned I will take the build with me to the scheepvaartmuseum in September. :-)
 
Looking forward to that, luckily I don t have drawings to work from. I have to start with the Fluyt somewhere in the coming months as I mentioned I will take the build with me to the scheepvaartmuseum in September. :)
Can we put them next to eachother. Because I will come with the train to Amsterdam, I think I can only bring this build.
 
Hi Stephan,

It seems the line of the transom is not right. Is this still work in progress?
Good point.

I think the Fashion piece is correct. I follow the book of Witsen/Yk and the drawings of the PW show the same. It is straight downwards.

IMG_3309.JPG

IMG_3308.JPG

But looking closely it doesn't fit with the keel. It sits on a 90 degrees angle of the waterline and is at the correct spot of the keel in height and position.

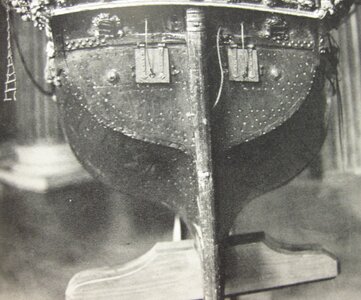
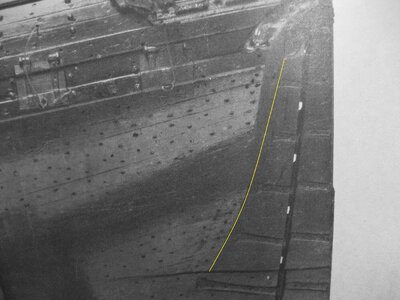
Looking to the pictures of the HZ model in Winter


IMG_3311.JPGIMG_3313.JPG
The top photo shows well how uneven the sides of the keel were on the Hohenzollern model. If you mirror them with each other, they are really not equal.


IMG_3314.JPG

There will also a layer of planks on the stern.

IMG_3307.jpg

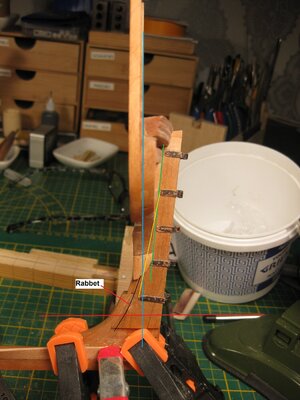
Looking to the picture above you can see what I ment. The yellow line is the correction on the fashion pieces. Not much just a mm or 2. And the rabbet needs to go to the left, I think almost till it hits the iron of the rudder. The intersection of the blue and yellow line is the starting point of the rabbet.

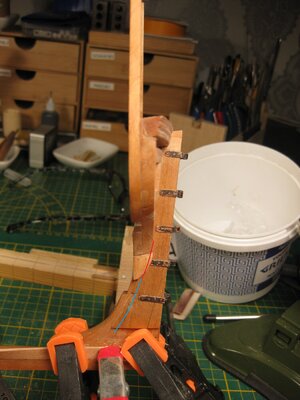
Like this:

IMG_3307b.jpg

I think the Rabbet (blue) needs to go more to the iron because of the thickness of the planking.

Below I'm working on the Garboard strake

IMG_3310.JPG
 
Last edited:
Good point.

I think the Fashion piece is correct. I follow the book of Witsen/Yk and the drawings of the PW show the same. It is straight downwards.

View attachment 363687

View attachment 363686

But looking closely it doesn't fit with the keel. It sits on a 90 degrees angle of the waterline and is at the correct spot of the keel in height and position.

Looking to the pictures of the HZ model in Winter


View attachment 363689View attachment 363690
The top photo shows well how uneven the sides of the keel were on the Hohenzollern model. If you mirror them with each other, they are really not equal.


View attachment 363691

There will also a layer of planks on the stern.

View attachment 363692

Looking to the picture above you can see what I ment. The yellow line is the correction on the fashion pieces. Not much just a mm or 2. And the rabbet needs to go to the left, I think almost till it hits the iron of the rudder. The intersection of the blue and yellow line is the starting point of the rabbet.

Like this:

View attachment 363693

I think the Rabbet (blue) needs to go more to the iron because of the thickness of the planking.

Below I'm working on the Garboard strake

View attachment 363688
Hi Stephan,

Keep in mind the rabbet should also take in account the thickness of the transom planking.
The planking of the hull covers the heads of the transom planking and should be in one line with the hull planking ending in the rabbet.
 
Hi Stephan,

Keep in mind the rabbet should also take in account the thickness of the transom planking.
The planking of the hull covers the heads of the transom planking and should be in one line with the hull planking ending in the rabbet.
Yup, I know, a lot of thinking and adjusting. And for the transom planking I will use very thin planking :)
 
Last edited:
@Maarten I managed it. Was a hardone to find how. I discovered that the stern need to straighten out so the planks will fit. I sand a little wood of the stern on the height where the Broekstuk is.

Here you can see how I flatten the stern to fit the planks:
IMG_3325.JPG


And this is how it looks on the stern post:
IMG_3320.JPGIMG_3321.JPG

The blue line indicates the rabbet on the stern post. The planks on the stern will be 1 mm thick and not like the rest of the hull 1,9 mm.

I'm almost done with the garboard strake.

IMG_3315.JPGIMG_3316.JPGIMG_3317.JPGIMG_3318.JPGIMG_3319.JPGIMG_3322.JPGIMG_3323.JPG

Just one stroke to go on the bow. After that I'll lay the piece of wood that comes on top of the garboard strake against the keel. This is to even the strake and the keel I supposed. I will search the name for this part.
 
@All thanks for the likes and visit to my log.

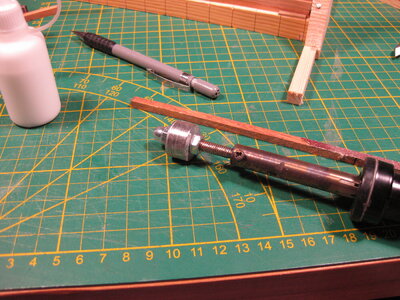
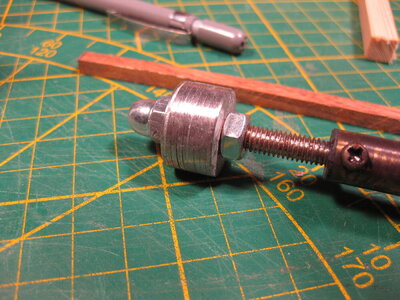
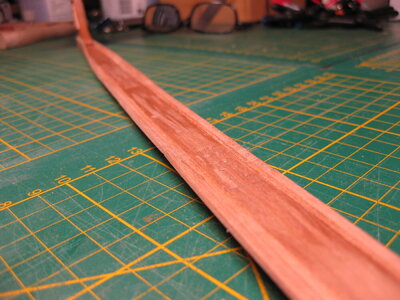
First I was working on finishing the garboard strake (Dutch: zandstrook). 1 mm thick wood strips bending is no problem. But 2 mm. thick strips is more then just a job. Socking in water and using a bending iron is a must. I don't have a bending iron. So I look on the internet to buy one. Nope to much money for just a soldering iron with a thick round head.
A soldering iron is something that is in my drawer and a M6 bolt with a few nuts and car body rings will do the job too.

IMG_3327.JPG
IMG_3328.JPG

Bending the wood was now no problem at all :)

The finished garboard strake:

IMG_3332.JPG

Between the garboard strake and the keel you can see the 'Tingel'. This is an extra plank that fills up the gap when the floor timber is positioned on the keel.

IMG_3336.JPG
IMG_3337.JPG
IMG_3339.JPG

Adjusting the rabbet on the stern post:

IMG_3335.JPG

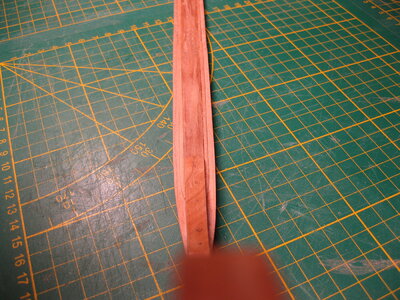
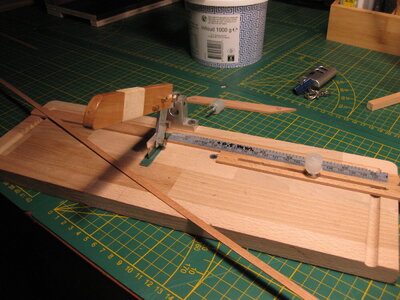
Then the planking on the lower stern part. (below the wing transom). After I thinned a strip of cherry to 1 mm. thickness on my thickness sander (see link under my name) I cut the strips roughly on my homemade strip cutter. :p yeah I know a lot of home made tools, have to work cheap.

IMG_3326.JPG

This is the result:

IMG_3333.JPG
IMG_3334.JPG
IMG_3338.JPG
IMG_3340.JPG
IMG_3341.JPG

With a hot injection needle I marked the treenails. And with the first layer of Clou (Not good for your lungs, when inhaling the vapours that come from that. Next time I do that outside on the balcony):

IMG_3342.JPGIMG_3343.JPG

Looks like I going for the shell first method to build this ship.
I give it a try, what can go wrong. I build a Dutch ship, so why not use the way how the Dutch did this.
In that case the next parts are the planking of the floor, cleats, floor timber and bilge futtock.


Thanks for watching and visit my build.

IMG_3329.JPG
 
@All thanks for the likes and visit to my log.

First I was working on finishing the garboard strake (Dutch: zandstrook). 1 mm thick wood strips bending is no problem. But 2 mm. thick strips is more then just a job. Socking in water and using a bending iron is a must. I don't have a bending iron. So I look on the internet to buy one. Nope to much money for just a soldering iron with a thick round head.
A soldering iron is something that is in my drawer and a M6 bolt with a few nuts and car body rings will do the job too.

View attachment 364186
View attachment 364187

Bending the wood was now no problem at all :)

The finished garboard strake:

View attachment 364189

Between the garboard strake and the keel you can see the 'Tingel'. This is an extra plank that fills up the gap when the floor timber is positioned on the keel.

View attachment 364193
View attachment 364194
View attachment 364196

Adjusting the rabbet on the stern post:

View attachment 364192

Then the planking on the lower stern part. (below the wing transom). After I thinned a strip of cherry to 1 mm. thickness on my thickness sander (see link under my name) I cut the strips roughly on my homemade strip cutter. :p yeah I know a lot of home made tools, have to work cheap.

View attachment 364185

This is the result:

View attachment 364190
View attachment 364191
View attachment 364195
View attachment 364197
View attachment 364198

With a hot injection needle I marked the treenails. And with the first layer of Clou (Not good for your lungs, when inhaling the vapours that come from that. Next time I do that outside on the balcony):

View attachment 364199View attachment 364200

Looks like I going for the shell first method to build this ship.
I give it a try, what can go wrong. I build a Dutch ship, so why not use the way how the Dutch did this.
In that case the next parts are the planking of the floor, cleats, floor timber and bilge futtock.


Thanks for watching and visit my build.

View attachment 364188
The planking of the stern looks very nice, Stephan. And your different approach of building the hull, shell first, is very challenging. But I like ‘out of the box’ buildings. :)
Regards, Peter
 
a) Just gotta love these selfmade tools.
b) Anticipation to see your next step is growing per post.
Thanks Johan. Yes these tools are very handy. The cutter, the thickness sander and my miter sanding board are used a lot. And anticipating the next step is also the witsen program that I use. It shows the steps to be taken. And indeed look further in the future to do things that are easy to do now then planking the stern when it is attached to the keel.

The planking of the stern looks very nice, Stephan. And your different approach of building the hull, shell first, is very challenging. But I like ‘out of the box’ buildings. :)
Regards, Peter
Thanks Peter, someone adviced me not to build in this way, you need more experience in building ships. And he is right about that. A building meld is a lot easier to do.
But study the book of Witse by Ab Hoving, looking in the program of Ab how to build a Pinas of Witse shell first, makes me more and more decide to take the challenge and go shell first. When it goes wrong, I start over again. And have another experience and had fun trying. Time enough to spend.
 
Hi Stephan,

Welcome to the SFC "shell first club" allthough I still have to make first dust. Convinced you can do it.

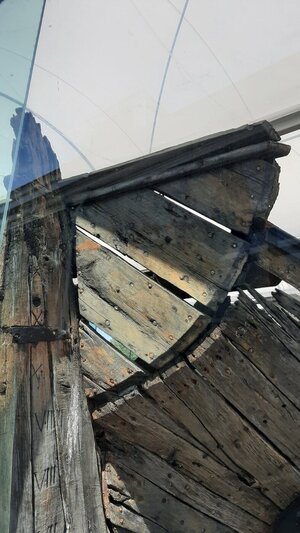
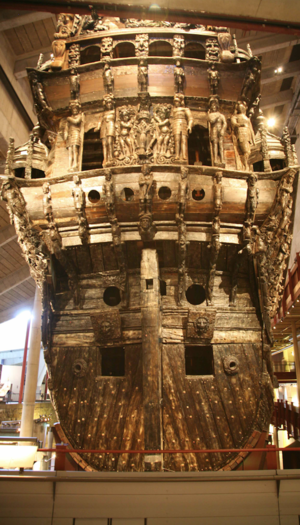
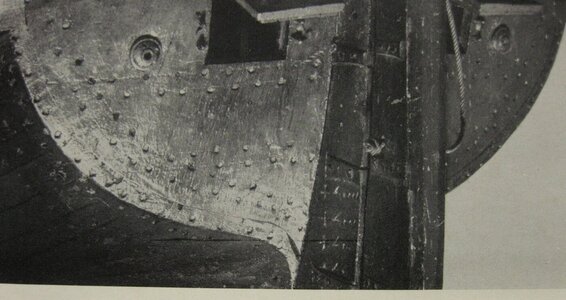
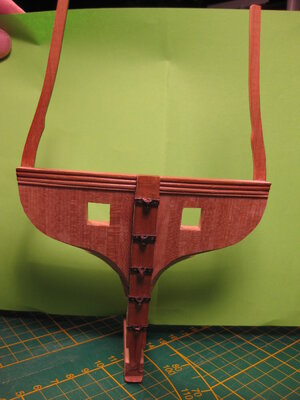
One remark on the planking of the transom. You have a vertical planking, what was your reason for doing it like this? Most wrecks I have seen have an angled planking see red and green below.
IMG_3342.JPG

And the pinas
20190727_130337.jpg

And vasa
01a578843f8fbd8e345e1c3a13f2189c.png

And hohenzollern model
IMG_3311.JPG
 
Hi Stephan,

Welcome to the SFC "shell first club" allthough I still have to make first dust. Convinced you can do it.

One remark on the planking of the transom. You have a vertical planking, what was your reason for doing it like this? Most wrecks I have seen have an angled planking see red and green below.

SFC, I like that.

Why the planks straight? The William Rex was my inspiration for that. The planks of that are almost straight, almost. When I was planking my stern I choose to let them go straight because it is in real almost not visible. And so I got a straight connection to the stern post. Just a decision for a stronger hold of the planks and better line with the keel. But you're right that there is an angle. Sometime 45 degree and sometime just 80 or less
 
Back
Top